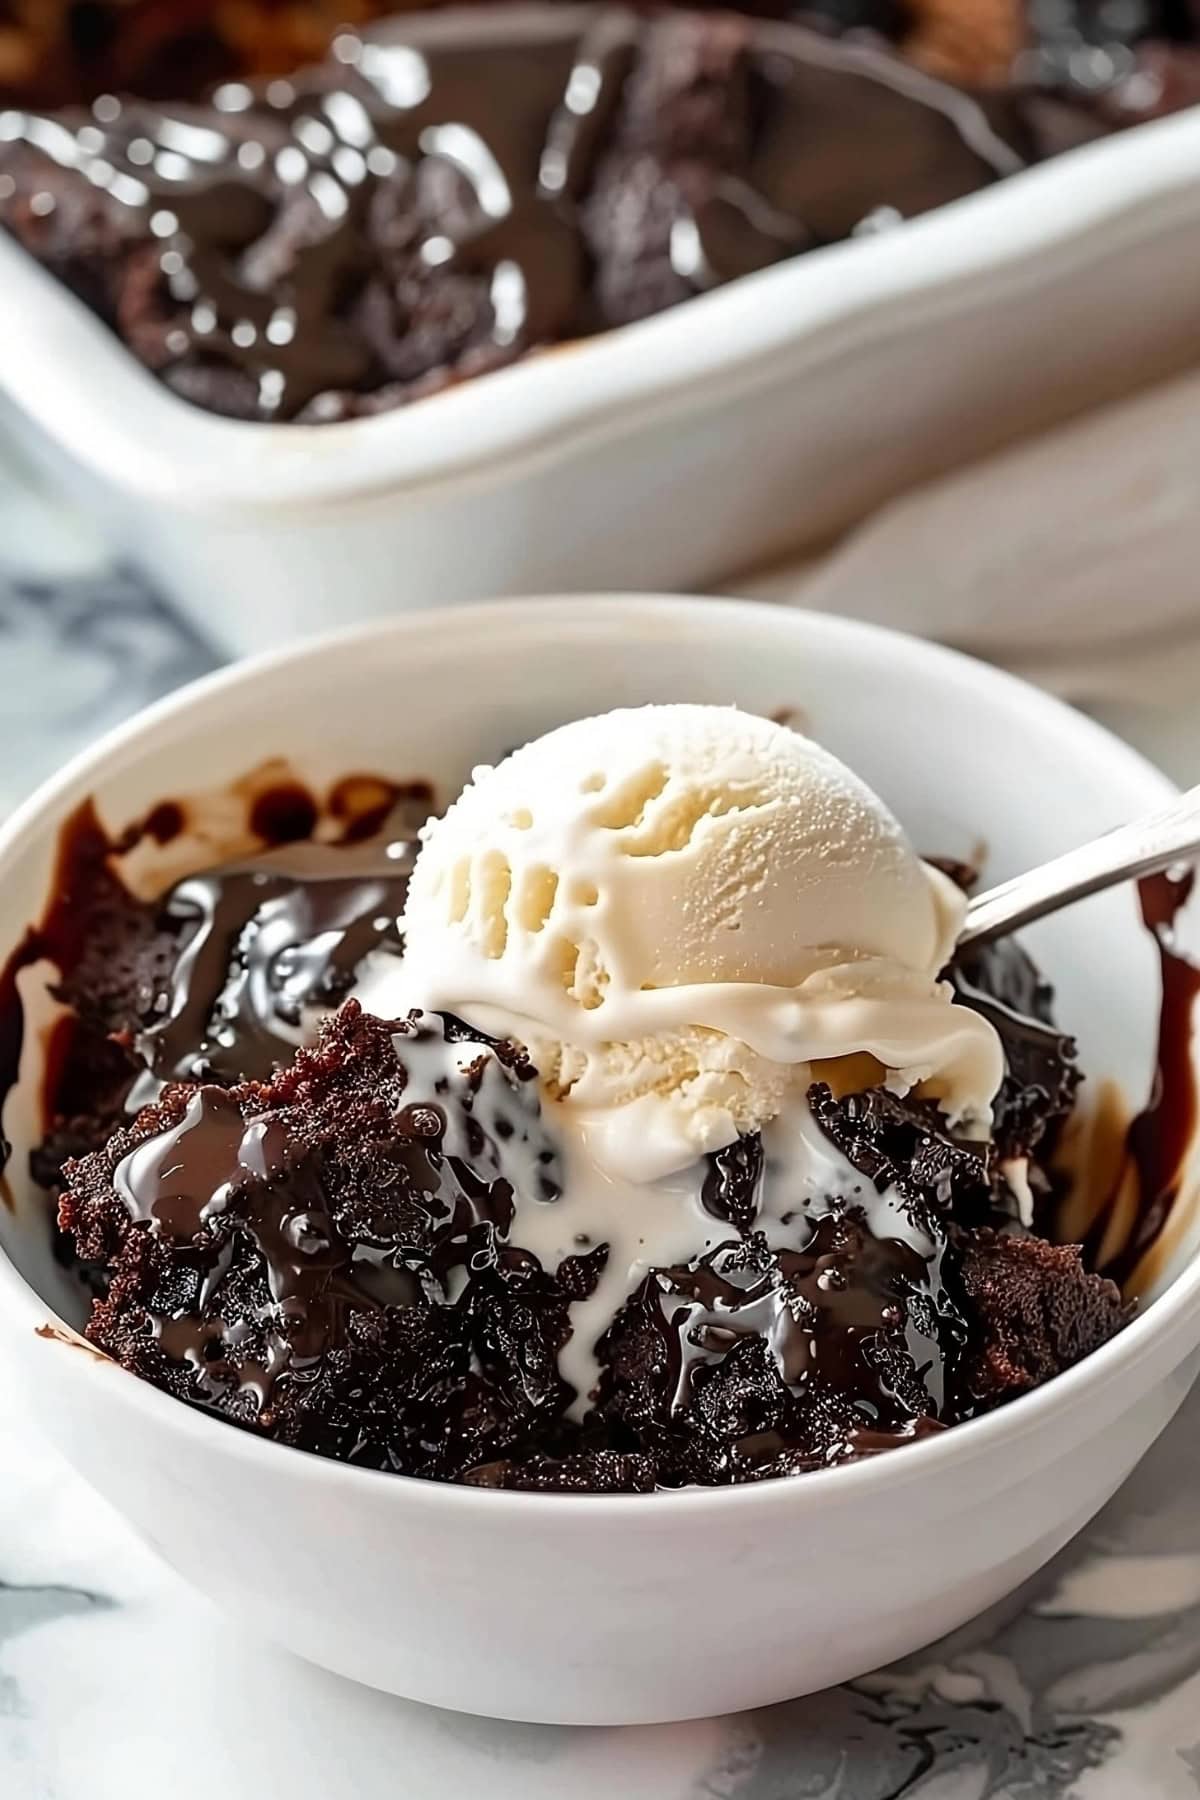
You’re not ready for the sinful indulgence of this easy hot fudge cake.
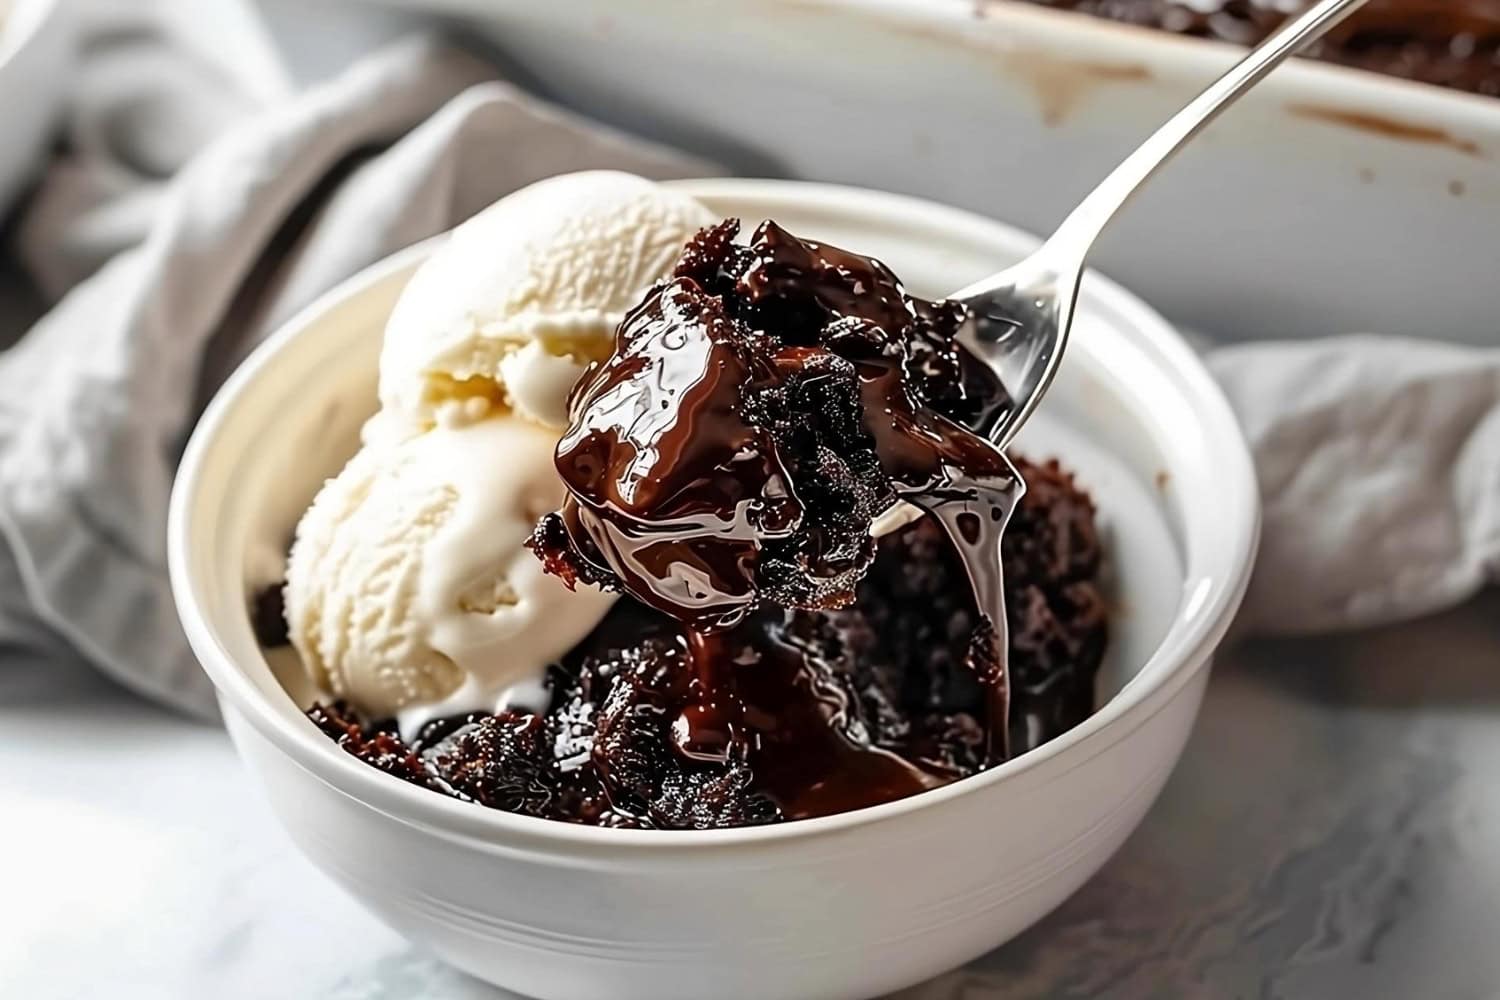
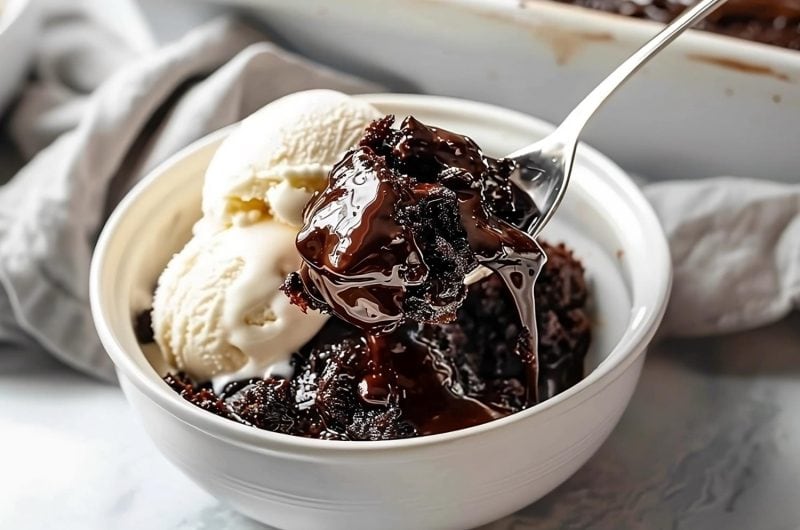
The top layer is like the best, fudgy chocolate cake you’ve ever had. Under that is a layer of thick, silky chocolate sauce you’ll want to drink right from the dish.
It’s a good thing my family loves this, too. Otherwise, I’d devour the whole thing myself!
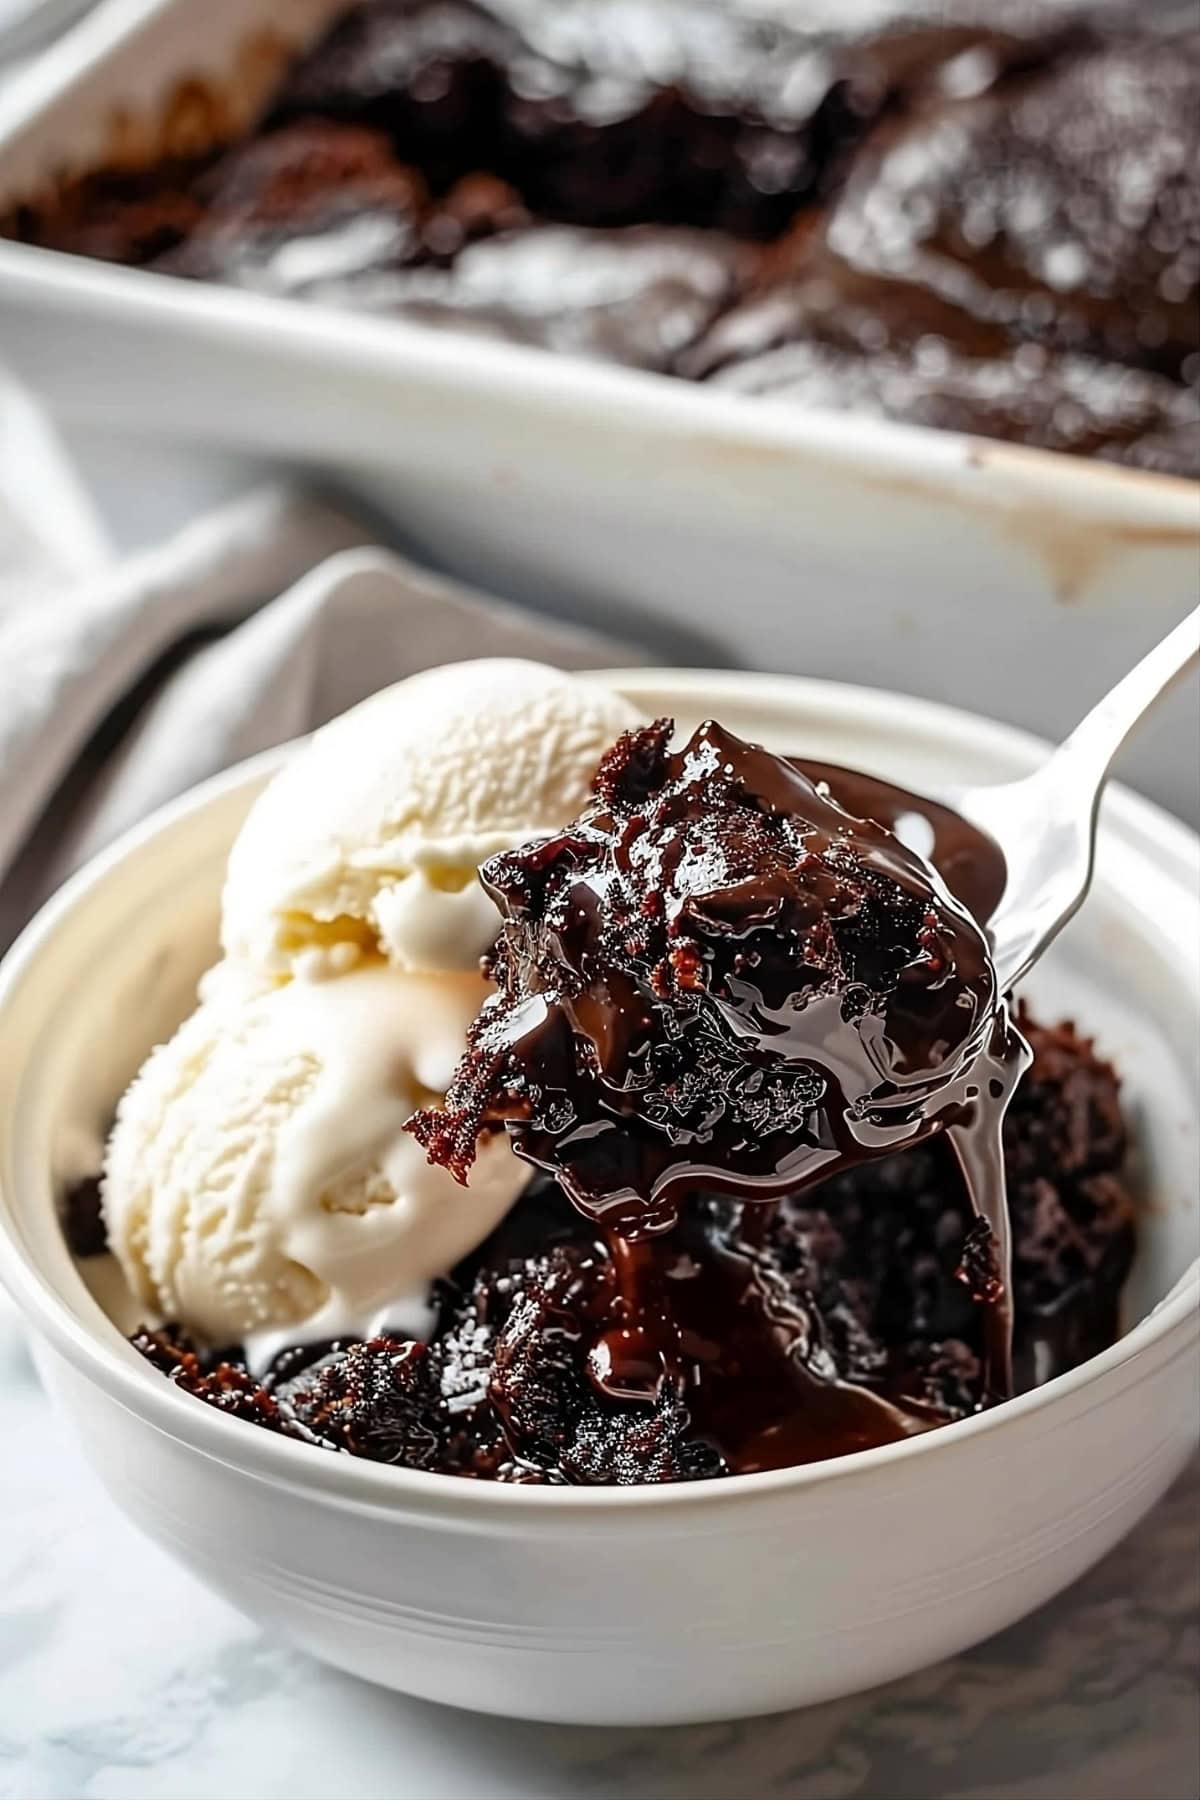
Why You’ll Love This Hot Fudge Chocolate Pudding Cake
Pantry Staples: Believe it or not, this hot fudge cake requires only pantry staples, so you can have it ready without a trip to the store. You don’t even need eggs!
Easy Crowd-Pleaser: Despite its incredible flavor, this dessert comes together in a snap. It’s a foolproof sweet treat that’s guaranteed to please a crowd.
Self-Saucing Magic: The beauty of this cake is that it creates a rich sauce as the sponge bakes. So you get an easy 2-for-1 dessert with minimal effort.
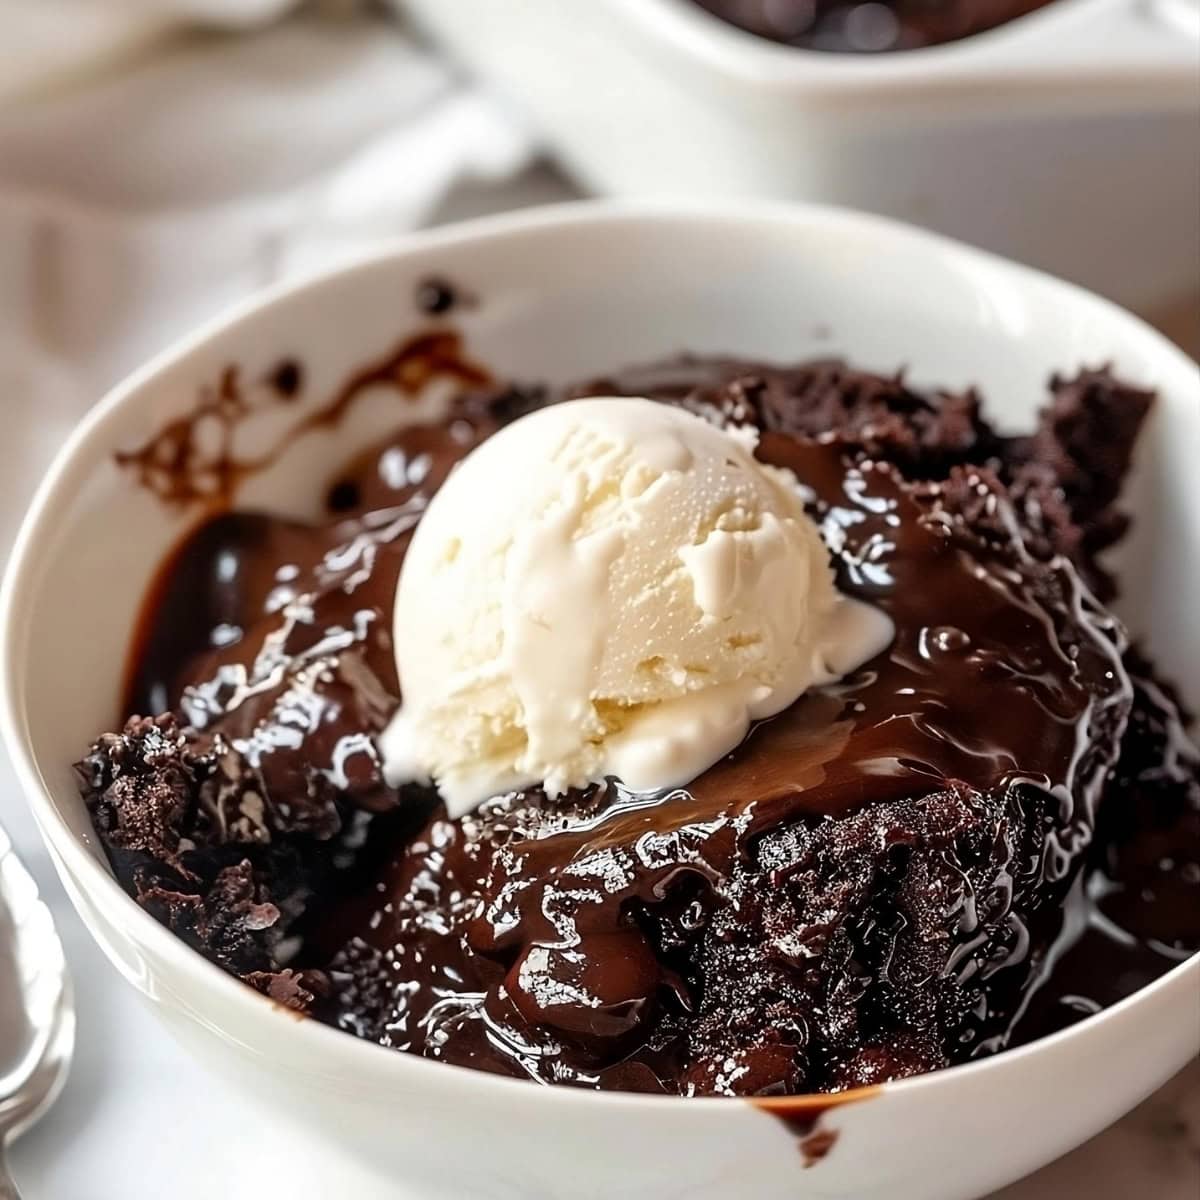
Effortless Presentation: It might not be tidy, but you can’t deny that a bowl of chocolate cake drowned in sauce is irresistible. Add some ice cream, and I think it’s more than Insta-worthy.
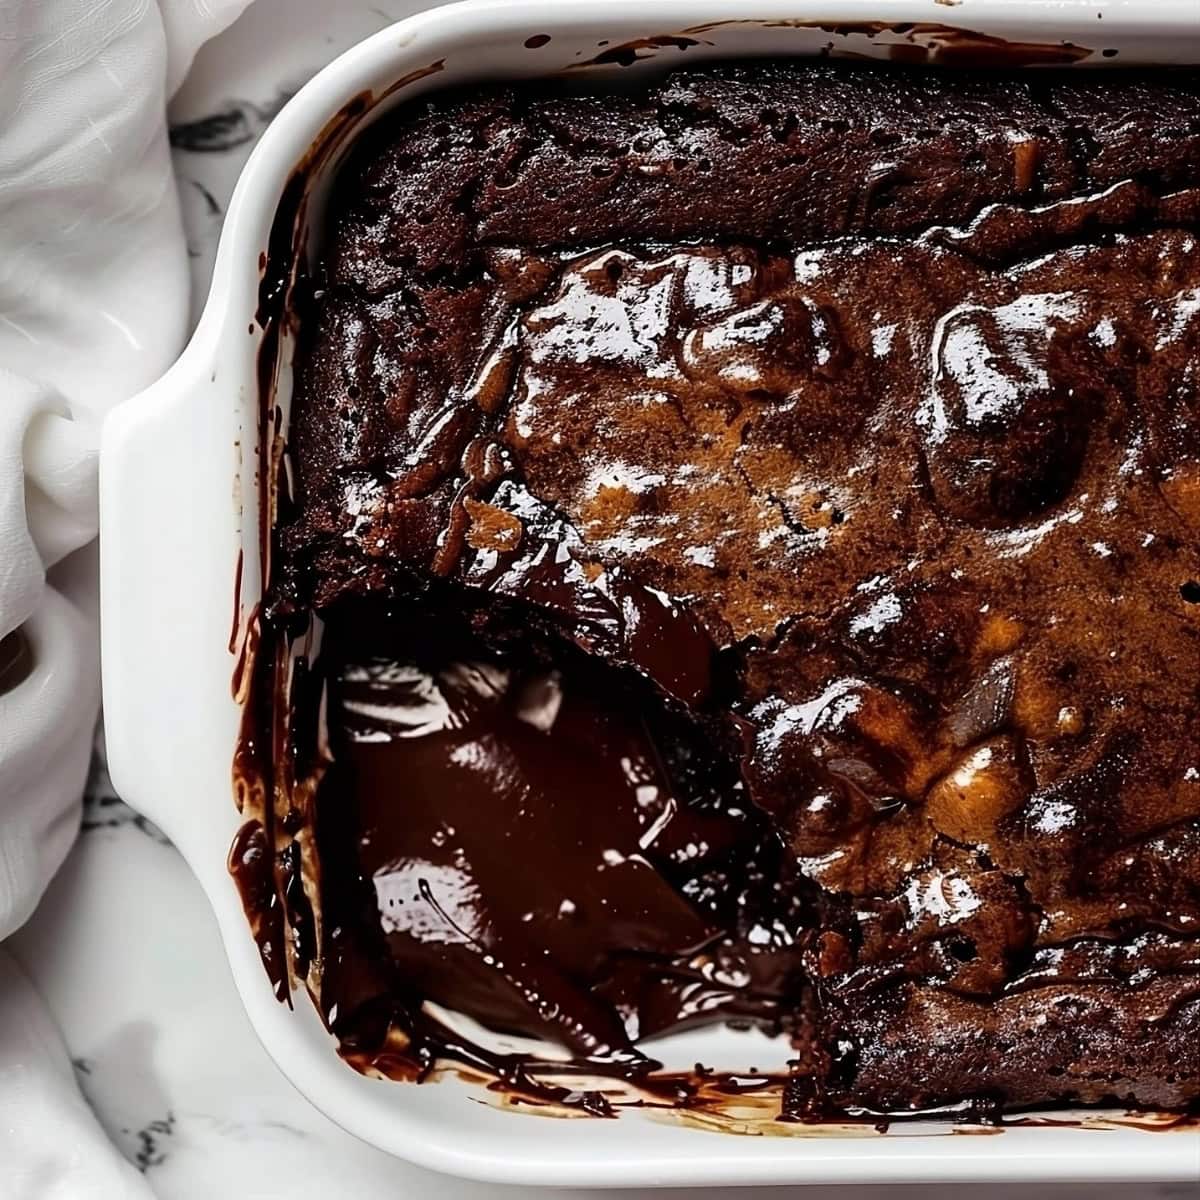
Ingredients
- All-Purpose Flour: Gives the cake structure to rise.
- Granulated and Light Brown Sugar: For sweetness. The brown sugar is only used in the sauce, making it extra fudgy.
- Unsweetened Cocoa Powder: Use dark cocoa if you like things slightly bitter. For something more mellow, go for regular unsweetened cocoa, like Hershey’s.
- Baking Powder: The leavening agent that helps the cake rise.
- Salt: To balance the bittersweet flavors.
- Milk: Adds moisture and richness.
- Vegetable Oil or Melted Butter: Essential fat to keep the cake moist.
- Vanilla Extract: A flavor booster that complements and intensifies the chocolate.
- Boiling Water: Poured over the batter, this is how you get that incredible hot fudge sauce on the bottom.
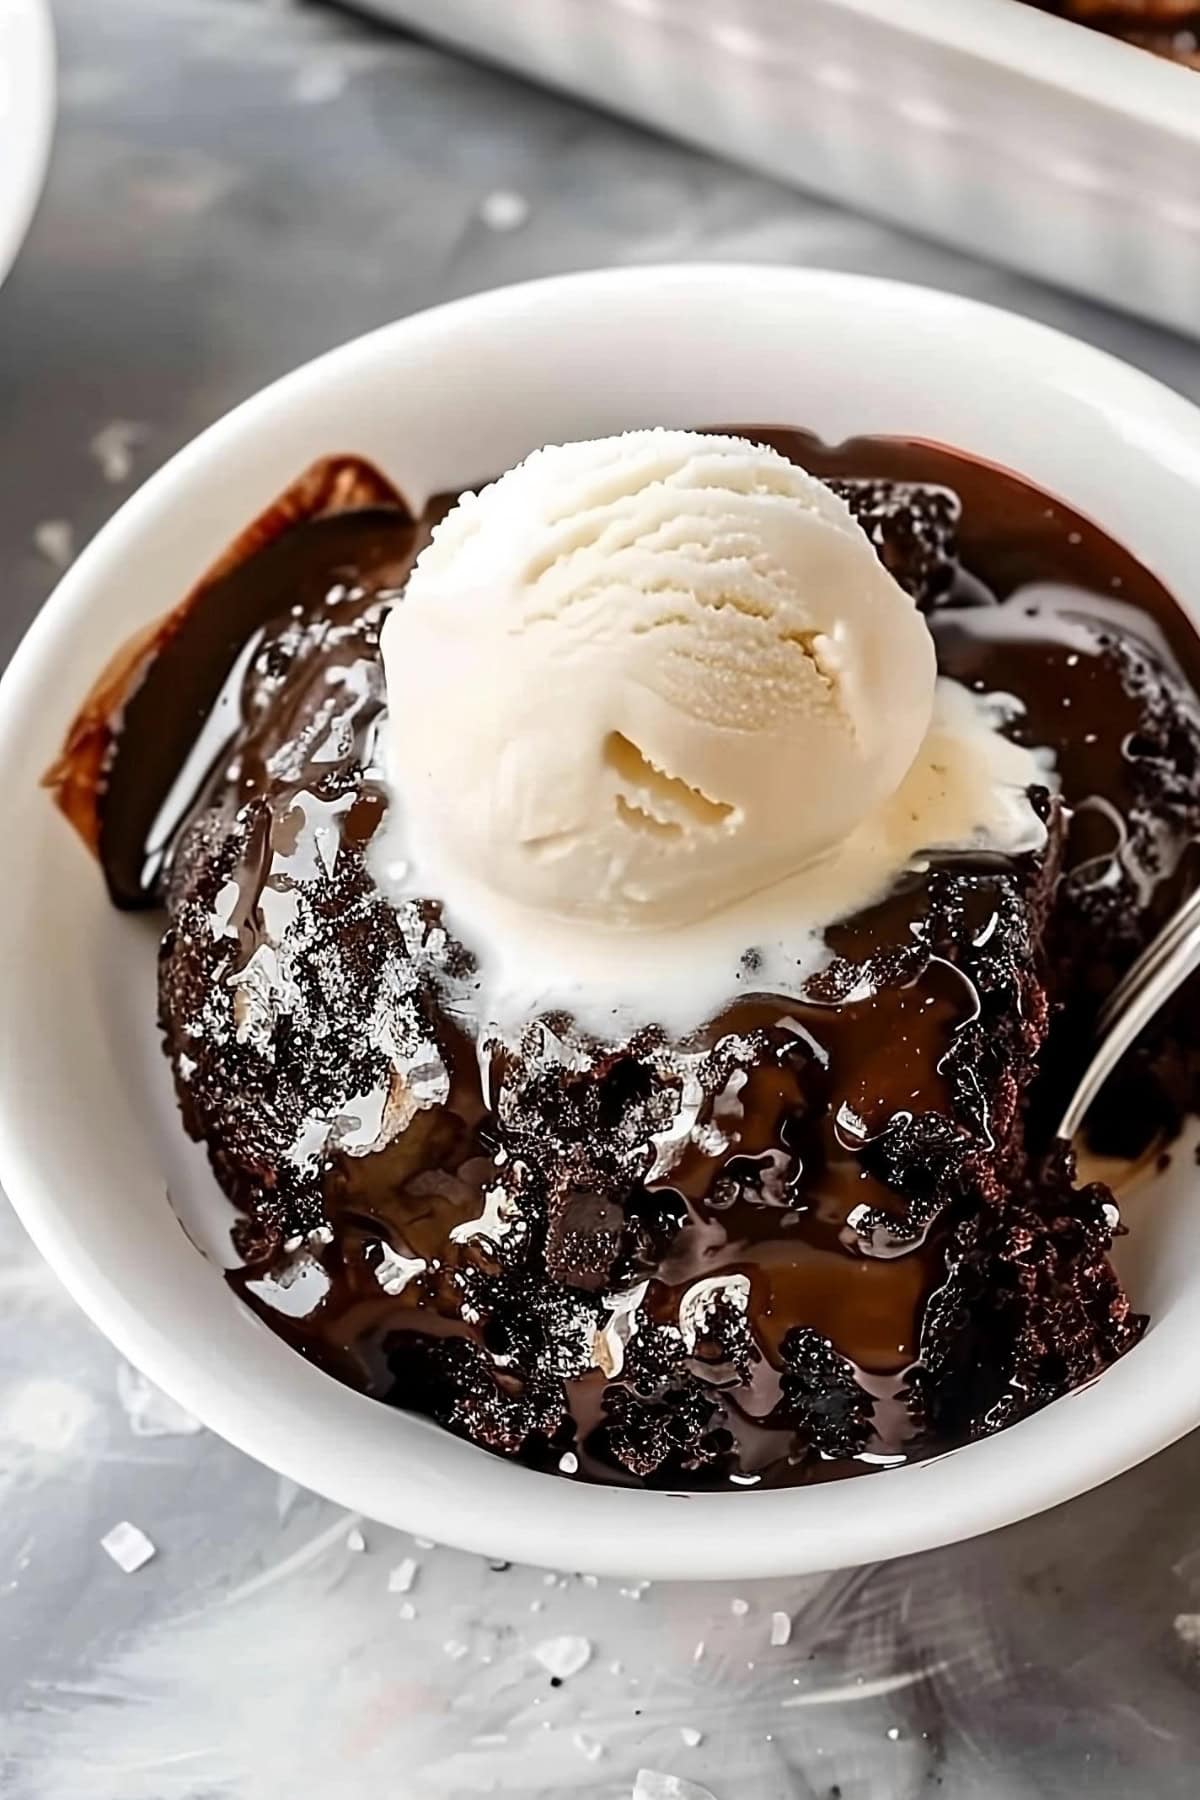
How to Make Hot Fudge Cake
Ready to see how easily this self-saucing cake comes together? Here are the steps:
1. PREP. Preheat the oven to 350°F (175°C) and grease a 9-inch square baking pan.
2. MIX. In a medium bowl, combine the dry ingredients until blended. Then, add the wet and mix gently to form a smooth, thick batter. Pour this into the baking dish.
3. TOP. Sprinkle the dry topping ingredients evenly over the batter, then drizzle just boiled water over the top. Do not stir.
4. BAKE for 35-40 minutes until the top appears set, but the bottom remains fudgy.
5. REST. Remove the cake from the oven and let it stand for 10-15 minutes. This gives the sauce time to thicken and the cake time to set properly.
6. SERVE warm with the fudgy sauce and optional vanilla ice cream.
Tips For the Best Hot Fudge Cake
Hot fudge cake, lava cake, chocolate cobbler – this dreamy dessert goes by a few names.
But no matter what you call it, the method is the same. And they’ll all benefit from a few pro tips:
- Sift the dry ingredients. This ensures a smooth batter and a more evenly baked cake.
- Don’t overmix. Stir the batter by hand with a spatula until just combined. It will be thick, that’s normal.
- Boiling water is critical. Set it to boil after you pour the batter into the pan. Then, once the kettle pops, immediately pour it over the surface.
- Avoid burns. Wear an oven glove and hold a long metal spoon over the cake pan. Very gently pour the water over the back of the spoon, being sure to move over the whole surface.
- Trust the process. The toothpick test won’t be accurate since this has thick sauce on the bottom. Instead, look for the color and texture of the cake. It should be cooked and set on top with the sauce bubbling at the sides.
- Let it rest. If you dive right in, you’ll burn your mouth, and the sauce will not be quite right. So, give it 10-15 minutes after baking.
- Serve it warm. As the name suggests, hot fudge cake is best enjoyed fresh out of the oven for the ultimate gooey experience.
- Recipe Variations. Elevate your dessert with 1-2 teaspoons of cinnamon or 1/2 cup of chocolate chips in the batter. Use hot coffee instead of plain water. Or swirl some Nutella, peanut butter, or caramel over the batter before adding the topping.
- Double the recipe. Use a 9×13-inch baking pan and add an extra 5-10 minutes to the bake time.
How to Store
As mentioned, this is best enjoyed right away while it’s warm and gooey. And I don’t think you’ll have trouble finishing it off!
But if you have leftovers, here’s what to do:
To Store: Wrap cold leftovers in plastic or transfer them to an airtight container. Keep in the fridge for up to 5 days.
To Freeze: Wrap the completely cooled cake tightly in plastic wrap and foil. Freeze for up to 3 months, thawing overnight in the refrigerator before serving.
To Reheat: Reheat individual slices in the microwave for 15-20 seconds until warm. Alternatively, warm the whole cake in a 300°F oven for 10-15 minutes.
More Decadent Chocolate Desserts to Try
Chocolate Cobbler
Chocolate Poke Cake
Chocolate Pound Cake
Chocolate Dream Cake



I’ve been making this for over 50 years and have never had a complaint. Also, so super easy and fast to make. Great for a quick last minute dessert.
I totally agree, Bonnie!
It’s one of those fuss-free treats everyone just adores 🙂