Elevate your dinner game with this quick and easy honey butter skillet corn! This side dish is totally irresistible. My family absolutely loves it!
Sweet corn is sautéed until tender. Then, it gets tossed in a honey butter cream cheese sauce. Every time I take a bite, I swoon over it!

The best part is, you can have it ready in about 15 minutes. Just toss everything together in a skillet and let the magic happen.
Why You’ll Love This Honey Butter Skillet Corn
You’ll love this corn for so many reasons:
- Irresistibly Delicious: The combination of sweet honey, rich butter, and savory cream cheese is like heaven on a plate.
- Quick and Easy: This honey butter skillet corn is a breeze to prepare. It’s perfect for busy weeknights or last-minute gatherings.
- Crowd-Pleaser: It’s a guaranteed hit at potlucks, barbecues, and family gatherings.
- Customizable Recipe: Easily adjust this recipe by adjusting the sweetness or adding a kick of heat.
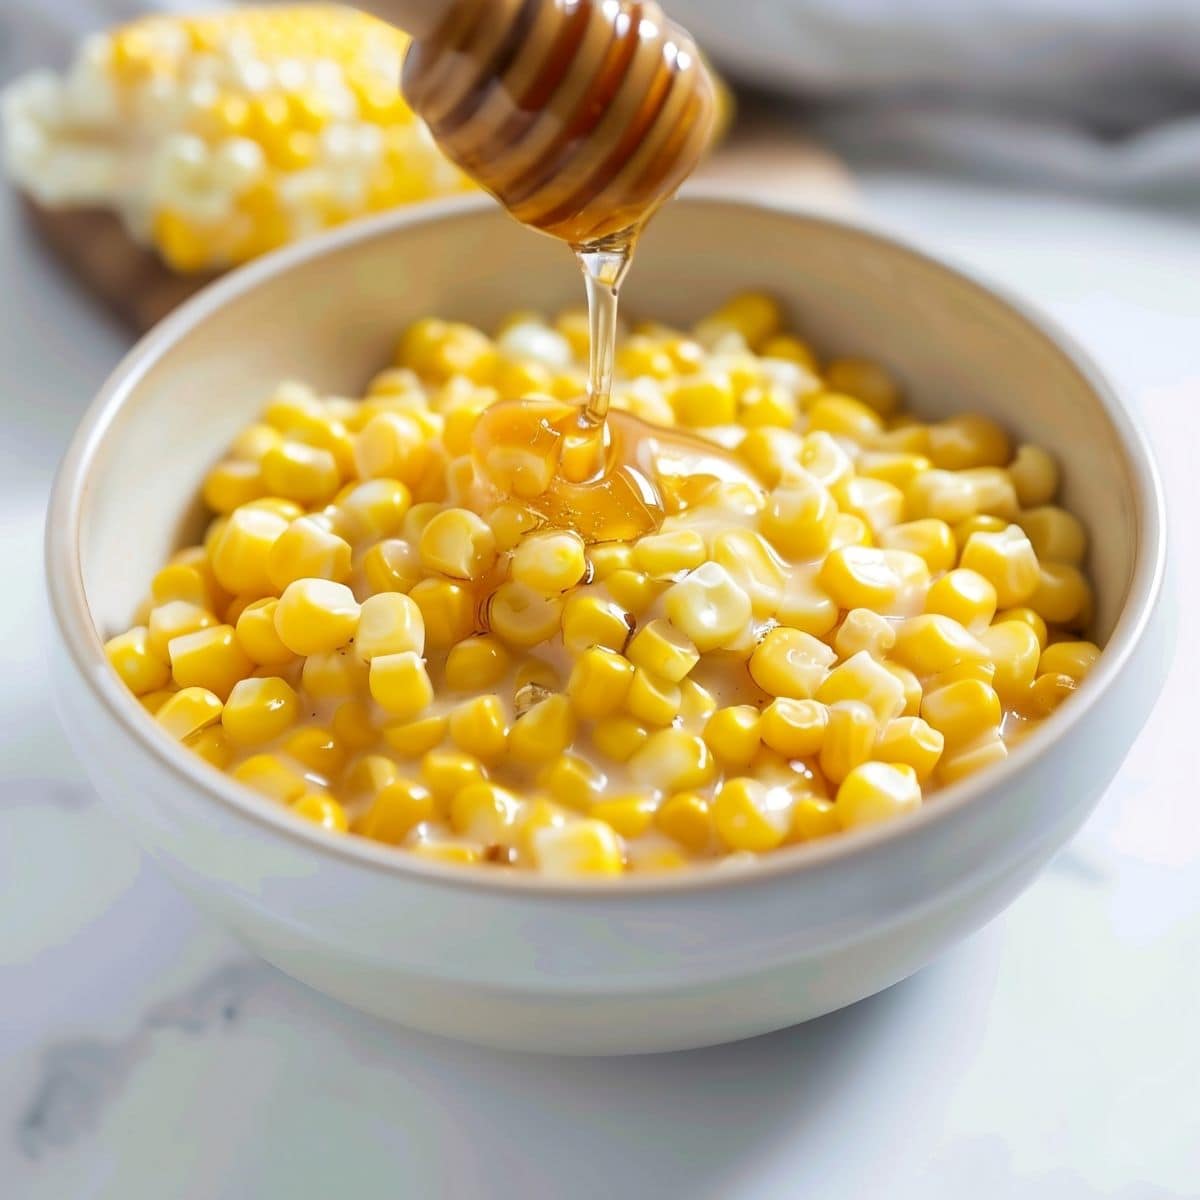
Ingredients
You only need five ingredients to whip up this tasty dish:
- Frozen Corn: The star of the show! It brings a sweet, juicy flavor and a satisfying crisp texture.
- Salted Butter: It provides a rich, savory base and helps the flavors meld together.
- Honey: The natural sweetener caramelizes the corn.
- Cream Cheese: It melts into the mix, creating a luscious, creamy sauce.
- Salt and Pepper: The perfect seasoning duo for any dish!

How to Make Honey Butter Skillet Corn
You can have this corn ready in a few easy steps:
- Melt the butter. In a large skillet, melt the butter and honey over medium-high heat, stirring until combined.
- Cook the corn. Add the frozen corn to the skillet and cook for 5-8 minutes. Stir occasionally until heated through and any liquid has evaporated.
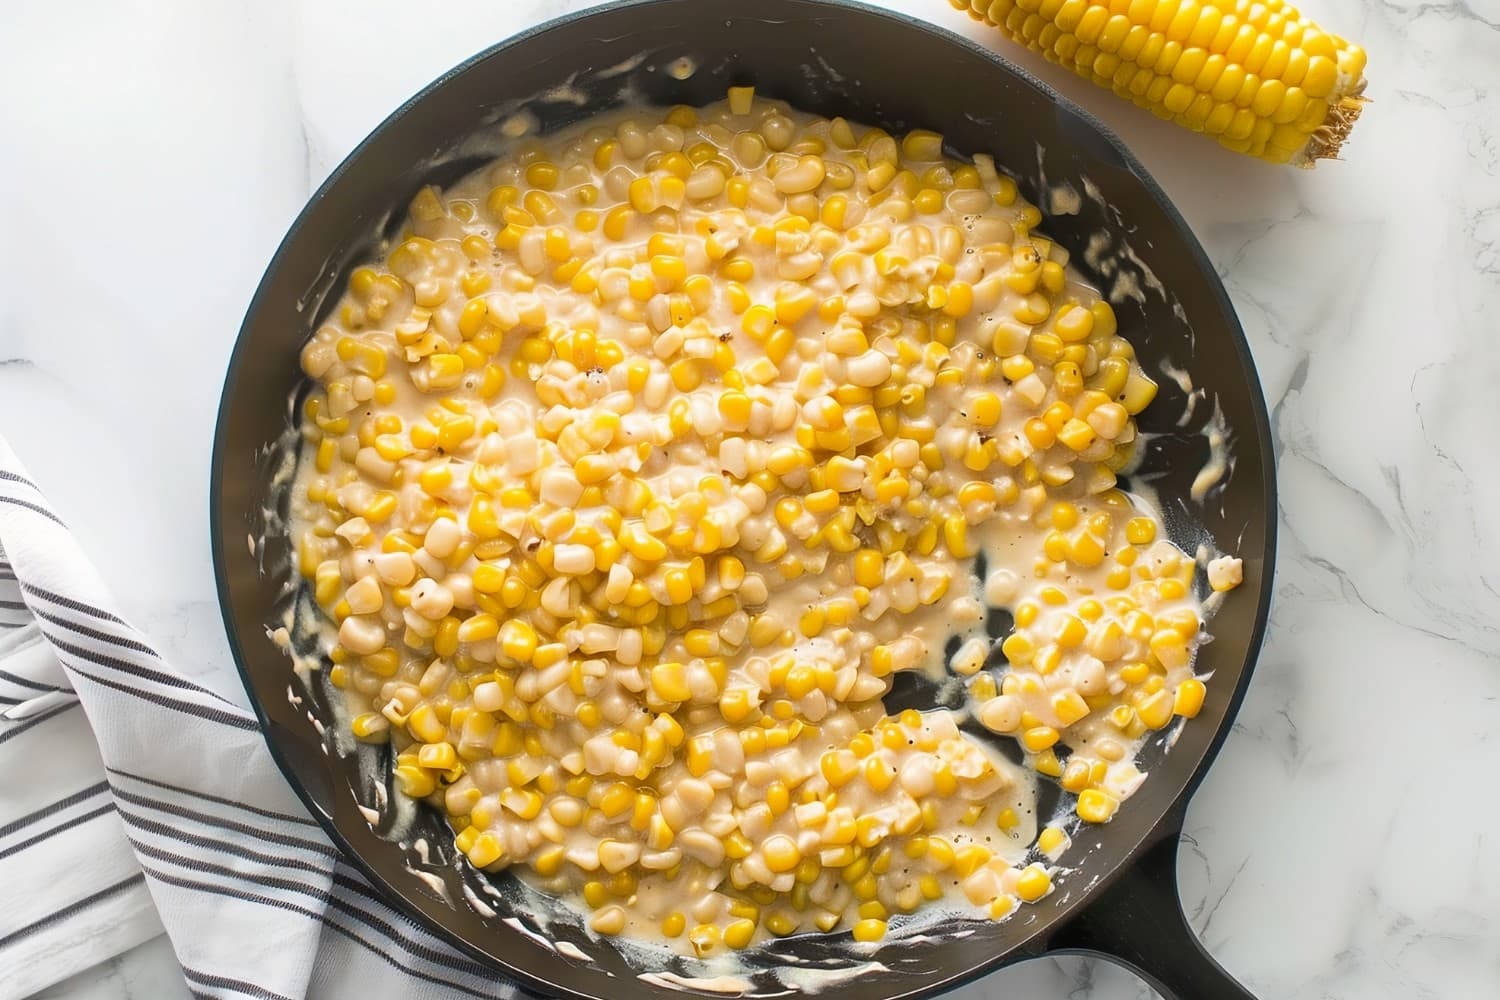
- Add the cream cheese. Cut the cream cheese into small chunks and add to the skillet along with salt and pepper. Continue cooking and stirring for 3-5 minutes until the cream cheese is melted and the mixture is creamy.
- Serve hot. Taste and adjust seasoning if needed. Serve the honey butter skillet corn immediately while hot.

Tips For the Best Honey Butter Skillet Corn
This corn is so easy, but these tips make it even better:
- Choose your corn. You can use frozen, canned (drained), or fresh corn kernels cut off the cob for this recipe.
- Butter it up. Use salted butter for the best flavor. If using unsalted, you may need to add a bit more salt to taste.
- Select your sweetness. Adjust the amount of honey to make the corn sweeter.
- Be generous! Don’t forget to season with salt and pepper to really make the flavors pop.
- Have fun and experiment. Add chopped jalapenos or red pepper flakes for heat or grated Parmesan for cheesiness. You can also toss in fresh herbs like parsley or chives for color and flavor.

How to Store
I served this last weekend with my favorite chicken and biscuit casserole, and there wasn’t a kernel left.
But if you have leftover corn, keep it fresh with these tips:
To Store: Allow the corn to cool completely, then transfer to an air-tight container. Store in the refrigerator for up to 3-4 days.
To Reheat: Place the desired amount of corn in a microwave-safe dish and heat for 30-60 seconds. Stir halfway through until heated through. Or, reheat the corn in a skillet over medium heat. Stir occasionally until warmed through.






Mmmmm looks great! What size bag of frozen corn?
Hi, John!
A 16-ounce bag should work perfectly. I’ll update the recipe to reflect that. 🙂
can this be frozen?
Hi, Lori!
So, technically, yes, you could freeze this corn. However, it’s texture won’t be the same.
Here are the freezing instructions if you want to try it, though. (It should still taste pretty good. The texture just may be slightly off.)
1. Allow the corn to cool to room temperature after cooking. This helps prevent condensation and ice crystals from forming in the container.
2. If desired, divide the corn into smaller portions. This makes it easier to thaw only what you need later.
3. Transfer the cooled corn into airtight containers or freezer-safe bags. If using bags, squeeze out as much air as possible before sealing to prevent freezer burn.
4. Freeze for up to 3 months. 🙂