


Recreate the Girl Scout cookies experience with these homemade Tagalong cookies! They're my latest obsession. Even though they take a bit of extra prep, they're well worth the effort!
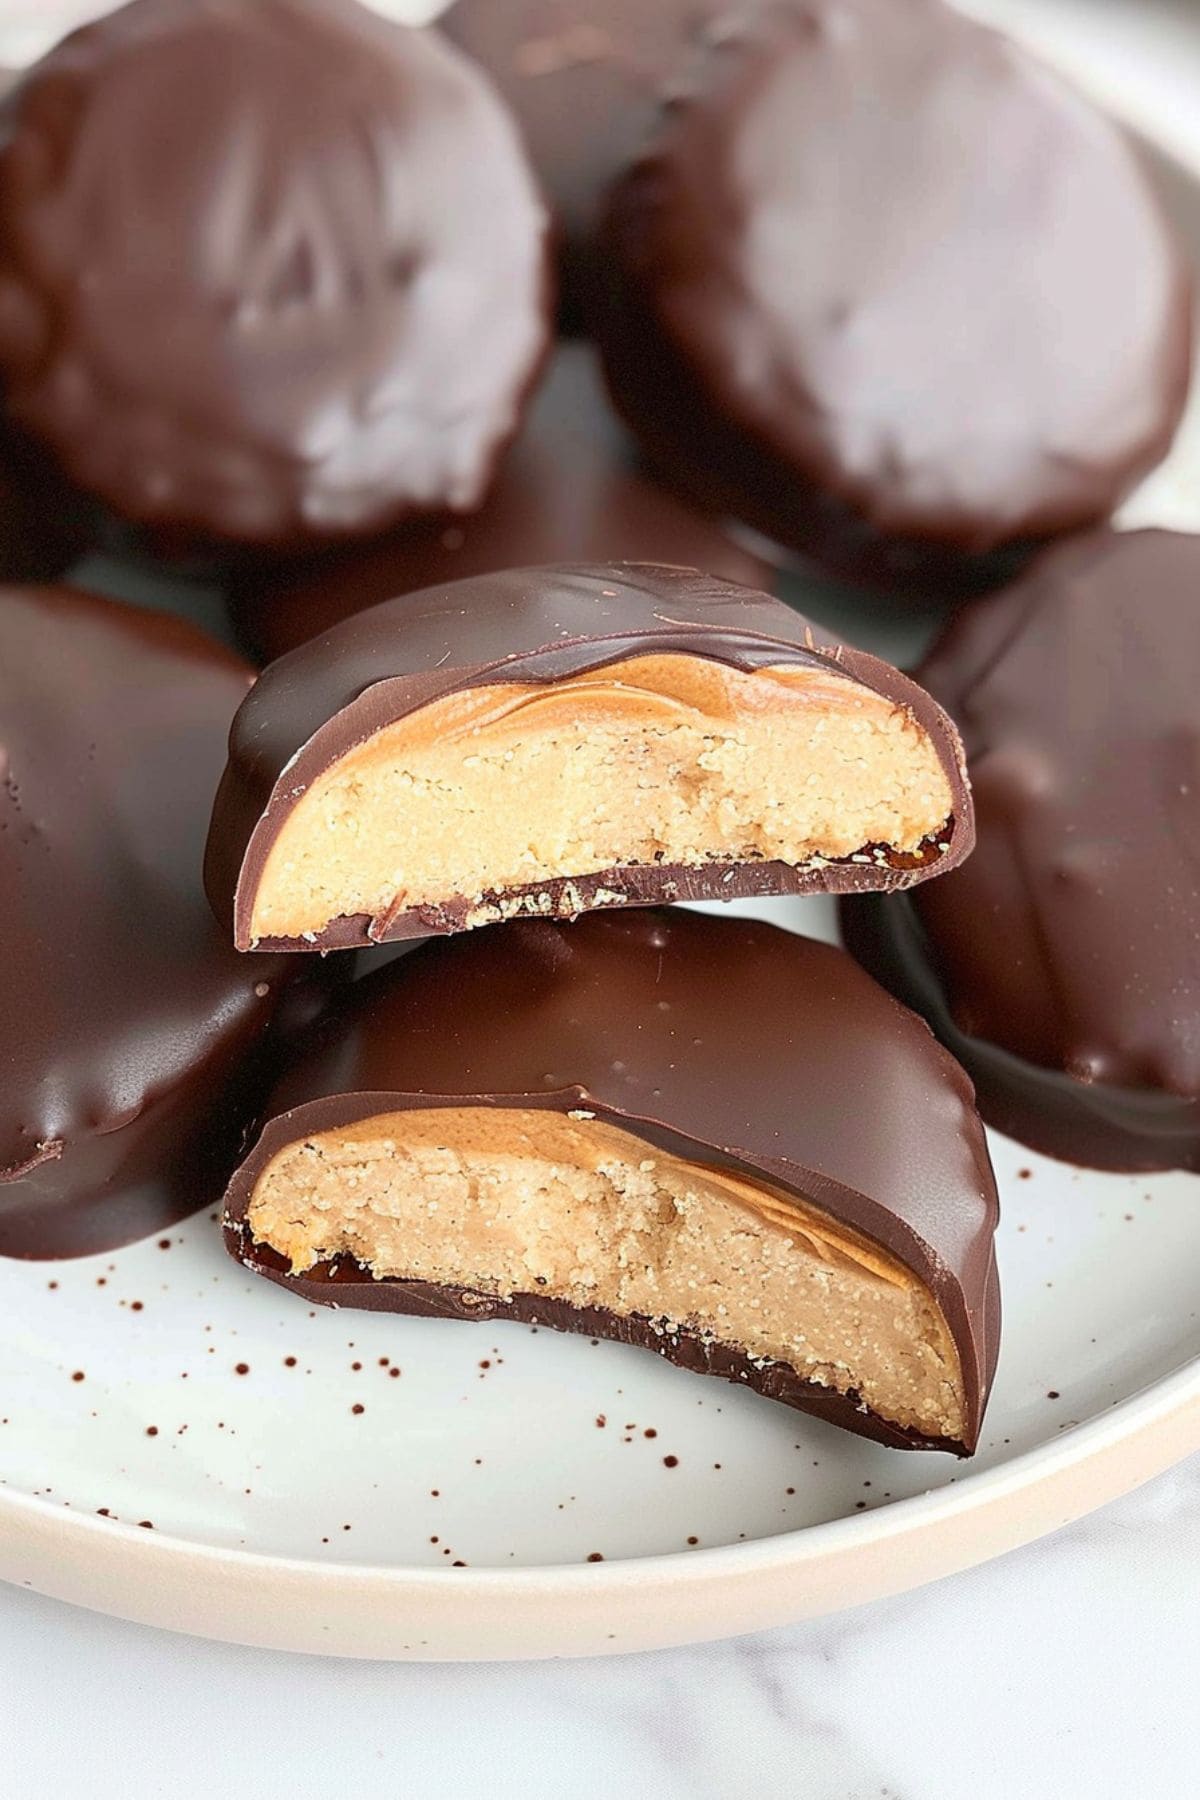
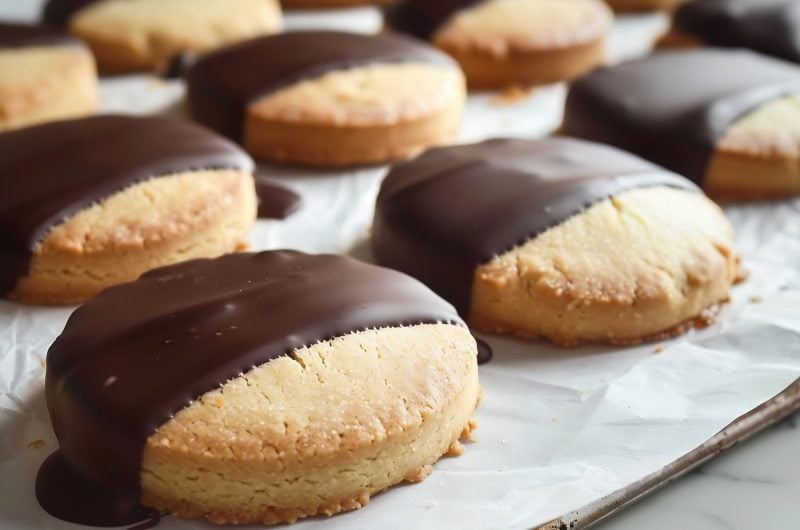
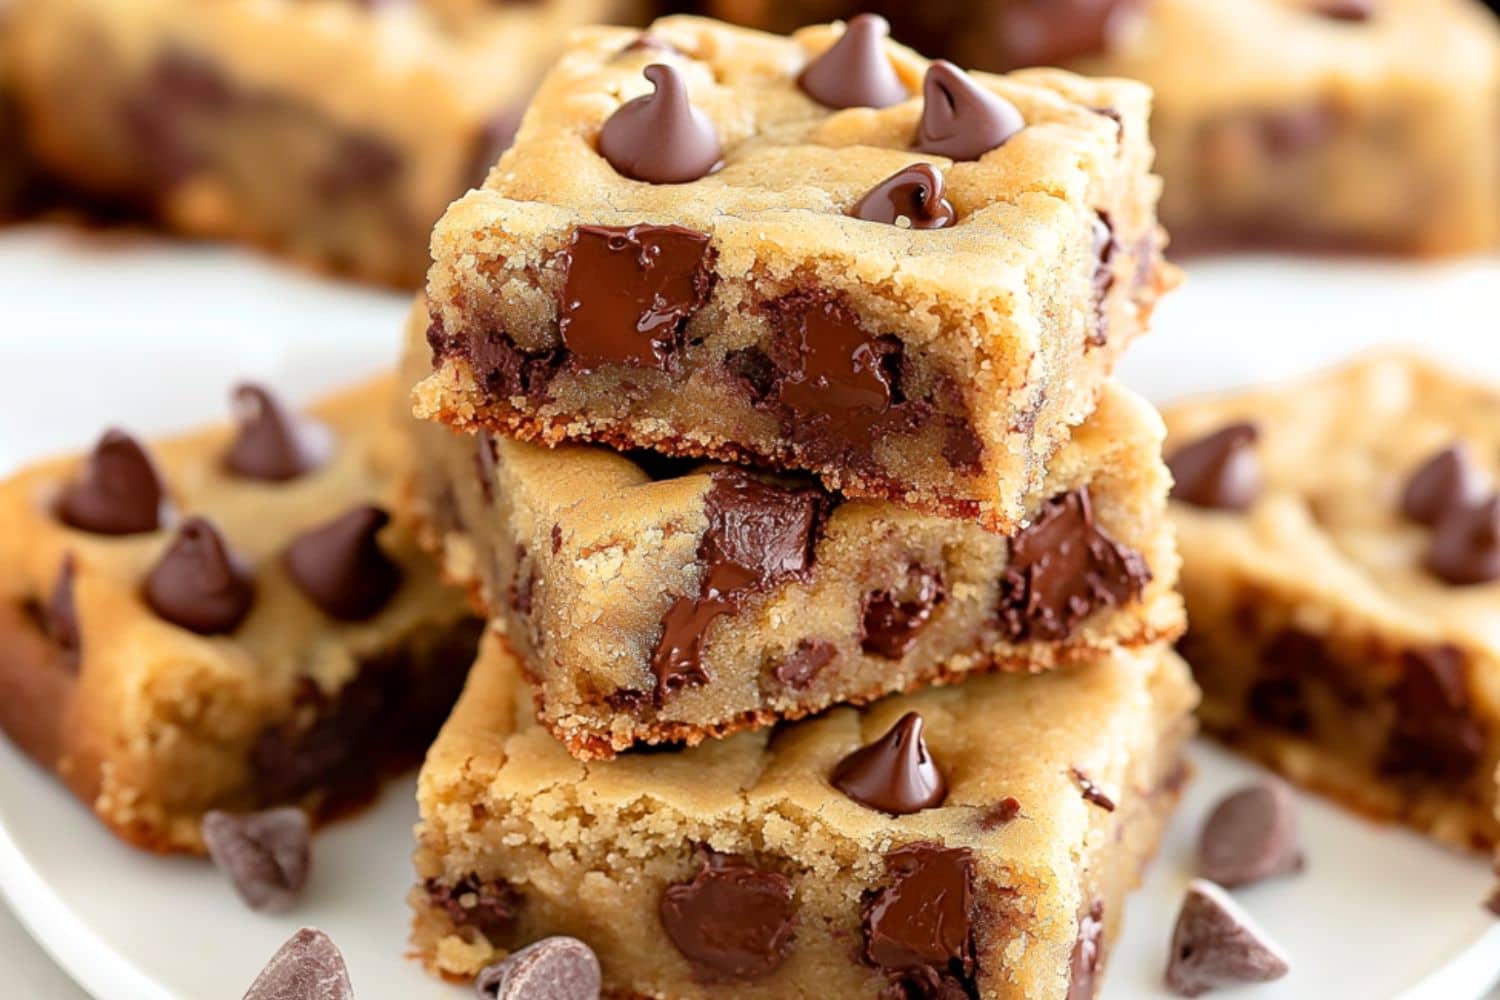
Picture this: buttery shortbread topped with sweet, creamy peanut butter and then completely drenched in silky chocolate.
Each bite is a little crunchy, a little creamy, perfectly sweet, and unapologetically indulgent.
Go ahead and treat yourself. You deserve a little chocolate-covered joy today!
WANT TO SAVE THIS RECIPE?
Why You'll Love These Homemade Tagalong Cookies
DIY Girl Scout Favorite: These homemade cookies capture the beloved taste of Girl Scouts Tagalongs but allow you to enjoy them year-round, not just during cookie season.
Ultimate Flavor: With a buttery shortbread base, creamy peanut butter filling, and a luscious chocolate coating, these cookies deliver an indulgent and irresistible combination of textures and tastes.
Make-Ahead: These cookies can be made in advance and stored for up to two weeks. They improve in texture as the layers meld together over the first few days.
Perfect for Gifting: These homemade Tagalongs look professionally made, making them an impressive (and delicious) gift for holidays, parties, or special occasions.

Ingredients
- Unsalted Butter: It ensures the sweet profile of the shortbread base isn't overshadowed by salt.
- Granulated Sugar: It adds sweetness and contributes to the light, fluffy texture of the shortbread dough through creaming with butter.
- Vanilla Extract: It infuses a subtle, aromatic flavor that enhances the overall taste of the shortbread cookies.
- All-Purpose Flour: It provides structure and a tender crumb to the shortbread cookies.
- Salt: It balances sweetness and enhances flavor, preventing the cookies from tasting flat.
- Creamy Peanut Butter: The smooth texture and nutty flavor create a delicious contrast to the crisp shortbread and rich chocolate.
- Powdered Sugar: It's mixed with peanut butter to form a sweet, spreadable filling.
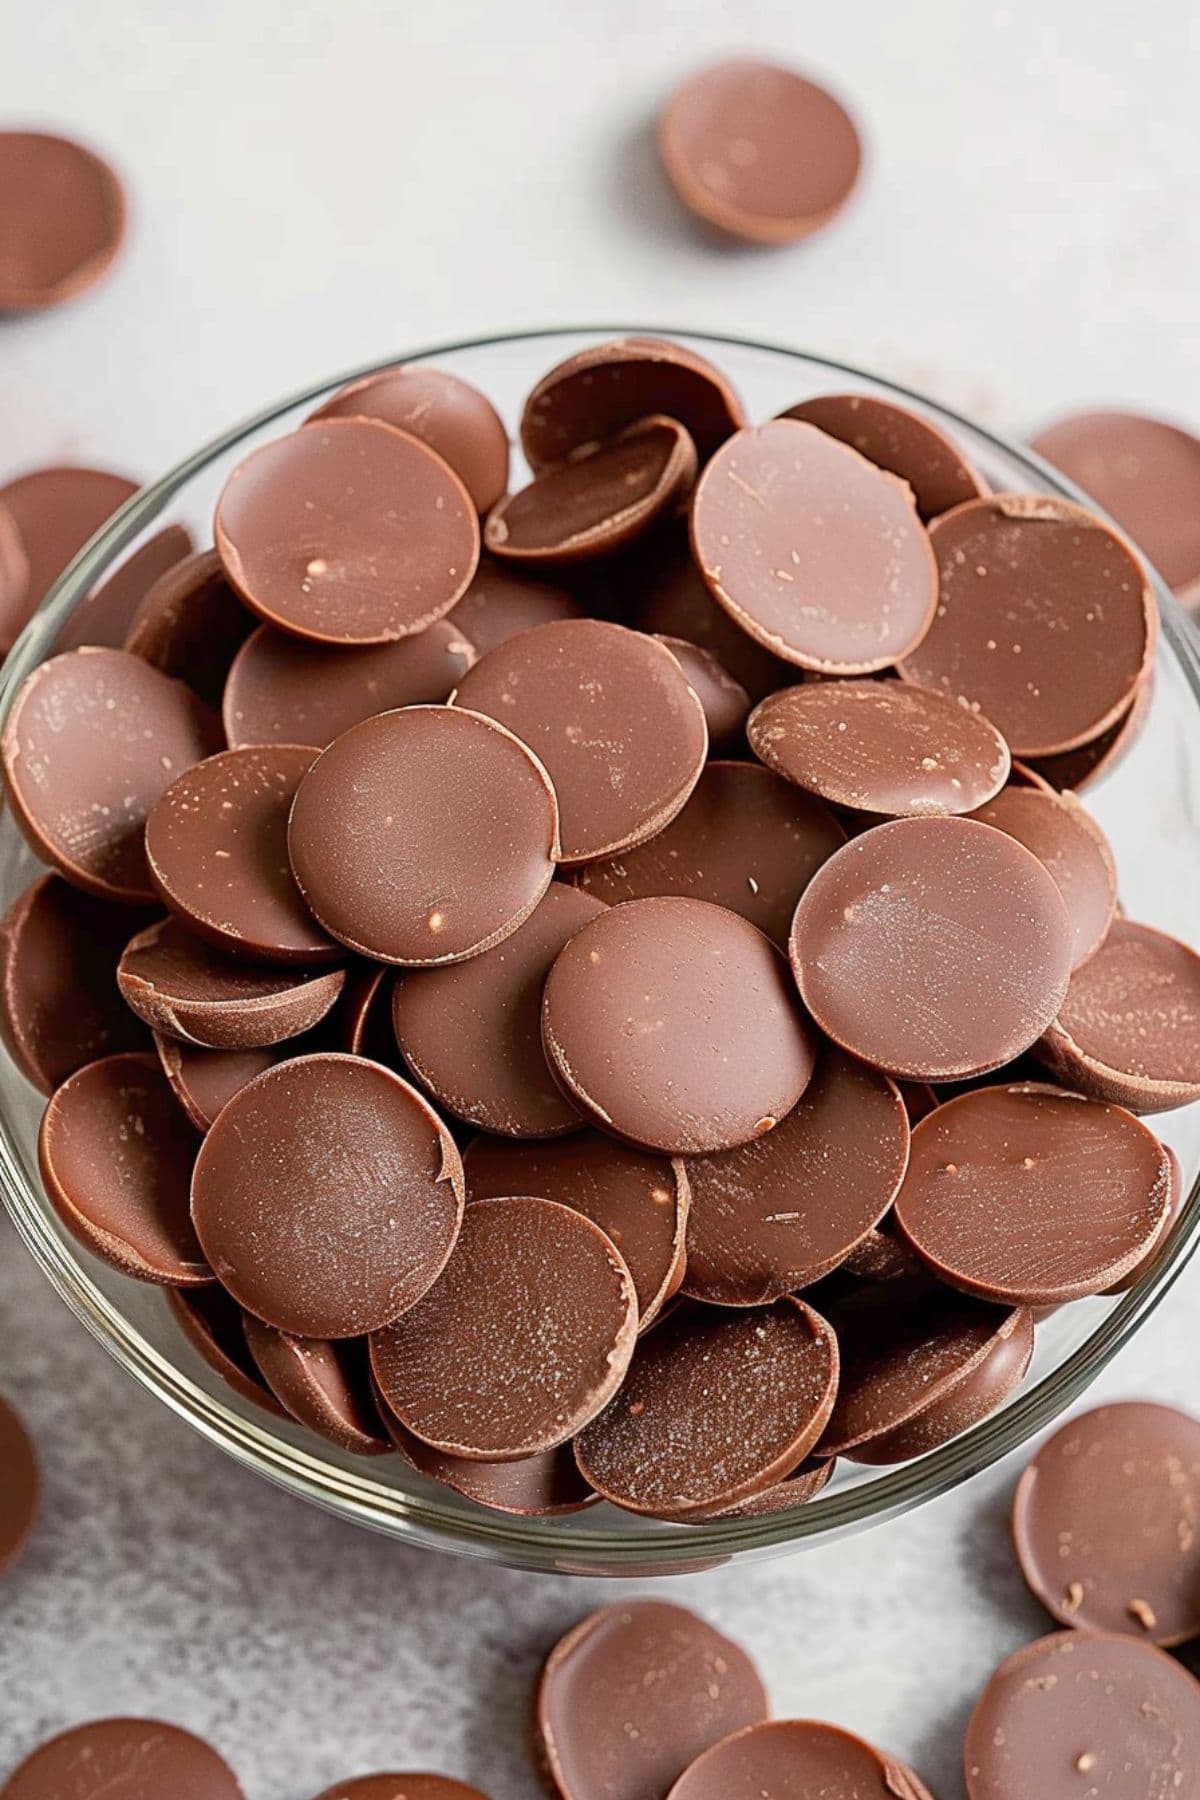
- Chocolate Melting Wafers: They melt easily for a smooth, uniform coating, giving Tagalongs their iconic chocolate envelopment.

How to Make Homemade Tagalong Cookies
As I said, these cookies take some effort, but you'll love the end result!
1. Prep. Preheat your oven to 350°F and line a baking sheet with parchment paper.
2. Combine the wet ingredients. In a large mixing bowl, cream together the butter and sugar until light and fluffy. Mix in the vanilla extract.
3. Add the dry ingredients. Gradually add the flour and salt, mixing until just combined. The dough will be soft.
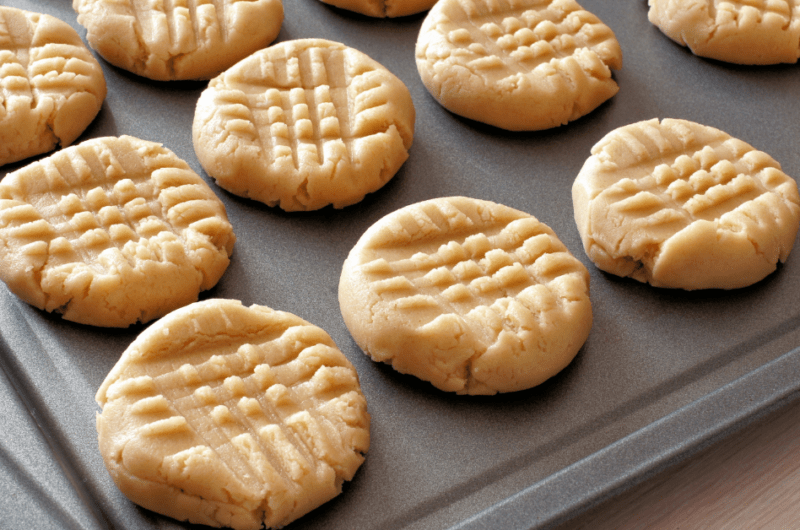
4. Roll and cut. Roll the dough to about 1/4-inch thickness between two sheets of parchment paper. Use a round cookie cutter (about 2 inches in diameter) to cut out circles.
5. Bake. Place the cookies on the prepared baking sheet, about 1 inch apart. Gather scraps, re-roll, and cut as needed. Bake for 10–12 minutes or until the edges are lightly golden. Let the cookies cool completely on a wire rack.
6. Make the peanut butter filling. In a small bowl, mix the peanut butter and powdered sugar until smooth and well combined. Scoop about 1 teaspoon of the peanut butter mixture and roll it into a small ball. Flatten slightly to form a disc. Place a peanut butter disc on top of each cooled shortbread cookie, gently pressing it down to adhere.
7. Freeze the cookies. Once all the peanut butter discs are placed on the cookies, arrange them on a baking sheet. Place the cookies in the freezer for 8–10 minutes or until the peanut butter filling is firm to the touch.
8. Coat in chocolate. Melt the chocolate melting wafers in a microwave-safe bowl in short 20–30 second intervals, stirring after each interval, until smooth and fully melted. Using a fork or dipping tool, dip each chilled cookie into the melted chocolate, ensuring the entire surface is coated.
9. Set. Place the coated cookies back on the parchment-lined baking sheet. Let the chocolate-coated cookies set at room temperature or refrigerate them for about 15 minutes until the chocolate is fully hardened.

Tips for the Best Homemade Tagalong Cookies
Follow these simple tips for the true Girl Scouts experience.
- Don’t skip the parchment paper! Lining your baking sheet with parchment paper keeps the cookies from sticking and makes cleanup much easier.
- Soften up the butter. Ensure the butter for the shortbread base is fully softened to room temperature for easy mixing and a tender cookie texture.
- Stick with smooth PB. Natural peanut butter is too oily and can actually dry out the filling, making it crumbly. So, use regular creamy peanut butter for the best taste and texture.
- Let the dough chill. If your dough becomes too soft or sticky to roll, refrigerate it for 15–20 minutes to make it easier to handle.
- Even thickness is key. Roll the shortbread dough uniformly to 1/4-inch thickness to ensure all cookies bake evenly and maintain a smooth appearance.
- Be careful. Melt the wafers in 20–30-second intervals, stirring between each, to prevent scorching and ensure a silky consistency.
How to Store
Keep your Tagalongs fresh with these tips.
To Store: Place the cookies in an air-tight container with parchment paper between layers and store at room temperature for up to 5 days. For longer storage, keep them in an airtight container in the refrigerator for up to 2 weeks.
To Freeze: Let cookies cool completely, then place them in a freezer-safe container with parchment paper between layers and freeze for up to 3 months. When ready to enjoy, thaw frozen cookies at room temperature for about 30 minutes.
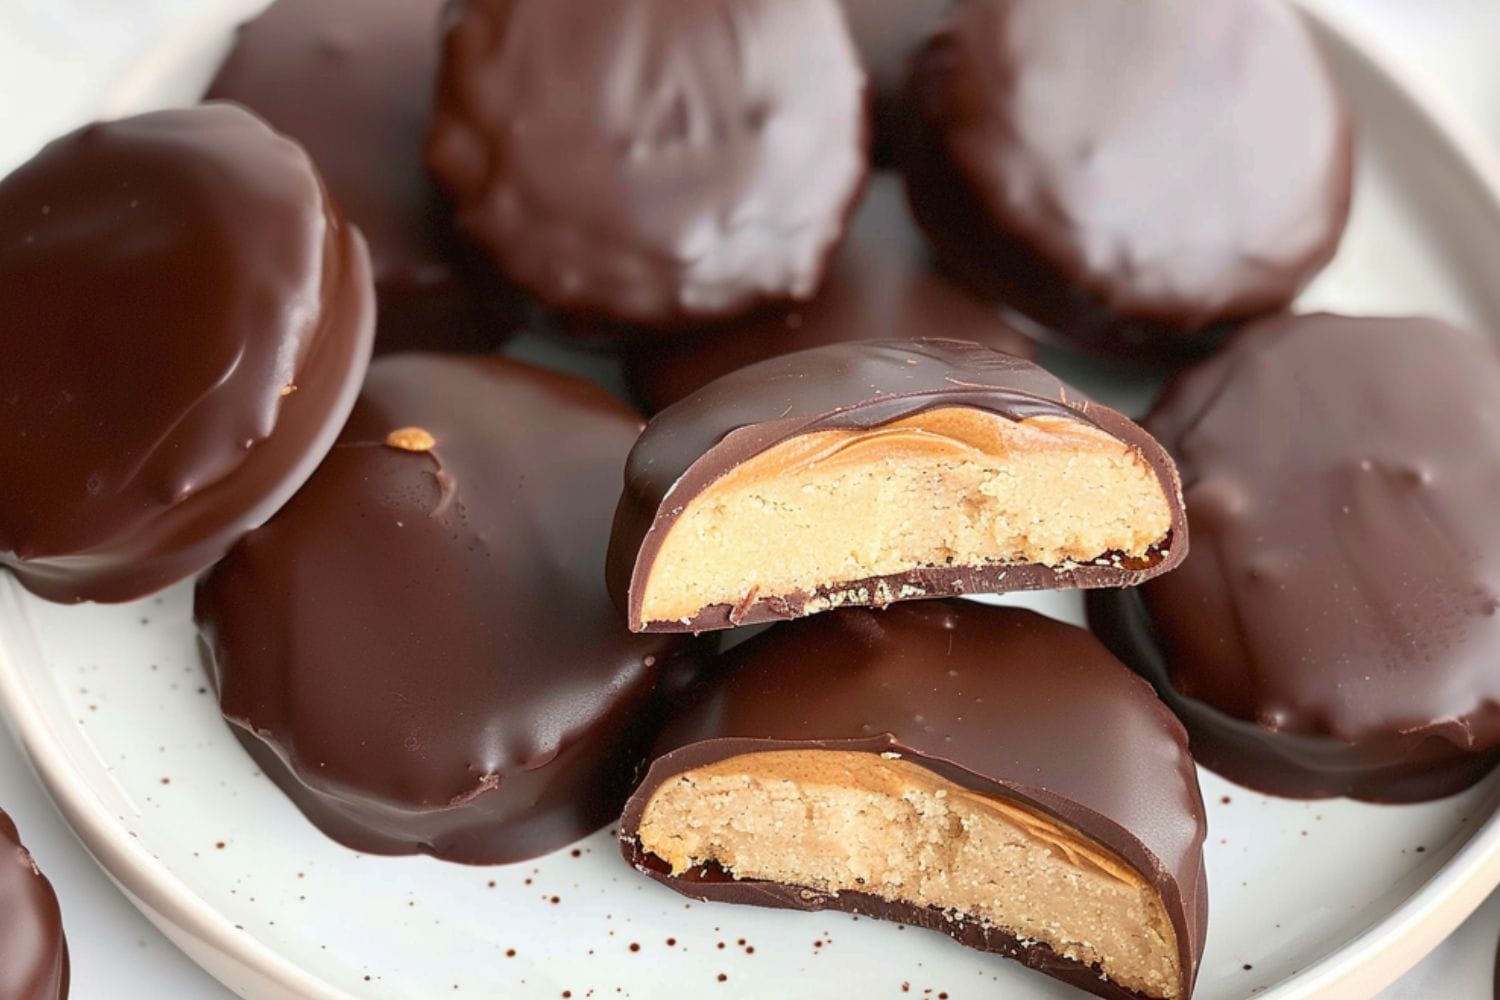
Homemade Tagalong Cookies
These homemade Tagalong cookies are just like the Girl Scouts recipe! Savor the flavors of peanut butter and chocolate in this classic treat.
24
servings45
minutes12
minutes283
kcalIngredients
- For the Shortbread Base
1 cup (2 sticks) unsalted butter, softened
1/2 cup granulated sugar
1 teaspoon vanilla extract
2 cups all-purpose flour
1/4 teaspoon salt
- For the Peanut Butter Filling
1 cup creamy peanut butter
1/2 cup powdered sugar
- For the Chocolate Coating
2 bags chocolate melting wafers (semisweet or milk chocolate)
Instructions
- Preheat your oven to 350°F and line a baking sheet with parchment paper.
- In a large mixing bowl, cream together the butter and sugar until light and fluffy. Mix in the vanilla extract.
- Gradually add the flour and salt, mixing until just combined. The dough will be soft.
- Roll the dough to about 1/4-inch thickness between two sheets of parchment paper. Use a round cookie cutter (about 2 inches in diameter) to cut out circles.
- Place the cookies on the prepared baking sheet, about 1 inch apart. Gather scraps, re-roll, and cut as needed. Bake for 10–12 minutes or until the edges are lightly golden. Let the cookies cool completely on a wire rack.
- In a small bowl, mix the peanut butter and powdered sugar until smooth and well combined. Scoop about 1 teaspoon of the peanut butter mixture and roll it into a small ball. Flatten slightly to form a disc. Place a peanut butter disc on top of each cooled shortbread cookie, gently pressing it down to adhere.
- Once all the peanut butter discs are placed on the cookies, arrange them on a baking sheet. Place the cookies in the freezer for 8–10 minutes or until the peanut butter filling is firm to the touch.
- Melt the chocolate melting wafers in a microwave-safe bowl in short 20–30 second intervals, stirring after each interval, until smooth and fully melted. Using a fork or dipping tool, dip each chilled cookie into the melted chocolate, ensuring the entire surface is coated.
- Place the coated cookies back on the parchment-lined baking sheet. Let the chocolate-coated cookies set at room temperature or refrigerate them for about 15 minutes until the chocolate is fully hardened.
Notes
- If your dough becomes too soft or sticky to roll, refrigerate it for 15–20 minutes to make it easier to handle.
- Use dark chocolate melting wafers for a richer taste, or sprinkle with a pinch of sea salt on top for an extra touch of flavor.
- A fork or chocolate-dipping tool helps coat the cookies evenly in chocolate without leaving fingerprints or uneven spots.


2 Comments
These came out as advertised. My cookie cutter was definitely 2″ in diameter and I felt that made big cookies that were pretty rich. The shortbread was pretty easy but will over-cook quickly if you don’t take them out and off tray promptly. The peanut butter mix I just spatula’d onto the shortbread wafers pretty smoothly. I used a Wilton candy melter with a mix of milk and dark chocolate wafers, my cookies looked just like the picture- very pretty, but we’ve been cutting them into halves or quarters to eat. I want to try them again but add more confectionary sugar and salt into the peanut butter disks. I used natural jif peanut butter and felt it just didn’t quite match the taste and consistency I was looking for, but otherwise very fun to make and eat. Found this recipe on pinterest, thanks.
Hi Jane!
So happy you enjoyed the recipe. Yes, they’re pretty rich!
Great tip on using the candy melter. I’ll have to try that next time 🙂