There’s cake, and then there’s the holy cow cake. This dessert is so mind-blowingly delicious, it’ll make you say, “Holy cow!”
Also known as Butterfinger poke cake, it’s a treat no one can possibly resist.
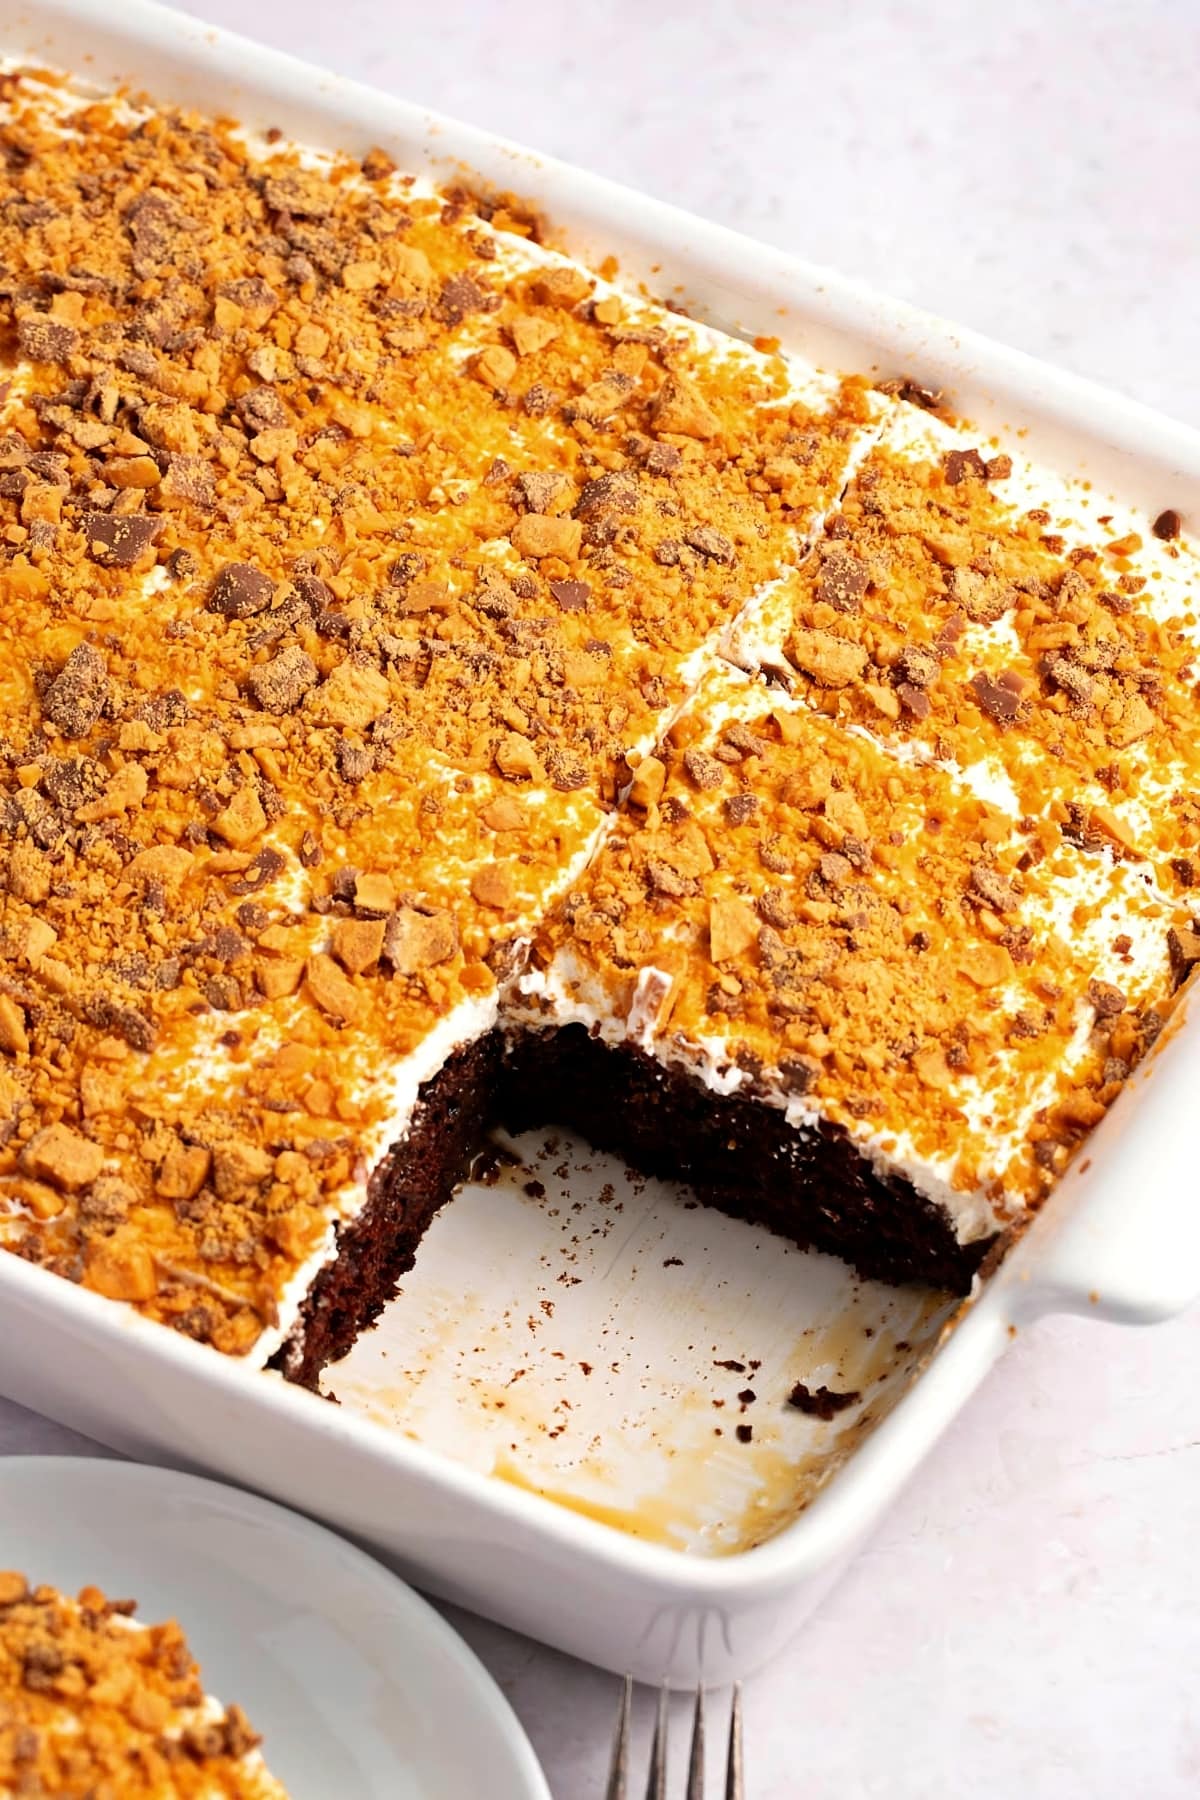
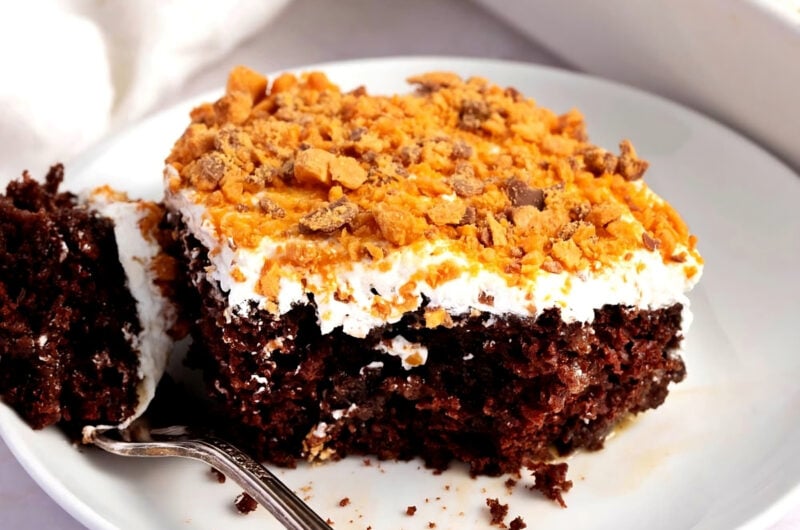
The recipe combines rich chocolatey flavors and silky caramel undertones. It has a delightful mix of textures. There’s a moist cake, a fluffy frosting, and a crunchy topping.
Dive in as we unveil the steps to creating this magnificent dessert!
Holy Cow Cake
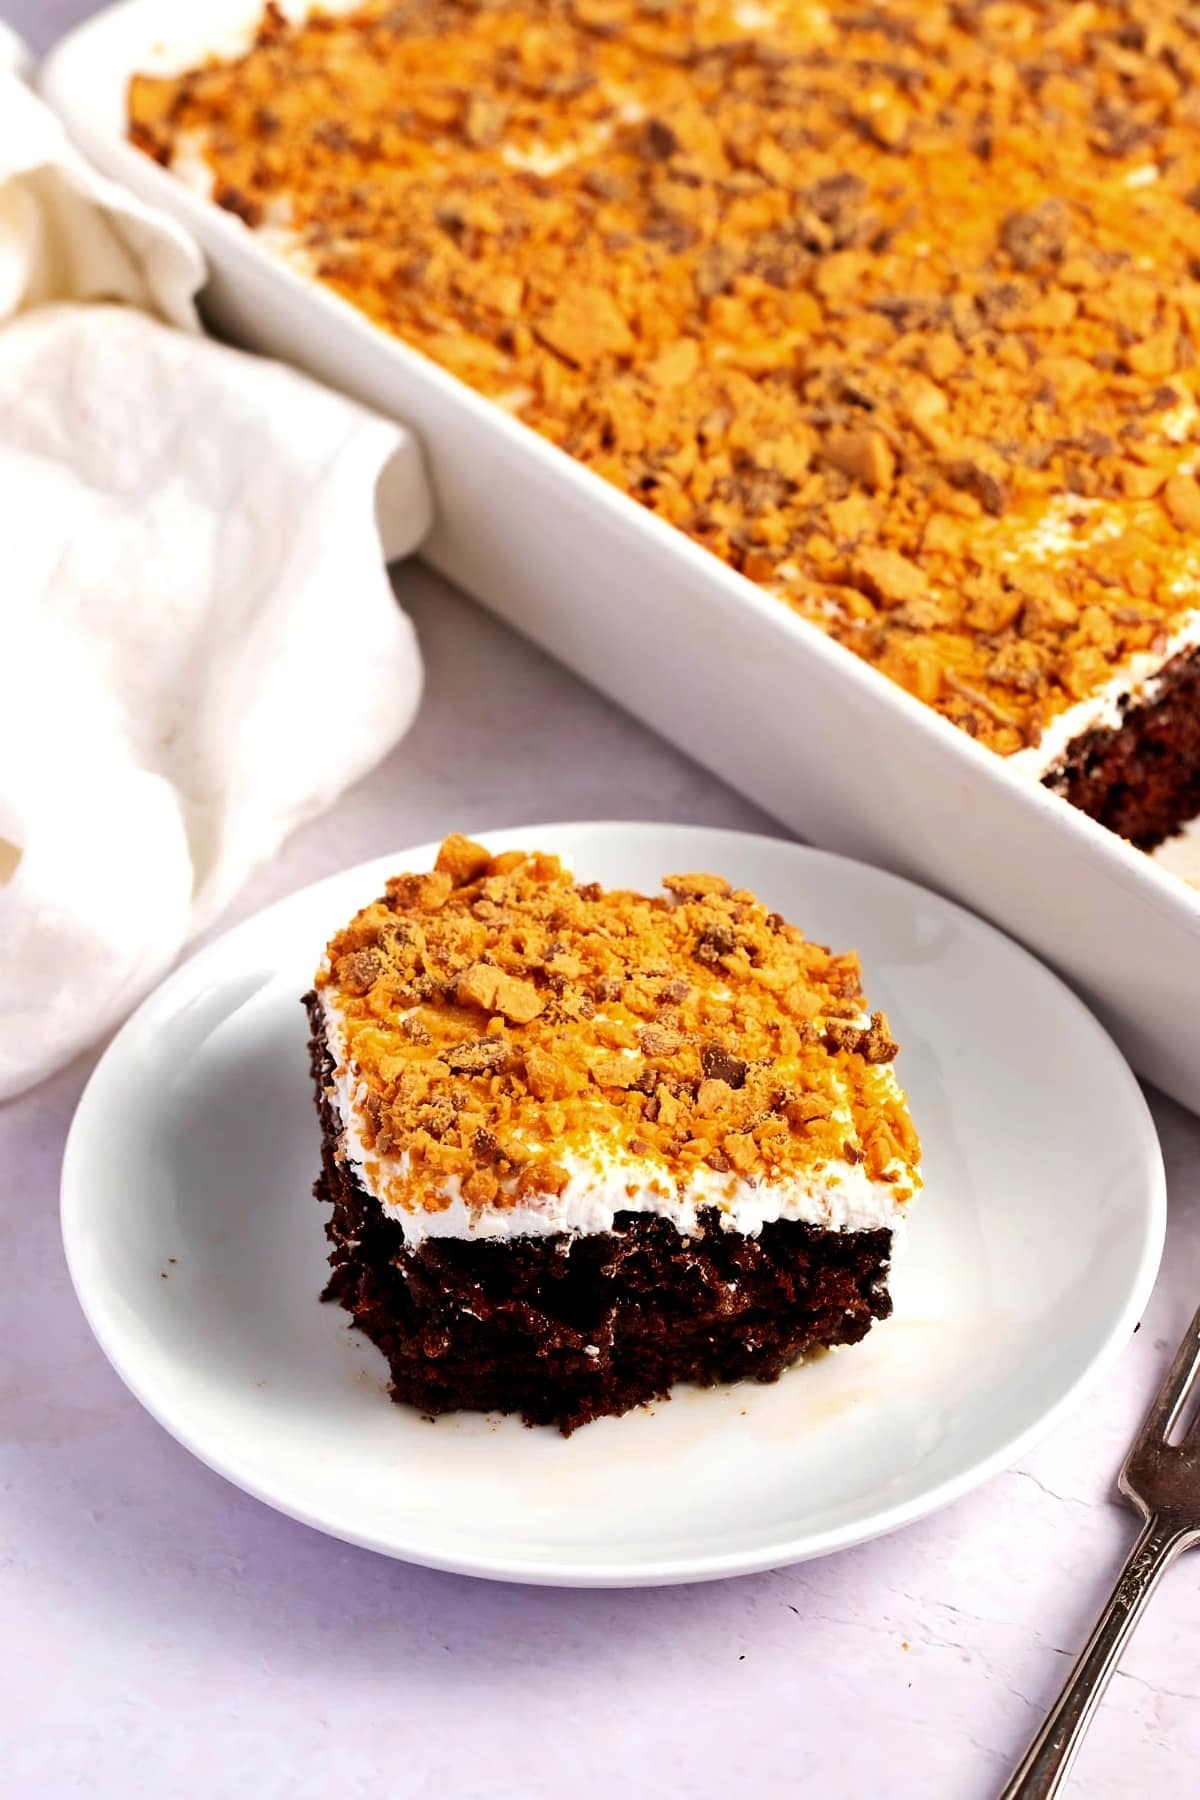
As a home cook with a sweet tooth, holy cow cake certainly doesn’t disappoint! It’s an absolute treat to make and eat. When you take your first bite, you’ll understand why it’s named “holy cow.”
This delectably rich and indulgent dessert starts with a convenient cake mix base. The real magic happens after baking when the cake is soaked in sweet caramel and condensed milk.
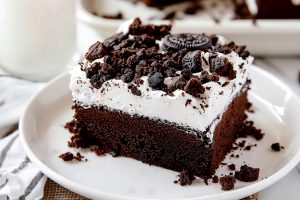
On top, there’s a creamy, tangy layer made from cream cheese and whipped topping. The finishing touch is a sprinkle of crushed Butterfinger candy bars, adding a crunchy, nutty dimension. This cake is incredibly rich, so small slices are usually enough.
Remember to chill before serving it to let the flavors meld together. It’s a real treat for any special occasion.
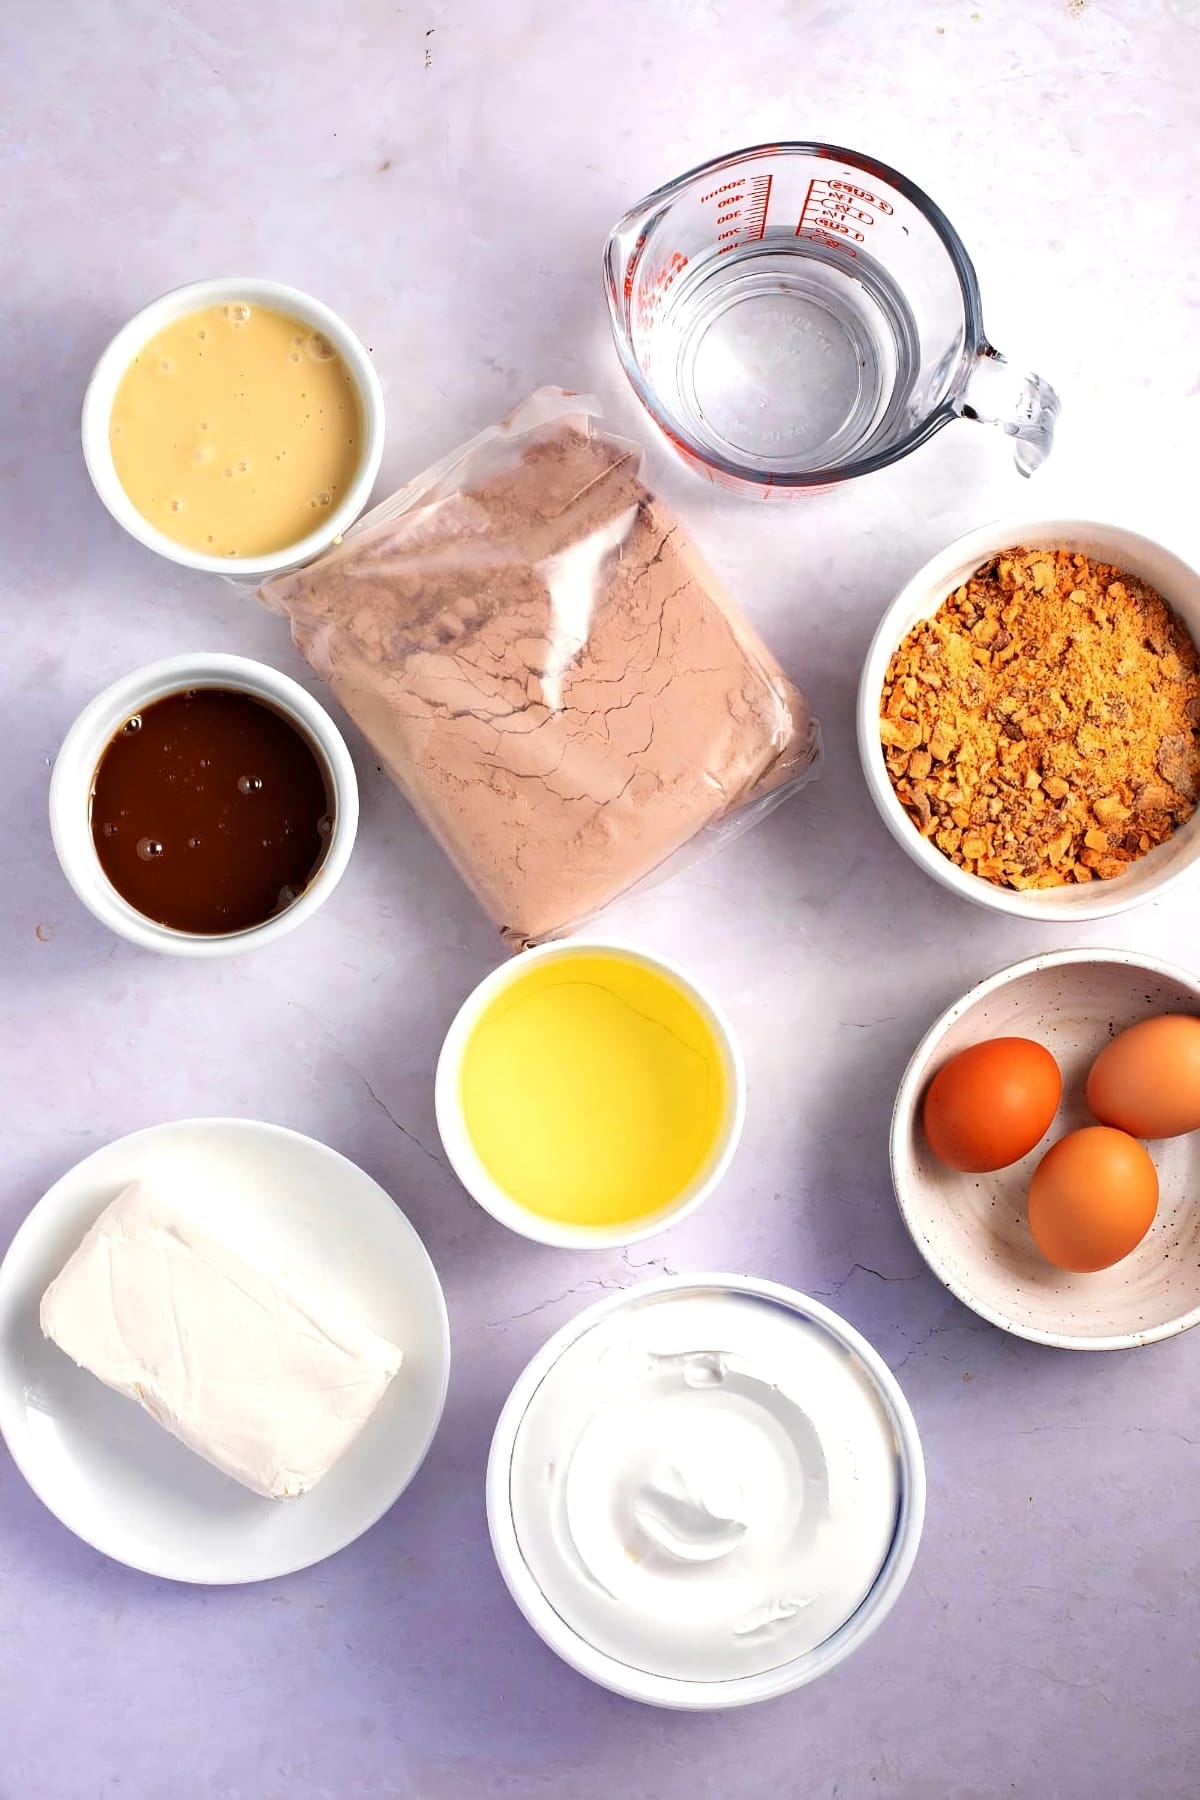
Ingredients
- Cake mix – Use Devil’s food cake mix for this recipe. It’s the base for this moist, crumbly cake.
- Eggs – They add structure, leavening, and flavor to the cake. Use large eggs for even mixtures.
- Caramel – It’s a sweet, creamy sauce that adds a deep, buttery flavor to the cake. The cake absorbs it for a moist, rich texture.
- Condensed milk – It adds extra richness to the cake when mixed with the caramel topping.
- Butterfinger candy bar – It’s crushed and sprinkled on top of the cake. It adds a unique texture and a unique nutty and chocolatey flavor.
- Whipped topping – It’s used as a topping or filling.
- Cream cheese – It’s beaten with the whipped topping for a creamy, tangy layer that balances the sweetness of the cake.
How to Make Holy Cow Cake
1. Preheat the oven and prepare the cake mix. Preheat your oven to 350 degrees F (175 degrees C) and grease a 9×13 inch baking pan. Combine the Devil’s food cake mix, water, vegetable oil, and eggs in a large bowl. Mix it until well combined.
2. Bake the cake. Pour the batter into the greased pan and bake it for 35 to 38 minutes. The cake is ready when it springs back when lightly pressed with a finger.
3. Poke holes and pour the filling. While the cake is still warm, use a straw to poke holes throughout it. Mix the caramel topping and sweetened condensed milk. Pour this mixture over the warm cake, aiming for the holes.
4. Let the cake cool. Allow the cake to cool completely. As it cools, it will continue to absorb the caramel and condensed milk mixture.
5. Prepare the cream cheese mixture. In another large bowl, beat the cream cheese and thawed whipped topping until smooth.
6. Frost the cake. Once the cake has cooled, spread the cream cheese mixture on it evenly.
7. Add the candy topping. Sprinkle the crushed Butterfinger candy bar over the cream cheese layer.
8. Refrigerate the cake. Cover the cake and refrigerate it for at least 2 hours before serving. Refrigerating will allow the flavors to blend and the topping to set.
Tips and Tricks
- Even Holes: When you’re poking holes into the cake, try to make them evenly spaced. This step ensures the caramel mixture seeps into the cake uniformly.
- Cool Completely: Be sure the cake is thoroughly cooled before adding the cream cheese topping. The topping will melt and become too runny if the cake is still warm.
- Crush Candy in a Bag: Put your Butterfinger or other candy bars in a zip-top bag and crush them with a rolling pin. This helps to contain the mess.
- Chill Before Serving: This cake tastes best when it’s served chilled. After assembling it, let it sit in the refrigerator for a few hours to meld the flavors.
- Cutting Servings: Consider cutting the cake into smaller pieces, as it’s rich and sweet. Smaller servings will be sufficient for most people.
Variations
1. Chocolate Peanut Butter Holy Cow Cake: Substitute the caramel topping for a chocolate ganache and add crushed Reese’s Peanut Butter Cups.
2. Snickers Holy Cow Cake: Replace the Butterfinger with chopped Snickers bars. Add a layer of chopped peanuts and a drizzle of caramel on top for a Snickers experience.
3. Toffee Coffee Holy Cow Cake: Use a coffee-flavored cake mix instead of the Devil’s food cake mix. Top it with crushed toffee pieces instead of Butterfinger.
4. Tropical Holy Cow Cake: Use a yellow cake mix instead of chocolate. Top it with crushed pineapple, shredded coconut, and chopped macadamia nuts.
5. Cookies and Cream Holy Cow Cake: Use a chocolate cake mix and top the cake with crushed Oreos instead of the Butterfinger.
Remember, the sky’s the limit when it comes to adapting recipes. Feel free to experiment with different combinations to suit your taste preferences.
How to Store
1. Cool completely: Before storing, ensure the cake is completely cooled to room temperature to prevent condensation.
2. Cover tightly: Cover the cake tightly with plastic wrap or place it in an airtight container.
3. Refrigerate: Store the cake in the refrigerator. It will stay fresh for 3 days when stored properly in the fridge.
Note: This cake doesn’t freeze well, so it’s better to enjoy it immediately.
More Poke Cake Recipes
Triple Chocolate Poke Cake
Lemon Poke Cake With Lemon Glaze
Banana Pudding Poke Cake
Better Than Sex Cake
Do Nothing Cake










kim i am learning a lot from you. i love your recipes.
Iam a chef i include your desserts in my menus.
Your recipe calls for 18 oz devils food cake mix….i can only find 16.25 or less ounces…do we need to alter ingredients?
Hi there!
You’re best option this case is to purchase an extra box of cake mix (yellow is fine) and transfer it to a sealed container.
Then, weigh the difference (2 ounces if the box you have is 16.25 ounces) and add it to the recipe.
It’s a bit of a pain but this way, you don’t have to adjust the recipe.
Keep the extra cake mix in the pantry for the next time and just be sure to label it 🙂