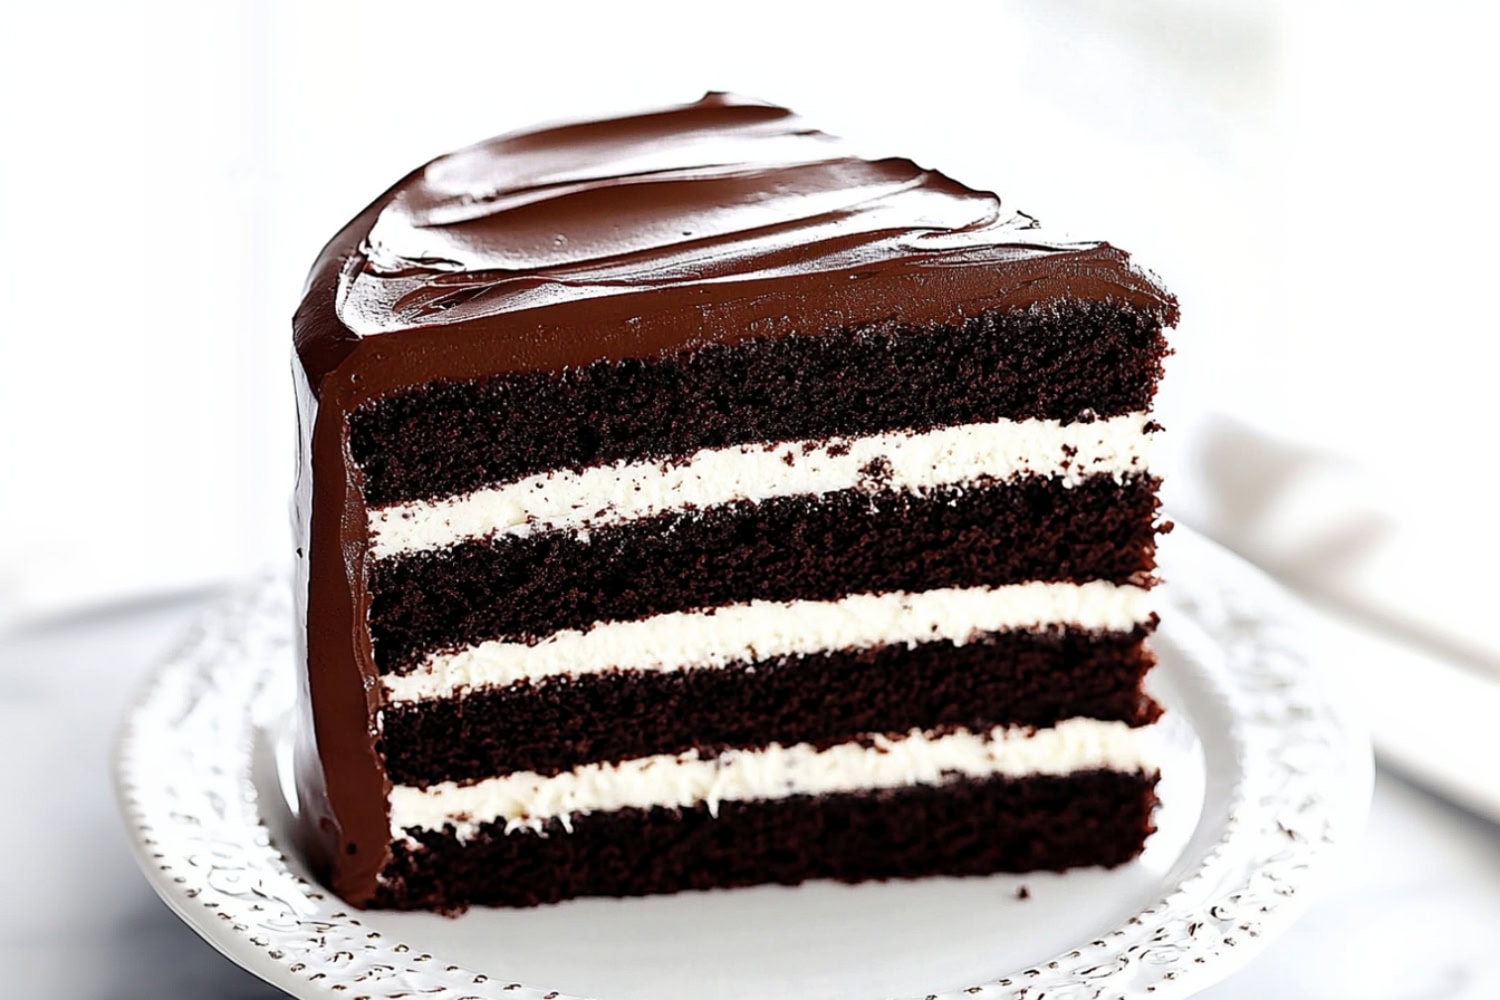
This nostalgic Ho Ho Cake transforms the classic treat into a showstopping layer cake.
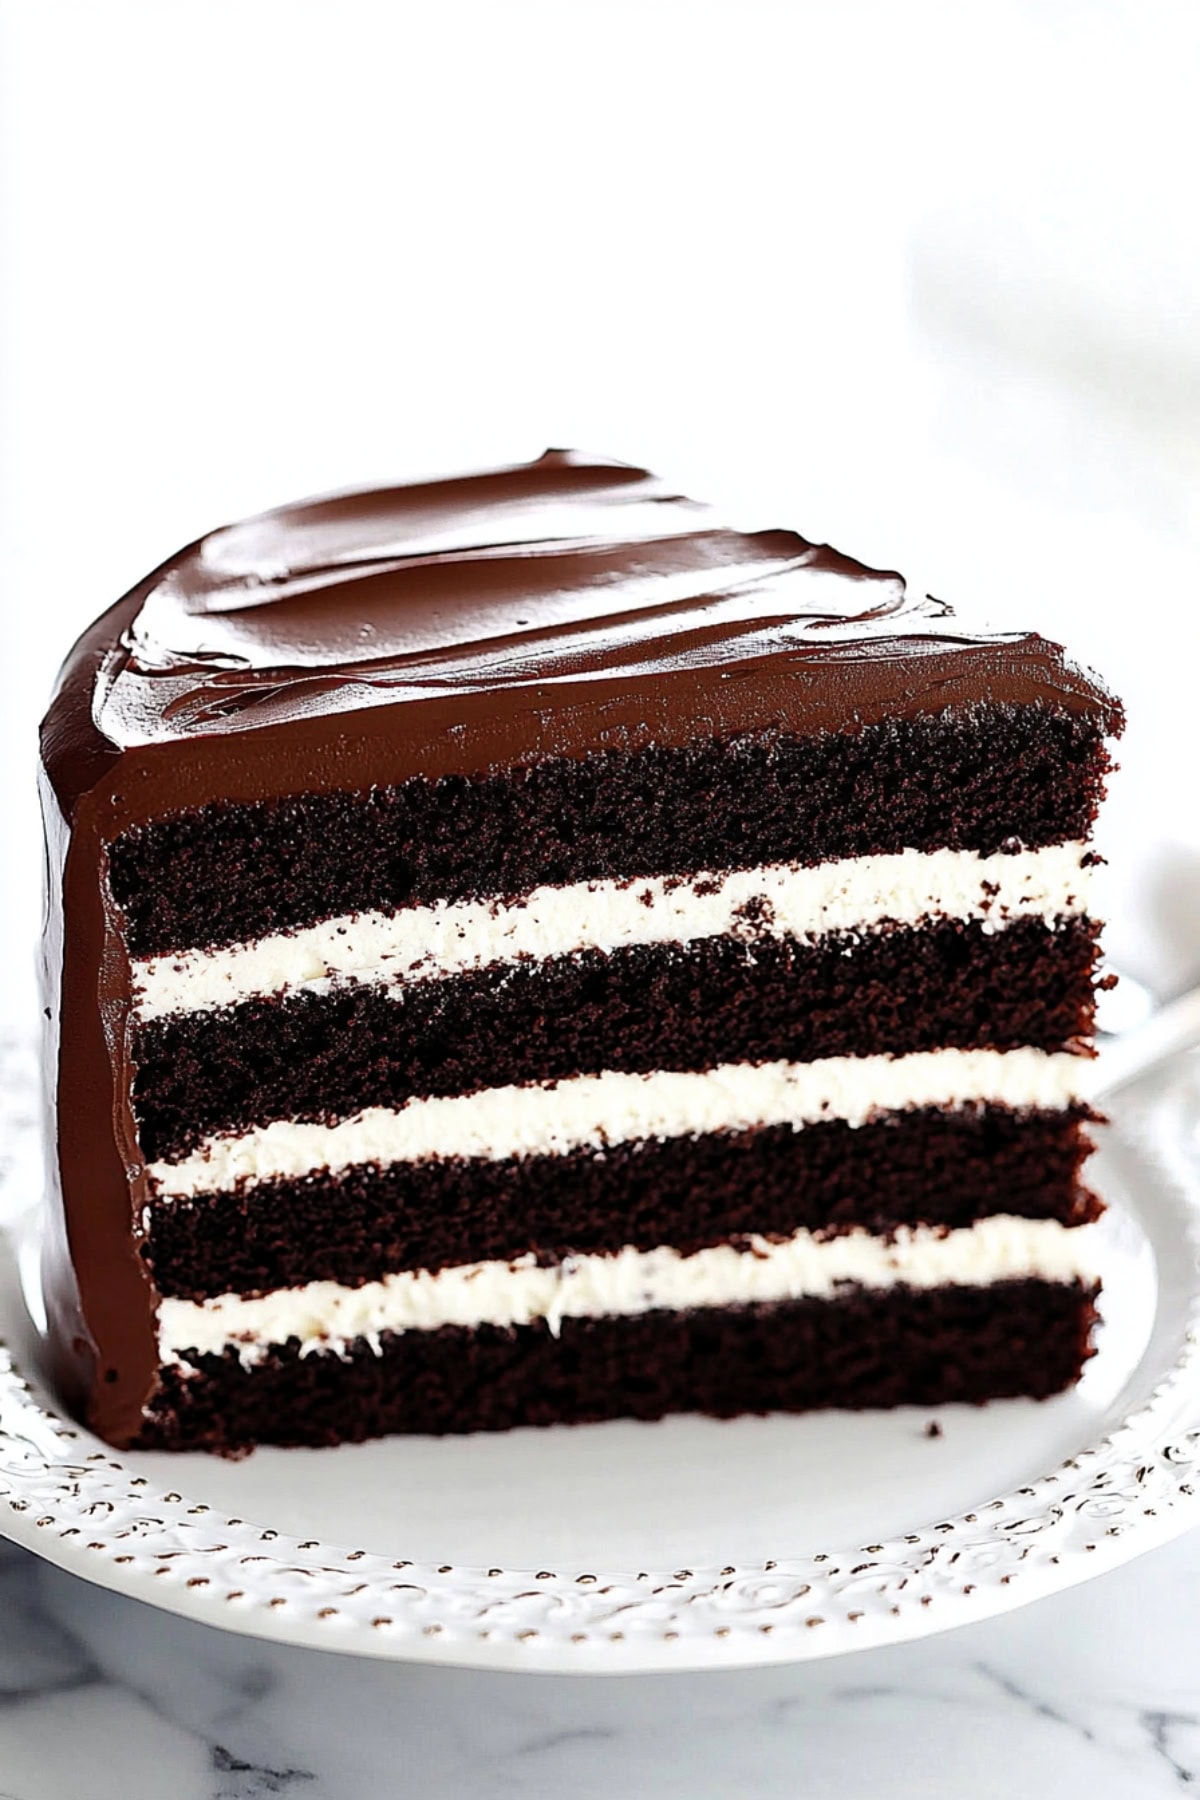
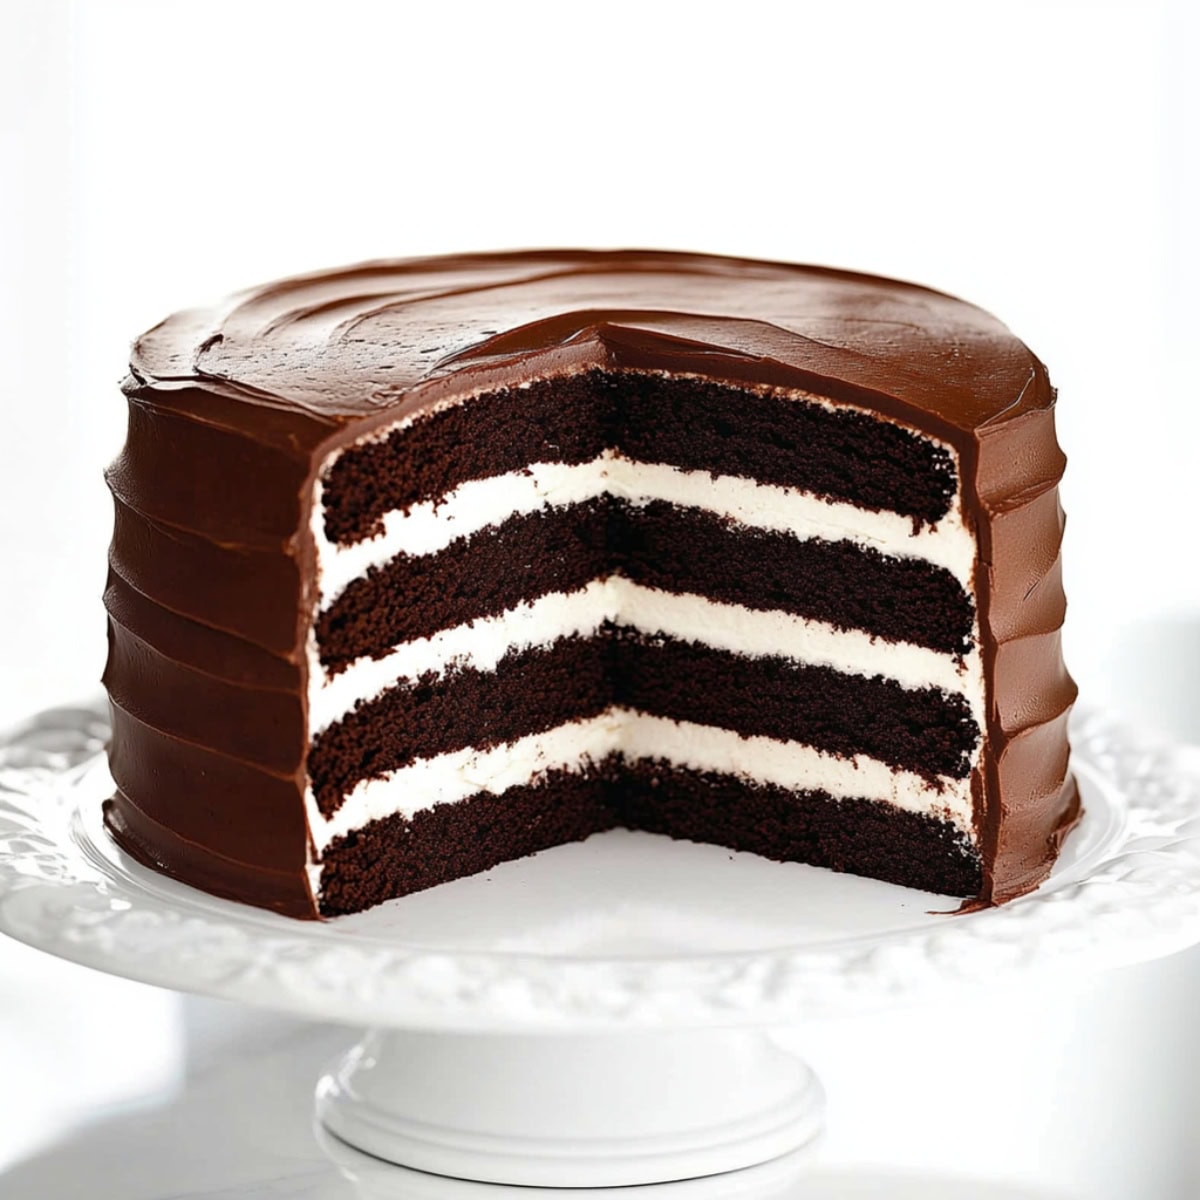
It features four delicate sponge layers filled with a cloud-like vanilla cream filling.
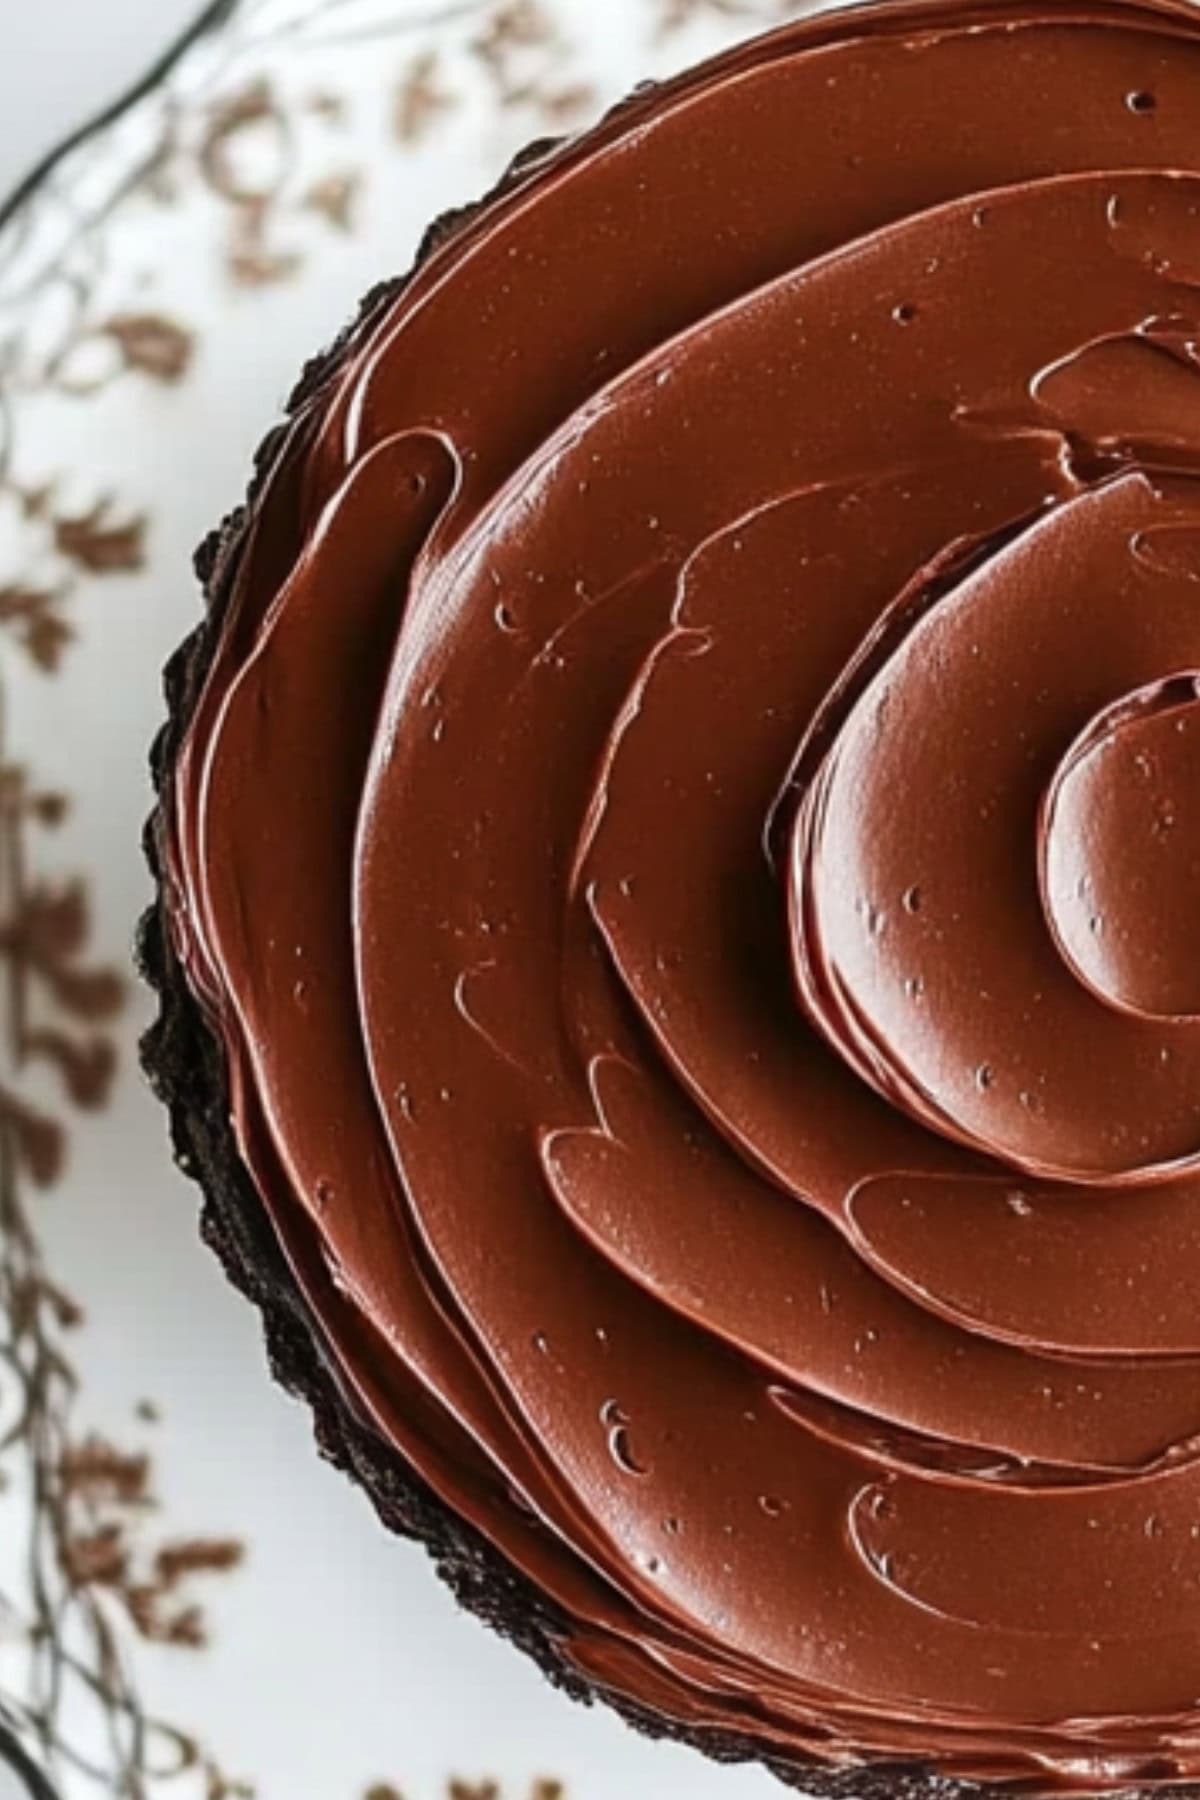
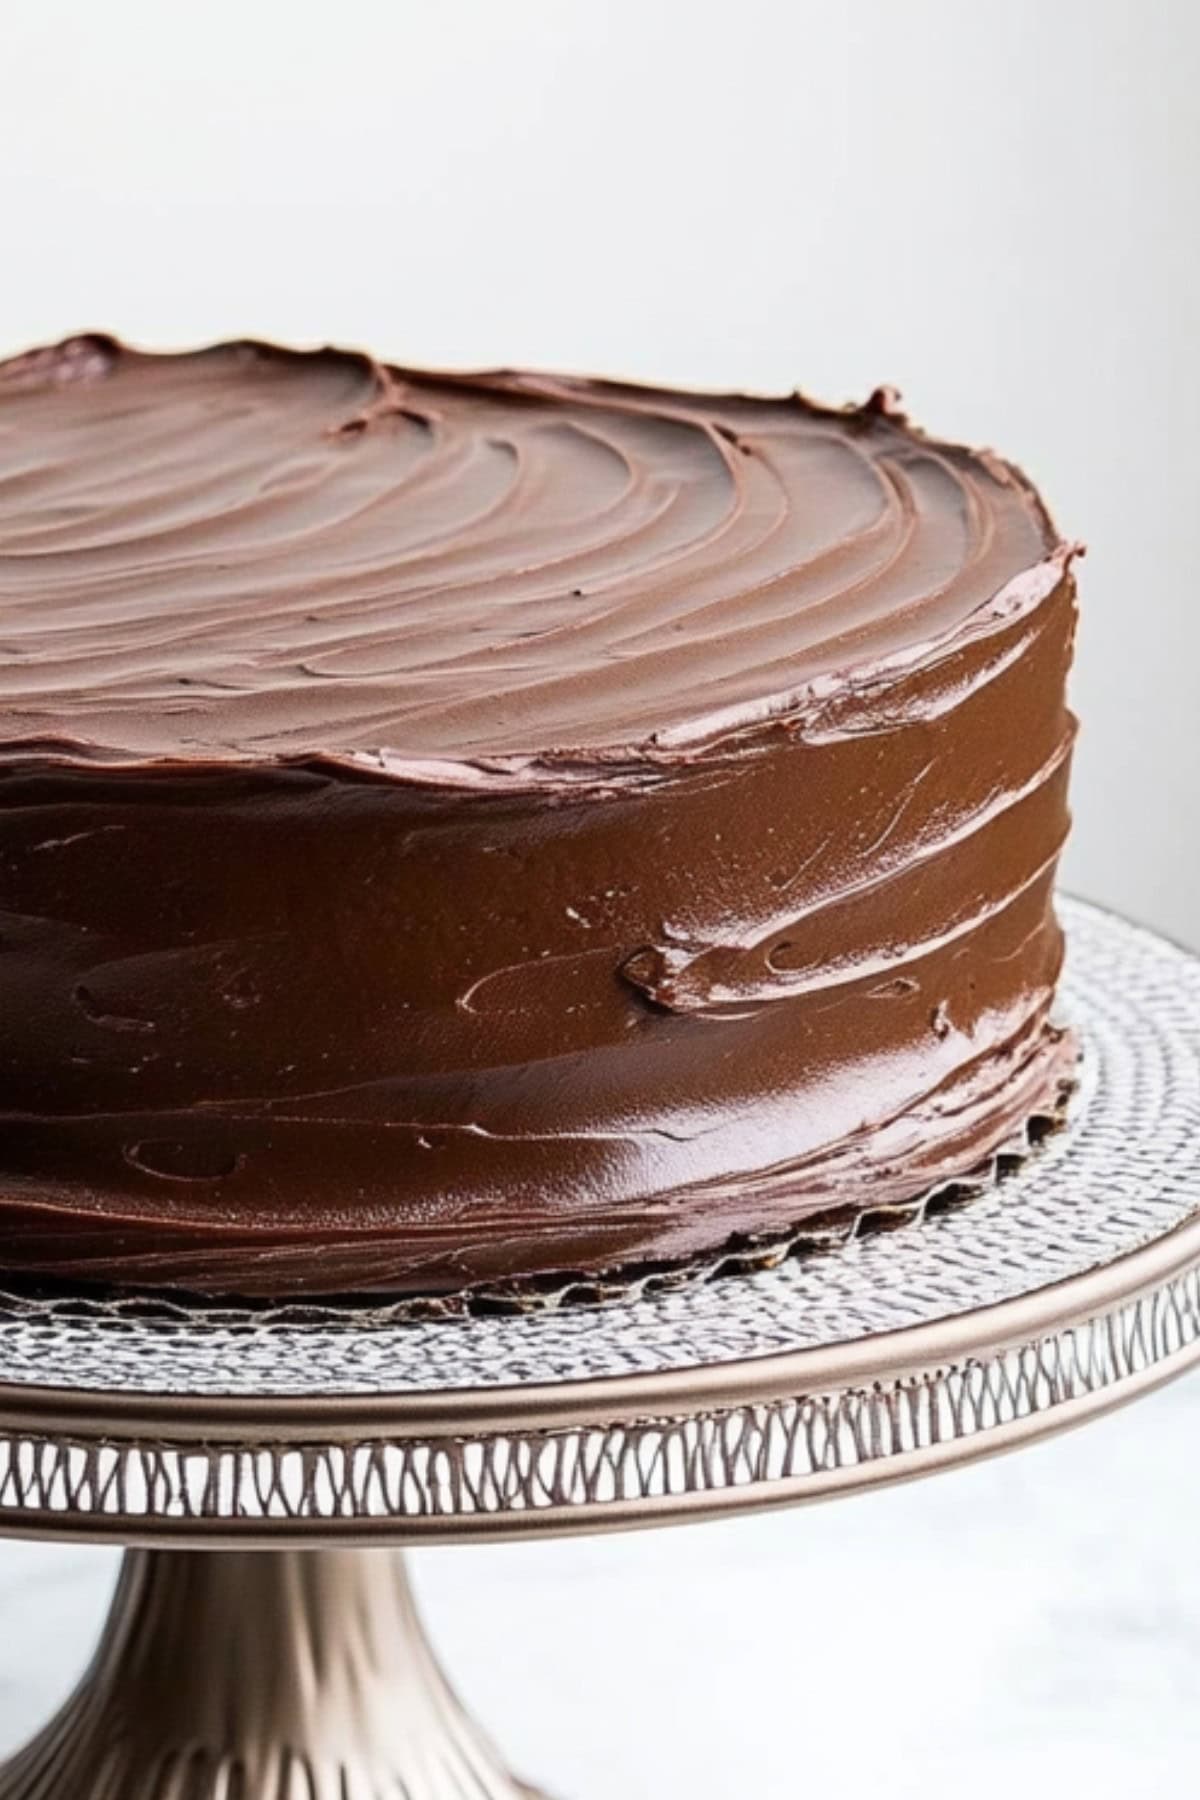
As if that’s not enough, the whole thing gets enrobed in silky smooth chocolate ganache.
This cake is perfect for special occasions or when you crave something familiar and extraordinary. Trust me, it’s not to be missed.
Why You’ll Love This Ho Ho Cake
Homemade Twist: Inspired by the classic snack cake, this homemade version is fresher, richer, and even more indulgent.
Make-Ahead Marvel: The cake improves with time and tastes even better the day after it’s made. So, it’s perfect for advance preparation.
Simple Assembly: It looks super impressive, but I promise, the steps are straightforward, and it comes together easily.
Perfect for Celebrations: Its stunning presentation makes it a showstopper for birthdays, holidays, or any special occasion.
Ingredients
- Granulated Sugar: Sweetens the cake and the filling.
- All-Purpose Flour: Provides structure for the cake and thickens the cream filling for a velvety texture.
- Cocoa Powder: Delivers deep, rich chocolate flavor to the cake layers.
- Leavening Agents: Baking powder and soda ensure the cake rises perfectly, with a light and tender crumb.
- Salt & Vanilla Extract: Enhance the flavors, balancing the overall sweetness.
- Large Eggs: Bind the cake batter and add richness for a sturdy yet soft texture.
- Dairy: Buttermilk and sour cream keep the cake moist, while whole milk forms the creamy base of the filling. You’ll also need heavy cream for the ganache.
- Fats: Oil keeps the cake incredibly moist, butter adds richness to the filling, and shortening stabilizes the cream filling.
- Strong Brewed Coffee: Intensifies the chocolate flavor without overpowering the cake’s sweetness.
- Semi-Sweet Chocolate Chips: Melt into the ganache, creating a luscious, glossy topping.
How to Make Ho Ho Cake
This nostalgic Ho Ho Cake brings back childhood memories of unwrapping those beloved chocolate-covered snack swirls.
But while it looks impressive, it carries the same comforting charm that made the original snack cakes a lunchbox favorite.
Here’s how to make it:
1. PREHEAT the oven to 350°F and grease two 9-inch baking pans. Line them with parchment paper.
2. WHISK the sugar, flour, cocoa powder, baking soda, baking powder, and salt in a large bowl. Set aside.
3. MIX the eggs in a separate bowl until smooth. Blend in the buttermilk, oil, sour cream, and vanilla.
4. COMBINE the wet and dry ingredients, followed by the hot coffee. The batter will be thin.
5. DIVIDE the batter between the pans. Bake for 25–30 minutes. Cool for 5 minutes in the pans, then invert onto wire racks.
6. COOK the milk and flour in a saucepan over low heat, whisking constantly. Cool completely with plastic wrap pressed on the surface.
7. BEAT the sugar, butter, shortening, and salt until fluffy. Add the cooled flour mixture, a little at a time, and beat until smooth.
8. CUT the cakes horizontally into four layers total. Place one layer on a serving plate, spread filling, and repeat until all layers are stacked. Wrap and chill until the filling is firm.
9. WARM the cream in a saucepan until it just begins to simmer. Pour over chocolate chips in a bowl. Let sit 3–4 minutes, then whisk until smooth.
10. POUR a thin ganache layer over the chilled cake. Spread evenly and refrigerate until set.
11. COAT the cake with the remaining ganache. Chill until fully set. Slice and enjoy!
Tips For the Best Ho Ho Cake
This cake version of the famous snack might even be better than the original (don’t tell Hostess I said that!).
But if you’re nervous about those layers, read these tips!
- Use room-temperature ingredients. Get everything out of the fridge early for even mixing.
- Cool the cakes completely. It will make cutting easier. Top tip – freeze the cakes! That makes cutting and filling a breeze!
- Beat the filling thoroughly. You’ll need a mixing to ensure it’s as smooth as possible. And remember to whisk the flour and milk very well, or it will be lumpy.
- Chill well. Chill after filling and then again after coating. Otherwise, it might topple over.
- Variations. Feel free to use a box of cake mix or a different type of filling.
How to Store
This cake is so tender, it’ll last a good few days. You just have to store it the right way:
To Store: Place leftovers in an airtight container and refrigerate for 3-4 days.
To Freeze: Wrap the cooled cake layers in plastic and freeze for 2-3 months. Thaw slightly, then fill and coat it as instructed.
Note: I don’t recommend freezing the assembled cake, as the ganache will lose its shine and smooth texture after thawing.
More Decadent Chocolate Cakes You Have to Try
Brownie Batter Poke Cake
Baileys Chocolate Poke Cake
Peanut Butter Chocolate Poke Cake
Black Magic Cake

