


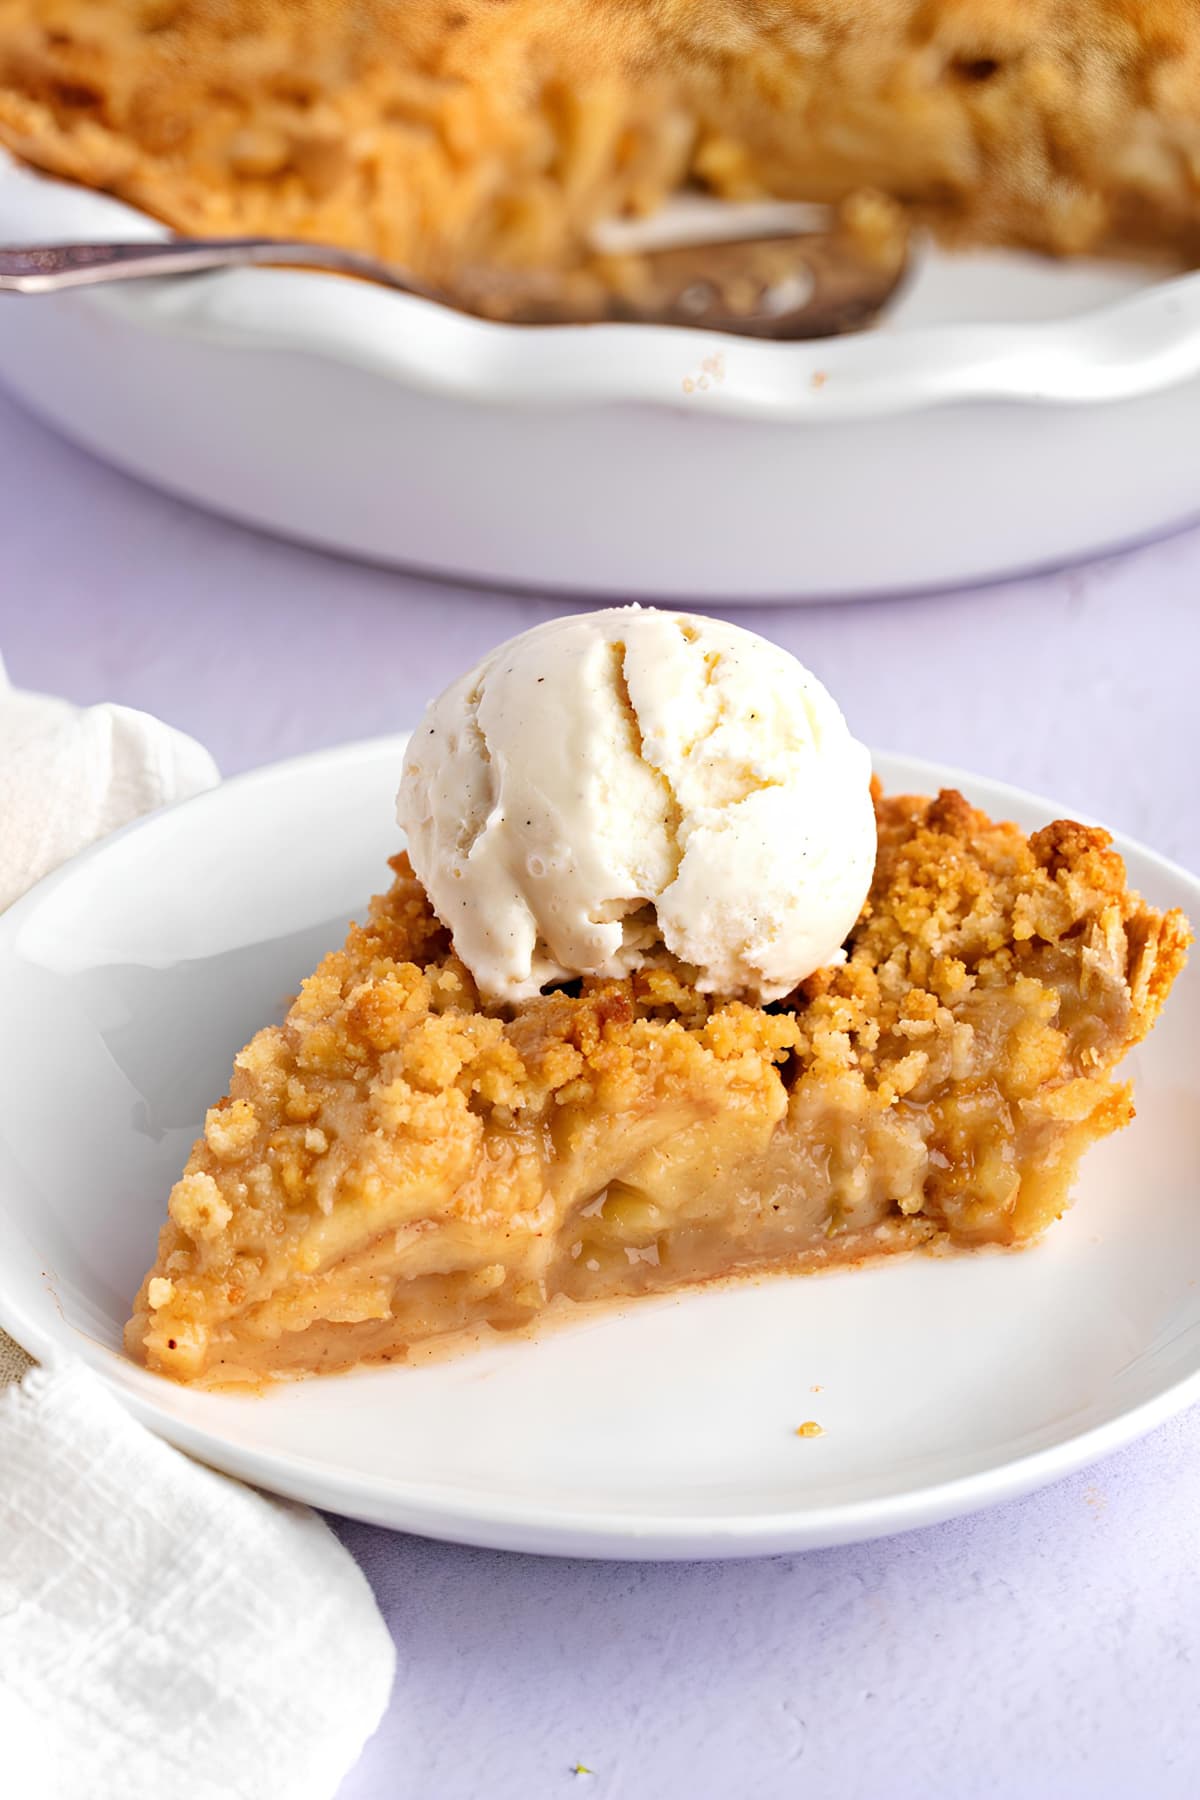
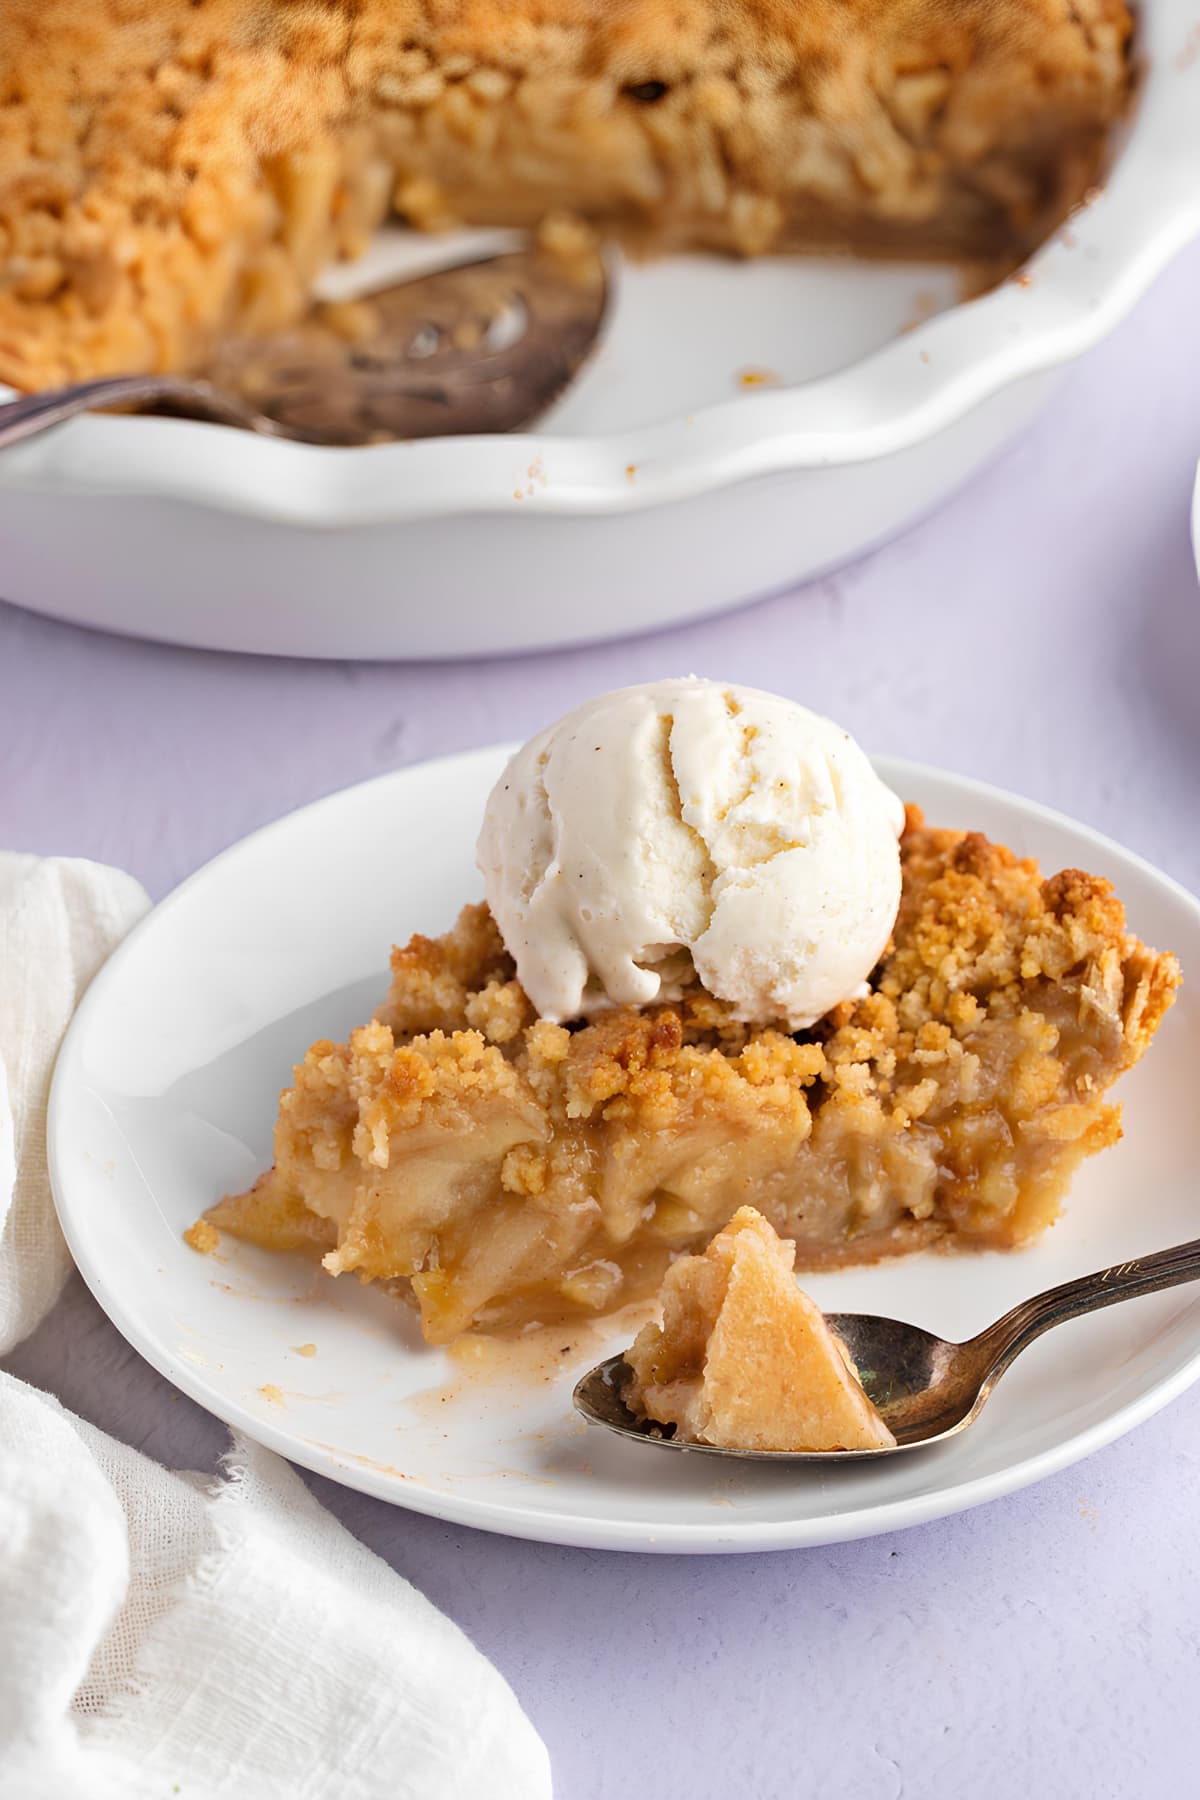
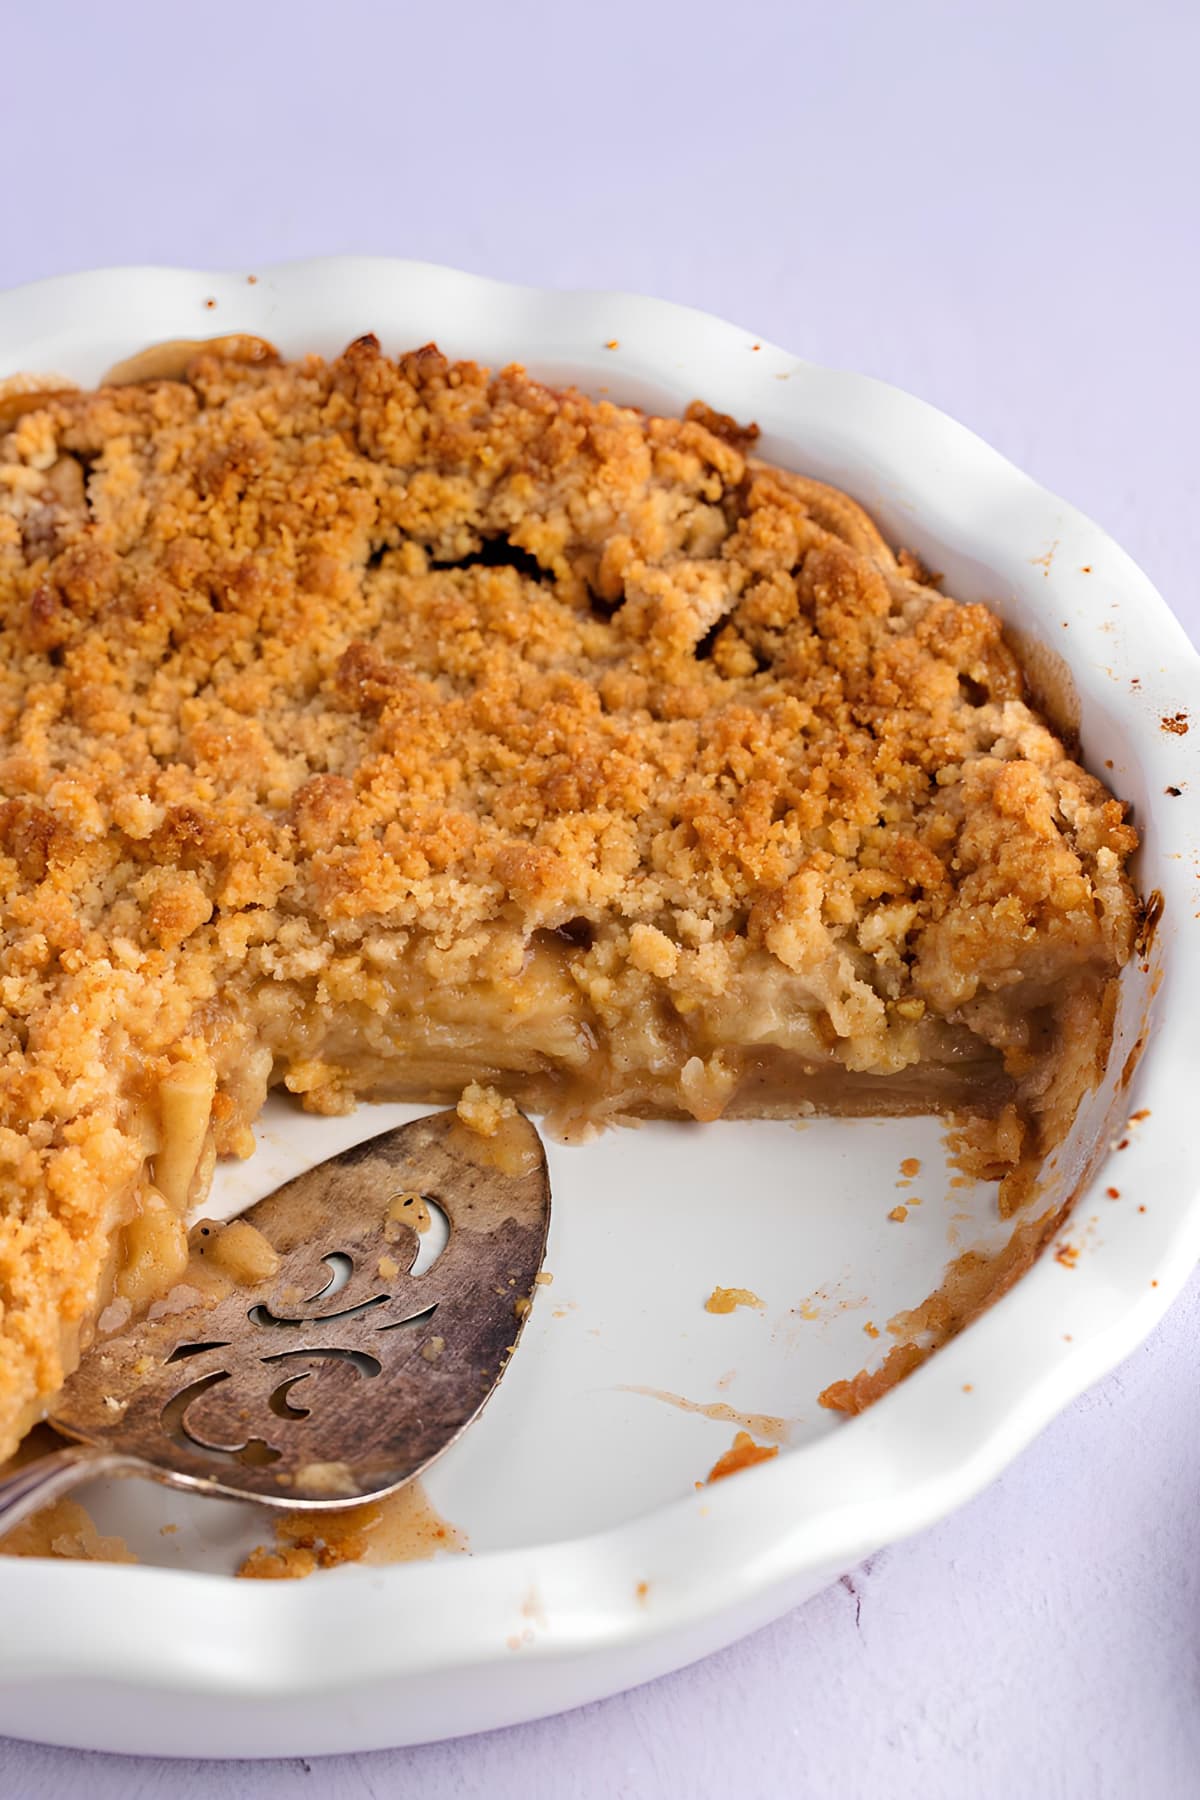
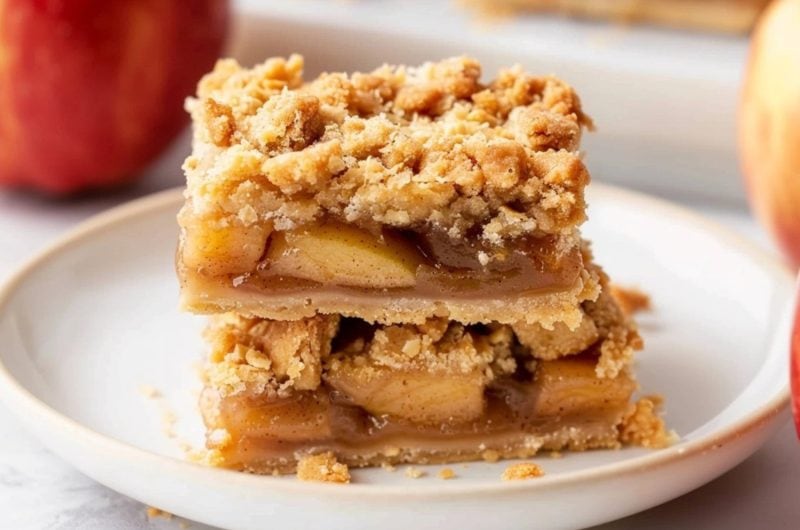
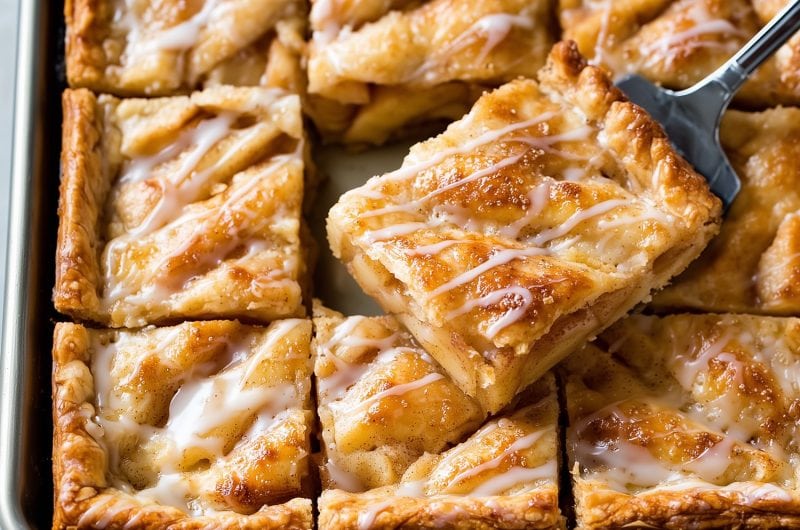
Indulge yourself with this perfectly sweet and buttery Dutch apple pie. It takes traditional apple pie to a new level of deliciousness!
This pie has a golden crust at the bottom, syrupy apple pie filling in the middle, and a buttery crumble on top.
WANT TO SAVE THIS RECIPE?
The primary taste profile isn’t anything new. It's full of sweet and tart apples mixed with warming fall spices. It’s a classic combination, but it never disappoints.
The textures are quite phenomenal, however. All three layers offer something different. The flakiness of the crust perfectly complements the crispness of the apples. And the crumbly streusel on top is the icing on the cake. (I mean pie!)
This recipe is so good, no one can possibly resist it. And if you’re worried it'll be too complicated for you, don’t fret. It’s a lot easier than you think!
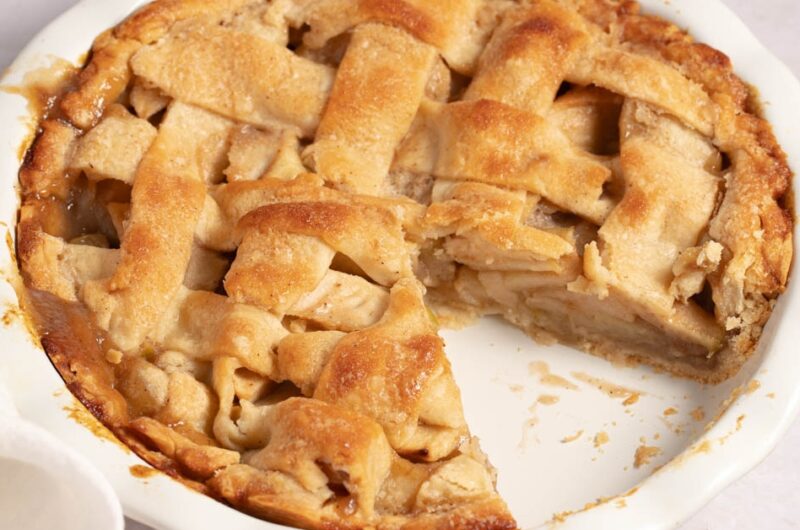
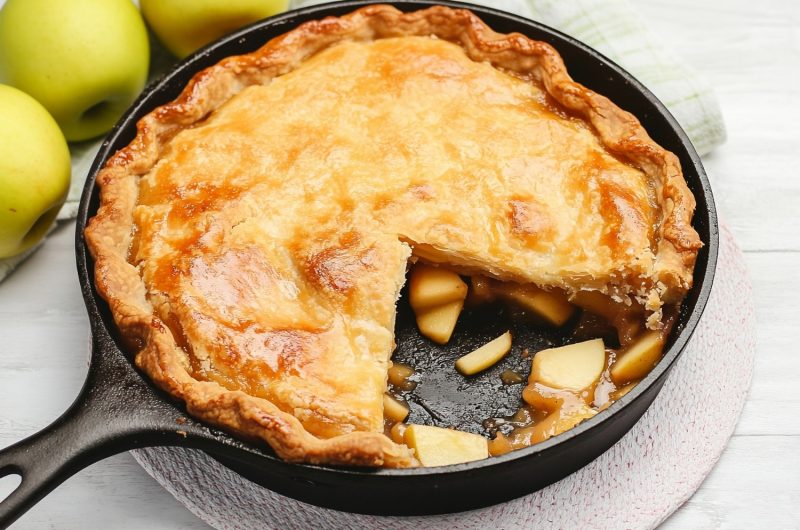
Dutch Apple Pie vs. Traditional Apple Pie (What's the Difference?)
Both apple pies have the same bottom and middle layers: a flaky, buttery crust and a sweet apple filling.
The difference lies in the top layer. A traditional apple pie has another layer of crust on top. A Dutch apple pie has a buttery streusel crumble.
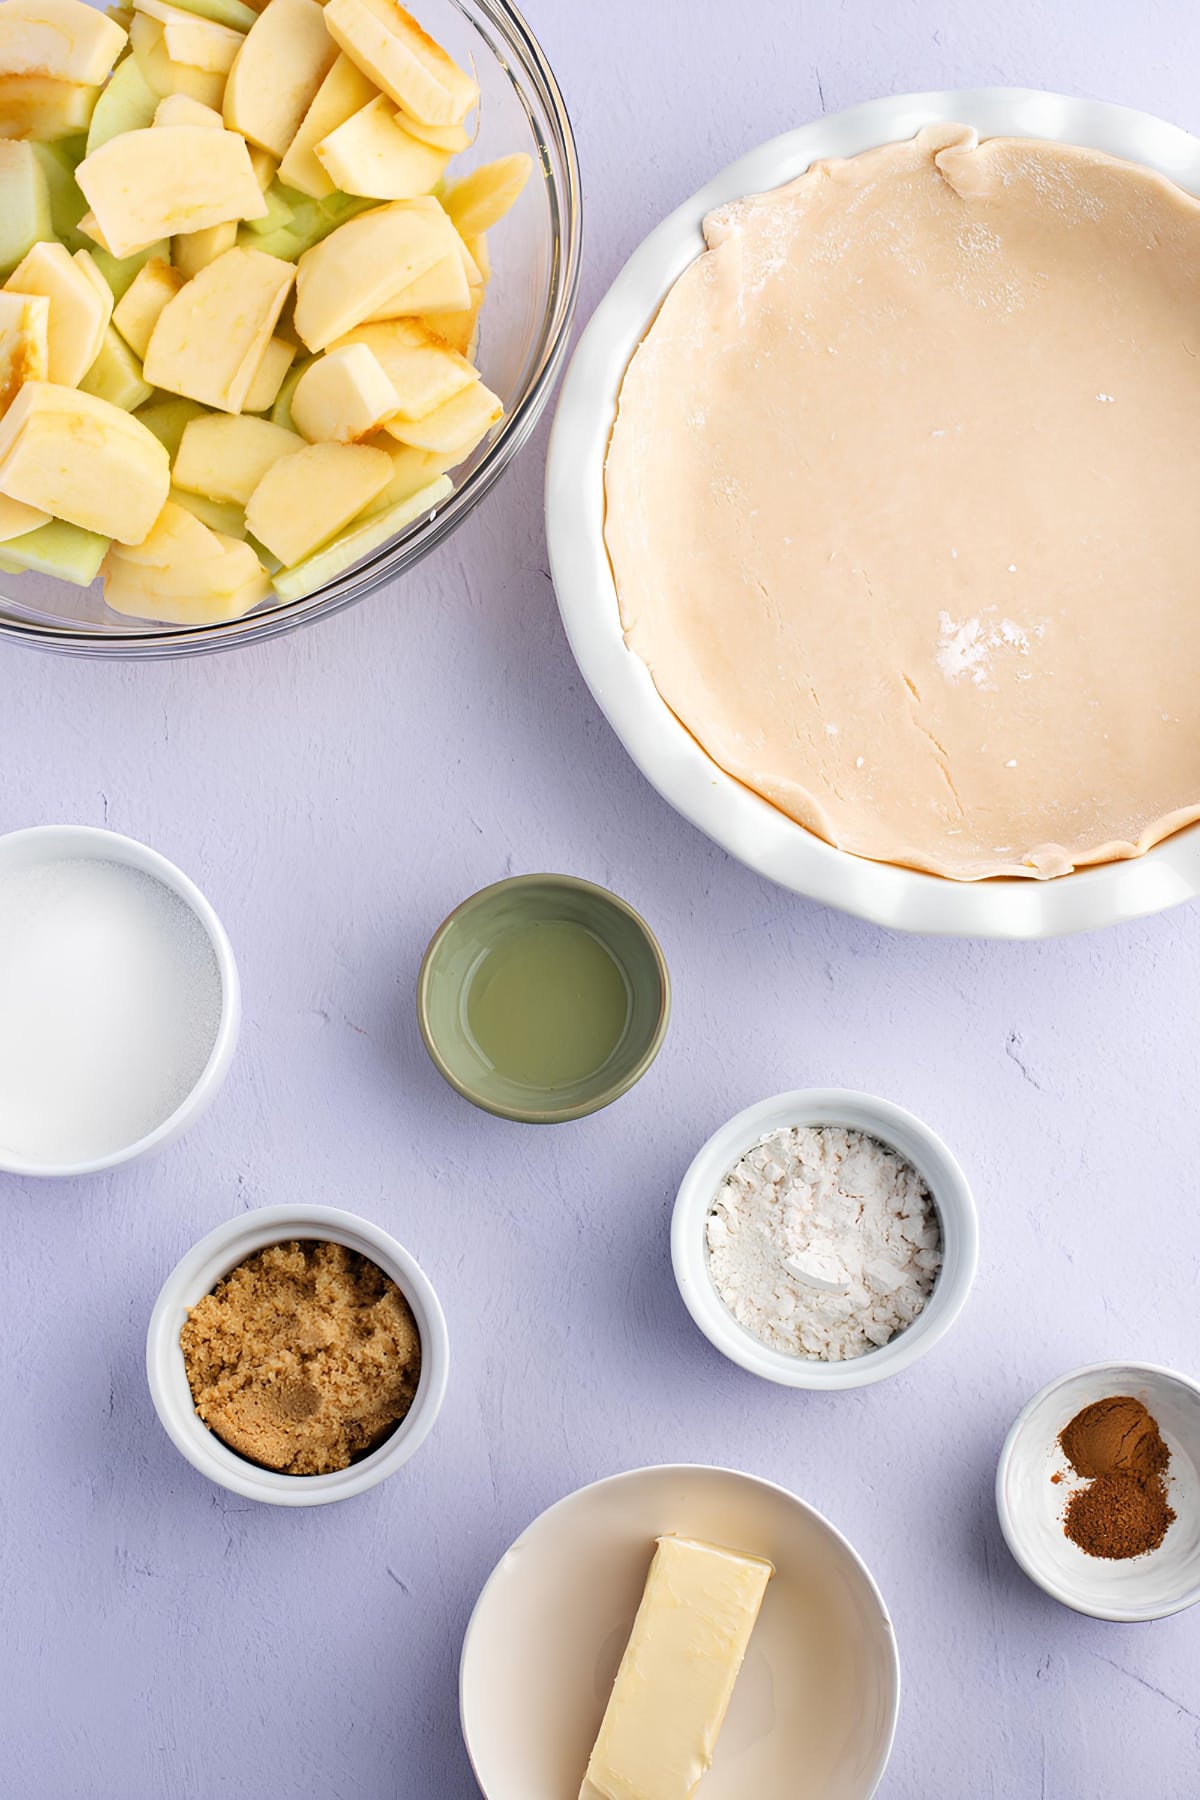
Ingredients For Dutch Apple Pie
Dutch apple pie has three main components:
1. Pie Crust
While nothing beats homemade pie crust, don’t feel guilty about using store-bought. Baking doesn’t have to be too complicated. Don’t worry, this is a safe environment. No one will judge you.
2. Pie Filling:
- Apples – Granny Smith apples deliver the best flavor, but there are lots of other options to choose from.
- Lemon Juice – It keeps the apples from browning and brightens up their flavor.
- Sugar – A mix of granulated and brown sugars creates the best level of sweetness.
- All-Purpose Flour – To thicken the filling’s syrup.
- Spices – A simple blend of cinnamon and nutmeg is just the ticket.
3. Streusel Topping:
A mixture of all-purpose flour, sugar, and softened butter creates sweet and buttery crumbles. They turn golden brown after baking.
How to Make Dutch Apple Pie
1. Prepare the crust: Line the bottom and sides of a deep-dish pie plate with a refrigerated pie crust. Crimp the edges with the tips of your fingers for a pretty presentation.
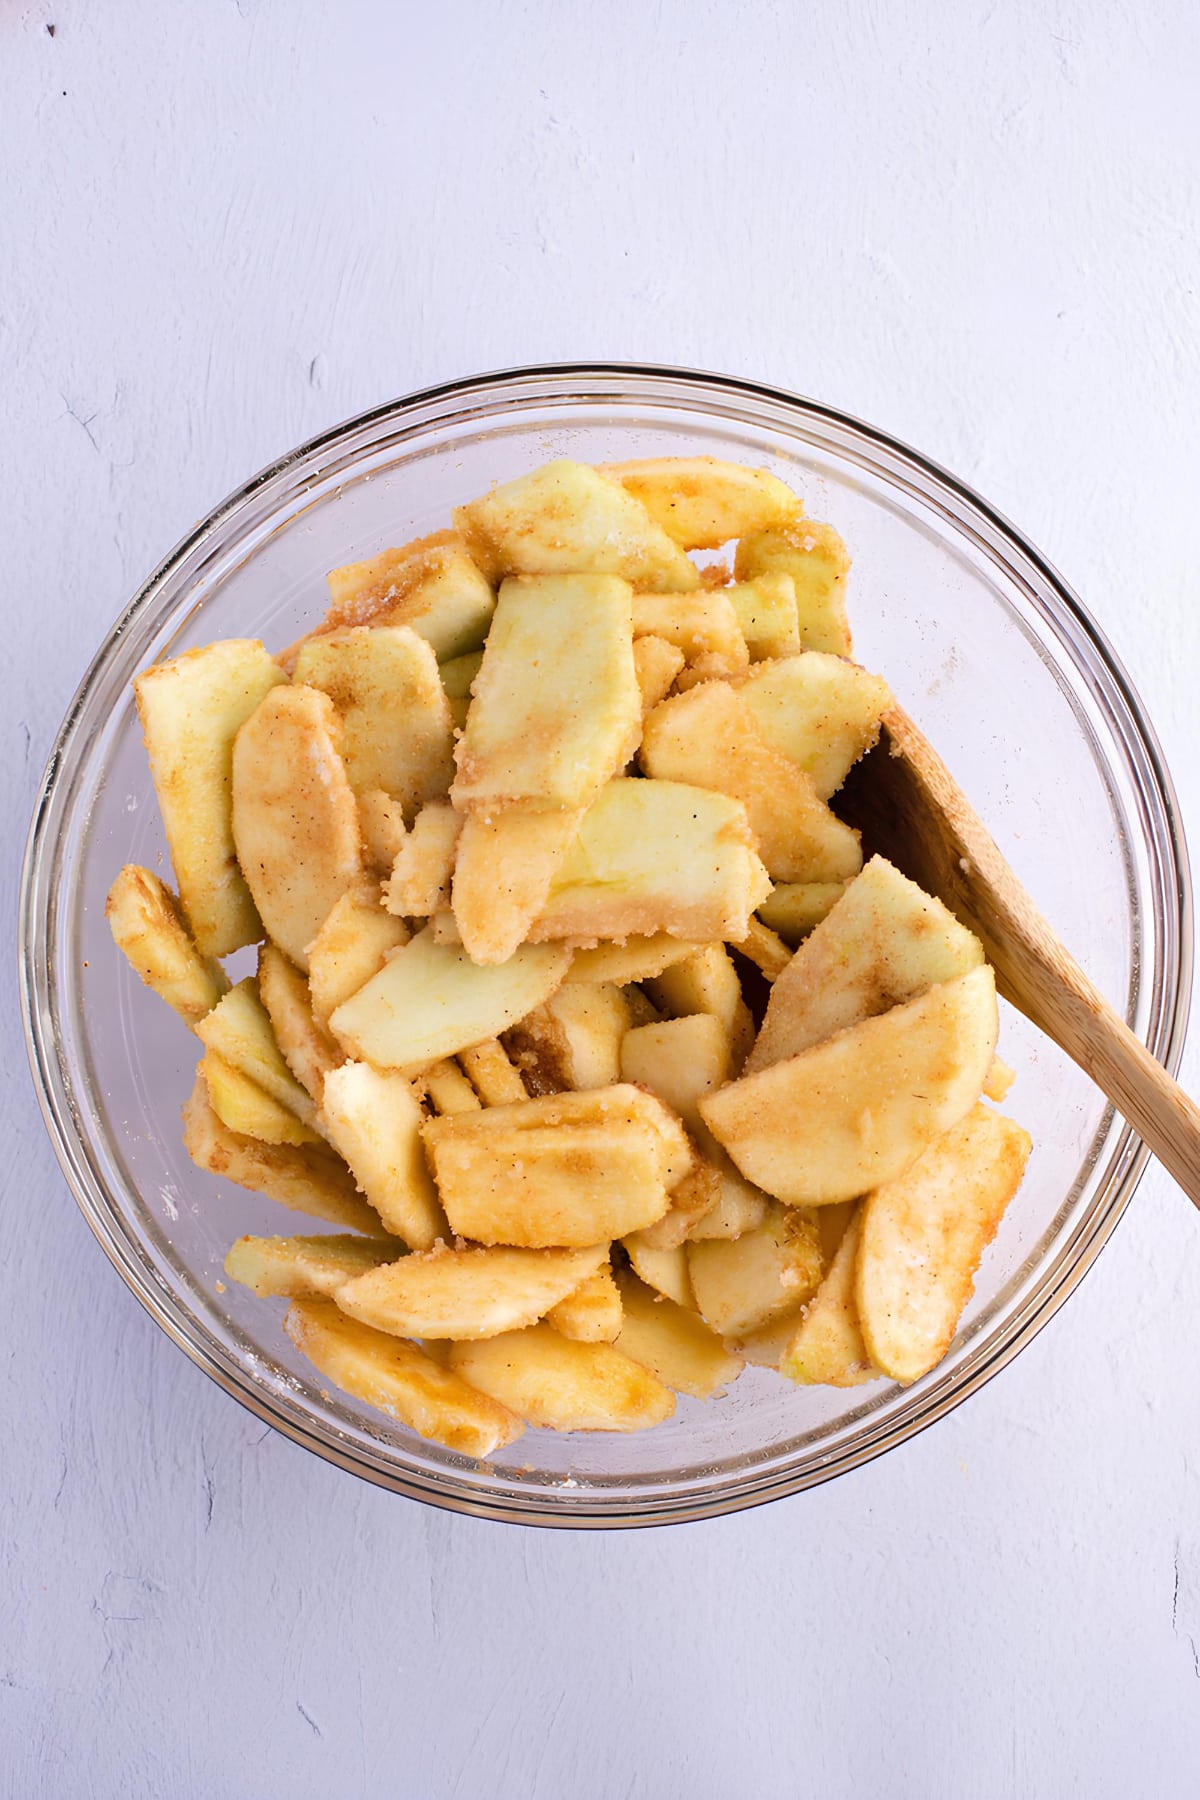
2. Prepare the apples: Rinse, peel, core, and slice the apples. Make thin, even slices to ensure they bake beautifully. Slice them 1/4-inch thick.
3. Make the filling: Toss together the sliced apples, sugars, spices, flour, and lemon juice. This part isn’t required, but if you have time, let the filling sit for 20-30. This allows it to draw out the liquids from the apples.
4. Make the crumble: Combine the flour, sugars, and butter and mix with a fork or a pastry blender until they turn into coarse crumbles. You can also use your hands to mix it.
5. Assemble the pie: Spoon the filling into the pie crust. Use a slotted spoon to drain the excess juice. Cover the filling with the crumble.
6. Bake it for 50 minutes at 375 degrees Fahrenheit.
7. Let it cool: The pie needs at least 2 hours to cool before you can slice it. Patience, friends!
Tips & Tricks for the Best Dutch Apple Pie
- Slice the apples 1/4-inch thick for the best texture. They have a perfect balance of soft and crisp after baking. You can use a knife to do this, but it’s so much easier to use an apple slicer. This ensures even slices.
- Use lemon juice. If your apples are too sweet for your liking, squeeze some fresh lemon juice over them. This will balance out the flavors.
- Let the filling sit. Apples contain a lot of liquid, which makes the pie filling prone to being watery. To keep this from happening, let the filling sit for 20 to 30 minutes before transferring it to the pie crust. The sugars in the filling will draw out the liquids in the apples, which you can then discard.
- Drain the liquid. Use a slotted spoon to transfer the pie filling into the crust to drain the liquid. Too much liquid will make the crust soggy.
- Mix it up. You can use either a fork or pastry blender to make the streusel topping. Honestly, though, the easiest way is to use your hands.
- Put the pie in the bottom tray of the oven. That way, the crust will be closest to the oven’s heat source. This will distribute hot air evenly to the bottom of the crust, making it firm and crispy.
- Cover the pie. If the crumble topping starts to brown too much while baking, cover the pie loosely with aluminum foil.
- Watch the temperature. You know the pie is done when the crumble has turned golden brown. But to be extra sure, use an instant-read thermometer. It’s ready when the filling reaches 175 degrees Fahrenheit.
- Let the pie cool for at least 2 hours before slicing it. The juices need time to come to room temperature. If you slice it too soon, the filling will be too watery.
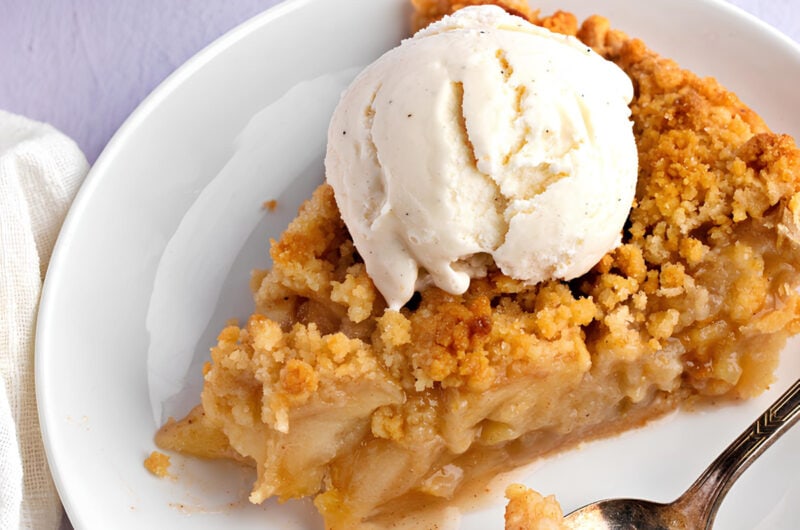
- Serve the pie with a scoop of vanilla ice cream. The combo creates a wonderfully warm and cold contrast.
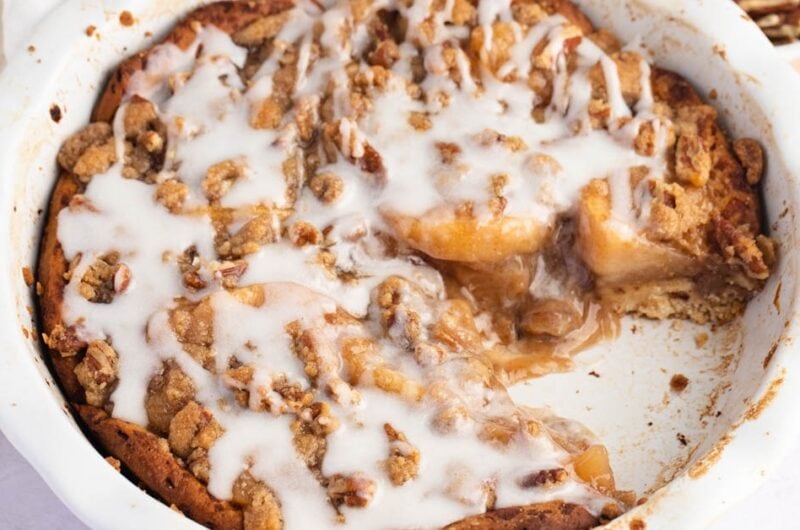
- If you want it extra sweet, drizzle it with warm caramel. It’s so lip-smackingly good!
- Bake the pie a day ahead. This gives the flavors more time to meld. This will also improve the consistency of the filling’s juices.
- Cover the leftovers with plastic wrap or place them in an air-tight container. Store the pie at room temperature for up to 2 days, or in the fridge for up to 5.
What is Blind-Baking?
Blind-baking is the process of baking the pie crust halfway through before adding the filling. It keeps it from getting soggy.
This step is ideal if you want your pie crust to remain firm and crispy.
To blind-bake:
- Line the uncooked crust with aluminum foil and fill it up with uncooked rice or beans.
- Bake it for 10 minutes at 350 degrees Fahrenheit.
- Remove the weights and foil and bake it for 10 more minutes.
- Let it cool completely before adding the filling. (You can speed up this process by chilling it in the fridge.)
Best Apples for Baking
It depends on how sweet or tart you want your pie filling to be.
Granny Smith apples are perfectly crisp. Their tartness contrasts so well with the sweetness of the sugars and the warmth of the spices.
But again, it’s really a matter of preference. There are lots of other apple varieties that are also great for baking, such as:
- Jonagold – tart and sweet
- Honeycrisp – medium sweet, crisp, and firm
- Braeburn – super crisp, gets juicy when baked
- Golden Delicious – sweet
- Gala – sweet
- Fuji – super sweet
While all these types differ in their level of sweetness, they have one thing in common. They hold their shape well even when baked.
Feel free to use a variety of apples, as well. If you like a combination of sweet and tart apples, try a combo of Granny Smith, Honeycrisp, and Golden Delicious.
Should You Cook the Apple Filling?
Some apple pie recipes call for cooking the apples beforehand. I tried it a few times, and it yielded great results.
Cooking the apples together with the sugars and spices gives them a deeper flavor and a thicker juice.
But is it necessary? Nope, it’s not. Baking raw apples is perfectly fine! Trust me, this recipe makes a seriously impressive apple pie.
Sure, baking the apples raw can make the pie filling watery. But if you stick to the tips above, there’s no need to worry.
That said, here's how it's done:
- Melt 2 tablespoons of butter in a skillet.
- Add the apples and stir to coat. Then, mix in the rest of the filling ingredients (not the flour).
- Cook, stirring occasionally, for about 5-7 minutes until they're soft.
- Stir the flour with 2-3 tablespoons of water and add this to the skillet, stirring and cooking for another 2-3 minutes.
- Remove the skillet from the heat and let the apple filling cool to room temperature before using it in your pie.
Can You Freeze It?
Absolutely. In fact, Dutch apple pie is perfect for making in advance because it freezes wonderfully! It’s super ideal during busy holiday seasons.
To freeze the pie, you need to let it come to room temperature completely, first. This will take about 8 hours.
Cover the pie tightly with plastic wrap and foil. Double-wrapping will prevent freezer burn. Label it accordingly and freeze it. Dutch apple pie will freeze well for up to 1 to 3 months.
When you're ready to bake it, take the pie out of the freezer and remove the wrappings. Place a cookie sheet in the middle rack of the oven and preheat it to 350 degrees Fahrenheit. Meanwhile, let the pie thaw on the counter.
Once the oven’s ready, place the pie plate on top of the cookie sheet and reheat it for 30 minutes. If the streusel is browning too much while reheating, cover the plate loosely with foil.
For single pie slices, reheat them either in the oven or the toaster, both at 350 degrees Fahrenheit. If you're using the oven, check them every 3 to 5 minutes to see if the pie is warmed through to your liking. If you're using the toaster, check them every minute.
Dutch Apple Pie
This Dutch apple pie is such a classic! The buttery streusel topping truly takes this beloved dessert over the top.
8
servings15
minutes50
minutes406
kcalIngredients
1 homemade or ready-made pie crust
- For the Pie Filling:
5 1/2 cups apples – peeled, cored, and sliced
1 tablespoon lemon juice
1/2 cup granulated sugar
1/4 cup brown sugar, packed
3 tablespoons all-purpose flour
1/2 teaspoon ground cinnamon
1/4 teaspoon nutmeg
- For the Pie Topping:
3/4 cup all-purpose flour
1/4 cup granulated sugar
1/4 cup brown sugar, packed
1/3 cup butter or margarine, room temperature
Instructions
- Preheat the oven to 375 degrees Fahrenheit. Fit a pie crust into a 9-inch deep-dish pie pan.
- Prepare the filling: In a large bowl, toss together the apples, lemon juice, granulated and brown sugars, flour, cinnamon, and nutmeg.
- Prepare the topping: In a medium bowl, combine the flour, granulated and brown sugars, and butter with a fork or pastry blender just until the mixture turns into coarse crumbles.
- Assemble the pie: Spoon the mixture into the crust with a slotted spoon. Sprinkle the topping over the apples.
- Bake the pie for 50 minutes, or until the topping is golden brown. Let it cool on a wire rack for about 2 hours before serving. Slice and enjoy!


7 Comments
I made this as written and it was fantastic. This time I want to try it with the filling cooked as you listed. I would like to know if cooking the filling ahead of assembling the pie changes the baking time for the pie. Thanks.
WOULD LIKE TO BE ABLE TO PRINT THIS RECIPE!
Hi, Glenna!
If you’ll hit the “jump to recipe” button at the very top of the page, it should send you immediately to the recipe card at the bottom. Look in the lower right-hand corner of that image, and you’ll see a “print” button. 🙂 Hope that helps!
Hi, I would like to know when cooking the apples how long do I cook them for on the stove ?
Hi Glenda!
Here’s how it’s done:
1. Melt 2 tablespoons of butter in a skillet.
2. Add the apples and stir to coat. Then, mix in the rest of the filling ingredients (not the flour).
3. Cook, stirring occasionally, for about 5-7 minutes until they’re soft.
4. Stir the flour with 2-3 tablespoons of water and add this to the skillet, stirring and cooking for another 2-3 minutes.
5. Remove the skillet from the heat and let the apple filling cool to room temperature before using it in your pie.
I love your recipes. I tried the apple Dutch pie, and it was so tasty. Thanks for sharing.
So happy to hear you liked it, Desire!