Turn your regular weekday meals into a gourmet dining experience with this drawn butter recipe!
Whether you’re making a seafood feast, toasting bread, or elevating steamed vegetables, drawn butter is the bomb.
But what is drawn butter? How do you make it? And why is it such a delicious addition to your meals?
Believe it or not, making drawn butter is easier than you think. Plus, I have tried-and-true tips and tricks for an unbeatable result.
Ready? Turn your ordinary meals into extraordinary ones and try this recipe today!
What is Drawn Butter?
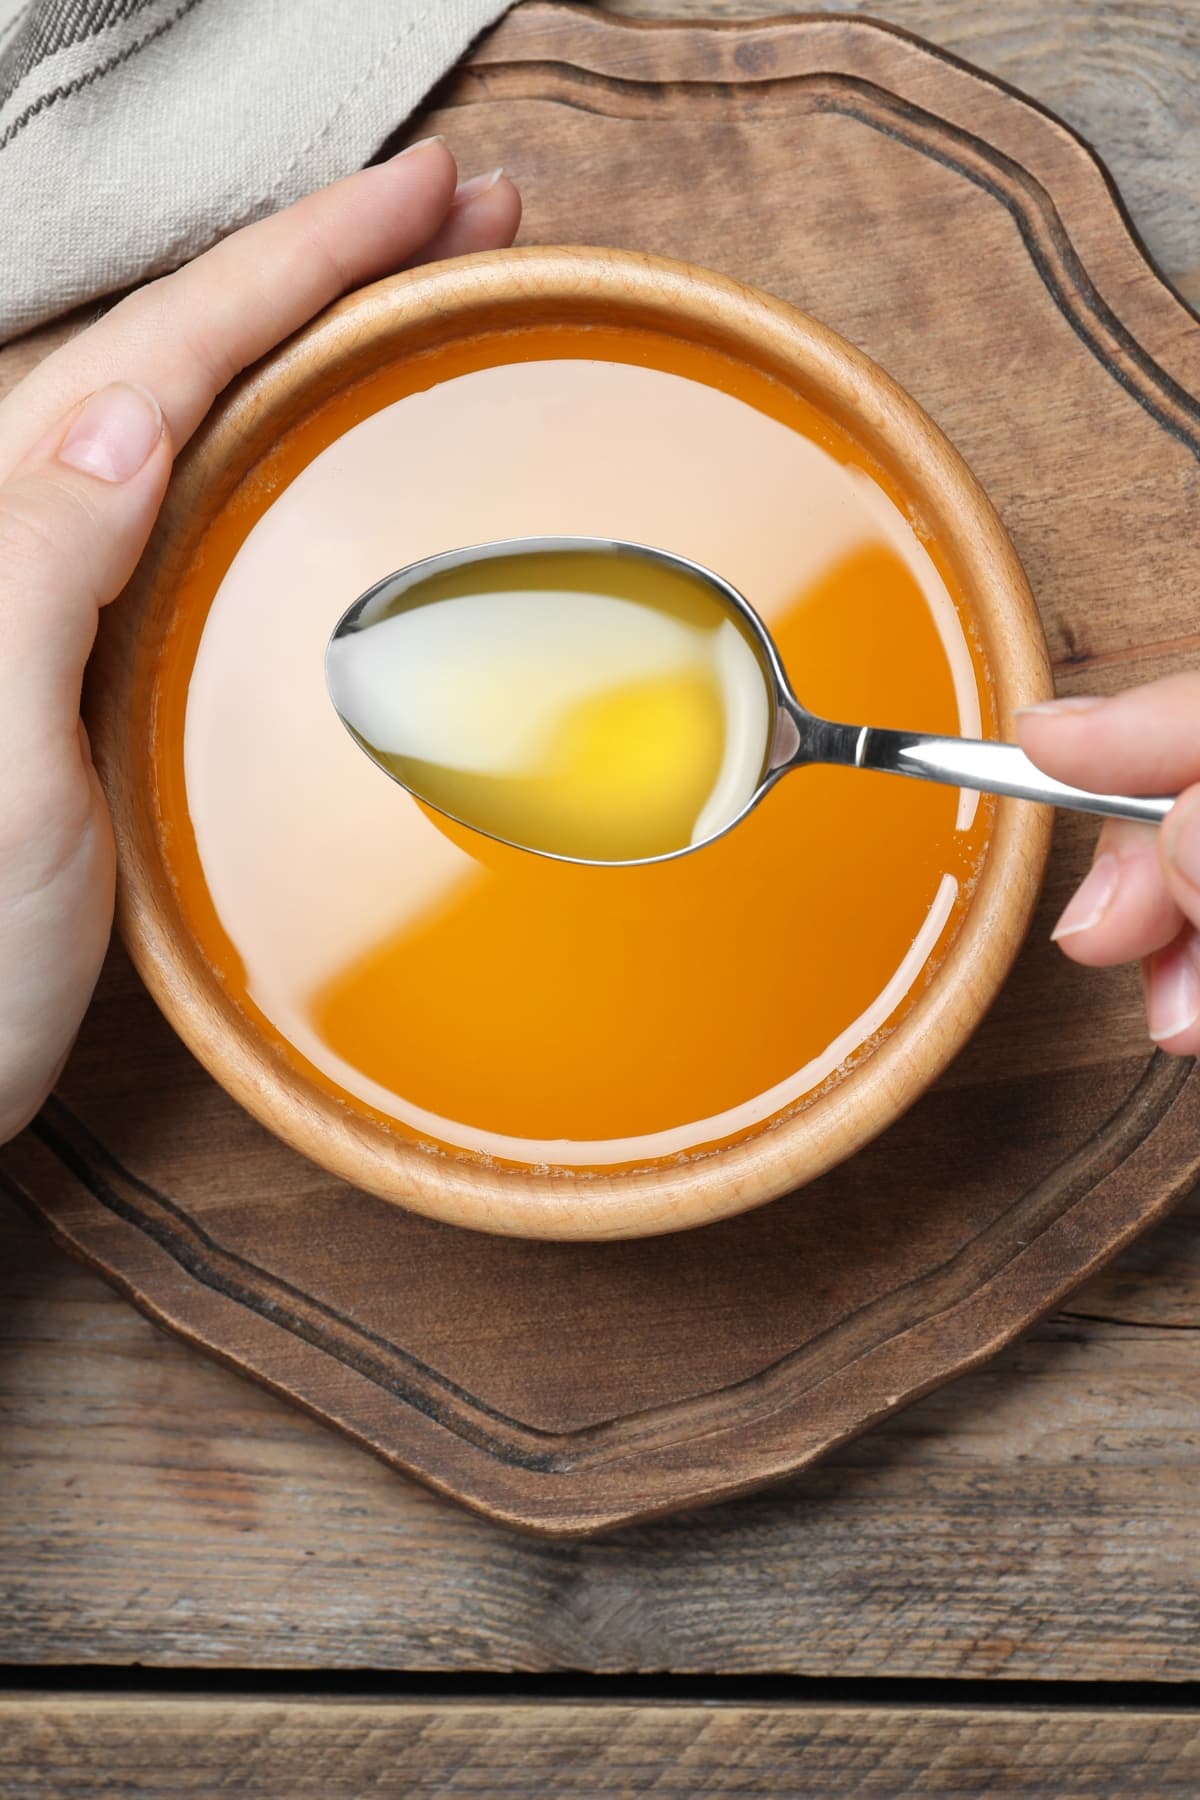
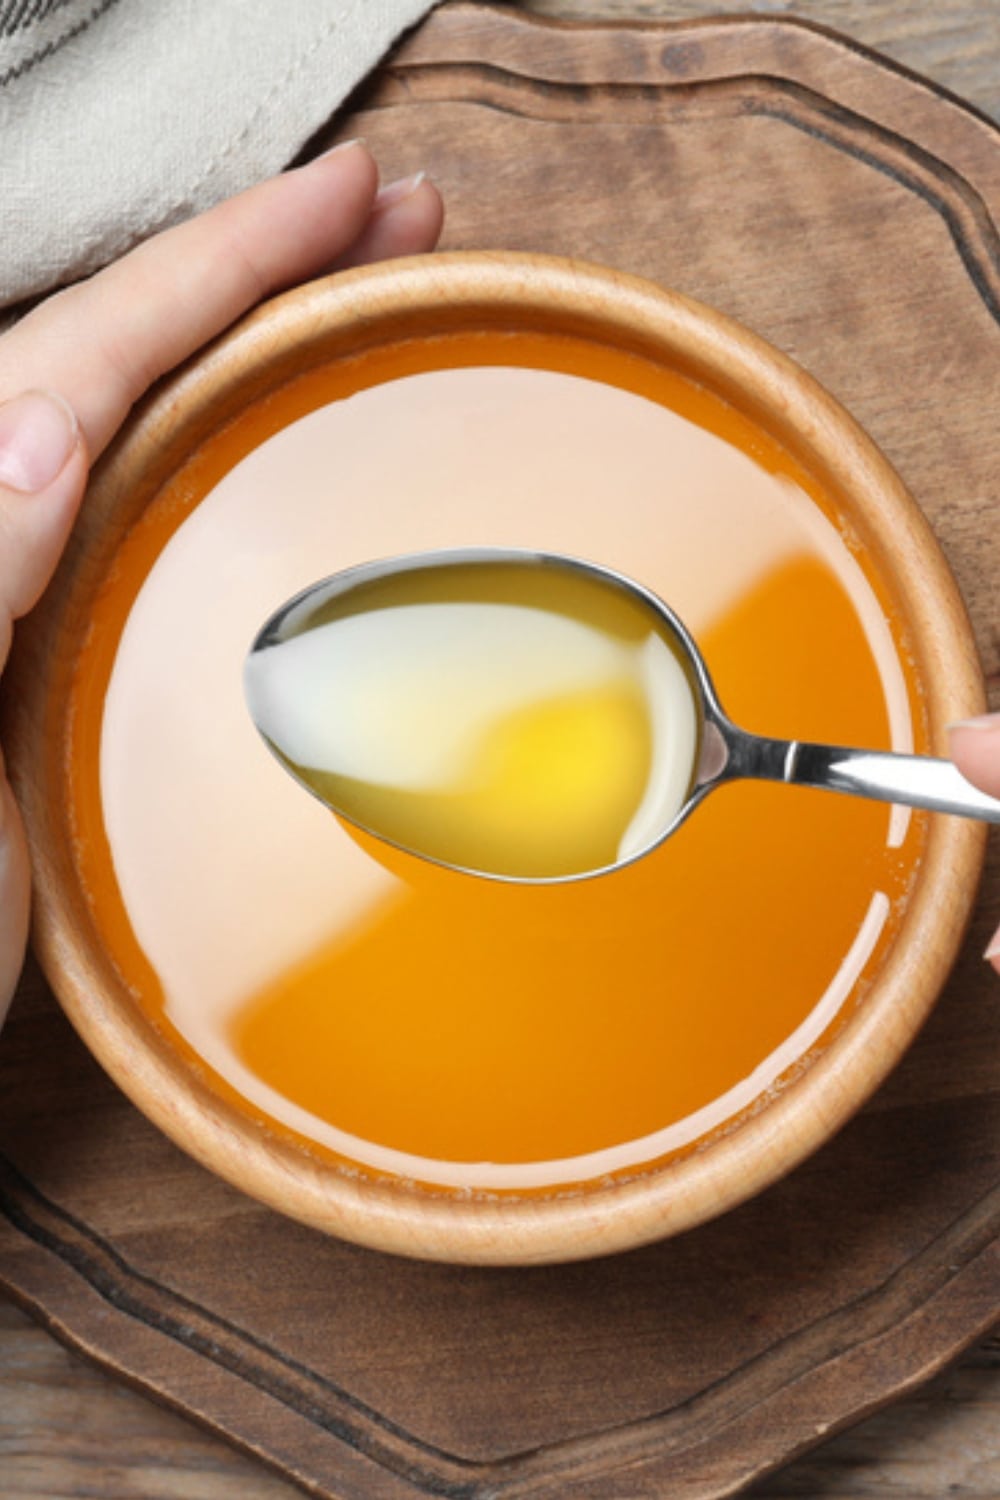
Drawn butter, in its simplest terms, is melted butter, usually served warm.
It’s made by melting butter and then skimming off the foam that rises to the top. Some milk solids might remain in drawn butter.
The melted butter is set aside to solidify, and any liquids are drained. It results in a melty, flavorful butter ideal for dipping seafood dishes.
It’s a quick, easy, and delicious way to add a gourmet touch to your home-cooked seafood feast.
Drawn Butter vs. Clarified Butter vs. Ghee
Contrary to common belief, drawn butter is different from clarified butter. Making clarified butter involves a process of skimming off the milk solids thoroughly.
Clarified butter is typically cooked longer, separating and removing all the milk solids.
This method gives clarified butter a higher smoke point than regular or drawn butter. It’s suitable for high-heat cooking methods like sautéing or frying.
Ghee is a staple in Indian cooking and closely resembles clarified butter. It’s essentially pure butter fat, stripped of water and milk solids.
Due to its high smoke point, ghee is frequently used for frying foods.
Ingredients
This recipe has only one ingredient, which you can probably guess!
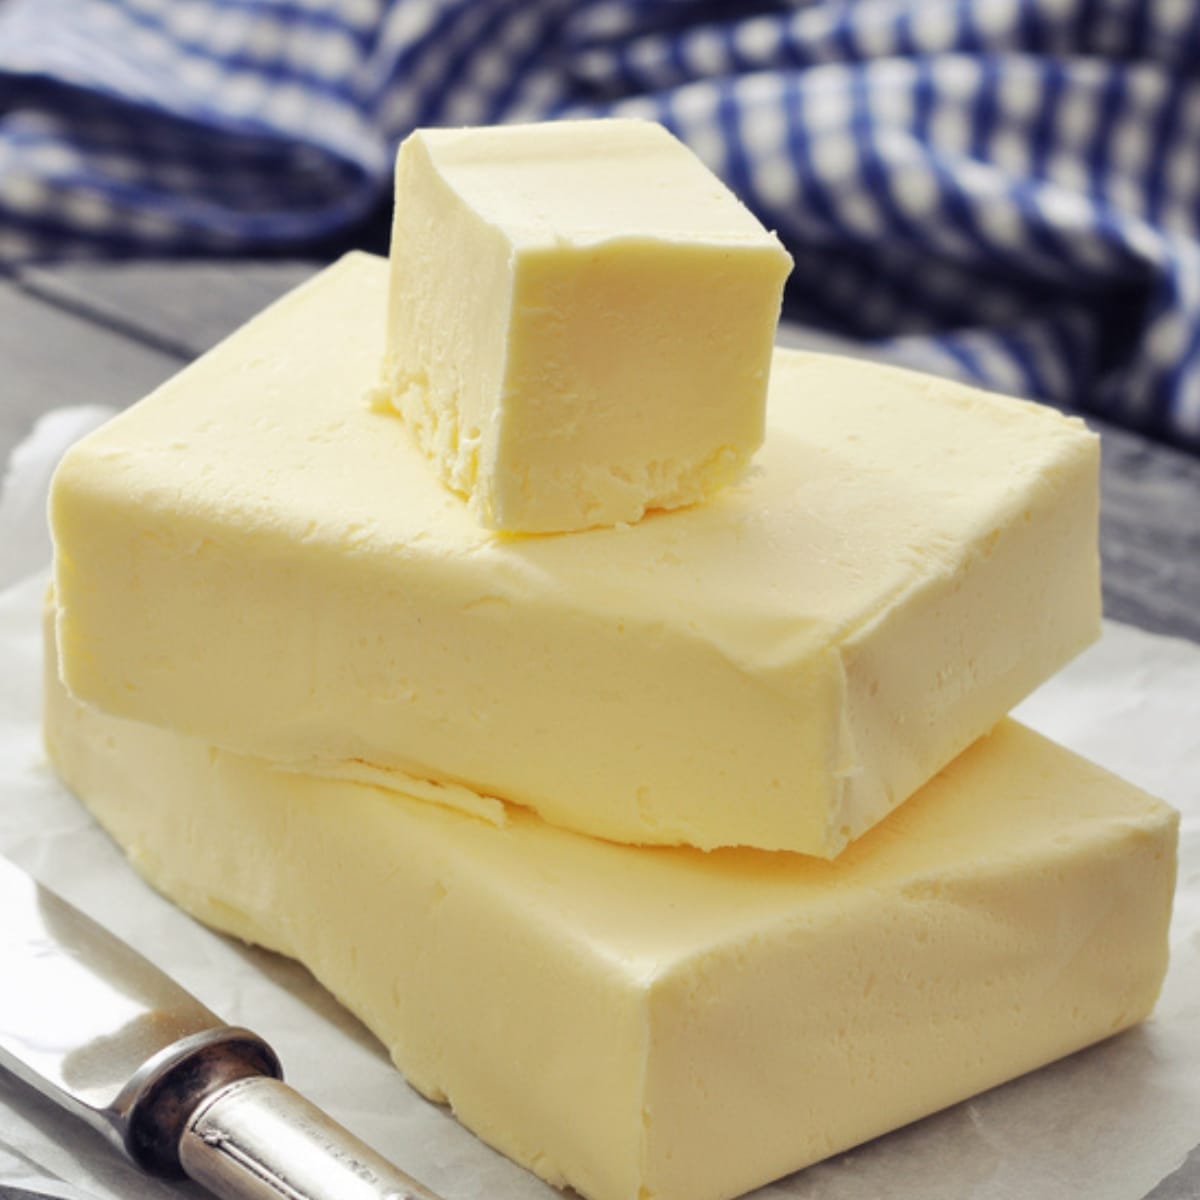
- Butter – It’s the critical ingredient in making this decadent, melty delight. I used unsalted butter for better results.
Can You Use Salted Butter for Making Drawn Butter?
Yes, you can use salted butter to make drawn butter. The process of making drawn butter remains the same.
However, remember salted butter will give the drawn butter a saltier taste. And salted butter is more likely to burn, so be sure to keep an eye on it.
How to Make Drawn Butter
Follow these simple steps to indulge in delicious drawn butter.
- Melt the butter. Palace the butter at the top of a double boiler. Gently melt it over simmering water for 5 to 7 minutes.
- Cool it down and skim the foam. Allow the melted butter to cool down for a bit. Once it’s cooled, skim the form that has collected on top and discard it.
- Allow the skimmed butter to solidify. After skimming, leave the butter to harden. This process can take from 8 hours to overnight.
- Remove the excess liquid. After the butter has solidified, pour off and discard any collected liquid.
- Melt the butter completely. Place solidified butter in a microwave-safe bowl. Heat in the microwave until it’s melted completely.

Tips & Recipe Notes
Follow these tips to get perfect butter every time.
- Quality is key. Opt for high-quality, unsalted butter for the best results. The flavor of your drawn butter largely depends on the quality of the butter you use.
- Be gentle! Melt your butter over medium-low heat to avoid burning. This process should be gentle and slow for the best consistency.
- Serve it warm but not too hot. Allow your drawn butter to cool slightly before serving. It should be warm to the touch but not hot to bring out the best flavor.
- Use it ASAP! Drawn butter is best enjoyed immediately after preparation. This will ensure it’s at the optimal temperature and consistency.
- Try using a double boiler. A double boiler can help melt the butter more evenly and prevent overheating.
- Pay attention to serving size. One pound of butter yields 12 ounces of drawn butter.
it - Add a flavor infusion. Add herbs or spices while melting for an elevated take on drawn butter. Strain it before serving it for infused drawn butter with a gourmet touch.
Serving Suggestions
The rich, indulgent flavor of drawn butter makes it a versatile addition to many dishes. Here are some delicious pairings for your homemade drawn butter:
- Classic Shrimp
- Lobster Tail
- Steamed Scallops
- Baked Cod
- Steamed Vegetables
- Rosemary Roasted Potatoes
- Brioche French Toast

How to Store & Freeze
If you leave melted butter hanging around, it’ll solidify again on the countertop or in the fridge. So, if you have leftover drawn butter, let it cool down completely first.
To Store: Transfer the drawn butter to an air-tight container or jar and store it in the refrigerator. It should last for about 6 months in the fridge.
To Freeze: For even longer storage, you can freeze drawn butter for up to a year.
To Reheat: When you’re ready to use it, gently reheat it on the stove or in the microwave. Avoid overheating it, as this can cause the butter to separate.
