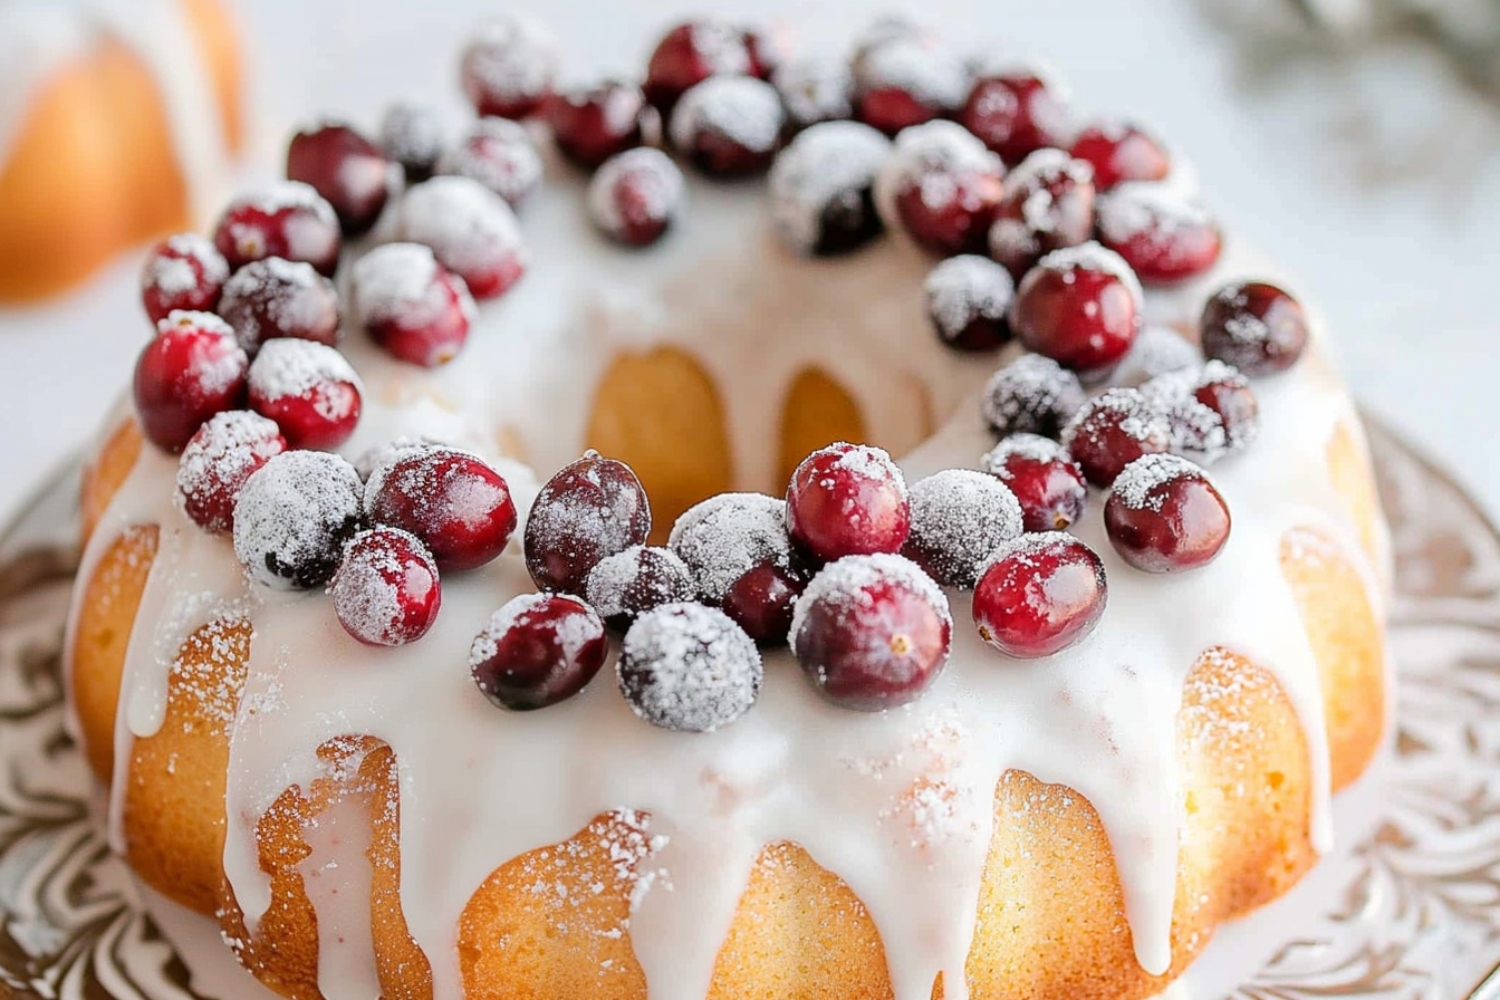

Between the pops of tart fruit and the sweet citrusy glaze, these cranberry orange scones are a dream come true any time of year.
They’re light, buttery, and loaded with fruity flavors that’ll keep you coming back for more.
These scones are perfect with a cup of tea or coffee, but they won’t last long, so I suggest making double!

Why You’ll Love These Cranberry Orange Scones
Delicious Fruity Taste: The scones provide a delightful balance of tart cranberries and sweet orange glaze, creating a taste that is both refreshing and satisfying without being overly sweet.
Simple Preparation: With straightforward steps, this recipe is accessible even to novice bakers.
Festive Appeal: Cranberry orange scones are perfect for holiday gatherings, offering a vibrant and cheerful presentation.
Make-Ahead Magic: The dough can be prepared in advance and refrigerated or frozen, allowing you to bake fresh scones on demand for unexpected guests or busy mornings.

Ingredients
- Fresh or Dried Cranberries: Tart, juicy, and vibrant red, they’re key to the tart taste. I like fresh but dried are ideal for when they’re out of season.
- Orange Zest & Juice: Bright and citrusy, the zest makes the scones wonderfully aromatic, while the juice is used in the glaze.
- All-Purpose Flour & Baking Powder: The dynamic duo for the perfect scone texture. Flour provides structure, while baking powder ensures a light and fluffy crumb.
- Granulated & Brown Sugar: Sweetens the scones and balances the tartness of the cranberries.
- Salt & Vanilla: Bring out the best in all the ingredients.
- Unsalted Butter: Frozen, grated butter is the trick to getting the flakiest scones. It’s easier to mix, too!
- Heavy Cream: Rich and indulgent, it’s the secret to tender scones. It’s also brushed on top for a nice golden finish.
- Large Egg: The binding hero that holds the scones together and contributes to a soft texture.
- Powdered Sugar: For the glaze.
How to Make Cranberry Orange Scones
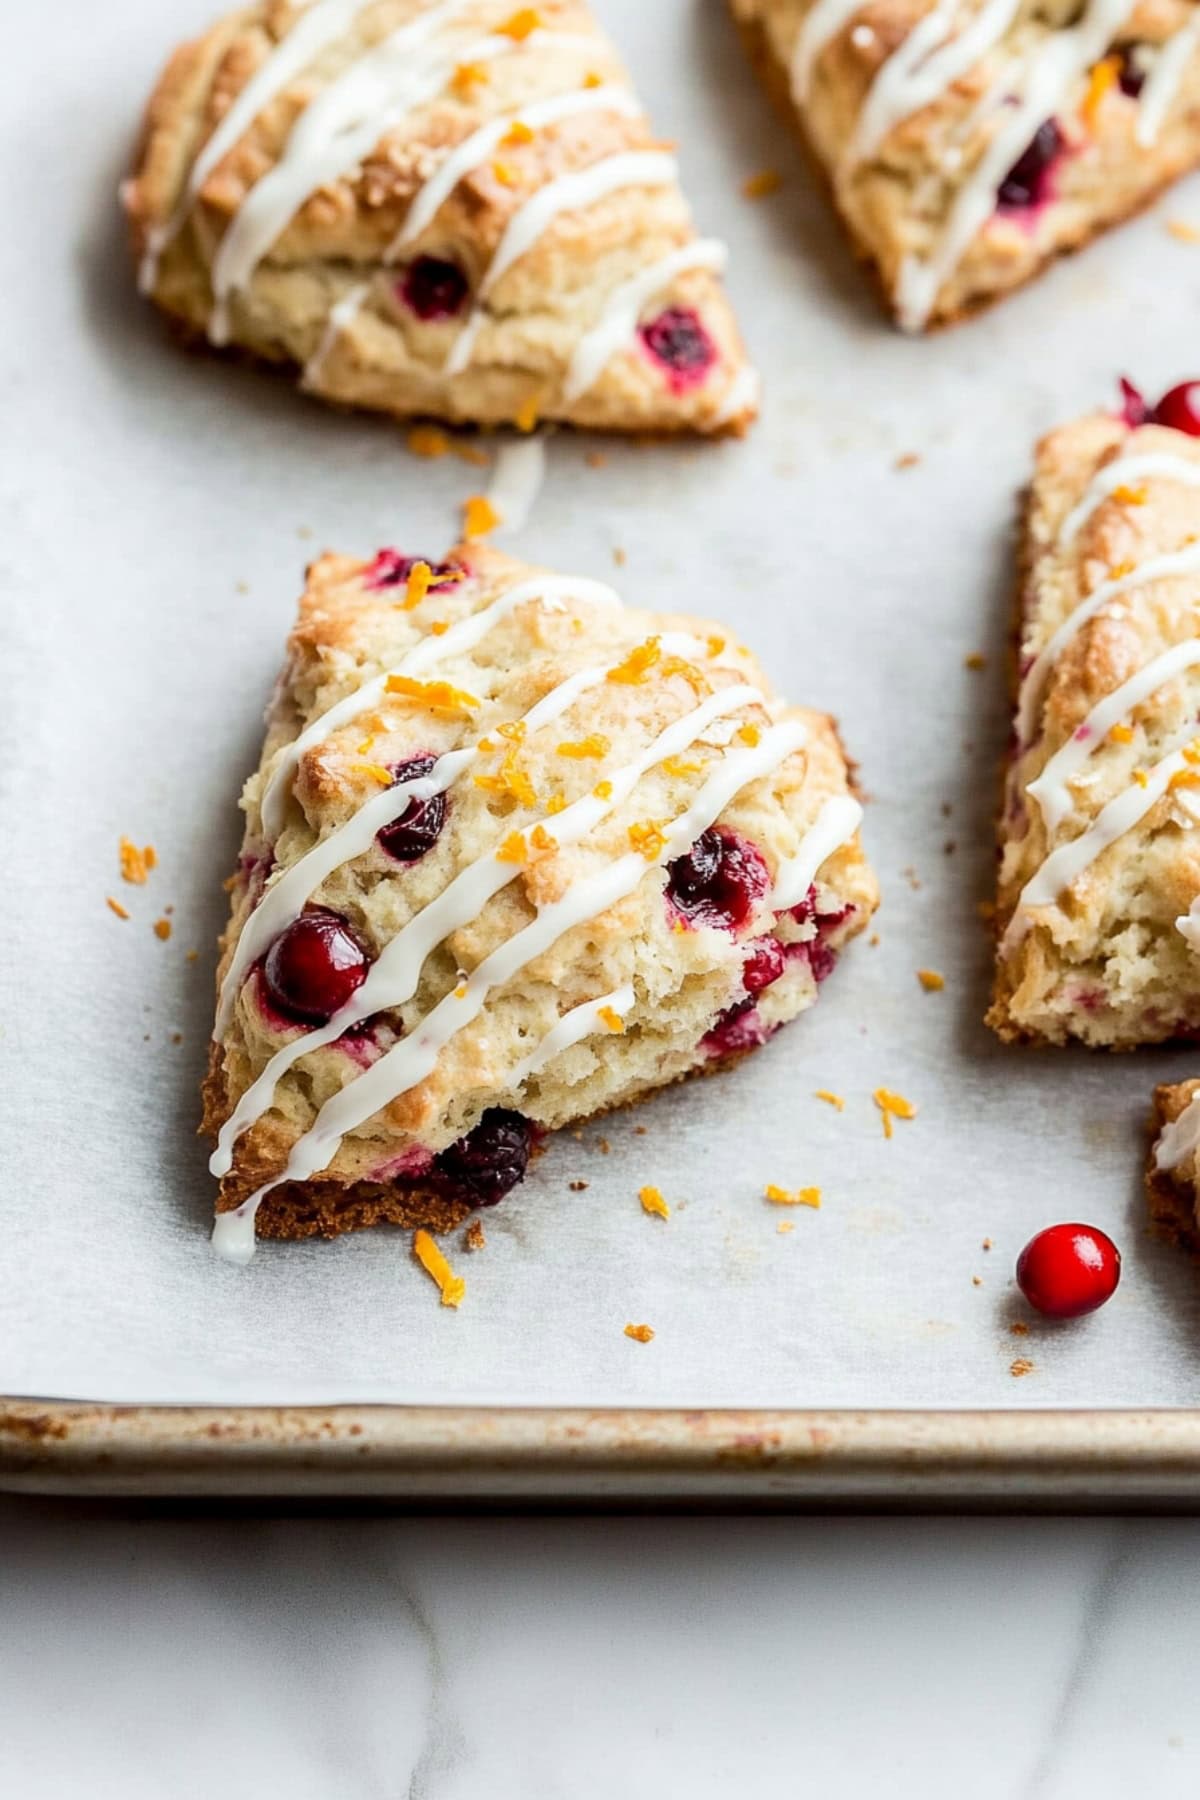
The vibrant pop of red cranberries against the golden-brown scone, all topped with a glossy orange glaze, makes for a treat that’s as beautiful as it is delicious.
And yet, they’re a cinch to whip up!
1. WHISK the dry ingredients until well blended, then work in the grated butter until it resembles coarse crumbs. Stir in the zest and cranberries.
2. COMBINE the cream, egg, and vanilla until smooth, then stir into the flour bowl until a shaggy dough forms.
3. TURN the dough onto a lightly floured surface and knead/pat into a 1-inch thick disk.
4. CUT the dough into 8 wedges, brush with cream, and chill for 15-30 minutes.
5. PREHEAT the oven to 400°F (205°C).
6. ARRANGE the scones on parchment-lined baking sheets with 2-3 inches between, and bake for about 20 minutes. Cool on the trays then on a wire rack.
7. MIX the glaze ingredients until smooth and drizzle over the cooled scones. Enjoy!

Tips For the Best Cranberry Orange Scones
Whether you’re hosting a brunch or treating yourself to a special breakfast, these scones are so good, you’ll have a hard time stopping at just one.
Never made scones before? No worries! I have a few handy tips to help you along the way:
- Use frozen butter. Grate it right into the bowl to make mixing easier. The colder the butter, the flakier the scones will be, thanks to all that extra steam!
- Roughly chop the berries. This gives bursts of tart flavor throughout the scones with different layers of texture.
- Flour measuring. Weight the flour for the most accurate amounts. Or spoon it into the measuring cup and level it off with the back of a knife. Don’t scoop from the container, or you’ll get way too much.
- Shaggy dough. Mix the dough until it just comes together and looks a bit shaggy. Overmixing can lead to tough scones.
- Add sugar. After brushing with the cream, sprinkle some coarse sugar over the top for crunch.
- Don’t skip the chill. This allows the gluten to relax and ensures the butter is as cold as possible.
- Use frozen fruit. I don’t use frozen fruit because I like to chop the berries and it’s hard to chop solid berries. If you use them, keep them frozen.
- Cool slightly. Let the scones cool on the baking sheet for about 10 minutes before transferring to a wire rack. This allows them to firm up a bit so they don’t break apart.
- Glaze viscosity. It should be thick enough to leave ribbons in the bowl but not so thick you can’t pour it. If it’s runny, it’s too thin and needs more sugar.

How to Store
Want to make these ahead for a book club or holiday party? You totally can!
Though I recommend only making the dough and then baking them when needed.
To Make-Ahead: Make and shape the dough, then flash-freeze the wedges on a tray until solid. Transfer to a freezer bag for 1-2 months. Bake from frozen with cream brushed on top and a few extra minutes in the oven.
To Store: Place cooled scones in an airtight container at room temperature for up to 2 days or in the refrigerator for up to 5 days.
To Freeze: Wrap cooled, unglazed scones tightly in plastic wrap and place in a freezer bag for up to 3 months. Thaw at room temperature and glaze before serving.
More Buttery Scones You Have to Try
Lemon Poppyseed Scones
Chocolate Chip Scones
Glazed Lemon Blueberry Scones
Strawberry Scones
Cranberry Orange Scones
8
servings20
minutes20
minutes344
kcalBetween the pops of tart fruit and the citrusy glaze, these cranberry orange scones are a dream come true any time of year.
Ingredients
- For the Scones
2 cups (240g) all-purpose flour
1/4 cup granulated sugar
1/4 cup light brown sugar
2 teaspoons baking powder
1/2 teaspoon salt
1/2 cup frozen unsalted butter
1 orange, zested and juiced
1 cup fresh or dried cranberries, roughly chopped
1/2 cup heavy cream, plus more for brushing
1 large egg
1 teaspoon vanilla extract
- For the Orange Glaze
1 cup powdered sugar
2-3 tablespoons fresh orange juice
Instructions
- Make the scones: In a large bowl, whisk the flour, sugars, baking powder, and salt. Grate the frozen butter into the bowl and combine with a pastry cutter or your fingers until it resembles coarse crumbs with some pea-sized pieces remaining.
- Gently stir in the orange zest and chopped cranberries. Set aside.
- In a separate bowl or measuring glass, whisk the heavy cream, egg, and vanilla until smooth. Pour over the flour mixture and gently stir with a fork until a shaggy dough forms.
- Turn the dough out onto a lightly floured surface and knead gently a few times until it comes together. Pat into a 1-inch thick circle, cut into 8 wedges, and transfer to a parchment-lined baking sheet. (No need to leave space between them.)
- Brush the tops of the scones with a little heavy cream and place the tray in the freezer for 15-30 minutes.
- Preheat oven to 400°F (205°C) and line a second baking sheet with parchment paper.
- Rearrange the scones between the two baking sheets, leaving 2-3 inches between them.
- Bake for 18-22 minutes until golden brown. Let cool on the baking sheet for 10 minutes before transferring to a wire rack.
- Make the glaze: Whisk the powdered sugar and orange juice until smooth. Add more sugar, as needed, to reach a thick but pourable consistency.
- Drizzle the glaze over the cooled scones and let set for a few minutes before serving. Enjoy!
Notes
- Zest first. Zest the orange before juicing it for the glaze. It’s much easier to zest a whole orange than to try to zest orange halves or quarters.
- Variations. Try substituting other berries like blueberries or raspberries, or add chopped nuts like pecans or walnuts for extra crunch. Lemon zest and dried cranberries are another delicious combination.
- Make ahead. Unbaked scones can be stored in the refrigerator for up to 24 hours or frozen for up to 2 months. If making ahead for a party, don’t add the glaze until just before serving.
Did you like the recipe?
Click on a star to rate it!
Average rating 5 / 5. Vote count: 1
No votes so far! Be the first to rate this post.
We are sorry that this post was not useful for you!
Let us improve this post!
Tell us how we can improve this post?


