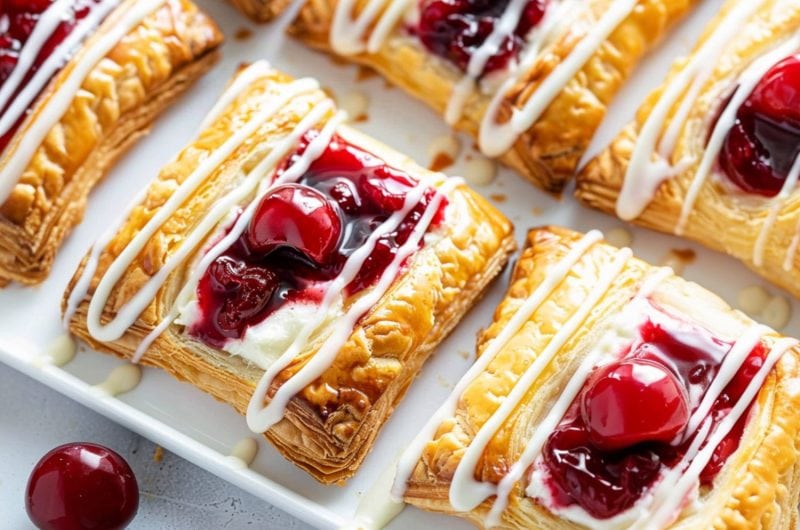


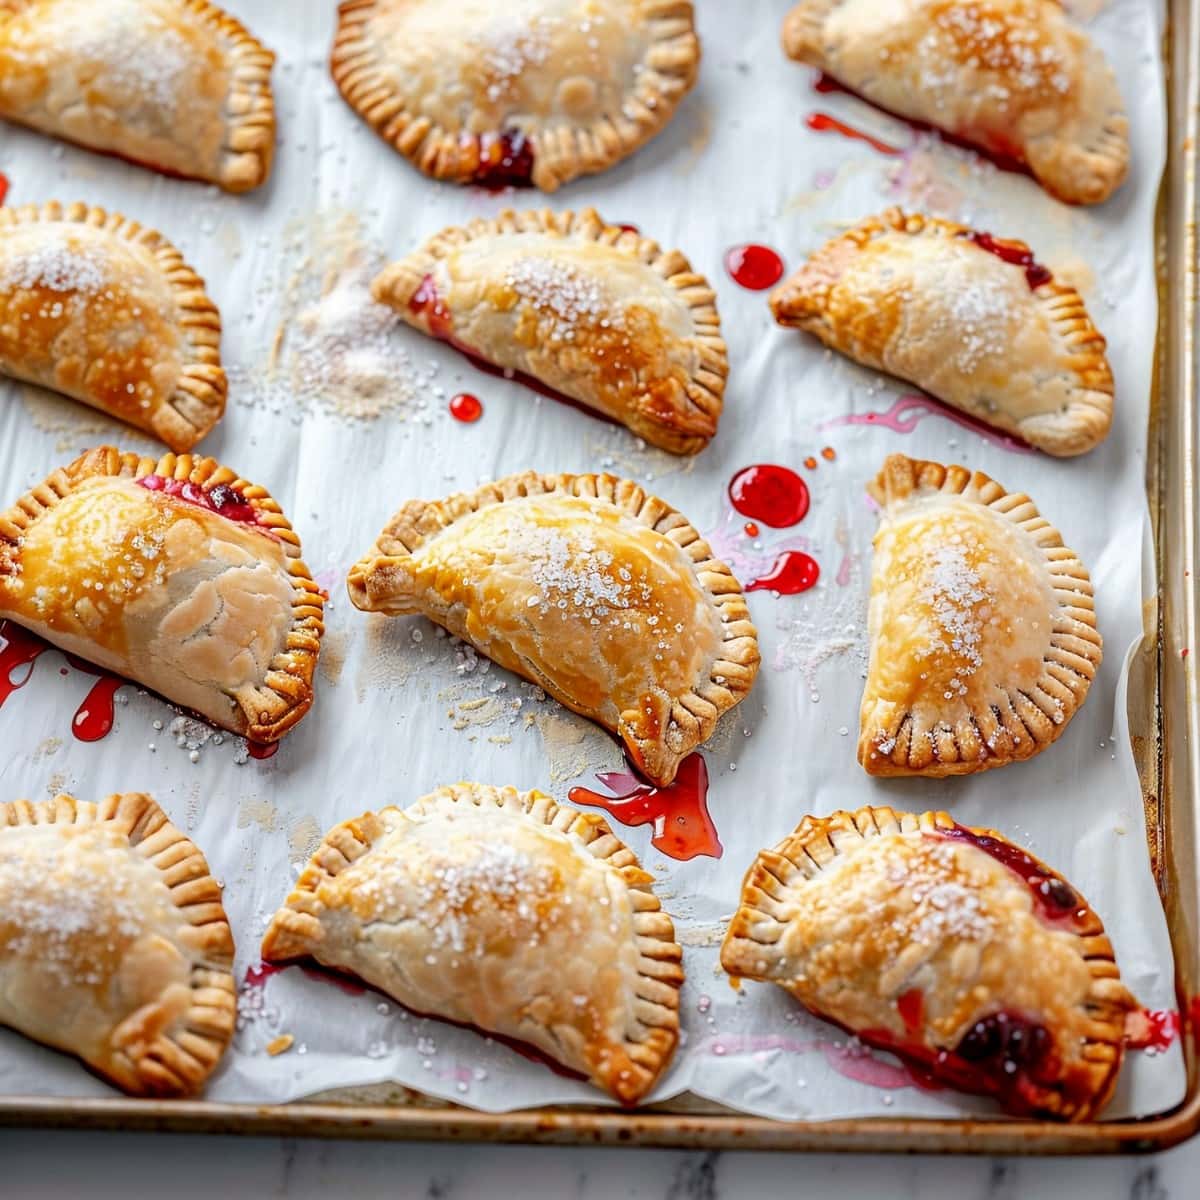
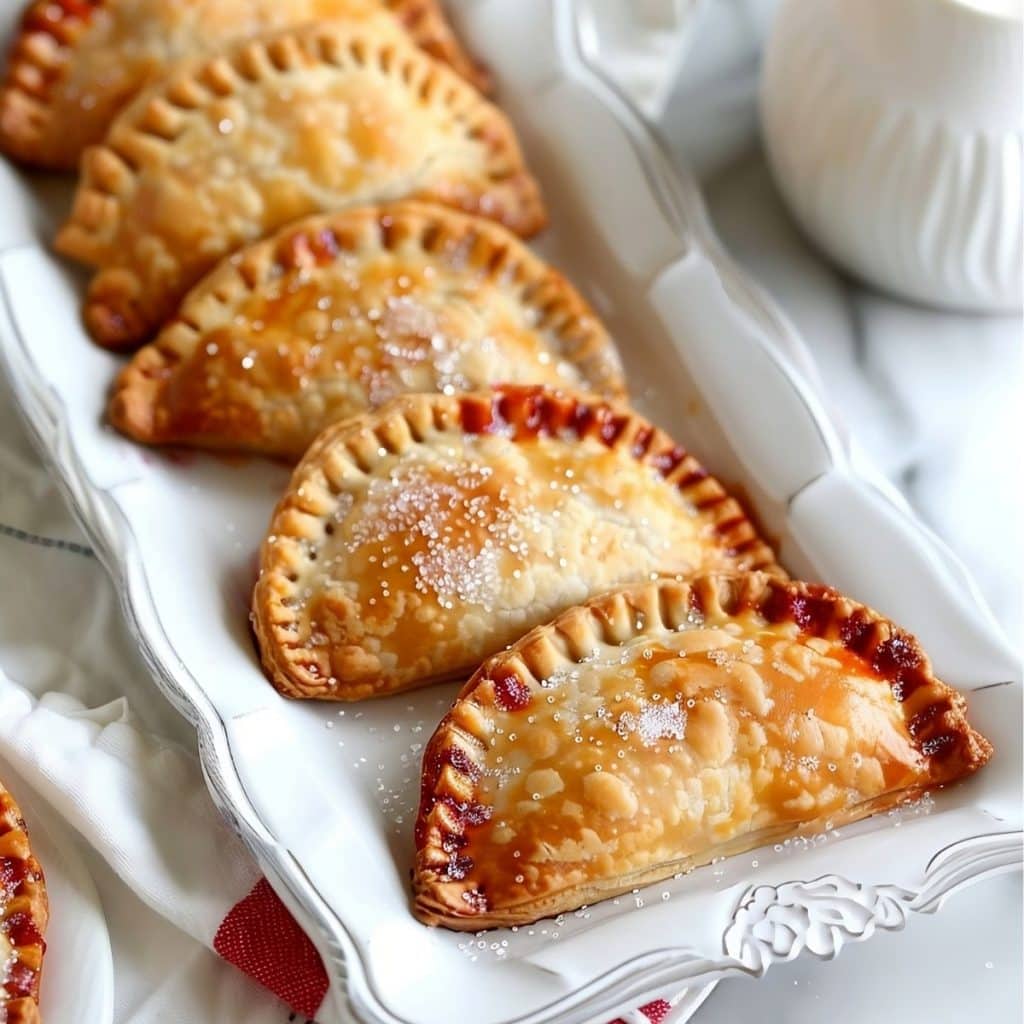
Looking for a warm, fruity, sweet summer treat? These cherry hand pies are just the thing.
They’re light and fruity, with plenty of juicy filling. They’re also ideal for serving at parties because you don’t need a plate or fork!
And thanks to the store-bought pie crust and a can of pie filling, these buttery, flaky, drool-worthy treats come together in just 30 minutes!
Make them for your next picnic, potluck, or summer BBQ, and watch how quickly they disappear.

Why You’ll Love These Cherry Hand Pies
Simple Steps & Ingredients: Cut circles out of ready-made pastry and fill them with pie filling. How easy (and budget-friendly) is that?!
Irresistible Taste: As long as you get brands you enjoy, these babies will satisfy your sweet tooth with just one bite.
Portable & Perfect for Packing: Like on-the-go snacking? How about picnics or packed lunches? Either way, these pies are ideal for all of those occasions.
Ingredients
- Refrigerated Pie Crust: As mentioned, you’ll want to grab a brand you know and love. I almost always choose Pillsbury.
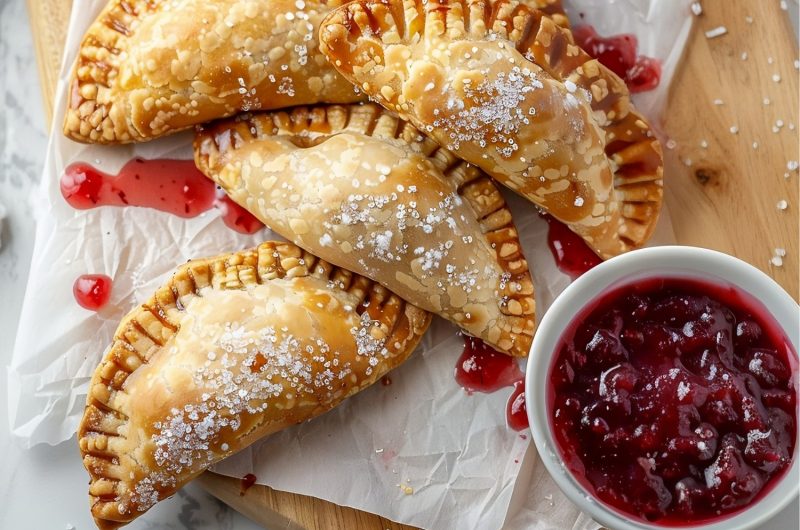
- Cherry Pie Filling: Don’t worry about making the filling from scratch. Just pick up a can of sweet, tart, juicy cherry pie filling, and you’re all set.
- Large Egg (+Water): The secret to a golden, glossy finish. It also helps seal the pies.
- Coarse Sugar: The sweet and crunchy final touch. Sprinkle it over the egg wash to dial these hand pies up to 11!
How to Make Cherry Hand Pies
If you want to make your own pastry and filling, go for it! Just keep in mind you’ll need to make both ahead so the pastry can rest and the filling can cool.
But if you just need something quick and sweet, this recipe is ideal!
Here’s how to make them:
1. PREP: Preheat the oven to 400°F (205°C) and line two baking sheets with parchment paper.
2. CUT: Unroll the pie crusts and cut into circles using a 4-inch cookie cutter. Place the circles on a baking sheet and refrigerate while you cut more.
3. FILL: Whisk the egg and water in a bowl. Brush the edges of the dough circles and then spoon 1 tablespoon of cherry filling into the center of each.
4. SEAL: Fold the dough in half and seal with a fork. Cut small slits on top for steam to escape.
5. BAKE: Place the hand pies on baking sheets, brush the tops with egg wash, and sprinkle with coarse sugar. Bake for 18-20 minutes until golden brown.
Enjoy the cherry hand pies warm or at room temperature!

Tips for the Best Cherry Hand Pies
With only five ingredients, this is definitely a foolproof recipe.
But if you’re new to making hand pies, don’t worry. These tips will help!
- Keep it cool. I suggest keeping the pastry in the fridge when you’re not using it. That means the other pastry sheets as you cut one, and then the circles after cutting. The softer they are, the less flaky they’ll be.
- Chill the pies. Speaking of keeping cool, wrap and chill the pies for 30-60 minutes after assembling. It’ll make them extra flaky!
- Let homemade filling cool. If you make the pie filling from scratch, let it cool completely before adding it to the dough. Hot pie filling will make the dough soggy.
- Don’t overfill. It’s tempting, but too much filling will cause them to burst.
- Seal tightly & vent. Be sure to press and crimp the edges firmly with a fork. If the pies aren’t fully sealed, they’ll leak. Additionally, don’t forget to cut slits in the top to allow the steam to escape. Doing so makes the filling nice and bubbly.
- Vary the recipe. You can use different pie fillings, such as blueberry, peach, or apple. The filling may also benefit from adding a bit of spice, like cinnamon.
- Try puff pastry. Feel free to use thawed puff pastry instead. Since it’s in a rectangle, it’s easier to cut the pasty into squares to make triangles or to cut small rectangles and layer them like pop-tarts.
- Add a glaze. For added sweetness, make a simple glaze of 1/2 cup powdered sugar, 1-2 tablespoons milk, and 1/2 teaspoon vanilla. Drizzle it over the baked and cooled pies.
How to Store
This recipe is designed to use (almost) a full can of pie filling, so you don’t have to worry about leftovers.
So, it makes quite a few pies. Luckily, you can easily store leftovers or freeze them for later.
To Store: Place the cooled pies in an airtight bag or container. Leave them at room temperature for 2 days or stored in the fridge for up to 5 days.
To Freeze: Assemble, then flash-freeze the unbaked hand pies. Transfer them to a freezer bag for 2-3 months. Bake straight from frozen, adding a few minutes to the baking time.
To Reheat: Warm refrigerated pies in the oven for 10 minutes at 300 degrees Fahrenheit. I don’t recommend the microwave as the pastry will go soggy.
More Hand Pies You Have to Try
Peach Hand Pies
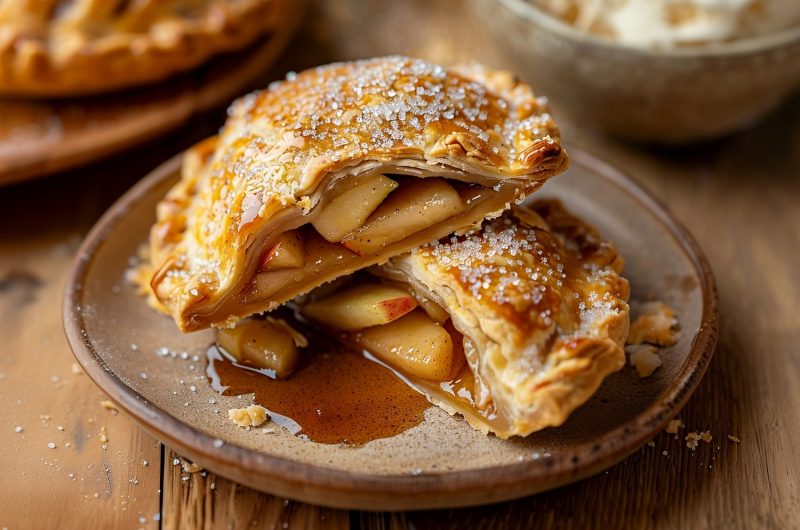
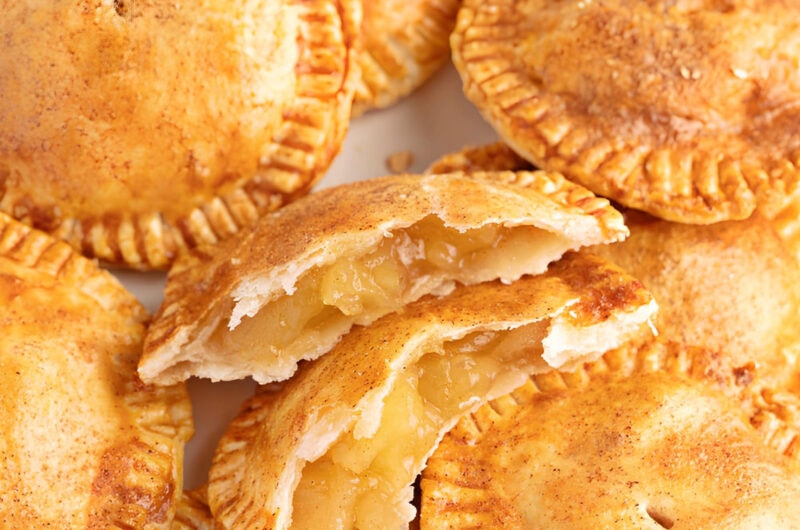
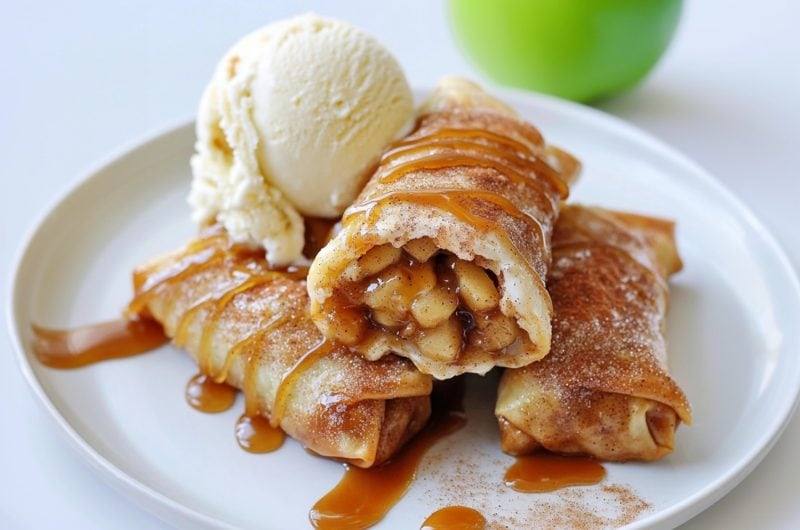
Apple Hand Pies
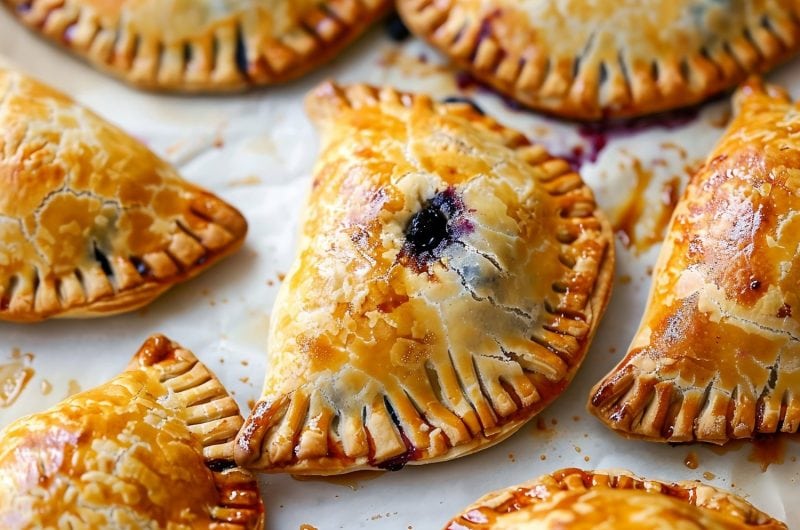
Blueberry Hand Pies
Cherry Hand Pies
24
servings10
minutes20
minutes238
kcalThanks to the store-bought pie crust and a can of pie filling, these buttery, sweet cherry hand pies come together in just 30 minutes!
Ingredients
2 (14.1 ounce) boxes boxes refrigerated pie crusts (2 crusts per box)
1 large egg, beaten
1 tablespoon water
1 (21 ounce) can cherry pie filling
coarse sugar for sprinkling
Instructions
- Preheat the oven to 400 degrees Fahrenheit (205°C) and line two baking sheets with parchment paper.
- Working in batches, unroll the pie crusts on a lightly floured surface and cut into portions with a 4-inch round cookie cutter. Lay the circles on a baking sheet (some overlap is okay if they’re floured) and keep in the fridge as you re-roll scraps and cut more circles. Repeat with each sheet of pastry.
- In a small bowl, whisk the beaten egg and water. Brush the edges of the dough circles with the egg wash and spoon about 1 tablespoon of cherry pie filling into the center of each.
- Fold the dough circles in half, encasing the filling, and press the edges with a fork to seal. Cut small slits on the top of each hand pie to allow steam to escape during baking.
- Arrange the hand pies on the two baking sheets, spacing them 2 inches apart. Brush the tops with the remaining egg wash and sprinkle with coarse sugar.
- Bake for 18-20 minutes, or until golden brown. Let them cool on the baking sheet for 5 minutes before transferring them to a wire rack to cool completely.
- Serve the cherry hand pies warm or at room temperature. Enjoy!
Notes
- Keep it cool. I suggest keeping the pastry in the fridge when you’re not using it. That means the other pastry sheets as you cut one, and then the circles after cutting. The softer they are, the less flaky they’ll be.
- Chill the pies. Speaking of keeping cool, wrap and chill the pies for 30-60 minutes after assembling. It’ll make them extra flaky!
- Add a glaze. For added sweetness, make a simple glaze of 1/2 cup powdered sugar, 1-2 tablespoons milk, and 1/2 teaspoon vanilla. Drizzle it over the baked and cooled pies.