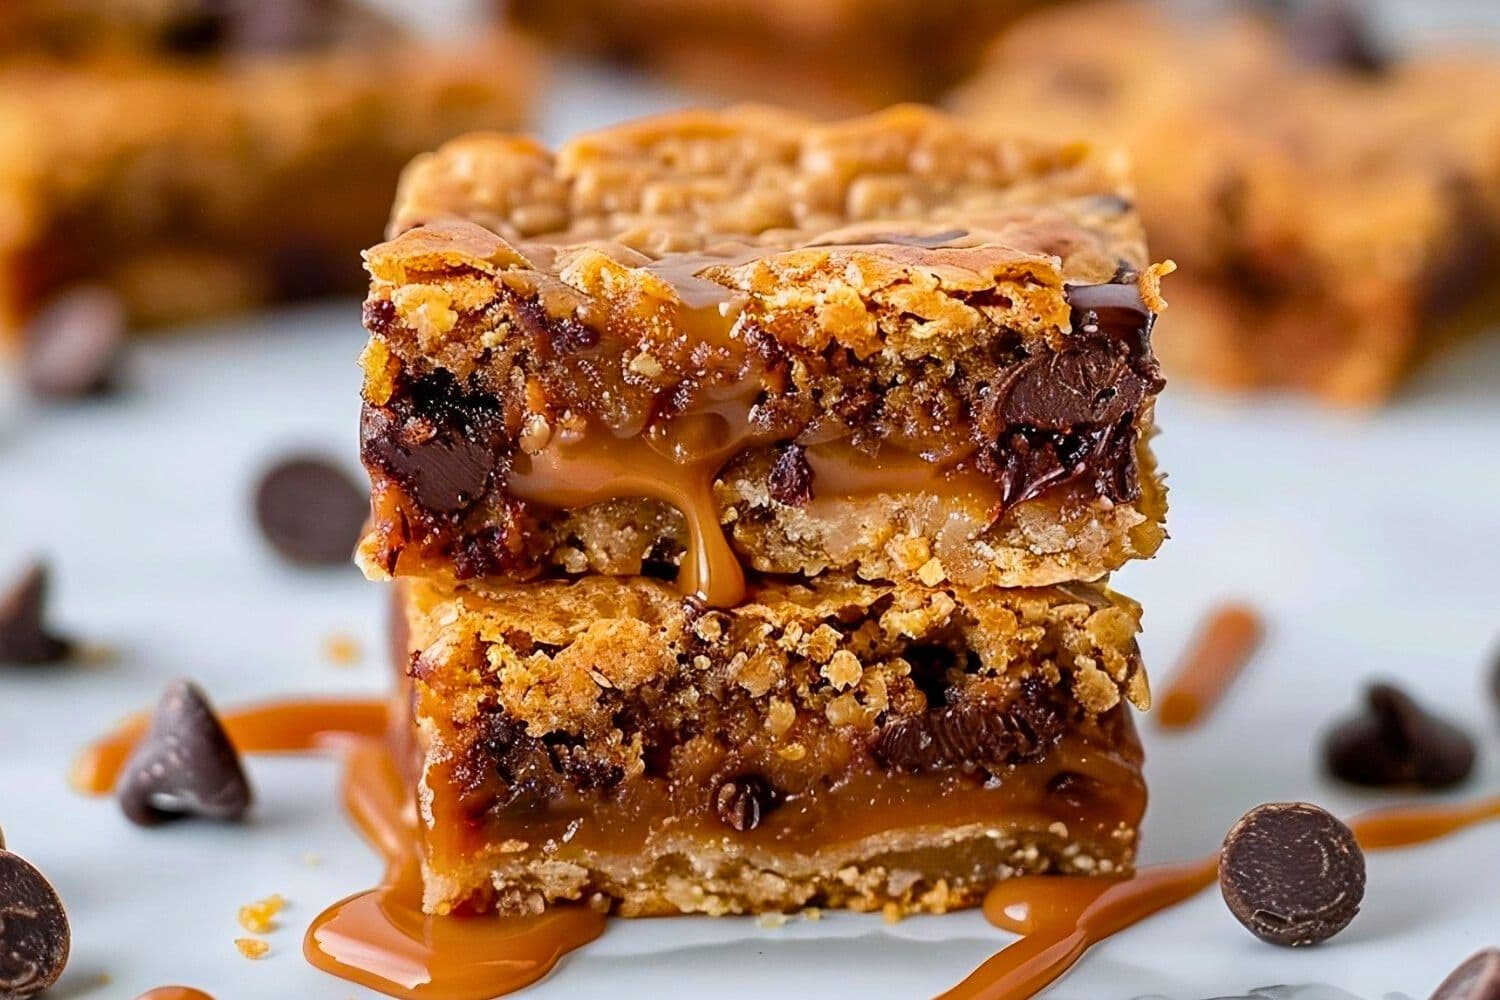
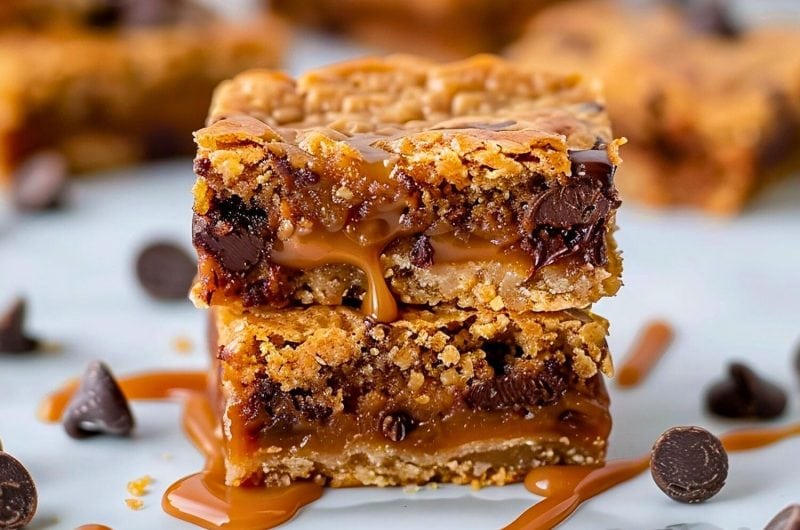
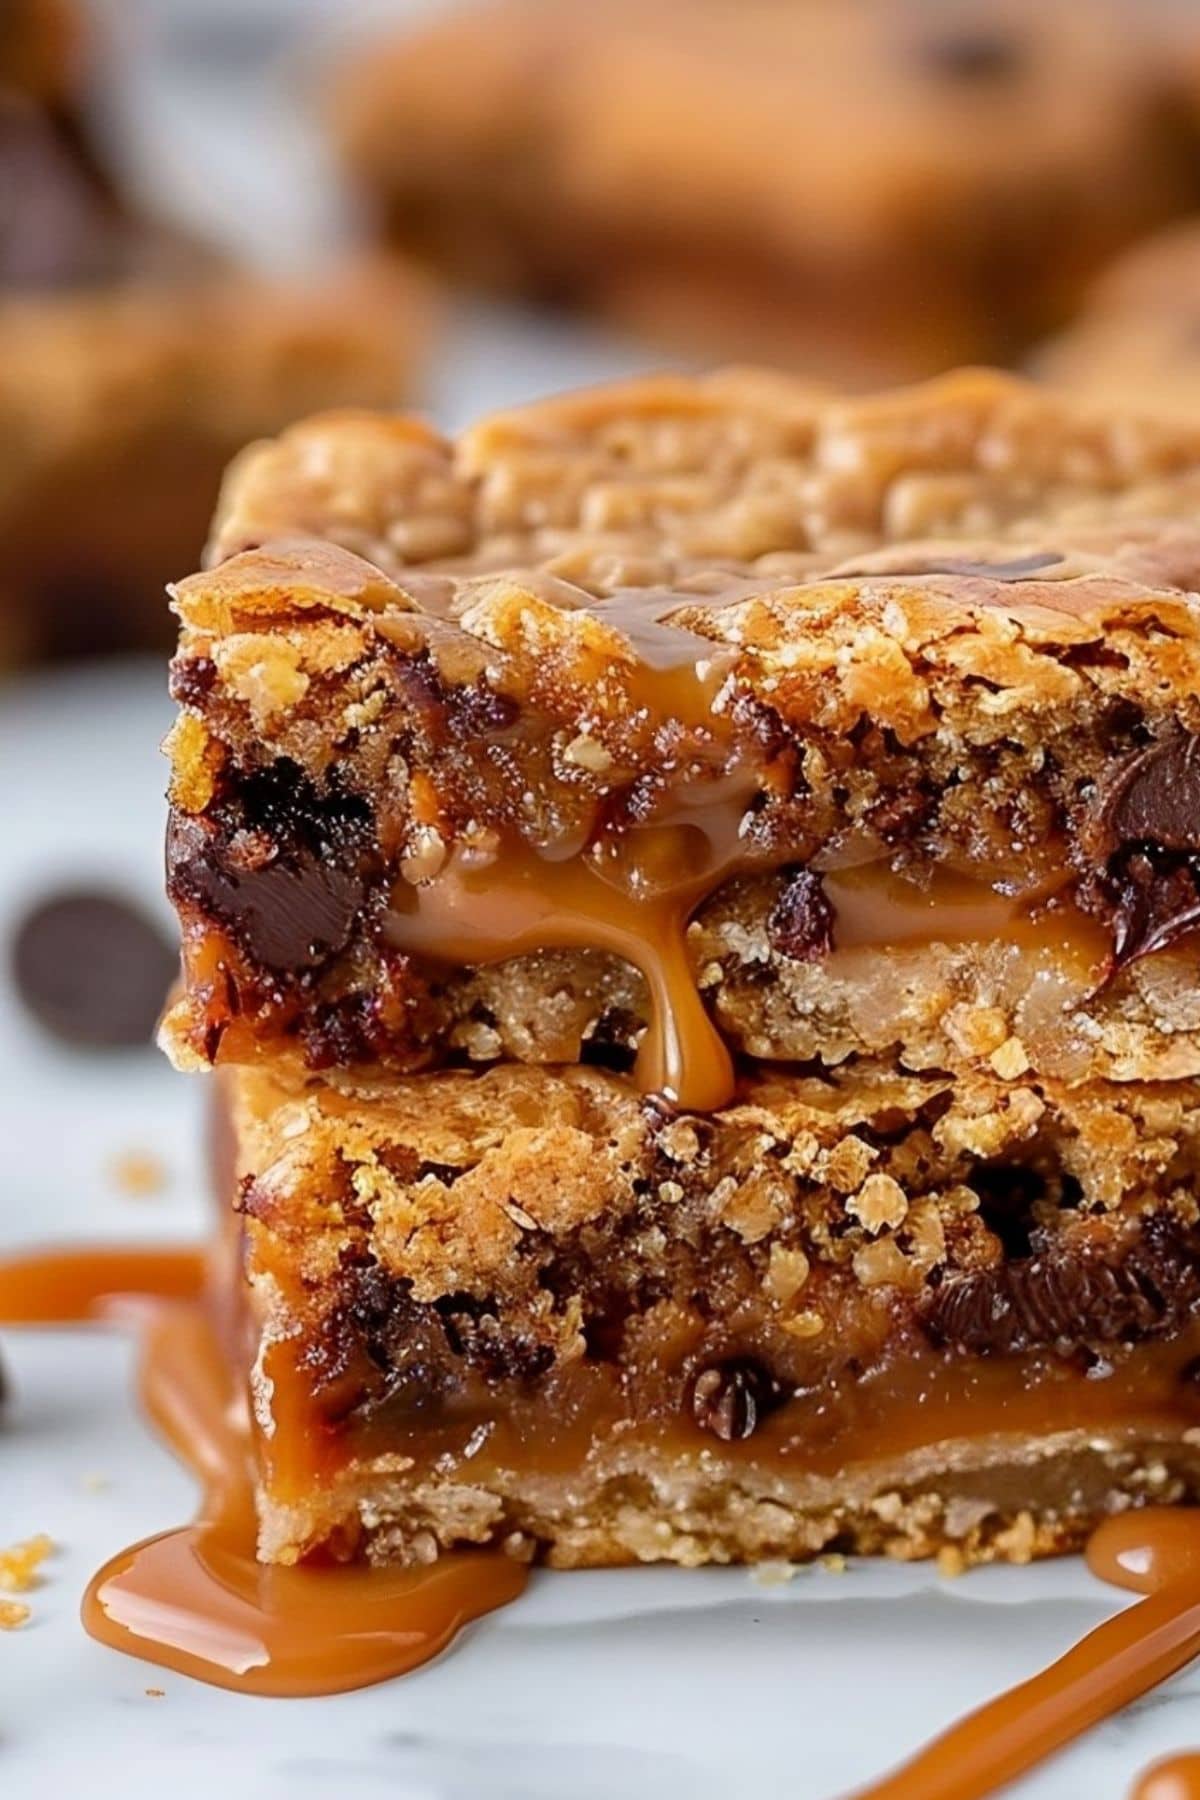
Making Carmelitas is like treating yourself to the ultimate comfort dessert. Seriously, these ooey-gooey bars are what dessert dreams are made of.
Combining a buttery oat crust, gooey caramel center, and decadent chocolate chips creates a delightful symphony of textures and flavors in every bite.
But as impressive as they look (and taste), they’re a cinch to whip up!
Why You’ll Love These Carmelitas
Quick and Easy Gourmet Treat: Thanks to the simple oat crust and store-bought caramel candies, these Carmelitas are ready in under 45 minutes. But after one bite, you’ll think they came from a fancy bakery!
Make-Ahead Magic: These bars can be prepared in advance and stored in the refrigerator, making them an ideal dessert for busy hosts.
Crowd-Pleaser: With their irresistible combination of classic flavors, Carmelitas are sure to be a hit at potlucks, bake sales, or family gatherings.
Versatile Treat: Want to jazz them up? Try peanut butter chips, white chocolate, butterscotch, or all of the above!
Ingredients
- Old Fashioned Rolled Oats and All Purpose Flour: The hearty base for a chewy, sturdy crust.
- Butter: Binds the oat crust together, adding rich flavor to every bite.
- Light Brown Sugar: Sweetens the oat mixture and lends a hint of molasses depth.
- Salt and Vanilla Extract: Enhance the overall flavor – a must-have for any good dessert.
- Baking Soda: The leavening agent that helps the crust rise slightly and keeps it tender.
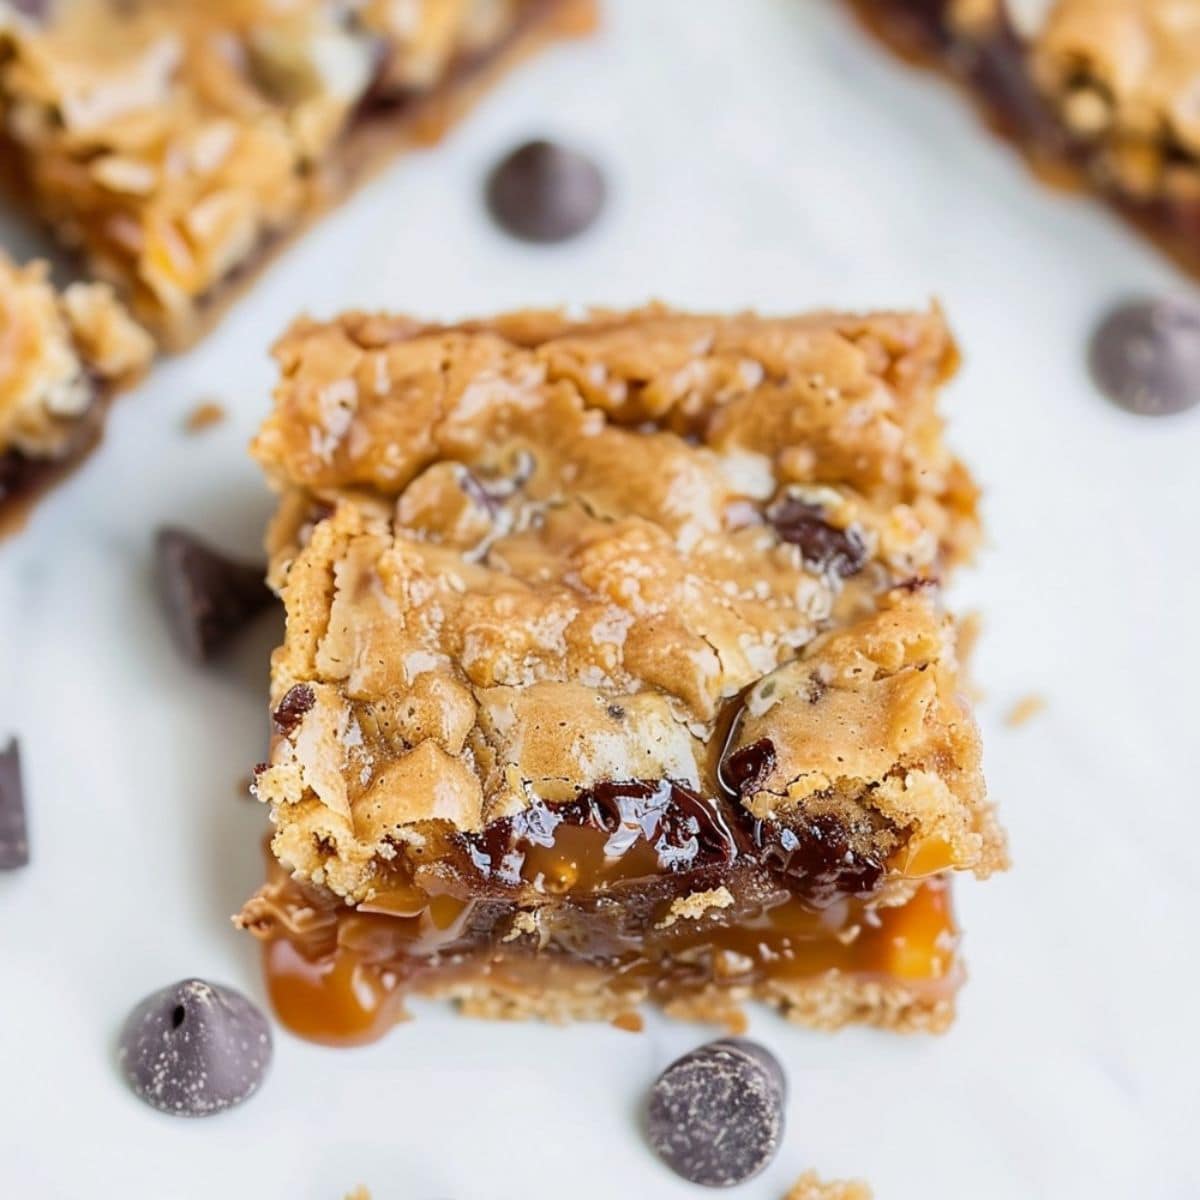
- Soft Caramel Candies and Heavy Cream Melt into a luscious, gooey center. For the best results, choose individually wrapped caramels.
- Semi-Sweet Chocolate Chips: Nestled between the crust and caramel because chocolate makes everything better, right?
How to Make Carmelitas
I’ve been wanting to make Carmelitas for ages after trying them at a friend’s party.
I finally carved out some time this weekend, and oh my goodness, they did not disappoint!
The smell of caramel, chocolate, and buttery oats filled my kitchen as they baked, so waiting for them to cool before diving in was torture!
Simply put, these bars are dangerously addictive – don’t say I didn’t warn you!
1. PREHEAT the oven to 350°F and line an 8×8-inch baking pan with parchment paper.
2. MELT the butter in 20-30 second intervals in the microwave, stirring between each spin, until smooth.
3. MIX in the brown sugar and vanilla, then stir in the flour, oats, baking soda, and salt.
4. PRESS half the dough evenly into the prepared pan to form the crust. Bake for 10 minutes.
5. WARM the caramels and cream until smooth.
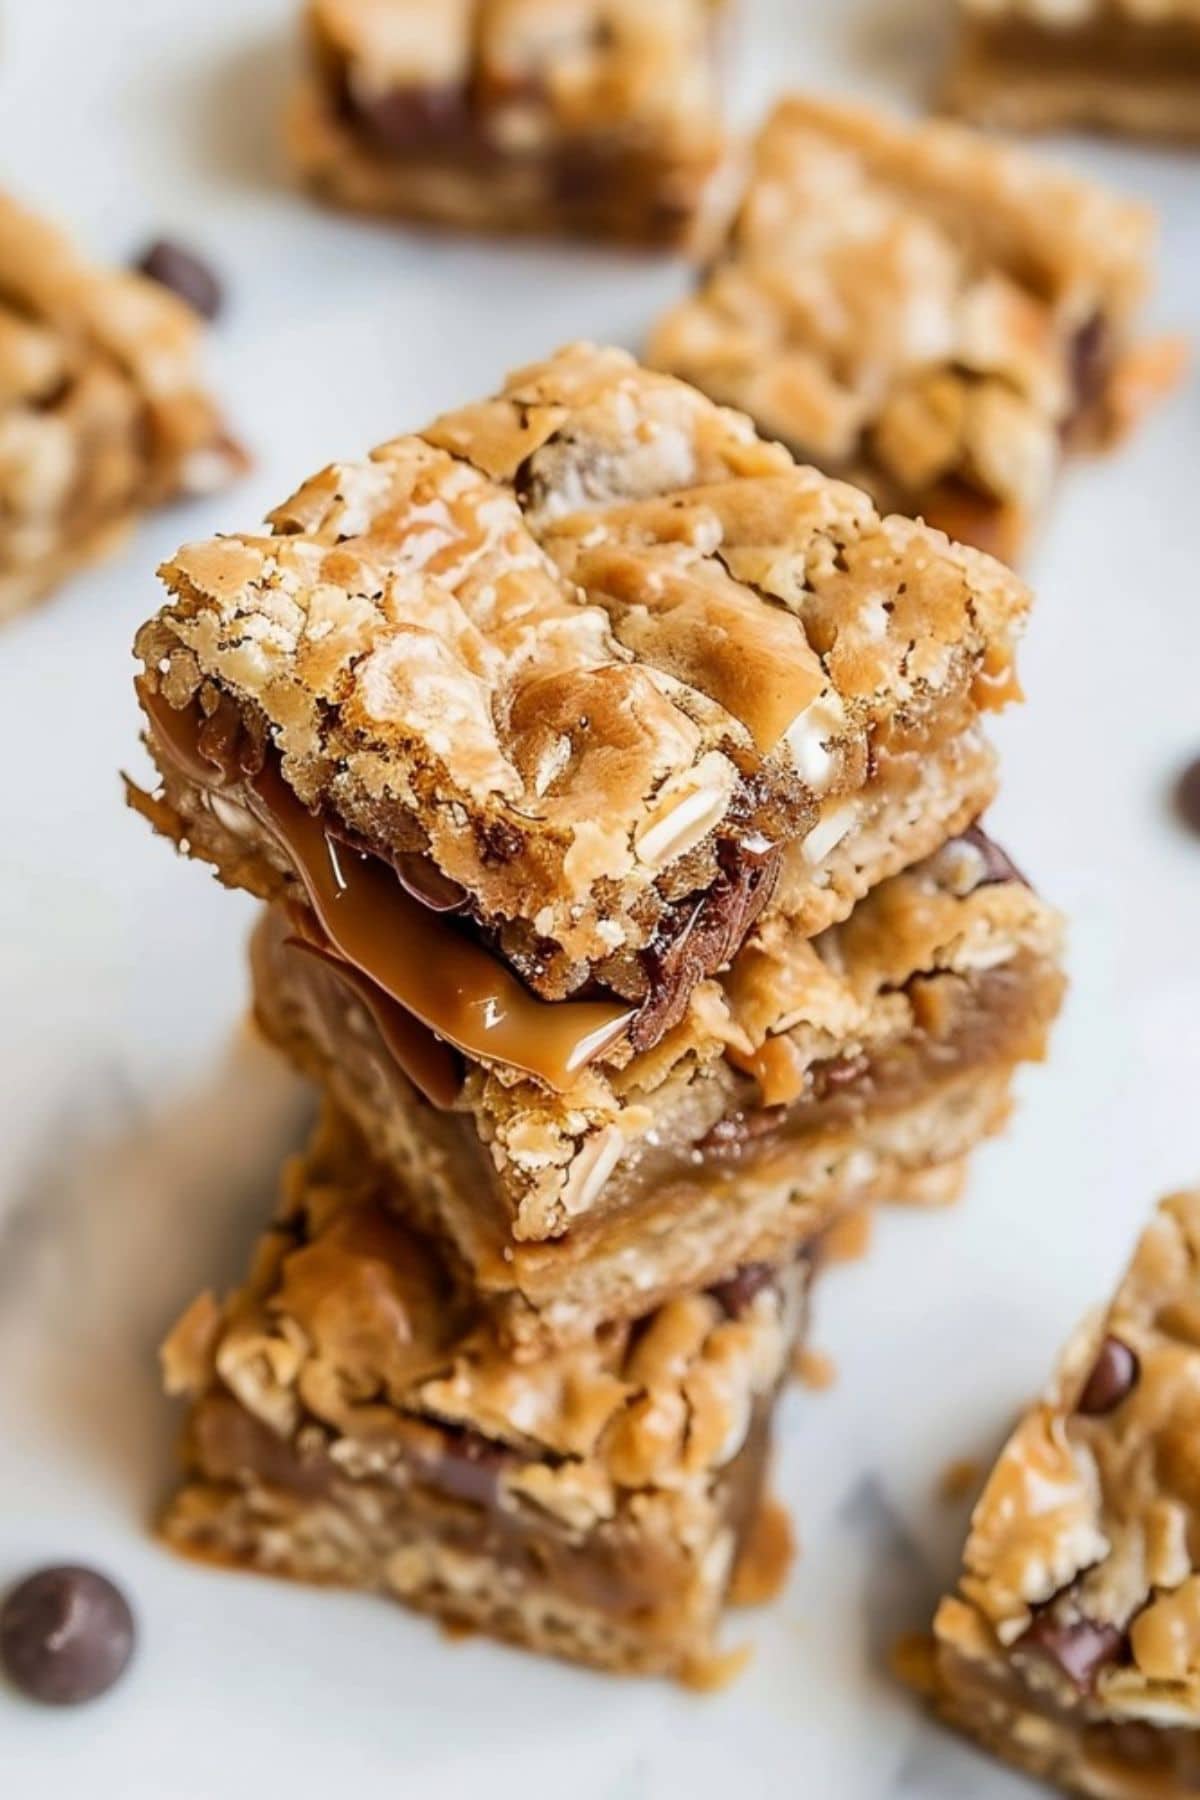
6. SPRINKLE the chocolate chips evenly over the hot crust, pour the caramel sauce over the chocolate chips, then crumble the remaining oat mixture over the caramel.
7. BAKE for an additional 15-18 minutes.
8. COOL completely at room temperature for at least 4 hours. Then slice, serve, and enjoy!
Tips For the Best Carmelitas
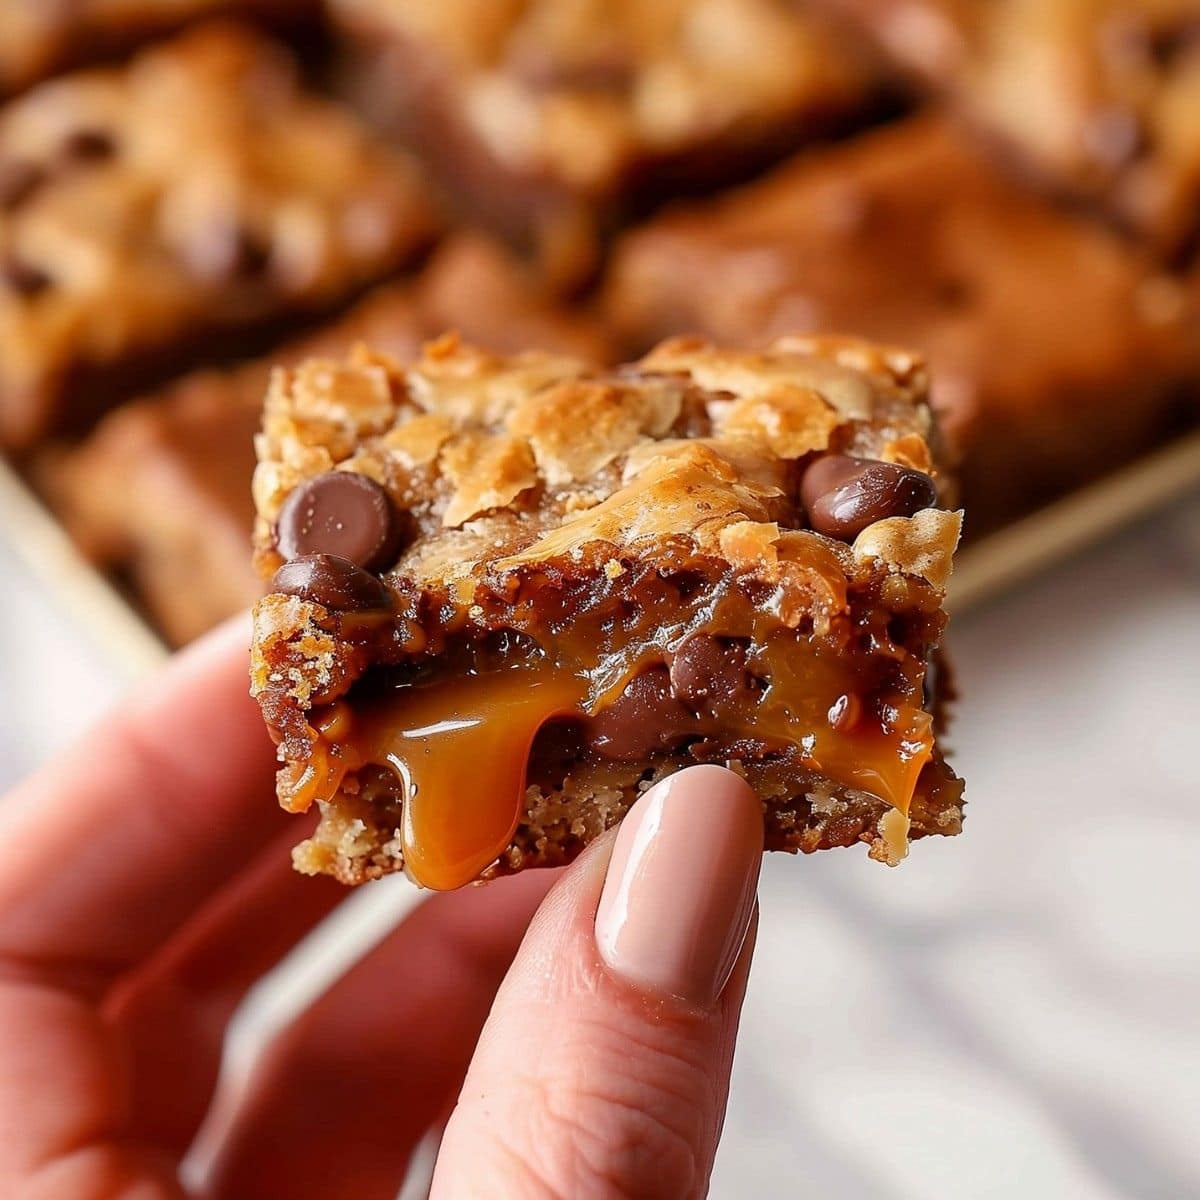
These bars are perfectly balanced, utterly irresistible, and a sweet escape you can savor anytime.
I promise, letting them cool completely is worth the wait, as the flavors meld together beautifully.
Need some more tips? Check this out:
- Caramel choice. For the best flavor and texture, use high-quality, soft caramel candies like Werther’s Baking Caramels or Kraft Caramel Bits. Avoid hard caramels.
- Chocolate type. Semi-sweet chocolate chips provide a good balance, but you can use milk or dark (or a combo of the two) if you prefer. Just remember that all milk chocolate will make these very sweet.
- Oats selection. Use old-fashioned rolled oats, not quick oats, for the best chewy texture in the crust and crumble topping.
- Avoid overbaking. Only bake until the edges are lightly browned, about 15-18 minutes after adding the caramel and crumble topping. Overbaking can make the bars hard.
- Allow to cool. Let the bars cool completely at room temperature for at least 4 hours before cutting. For cleaner slices, chill in the refrigerator before cutting into squares.
- Thinner bar. For a slightly thinner bar, use a 9×9 inch pan. No need to adjust the other ingredients.
- Double the recipe. The ingredients can be easily doubled and baked in a 9×13-inch pan to feed a crowd. They’ll need closer to 18 minutes in the oven.
- Optional mix-ins. Add chopped pecans or walnuts to the crust/topping for nutty crunch. Toffee bits, peanut butter chips, or white chocolate chips can also be added to the filling.
- Salted caramel. Add an extra 1/2 teaspoon salt to the caramel sauce or sprinkle flaky sea salt on top for a trendy salted caramel flavor.
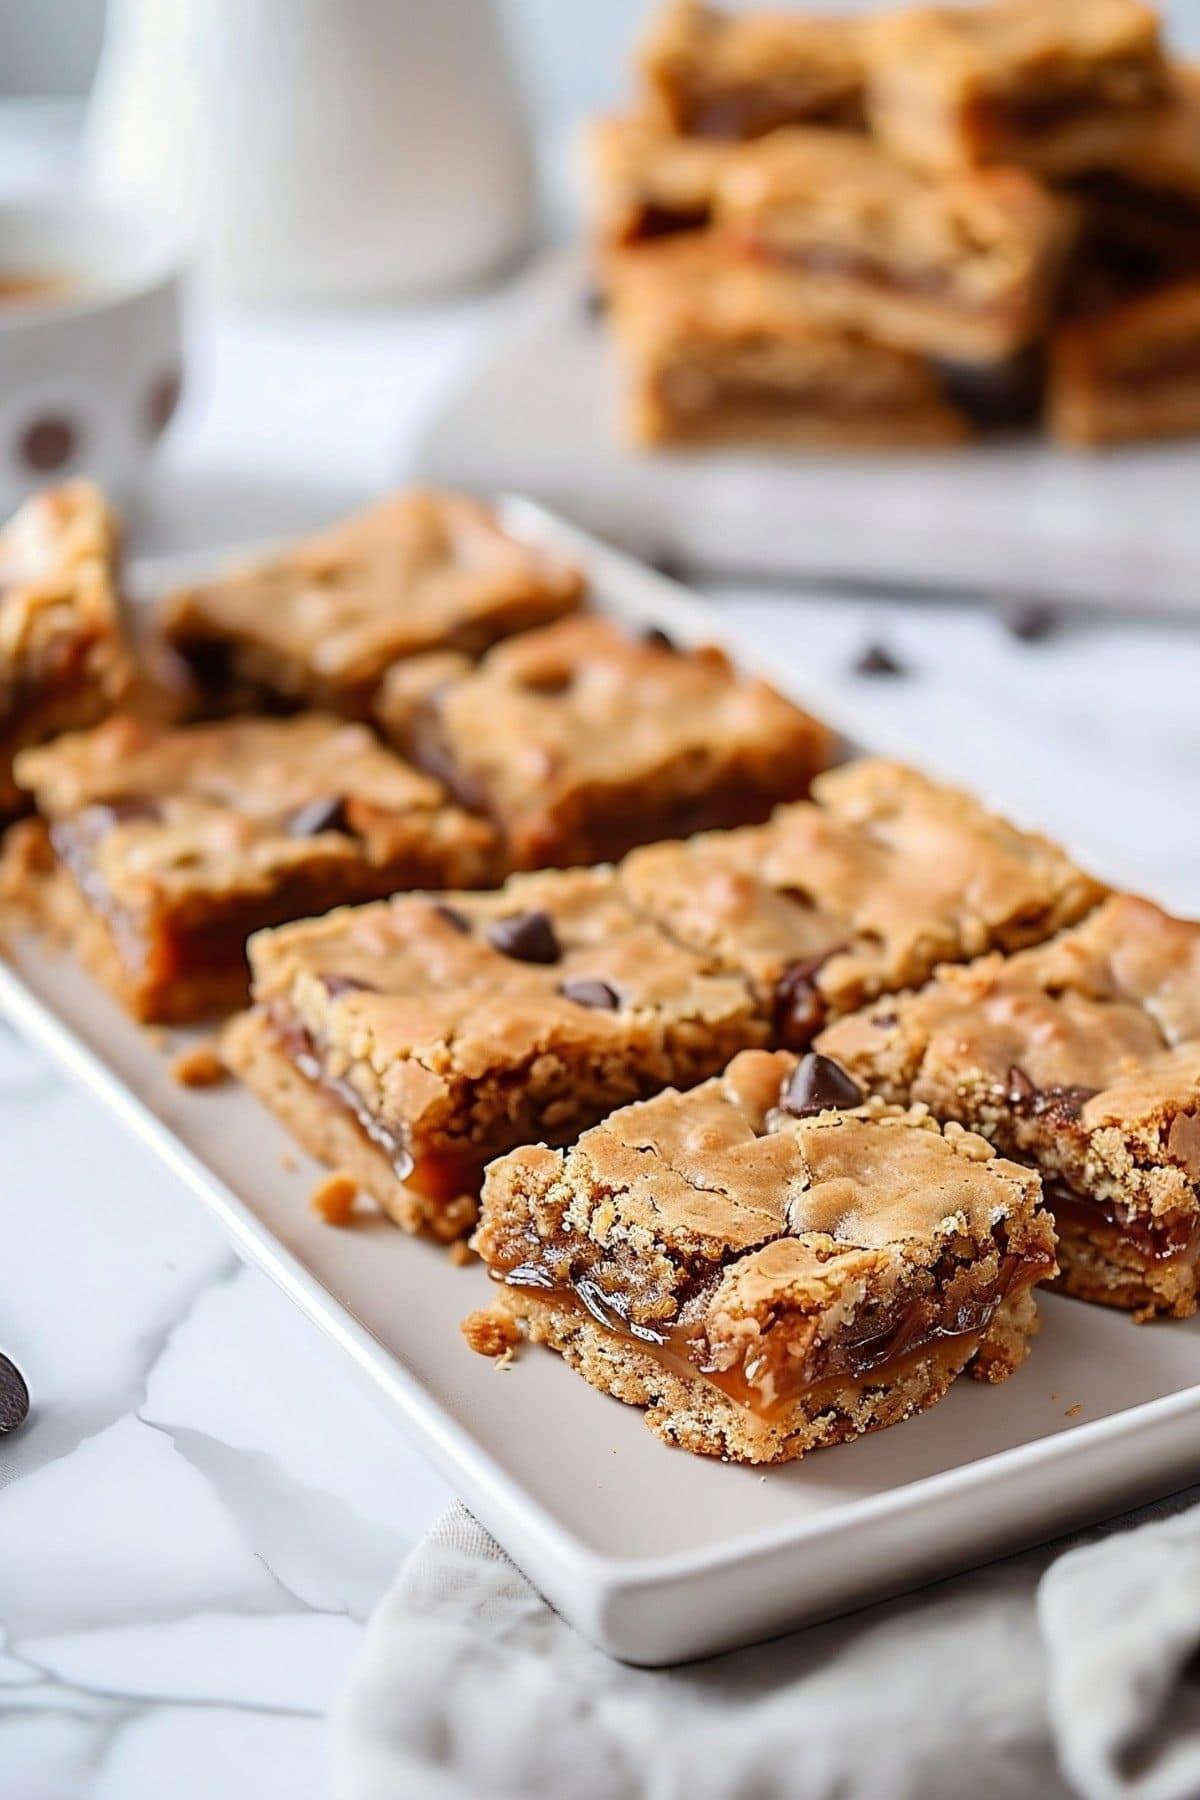
How to Store
Whether you enjoy them with a cup of coffee in the morning or share them with friends in the evening, Carmelitas never fail to bring a moment of bliss.
They’re perfect for any occasion, from casual get-togethers to special celebrations.
Once you try them, you’ll understand why they quickly become everyone’s favorite treat – and why leftovers are not usually a problem.
But if you happen to have some, here’s what to do:
To Store: Keep Carmelitas in an airtight container at room temperature for up to 5 days. For longer storage, refrigerate them for up to 1 week – enjoy at room temp.
To Freeze: Wrap individual Carmelitas tightly in plastic wrap, then place in a freezer-safe container or bag. Freeze for up to 3 months. Thaw overnight in the fridge or on the counter for a few hours.
More Dessert Bars You Have to Try
Monster Cookie Bars
Blueberry Crumble Bars
Frosted Sugar Cookie Bars
Salted Caramel Butter Bars

