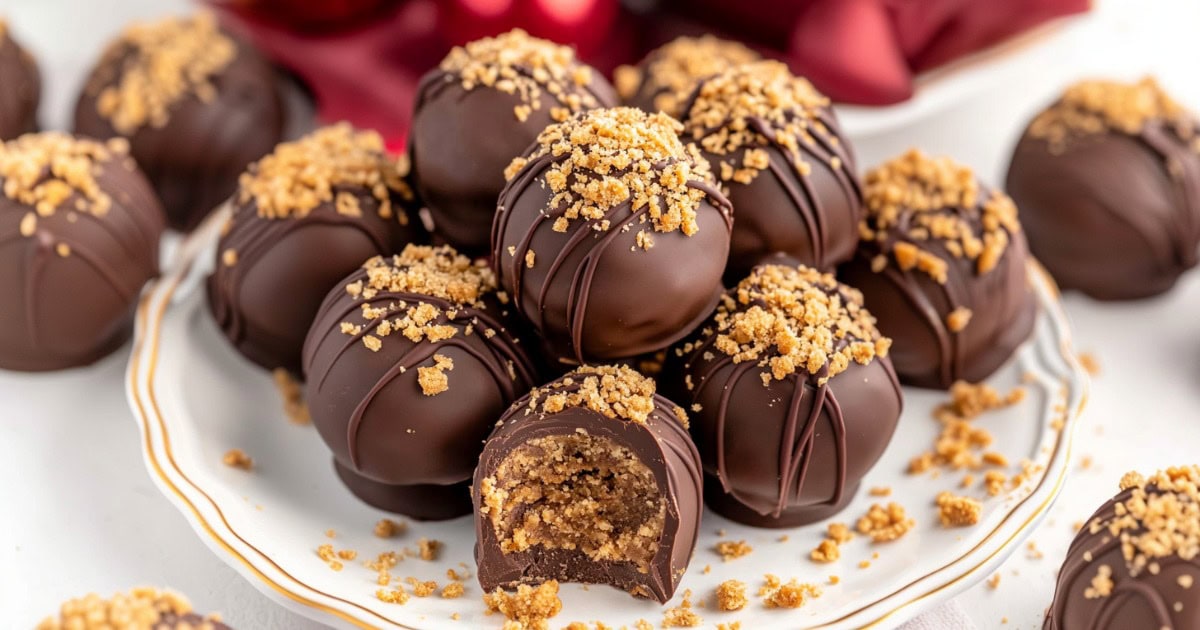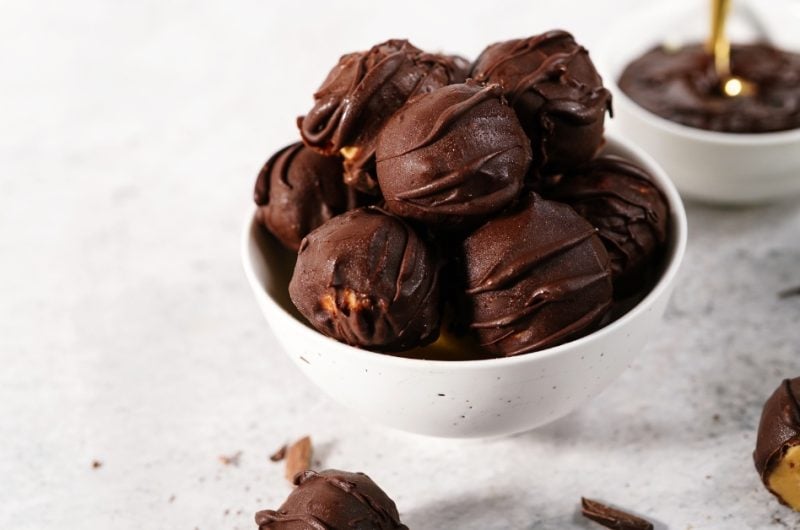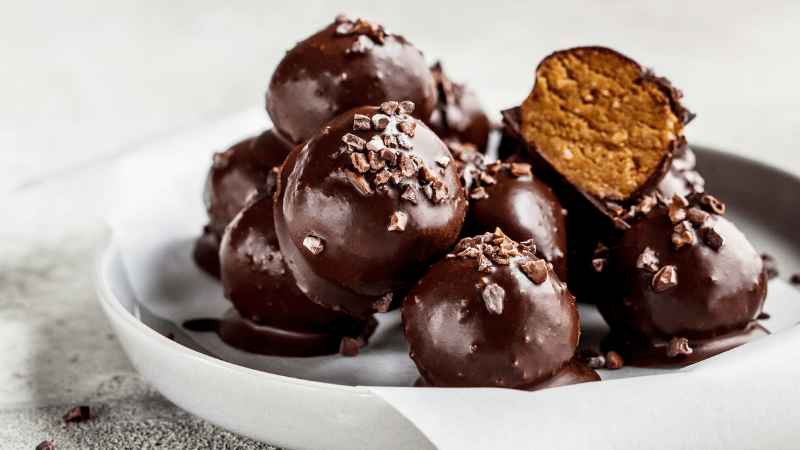
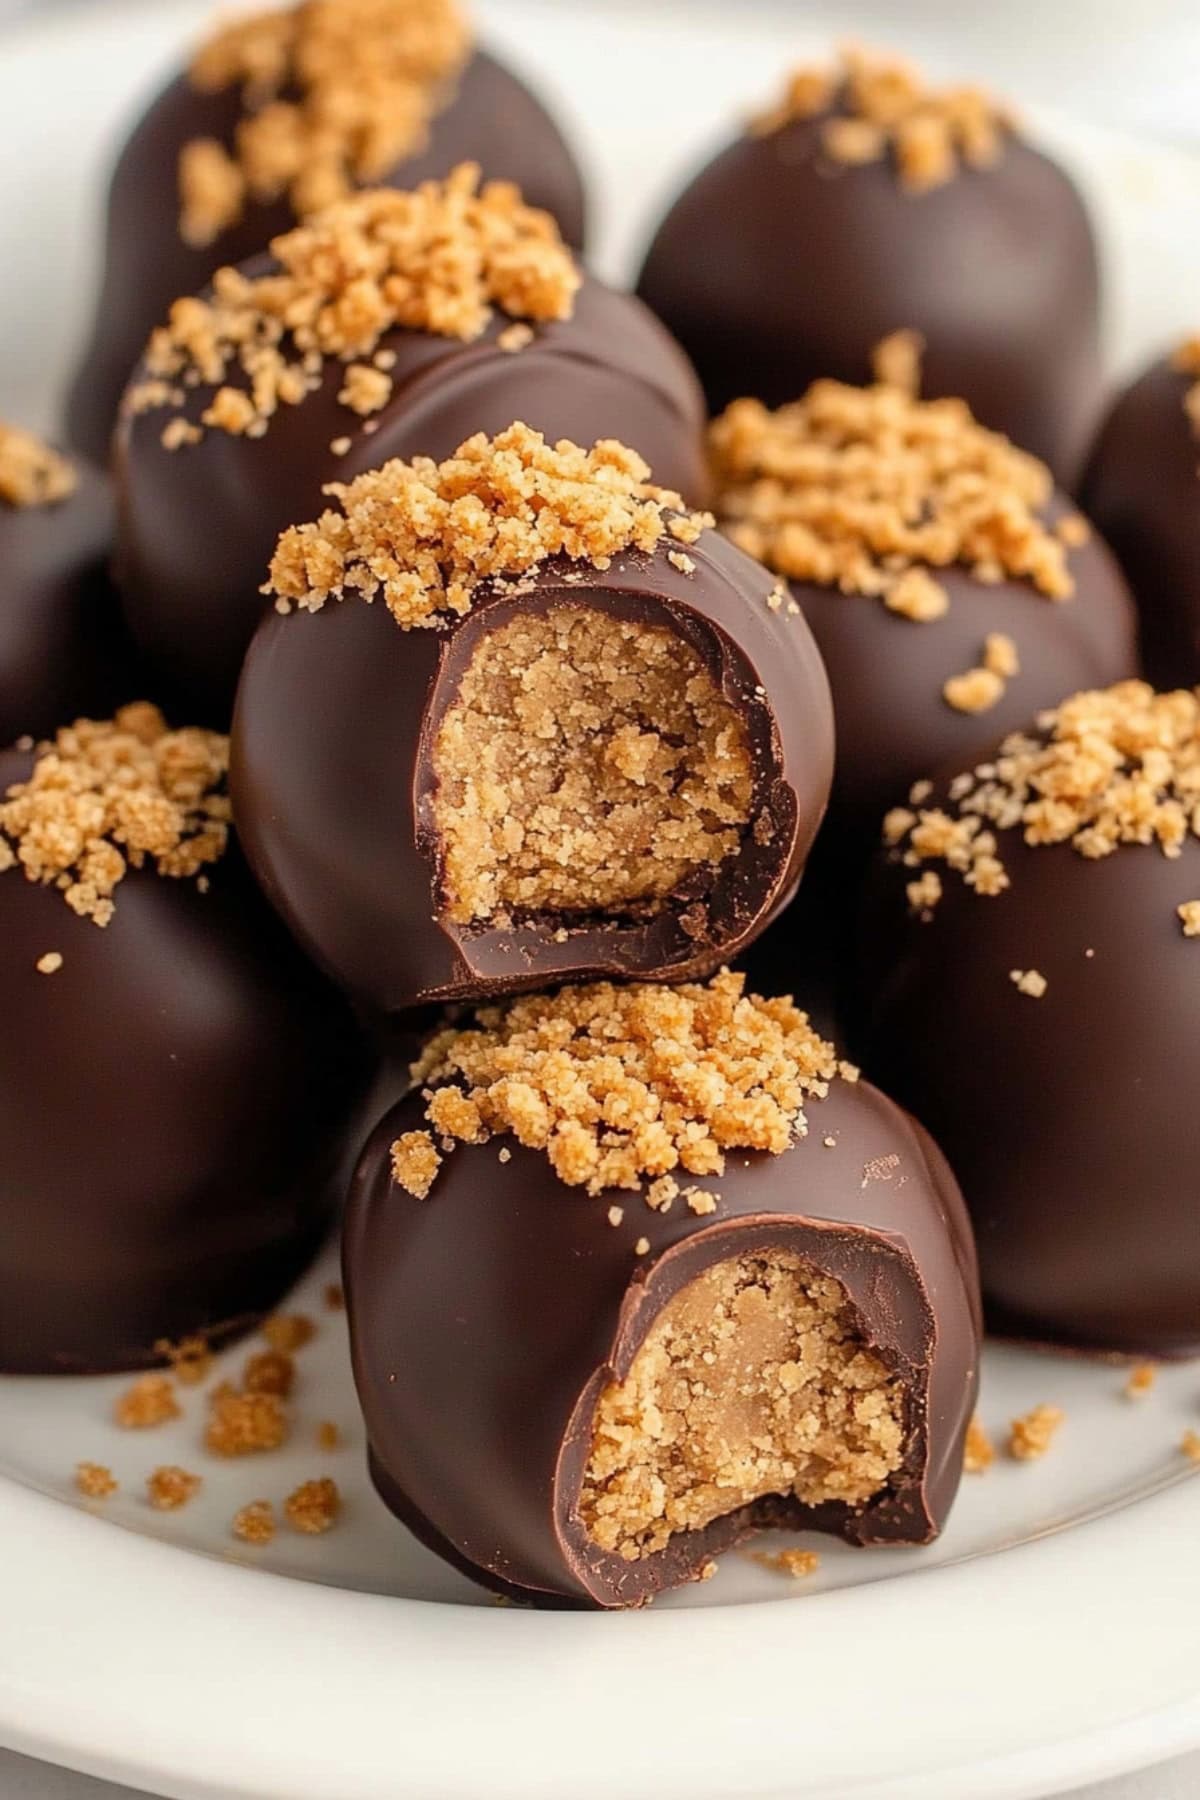
These no-bake Butterfinger balls are what chocolate-peanut butter dreams are made of.
They feature a smooth chocolate shell and a creamy center packed with that iconic Butterfinger crunch.
Seriously, they taste just like your favorite candy bar transformed into perfectly poppable treats.
Better yet, they’re easy to make and store. So they’re ideal for holiday parties, gift-giving, or treating yourself on a random Wednesday afternoon.
Why You’ll Love These Butterfinger Balls
No-Bake Simplicity: Butterfinger Balls require no baking, making them a quick and easy treat to prepare. Just melt, mix, and chill.
Crowd-Pleaser: What’s better than creamy peanut butter, crunchy graham crackers, and crushed Butterfinger bars in one treat? Cover them in chocolate, and watch them disappear.
Customizable: Use a different chocolate coating, try almond bark, or swap in almond butter if you prefer.
Decadently Chocolatey: Each bite is coated in a rich chocolate shell for an irresistible treat.
Ingredients
- Creamy Peanut Butter: Provides a smooth, rich, nutty base for the balls, binding everything together. Don’t use natural as it’s too dry and oily.
- Butterfinger Bars: Crushed bars add a signature crunch and classic Butterfinger flavor.
- Crushed Graham Crackers: Adds a subtle crunch and a slight sweetness.
- Butter: Helps bind the ingredients.
- Powdered Sugar: Sweetens the mixture while contributing to the smooth texture.
- Vanilla Extract: Enhances the overall flavor with sweet warmth.
- Chocolate Chips: Melts into a smooth coating for dipping the peanut butter balls. I like semi-sweet but you can use dark, milk, or white.
- Coconut Oil: Helps to thin and smooth out the melted chocolate, making it easier to coat the peanut butter balls evenly.
How to Make Butterfinger Balls
Made with real Butterfinger bars and wrapped in a silky chocolate coating, these little delights bring together the perfect balance of textures and flavors.
They’re surprisingly simple to make yet look completely professional – your friends won’t believe they’re homemade.
Here are the steps:
1. BEAT the peanut butter, butter, and vanilla until smooth.
2. ADD the powdered sugar and beat on low until combined.
3. STIR in the cracker crumbs and crushed Butterfinger bars by hand until fully mixed.
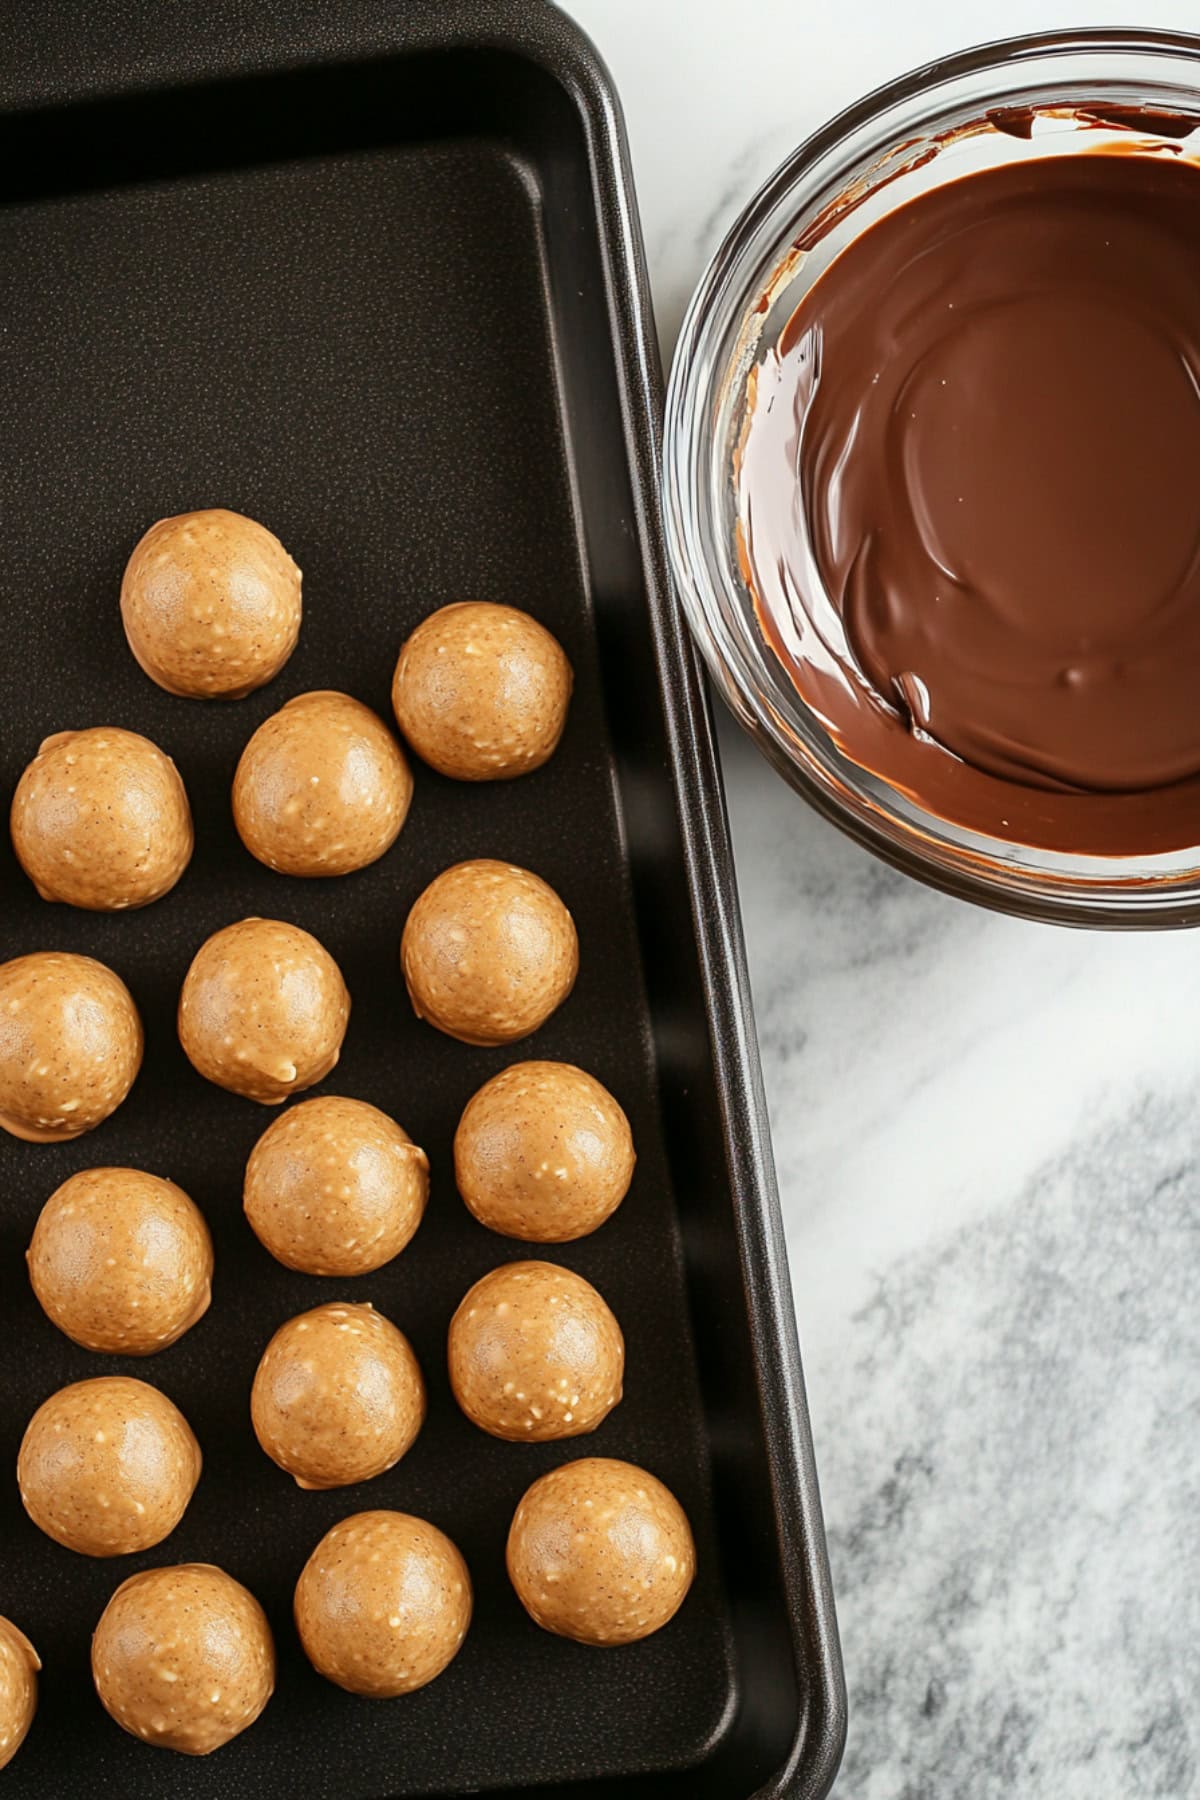
4. ROLL the mixture into 1-inch balls and place them on a parchment-lined baking sheet.
5. FREEZE for at least 30 minutes to firm up.
6. MELT the chocolate and coconut oil in the microwave-safe until smooth.
7. DIP each frozen ball into the melted chocolate. Tap off the excess and return the coated balls to the parchment-lined baking sheet.
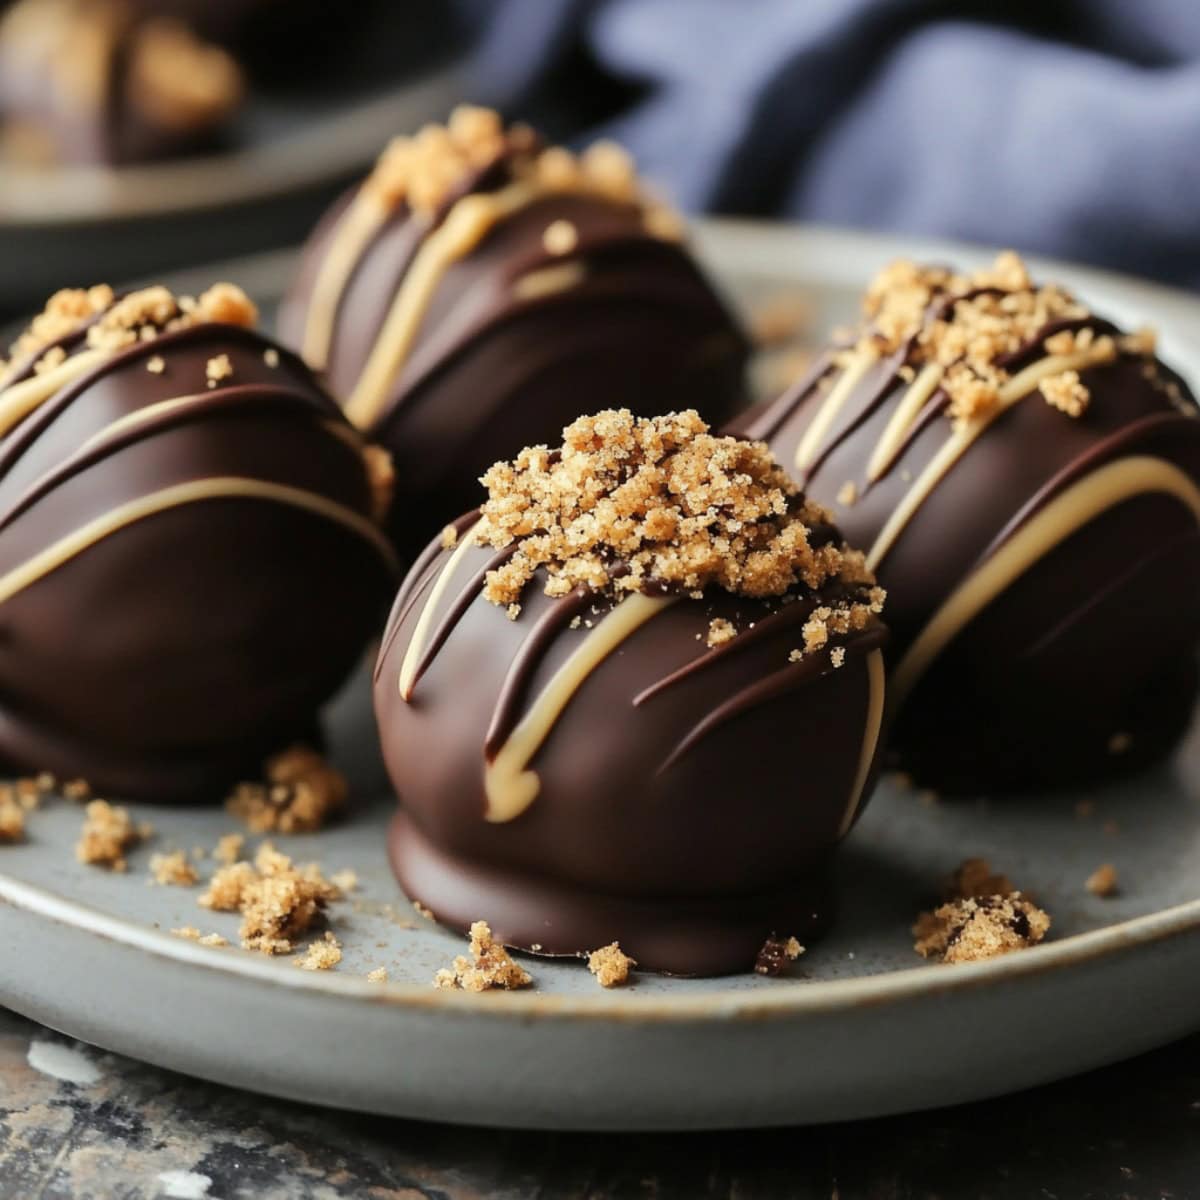
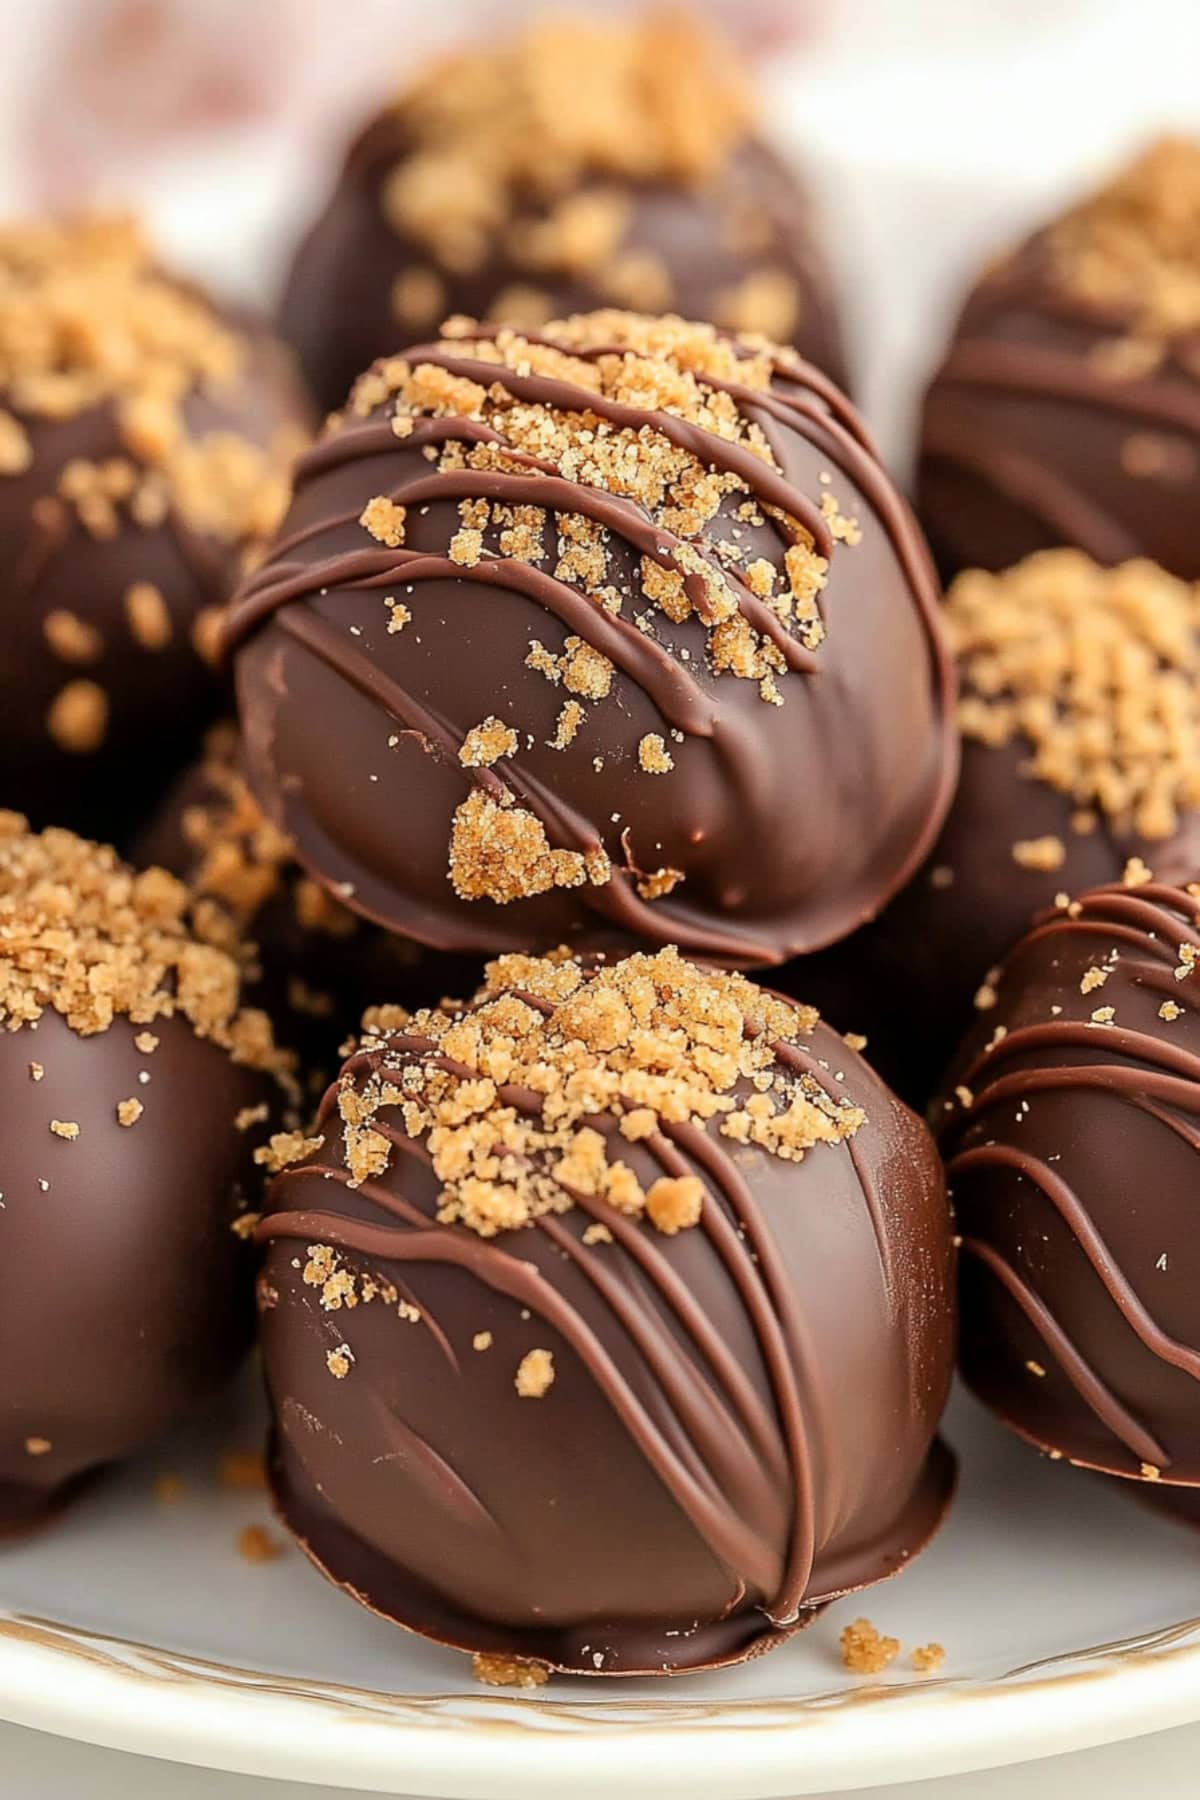
8. GARNISH with chocolate chocolate drizzle and with extra crushed Butterfinger pieces.
9. CHILL for 10-15 minutes until the chocolate and garnish are fully set. Enjoy!
Tips For the Best Butterfinger Balls
I’ve been making these treats for years, but I still get a kick out of watching people’s faces light up when they try them.
The hardest part is stopping myself from eating all the Butterfinger pieces while crushing them (okay, maybe I snuck a few).
Still, I have a few tips below to ensure success:
- Use smooth peanut butter. Avoid natural or crunchy peanut butter as it may not mix well with the other ingredients, affecting texture.
- Crush the Butterfingers finely. This will give you the most consistent taste and texture.
- Chill before rolling. If the mixture is too sticky, refrigerate it for about 10 minutes to make portioning easier.
- Drip off excess chocolate. Tap the fork or dipping tool and let it drip back into the bowl.
- Decorate immediately. Sprinkle additional crushed Butterfinger pieces on top while the chocolate is still wet to ensure they stick.
- Variations. Experiment with different coatings or fillings like white or dark chocolate or almond bark. Or add Rice Krispies for extra crunch.
How to Store
Fair warning: you might become the designated “Butterfinger Balls person” in your social circle after making these.
I’m speaking from experience here! So go ahead and double the batch!
Here’s how to store them:
To Store: Store leftovers in an airtight container with wax paper between layers. Refrigerate for up to 2 weeks. Let them sit at room temperature for 10-15 minutes before serving.
To Freeze: Place the balls in a freezer-safe container, separating layers with parchment paper. Freeze for up to 3 months. Thaw overnight in the refrigerator before serving.
More Bite-Sized Treats You Have to Try
Butter Mints
Funfetti Shortbread Bites
Cookie Dough Fudge
White Chocolate Lemon Truffles
Butterfinger Balls
20-25
servings15
minutes45
minutes195
kcalThese no-bake Butterfinger balls combine creamy peanut butter, crushed graham crackers, and crunchy Butterfinger bars coated in smooth chocolate.
Ingredients
1 cup creamy peanut butter
1/4 cup unsalted butter, softened
1 teaspoon vanilla extract
1 cup powdered sugar
1 cup crushed graham crackers (about 8 full sheets)
5 fun-size Butterfinger bars, crushed (plus more for garnish)
12 ounces chocolate chips or chocolate bark
1 teaspoon coconut oil
Instructions
- In a large bowl, beat the peanut butter, butter, and vanilla with an electric mixer on medium-low speed until smooth. Scrape the bottom and sides of the bowl and beat again until lump-free.
- Add the powdered sugar and beat on low until well blended.
- Gently stir in the cracker crumbs and crushed chocolate bars by hand until combined.
- Roll the mixture into 1-inch balls and place them on a baking sheet lined with parchment paper. Freeze for at least 30 minutes.
- When the balls are firm, melt the chocolate and coconut oil in a microwave-safe bowl in 20-second intervals, stirring after each spin until the chocolate is fully melted and smooth.
- Remove the balls from the freezer. Use a fork or a dipping tool to dip each ball into the melted chocolate. Coat each ball completely, tap off the excess, then place them back on the parchment-lined baking sheet.
- Use a small spoon or fork to drizzle some melted chocolate over the tops of the balls. Immediately sprinkle with extra crushed Butterfinger pieces to add crunch and color. Work in batches before the chocolate sets.
- Once decorated, refrigerate for 10-15 minutes or until the chocolate and garnish are fully set. Enjoy!
Notes
- Use smooth peanut butter. Avoid natural or crunchy peanut butter as it may not mix well with the other ingredients, affecting texture.
- Crush the Butterfingers finely. This will give you the most consistent taste and texture.
Did you like the recipe?
Click on a star to rate it!
Average rating 5 / 5. Vote count: 1
No votes so far! Be the first to rate this post.
We are sorry that this post was not useful for you!
Let us improve this post!
Tell us how we can improve this post?


