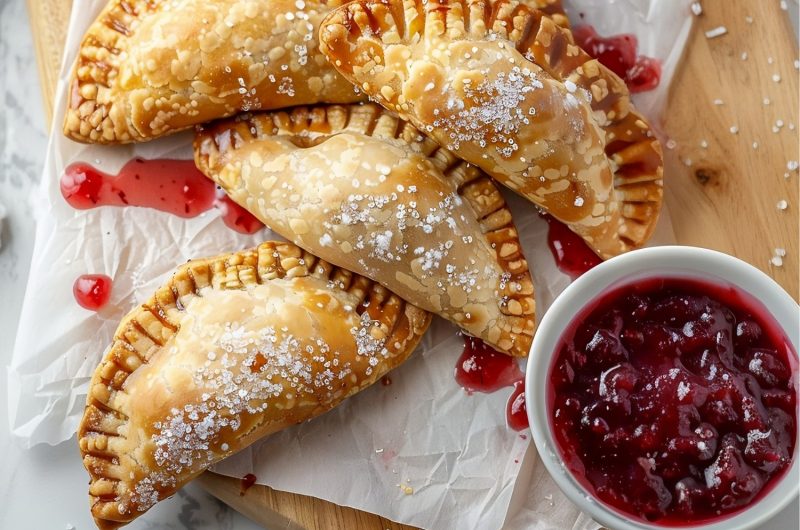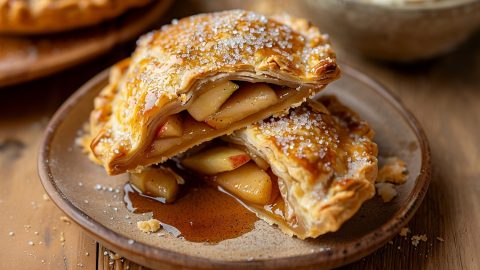


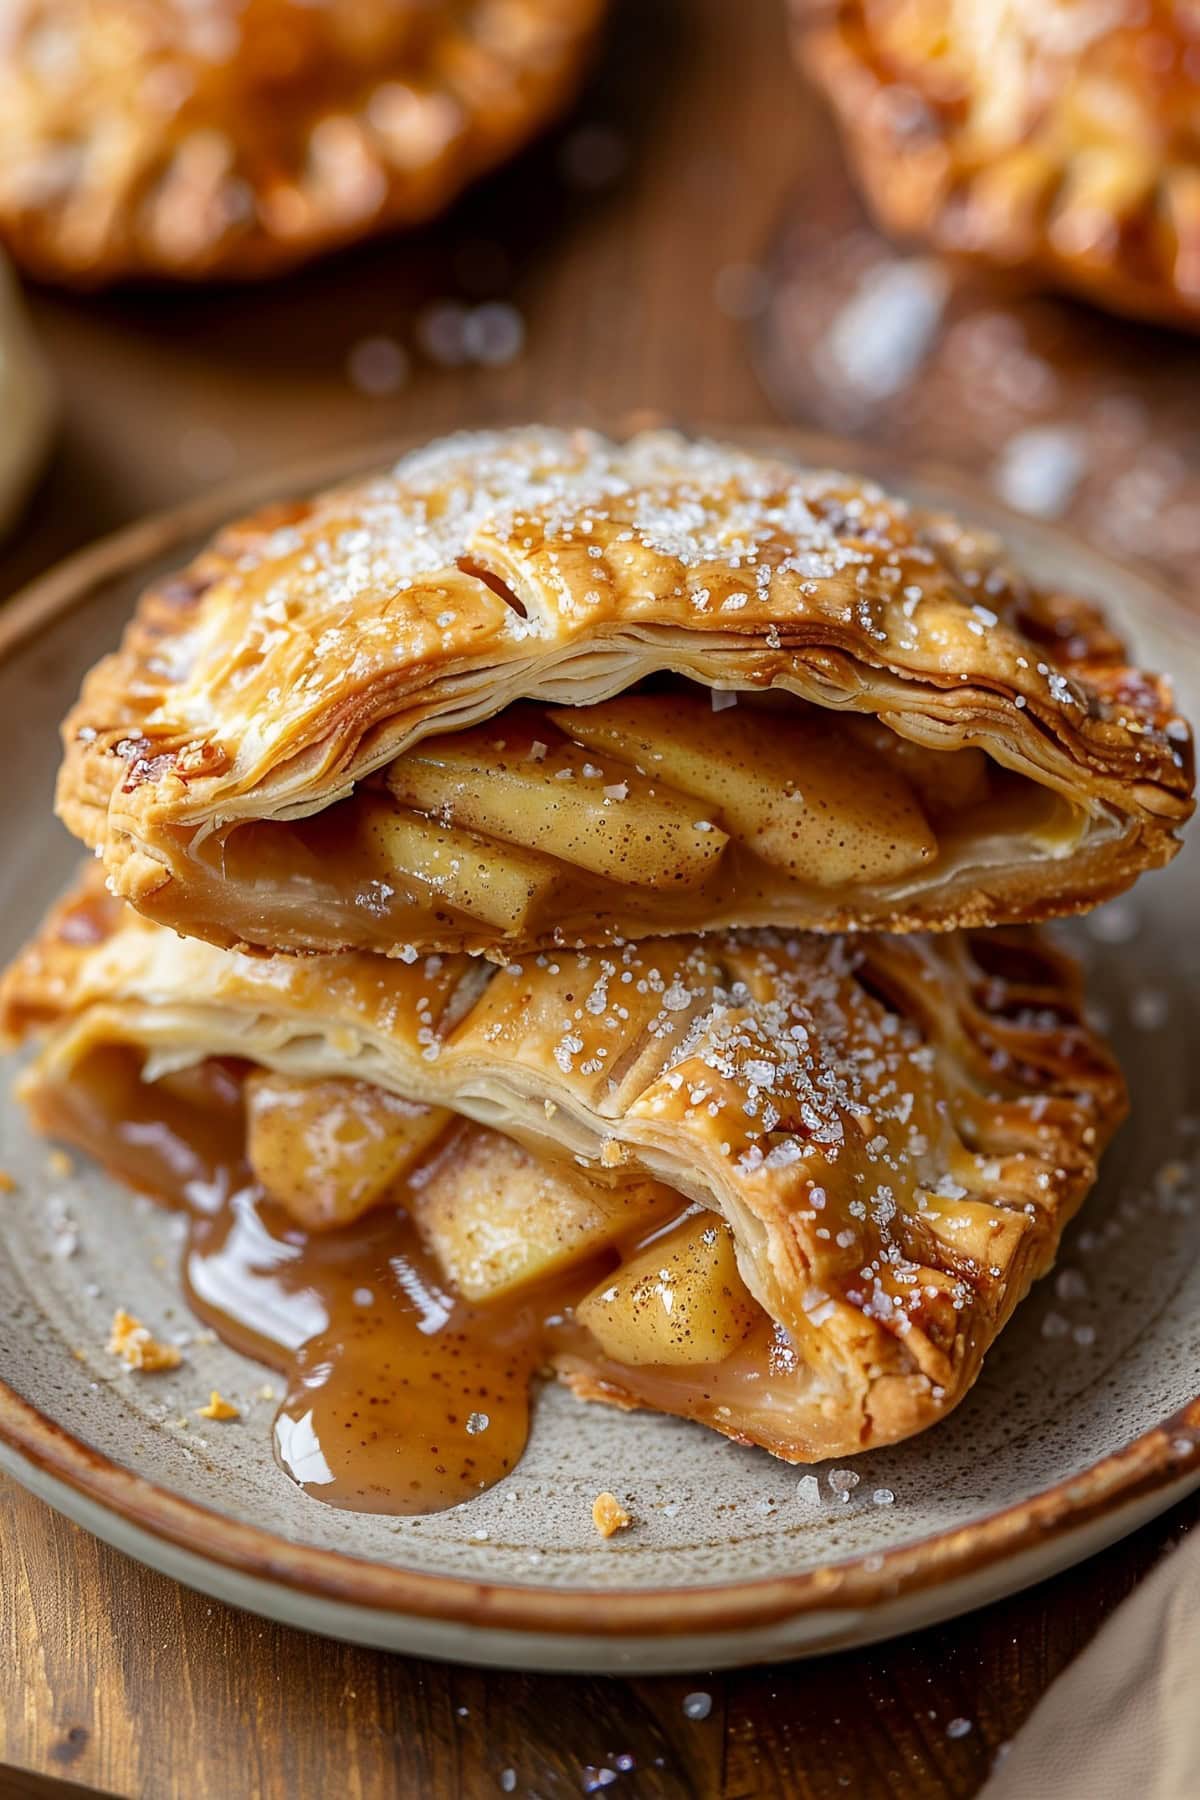
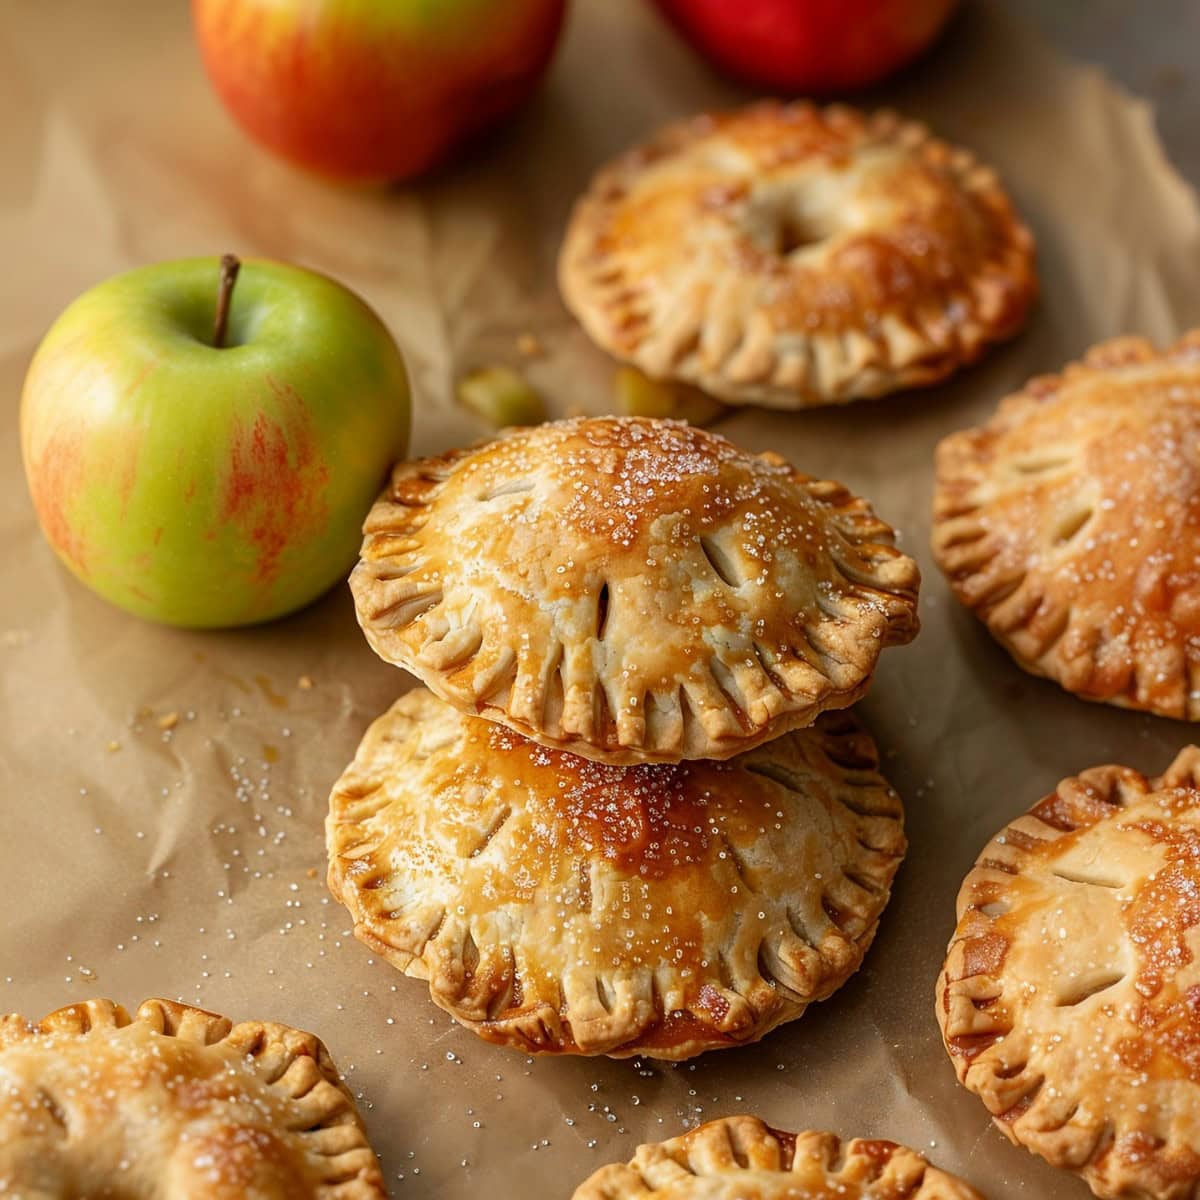
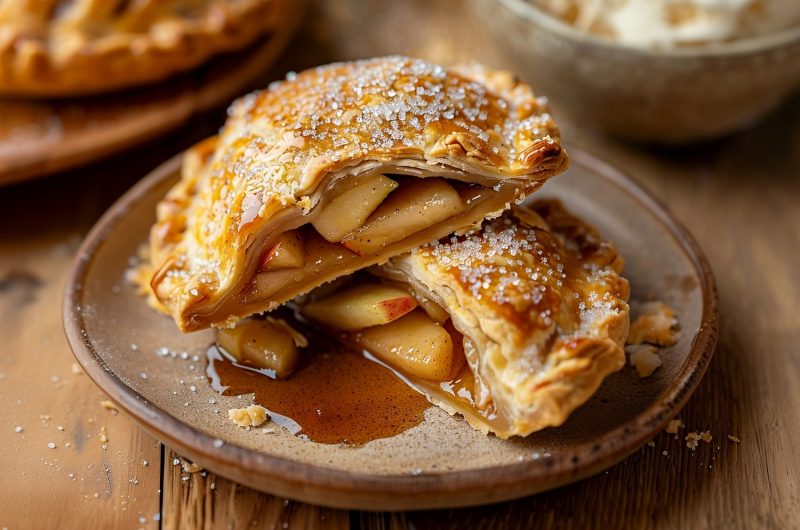
Sweet and lightly spiced apple hand pies are perfect for any occasion. And thanks to the refrigerated pie crusts, they’re ready in no time!
The flaky, buttery crust perfectly complements the cinnamon-infused apple filling, making every bite a delightful experience.
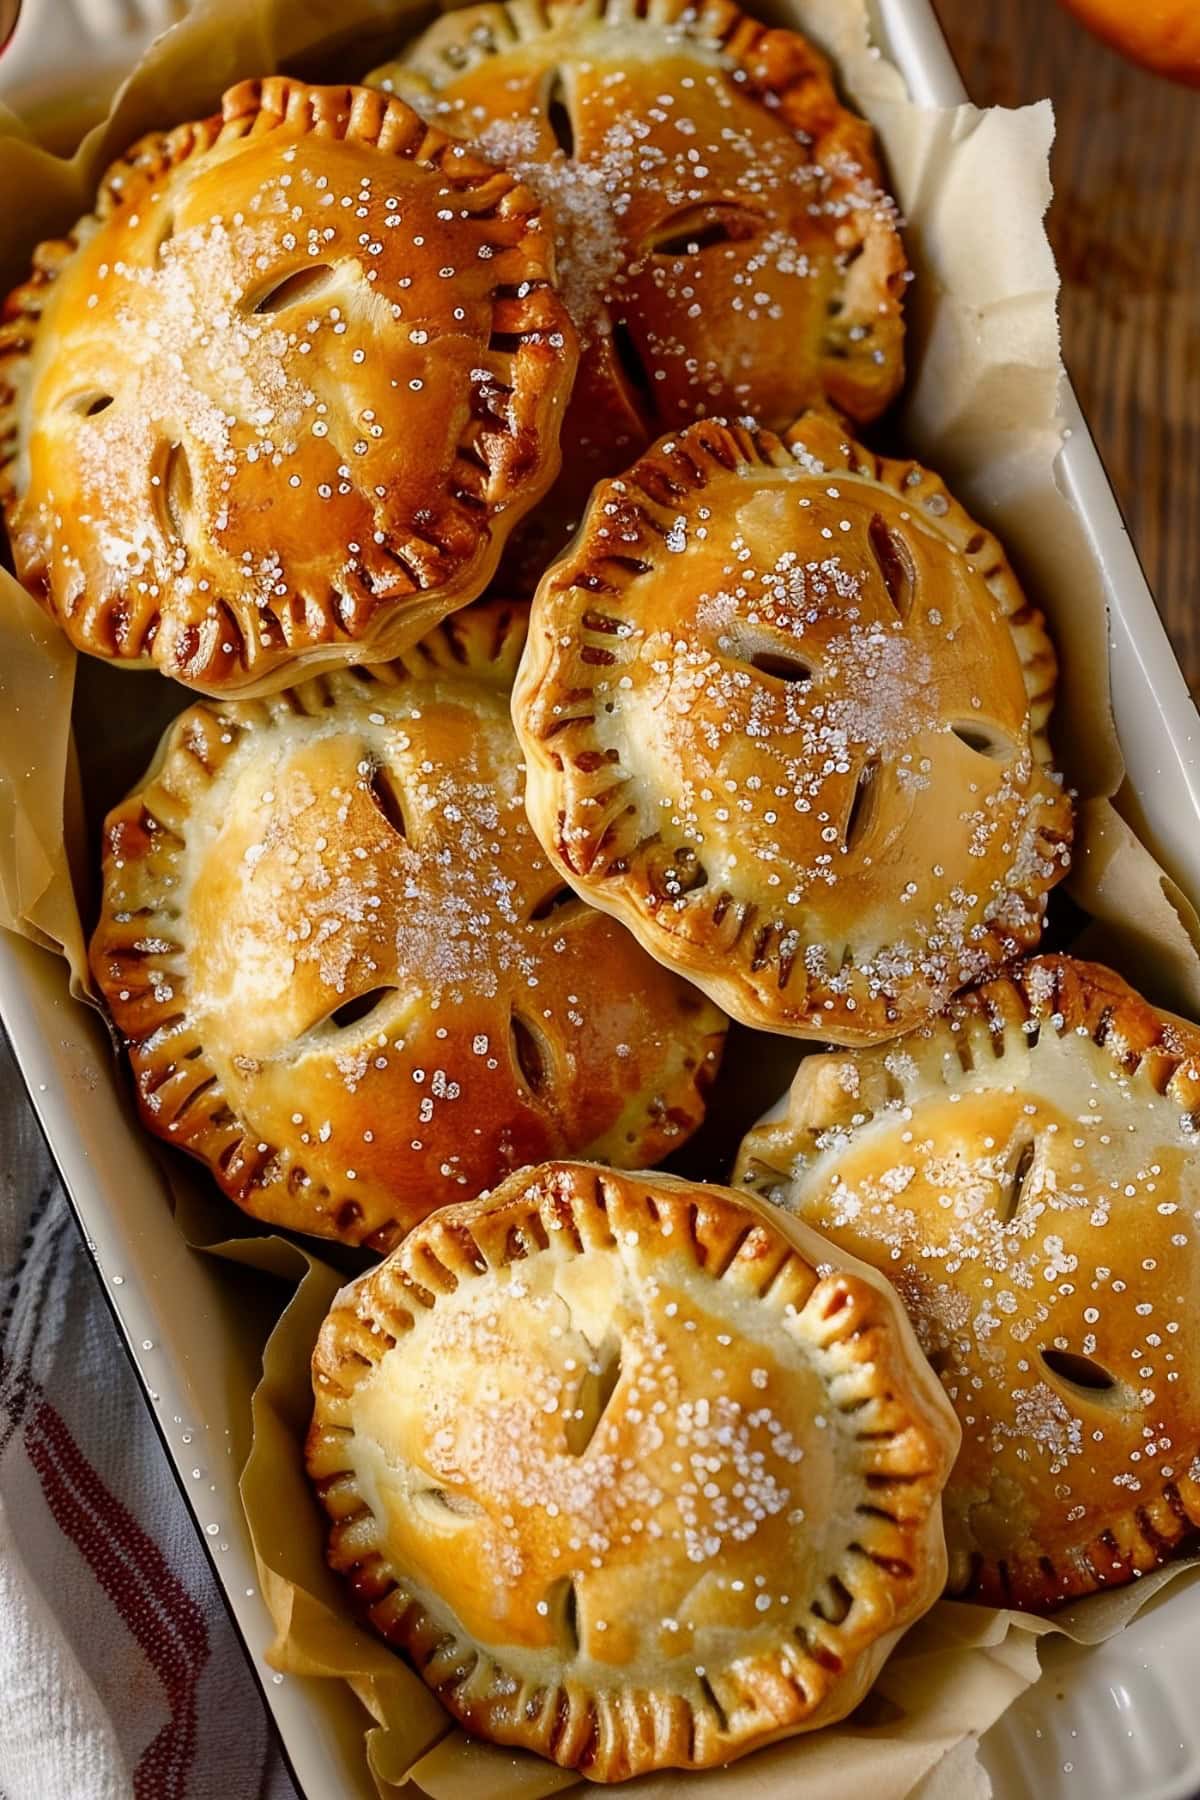
Enjoy them warm from the oven, pack them for a picnic, or savor them as an after-dinner treat. Either way, they’re guaranteed to please.
Why You’ll Love These Apple Hand Pies
Perfect for Parties: Apple hand pies are just what you need for your next party. Their convenient size and individual portions make them easy to serve and enjoy without the need for plates or utensils.
Quick and Easy: Using store-bought pie crusts significantly reduces preparation time, meaning you don’t need to spend hours in the kitchen. (Psst! If you use canned pie filling, they’re even faster!)
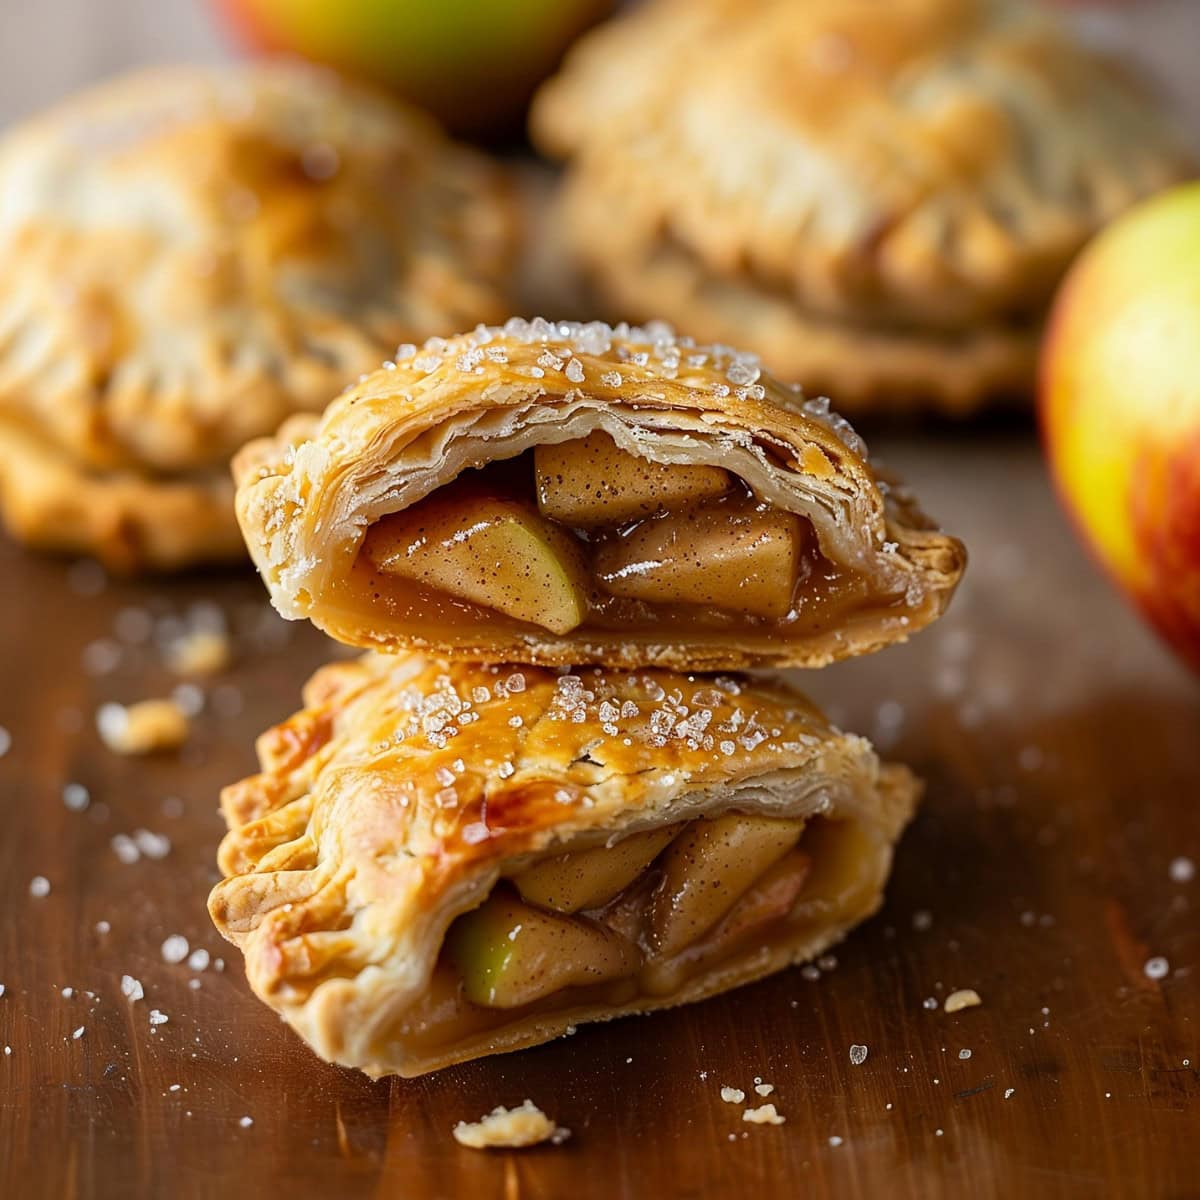
Deliciously Comforting: The combination of warm apples, cinnamon, and nutmeg creates a comforting and nostalgic taste that will remind you of grandma’s homemade apple pie.
Fun Baking Activity: Making these hand pies can be a fun and engaging activity to do with family or friends. Kids will especially enjoy helping to cut out the dough circles and filling them with the apple mixture.
Ingredients
- Refrigerated Pie Crusts: The ultimate shortcut for creating flaky, buttery hand pies in a flash! Feel free to use homemade if you prefer.
- Apples: Juicy, tart, and sweet – the perfect filling for these handheld treats.
- Brown Sugar: Adds just the right amount of sweetness to balance the tart apples.
- Ground Cinnamon and Nutmeg: A dynamic duo of warm spices that infuse the filling with cozy, irresistible flavors.
- Lemon Juice: A bright, citrusy addition that keeps the apples from browning and enhances their natural taste.
- Cornstarch: The secret ingredient that thickens the apple filling, ensuring a luscious, pie-like consistency.
- Egg: The key to creating a golden, glossy finish and helping the hand pies seal perfectly.
- Coarse Sugar: An optional but highly recommended finishing touch for a delightful crunch and extra sparkle.
How to Make Apple Hand Pies
In just a few easy steps, you can create golden, flaky pastries filled with a perfectly spiced apple mixture.
As mentioned, the pre-made crust reduces prep time, making this recipe accessible even on busy days.
Check out how easy they are to recreate at home:
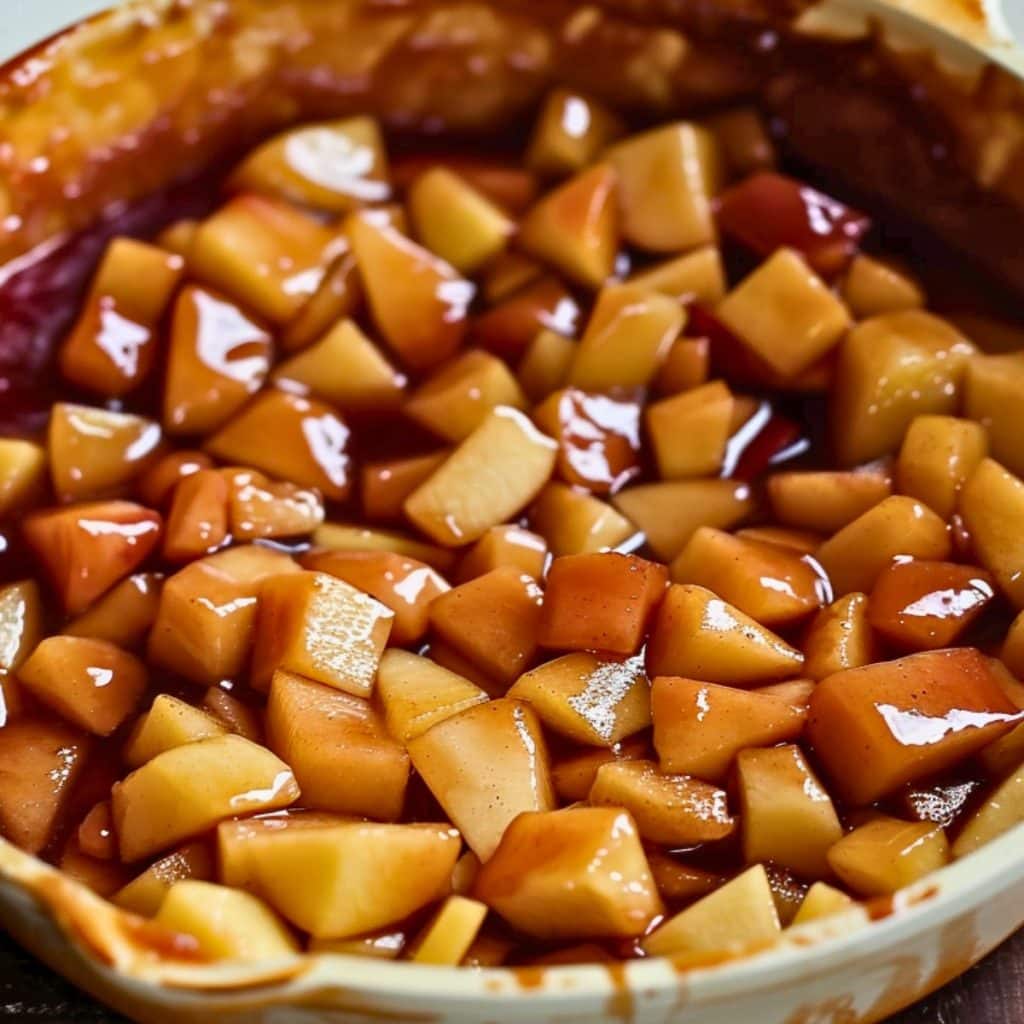
1. COOK the apple filling ingredients until tender and thick. Remove from the heat and cool for 30 minutes.
2. CUT the pastry into 4-inch circles or 4/5-inch squares, rerolling scraps to use all the dough.
3. ARRANGE half of the pastry onto baking sheets, add the cooled filling to the center, and then place the top pastry halves. Secure them with egg wash and press the edges with a fork to seal.
4. CHILL the pies for 30 minutes, then preheat the oven to 375°F (190°C).
5. BRUSH the tops with egg wash, sprinkle coarse sugar on top, and cut a few slits to allow steam to escape.
6. BAKE for 18-20 minutes or until golden brown.
7. COOL the pies on the trays and then on a wire rack. Serve warm or at room temperature. Enjoy!
Tips For the Best Apple Hand Pies
What I love most about this recipe is how it combines the comfort of a classic apple pie with the convenience of a portable treat.
Hand pies are perfect for sharing with friends and family or enjoying as a quick snack on the go. Plus, they’re surprisingly easy to make – even if you’re not a baking pro!
And with these tips, they’ll be perfect every time!
- Apple choice: For a balanced flavor, choose a mix of sweet and tart apples, such as Granny Smith and Gala.
- Recommended crust: For the best results, use high-quality, all-butter refrigerated pie crust, such as Pillsbury or Trader Joe’s.
- Chill the dough. Keep the pie crust dough chilled until ready to use, and don’t skip the second chill when they’re assembled. This helps the pastry maintain its shape and flakiness during baking.
- Dice small. Cut the apples into small, uniform pieces to ensure even cooking and easier filling.
- Seal well. Firmly press the edges of the hand pies with a fork to create a tight seal and prevent the filling from leaking out during baking.
- Vent the tops. The slits in the top are vital to allow steam to escape. Without them, the pies might burst open.
- Cool completely. Before serving, allow the hand pies to cool completely on a wire rack to allow the filling to set and make them easier to handle.
- Variations. Experiment with different spices or add a splash of vanilla extract to the filling. For a different twist, use other fruits like cherries or blueberries, or drizzle them with icing for a more elegant presentation.
How to Store
With their portable size and irresistible taste, these apple hand pies are sure to become a family favorite.
And while they’re pretty simple to whip up, you can make them ahead, too:
- Cook and chill the filling and cut and cover the pastry.
- Keep each separately in the fridge for 2-3 days.
- Assemble and bake when you need them. Easy peasy!
As for leftovers, here’s what to do:
To Store: Place cooled hand pies in an airtight container, separating layers with parchment paper. Refrigerate for up to 3 days.
To Freeze: Freeze baked or unbaked pies on a tray until solid then wrap tightly in plastic wrap and place in a freezer bag for up to 3 months. Thaw baked pies in the fridge overnight before reheating.
To Reheat: Warm chilled pies in a 350°F oven for 10-12 minutes. Bake frozen (raw) pies straight from the freezer as instructed with an extra 3-5 minutes in the oven.
More Pie Recipes You’ll Love
Blueberry Hand Pies
Piña Colada Cream Pie
Strawberry Pie Bars
Lemon Cream Pie
Apple Hand Pies
10
servings30
minutes20
minutes139
kcalApple hand pies are a perfect treat for any occasion. And thanks to the refrigerated pie crusts, these delightful handheld desserts are ready in no time!
Ingredients
2 tablespoons butter
2 cups peeled and diced apples (about 2 medium apples)
1/4 cup light brown sugar
1 teaspoon ground cinnamon
1/4 teaspoon ground nutmeg
2 tablespoons lemon juice
1 teaspoon cornstarch
1 (14.1 ounce) box refrigerated pie crusts (2 sheets)
2 eggs, beaten for egg wash
Coarse sugar for sprinkling, optional
Instructions
- Make the apple filling: Warm the butter in a large skillet over medium heat. When melted, add the diced apples, brown sugar, cinnamon, nutmeg, and lemon juice. Stir and cook for about 10 minutes, or until the apples are tender.
- Mix the cornstarch with 2 teaspoons of water to make a slurry. Add the slurry to the skillet and stir constantly until the apple filling is thick and glossy.
- Remove the skillet from the heat and pour the apples into a large, shallow container. Set aside until completely cool, about 30 minutes.
- Make the pies: Unroll the refrigerated pie crusts onto a lightly floured surface. Cut circles with a 4-inch round cookie cutter or cut into 4/5-inch squares. Reroll any scraps and cut to shape.
- Line two baking sheets with parchment paper. Arrange half of the cut out pastry onto the sheets, leaving 3 inches between each. Spoon about 2 tablespoons of the filling into the center of each circle or square, leaving the edges clear.
- Brush the edges of the pie crust with the beaten egg, then add the second circle or square on top. Using a fork, press the edges to seal the pies, then cut 2-4 small holes in the top to allow the steam to escape.
- Alternatively, cut the pastry into 4/5-inch circles, spoon the filling inside, and fold the circle into a half-moon shape. Seal the edges with egg wash and press them together with a fork as instructed above.
- Chill the pies for 30 minutes before baking. Then preheat the oven to 375°F (190°C).
- Brush the tops of the hand pies with the remaining beaten egg and sprinkle with coarse sugar, if desired. Bake for 18-20 minutes or until golden brown.
- Let the hand pies cool on the baking sheet for 5 minutes before transferring them to a wire rack to cool completely. Serve warm or at room temperature. Enjoy!
Notes
- The number of pies made will depend on the size and shape of the cutter used. If using a larger cutter, adjust the baking time accordingly.
- Keep the pie crust dough chilled until ready to use, and don’t skip the second chill when they’re assembled. This helps the pastry maintain its shape and flakiness during baking.