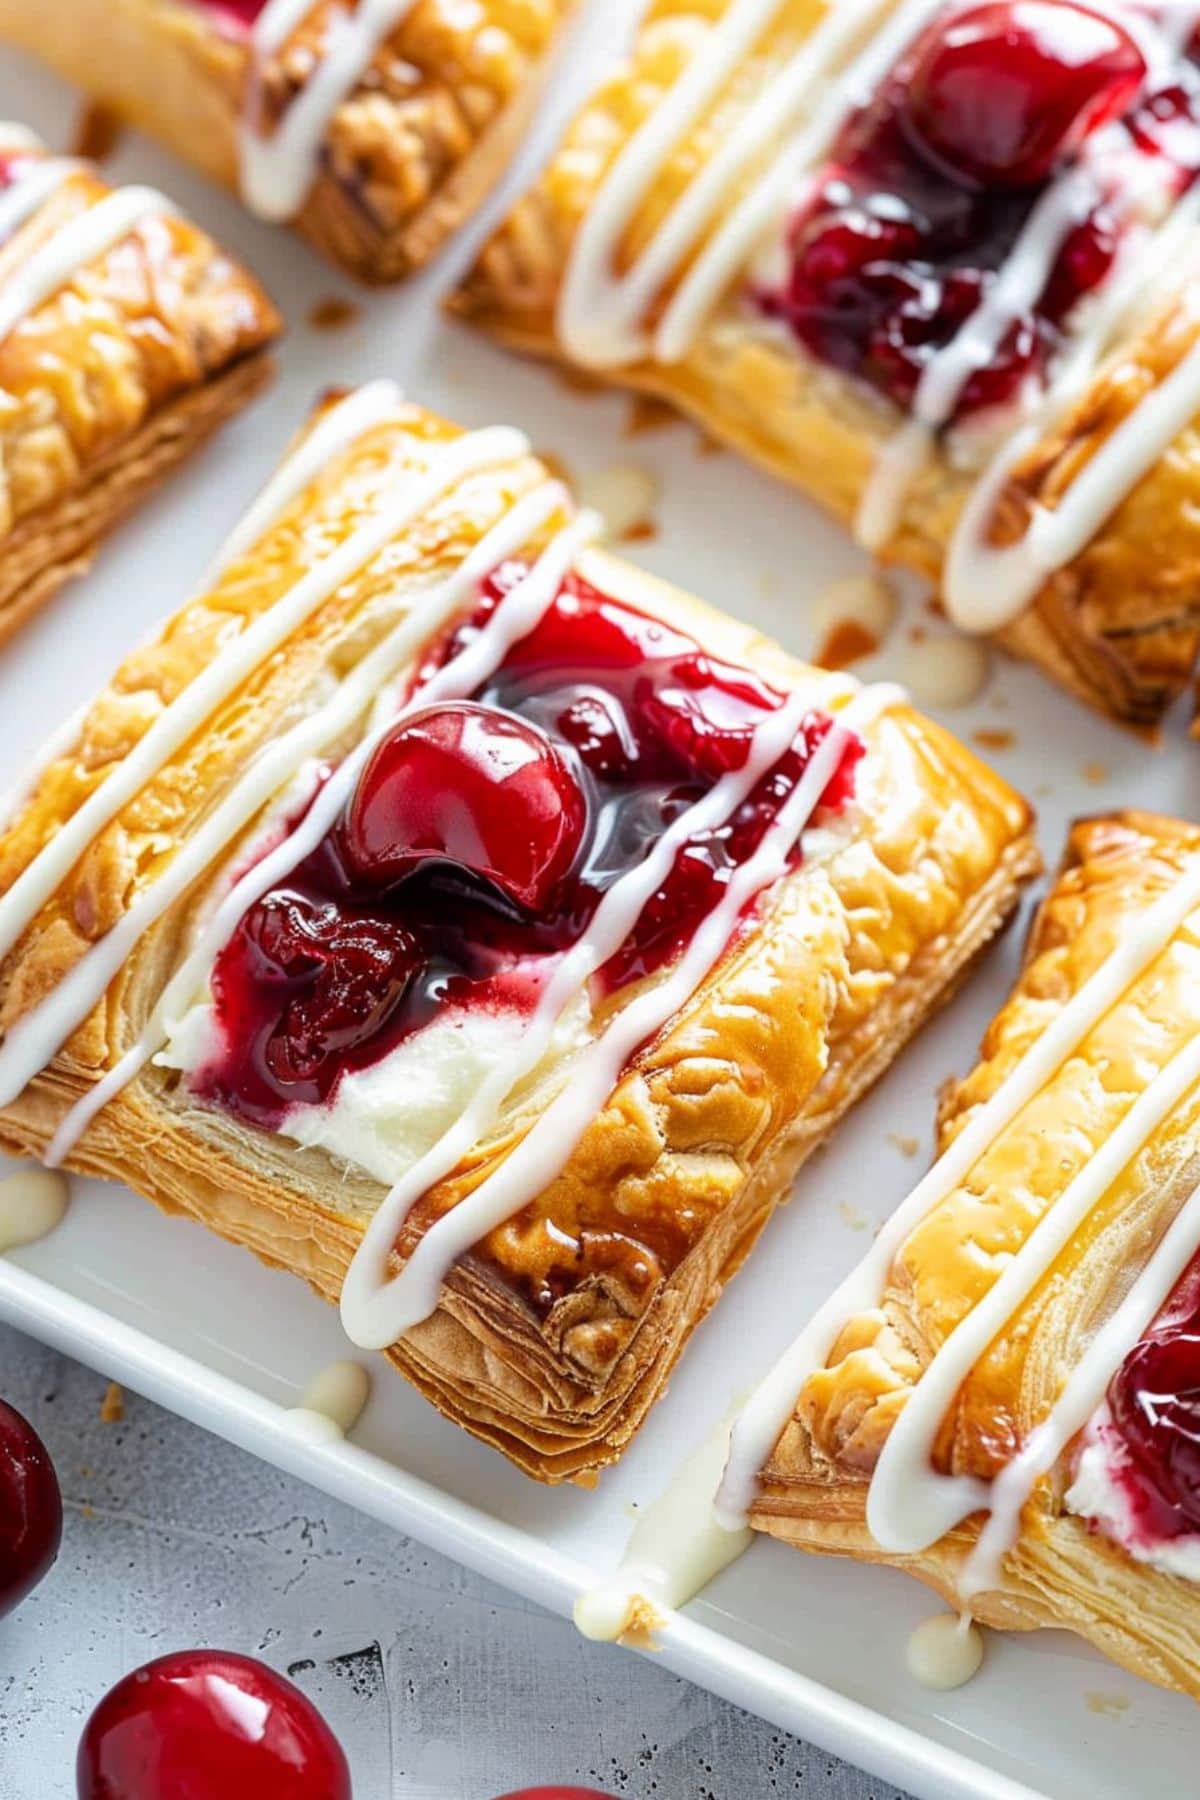
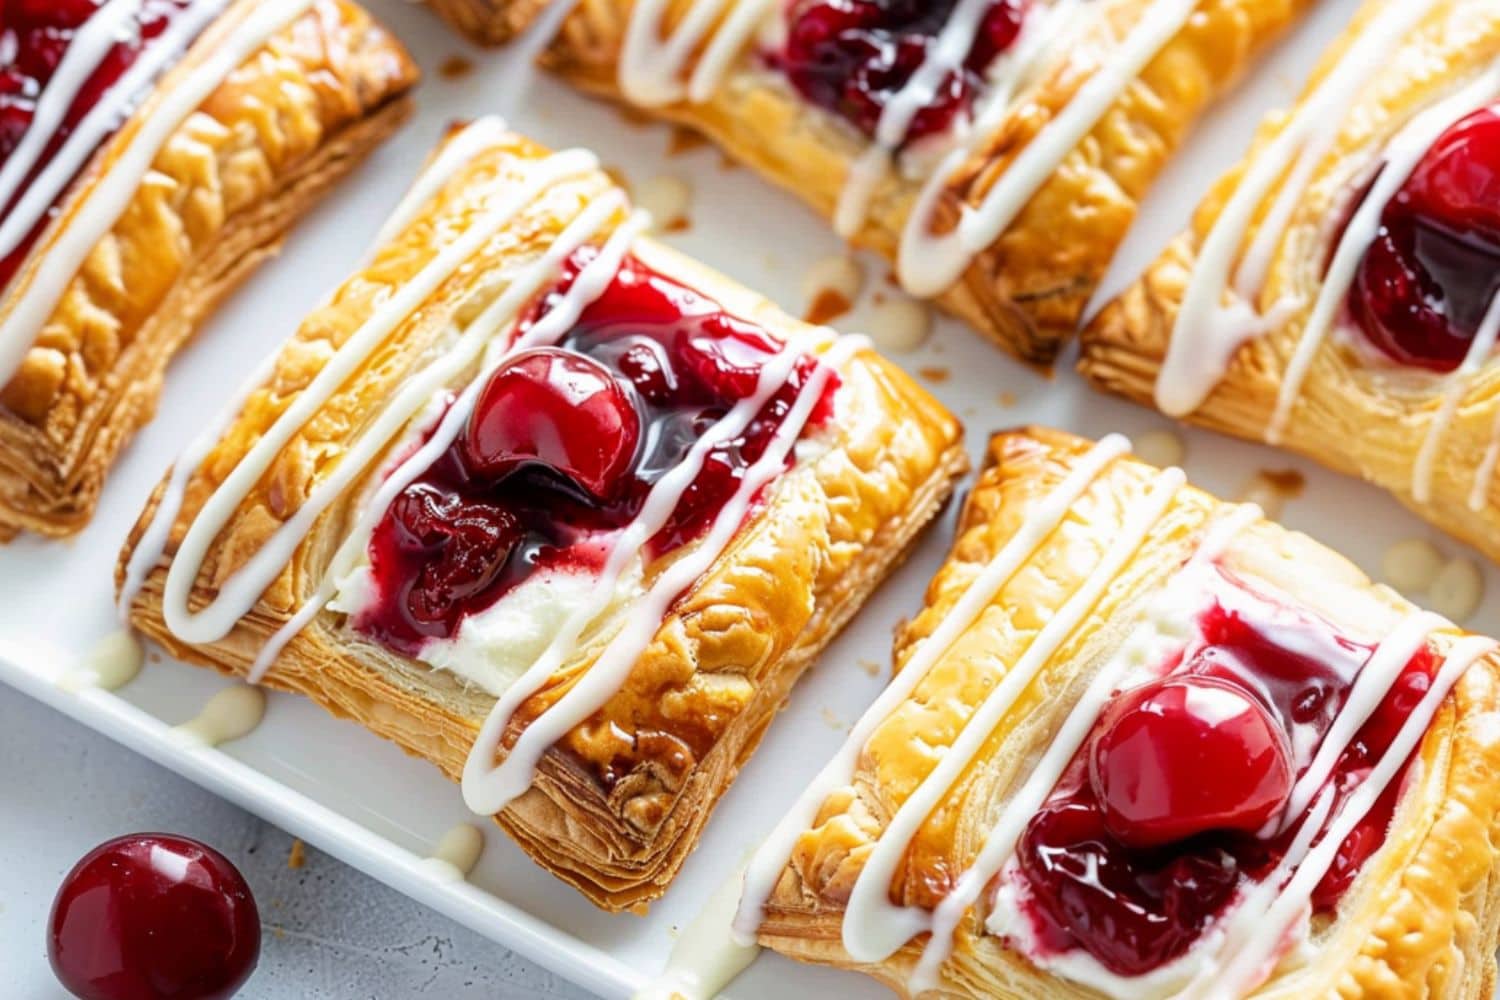
Every time I make this Cherry Cream Cheese Danish, I feel like a pastry chef in my own kitchen. These little delights are the perfect blend of flaky puff pastry, creamy filling, and sweet cherries.
What I love most about making these is how they fill the house with the warm, inviting aroma of freshly baked pastries.

It transports me right to a bakery!
Plus, they look so fancy with that glossy finish and delicate glaze drizzle. They’re almost too pretty to eat!
Why You’ll Love This Cherry Cream Cheese Danish
Quick Assembly: Transform simple ingredients into bakery-worthy pastries in just 30 minutes using store-bought puff pastry and cherry pie filling.
Flaky Texture: Experience buttery, flaky layers of pastry combined with creamy cheese filling and juicy cherries, creating an irresistible contrast in every bite.
Crowd-Pleaser: Ideal for special occasions, brunches, and potlucks, this recipe yields 12 pastries.
Bakery-Worthy: Create professional-looking pastries rivaling any local bakery’s display case.

Ingredients
- Puff Pastry: Flaky, layered dough creates a light, airy texture when baked and forms the crispy base of the Danish.
- Cream Cheese: It provides a creamy, tangy filling and helps balance the sweetness of the cherries.
- Cherry Pie Filling: Pre-cooked cherries in a thickened sauce add fruity sweetness and a vibrant red color to the pastry.
- Granulated Sugar: Fine white sugar sweetens the cream cheese filling while maintaining its smooth texture.
- Vanilla and Almond Extract: Flavor enhancers add warmth and nutty complexity to the cream cheese mixture.
- Egg + Water: The mixture creates a golden-brown, glossy finish on the pastry edges when baked.
- Powdered Sugar: Ultra-fine sugar dissolves easily to create a smooth, sweet glaze for decorating.
- Milk: It thins the powdered sugar to create a pourable glaze consistency.

How to Make Cherry Cream Cheese Danishes
You’ll feel like a pro baker after making this recipe!
1. Prepare the oven. Preheat your oven to 400°F. Line two baking sheets with parchment paper or silicone baking mats to prevent sticking and make cleanup easier.
2. Cut the puff pastry. Lightly flour your work surface and unfold the puff pastry sheets. Using a sharp knife or a pizza cutter, slice each sheet into six equal rectangles. Arrange the rectangles on the prepared baking sheets. Leave at least 1 inch of space between them for expansion.
3. Dock the pastry. With a fork, poke several holes in the center of each pastry rectangle. Leave a ½-inch border around the edges untouched. This will allow the edges to puff while keeping the center flat for the filling.
4. Prepare the cream cheese filling. In a medium bowl, combine the softened cream cheese, granulated sugar, vanilla extract, and almond extract. Mix well until the mixture is smooth and creamy.
5. Fill the pastries. Spread about 1 tablespoon of the cream cheese mixture in the center of each pastry. Stay within the undocked border. Spoon 2 tablespoons of cherry pie filling over the cream cheese layer. Aim for a balance of cherries and sauce for the best texture and appearance.
6. Apply the egg wash. In a small bowl, whisk together the egg and water. Use a pastry brush to lightly coat the exposed edges of the pastry rectangles with the egg wash. This will give the pastries a glossy, golden finish when baked.
7. Bake the pastries. Place the baking sheets in the oven. Bake for about 15 minutes or until the pastries are puffed and golden brown. Rotate the baking sheets halfway through baking for even browning.
8. Cool the pastries. Remove the pastries from the oven and transfer them to a wire rack. Allow them to cool for 10–15 minutes.
9. Prepare the glaze. While the pastries are cooling, make a simple glaze by mixing the powdered sugar with milk and vanilla extract in a small bowl. Adjust the milk to achieve your desired consistency. A drizzle-able glaze is ideal.
10. Finish with the glaze. Once the pastries are slightly cooled (but still warm to the touch), drizzle the glaze over the top of each one. Use a spoon or a small piping bag for a decorative finish.
11. Serve. Serve the pastries warm or at room temperature. They pair beautifully with coffee or tea. Enjoy!

Tips for the Best Cherry Cream Cheese Danish
Here are a few tips I’ve picked up along the way while making this recipe.
- Keep the pastry cold. Keep puff pastry cold until ready to use. If it becomes too warm while working with it, return it to the refrigerator to chill.
- Prep your cream cheese. Ensure the cream cheese is fully softened at room temperature for a smooth, lump-free filling.
- Balance the fillings. Use a balanced amount of cherries and sauce from the cherry pie filling for optimal texture and appearance.
- Try a rotating trick. Rotate the baking sheets halfway through baking to evenly brown the pastries.
- Choose your glaze consistency. Adjust the milk in the glaze to achieve a drizzle-able consistency for an attractive finish.
- Try fun variations. Try different pie fillings like blueberry, strawberry, or apple, or use fresh fruit. You can even add lemon zest or different extracts to the cream cheese mixture for unique flavors.
How to Store
To keep Danishes fresh to enjoy all week, follow these easy steps.
To Store: Store the Danishes in an air-tight container in the refrigerator for up to 5 days. Keep them well-sealed to maintain freshness and prevent them from absorbing other flavors.
To Freeze: Allow the Danishes to cool completely, wrap them tightly in plastic wrap, and store in a freezer-safe container for up to 2 months. Thaw overnight in the refrigerator before serving.
To Reheat: Serve cold, at room temperature, or warmed in the microwave for 15-20 seconds. For best results, you can also reheat them in a toaster oven or conventional oven just until warm.


