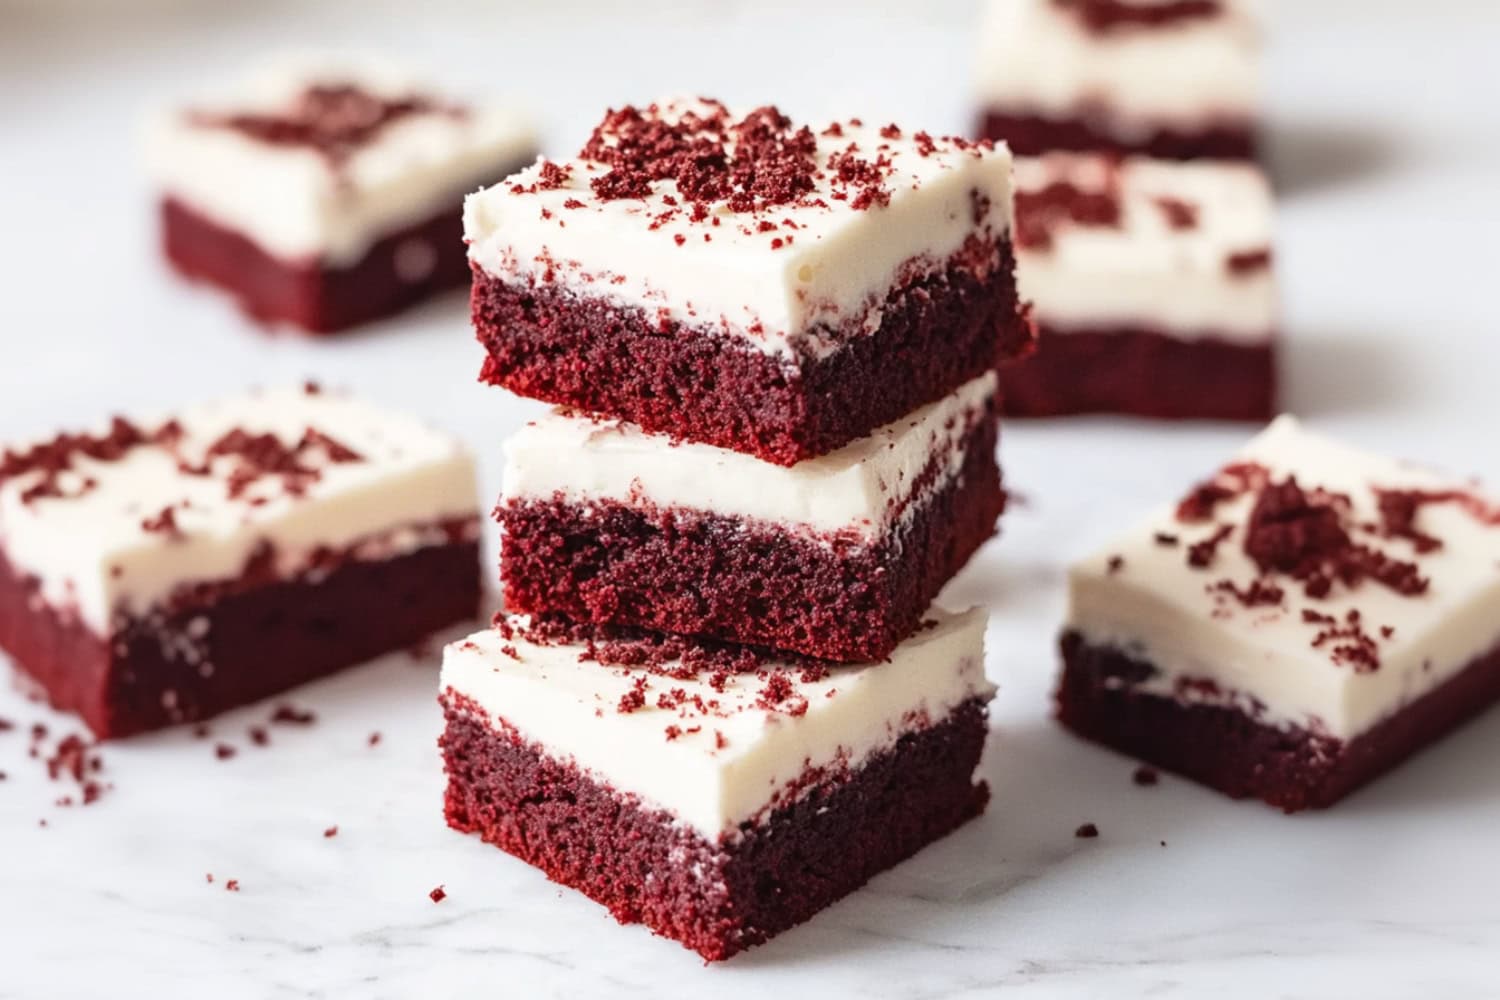
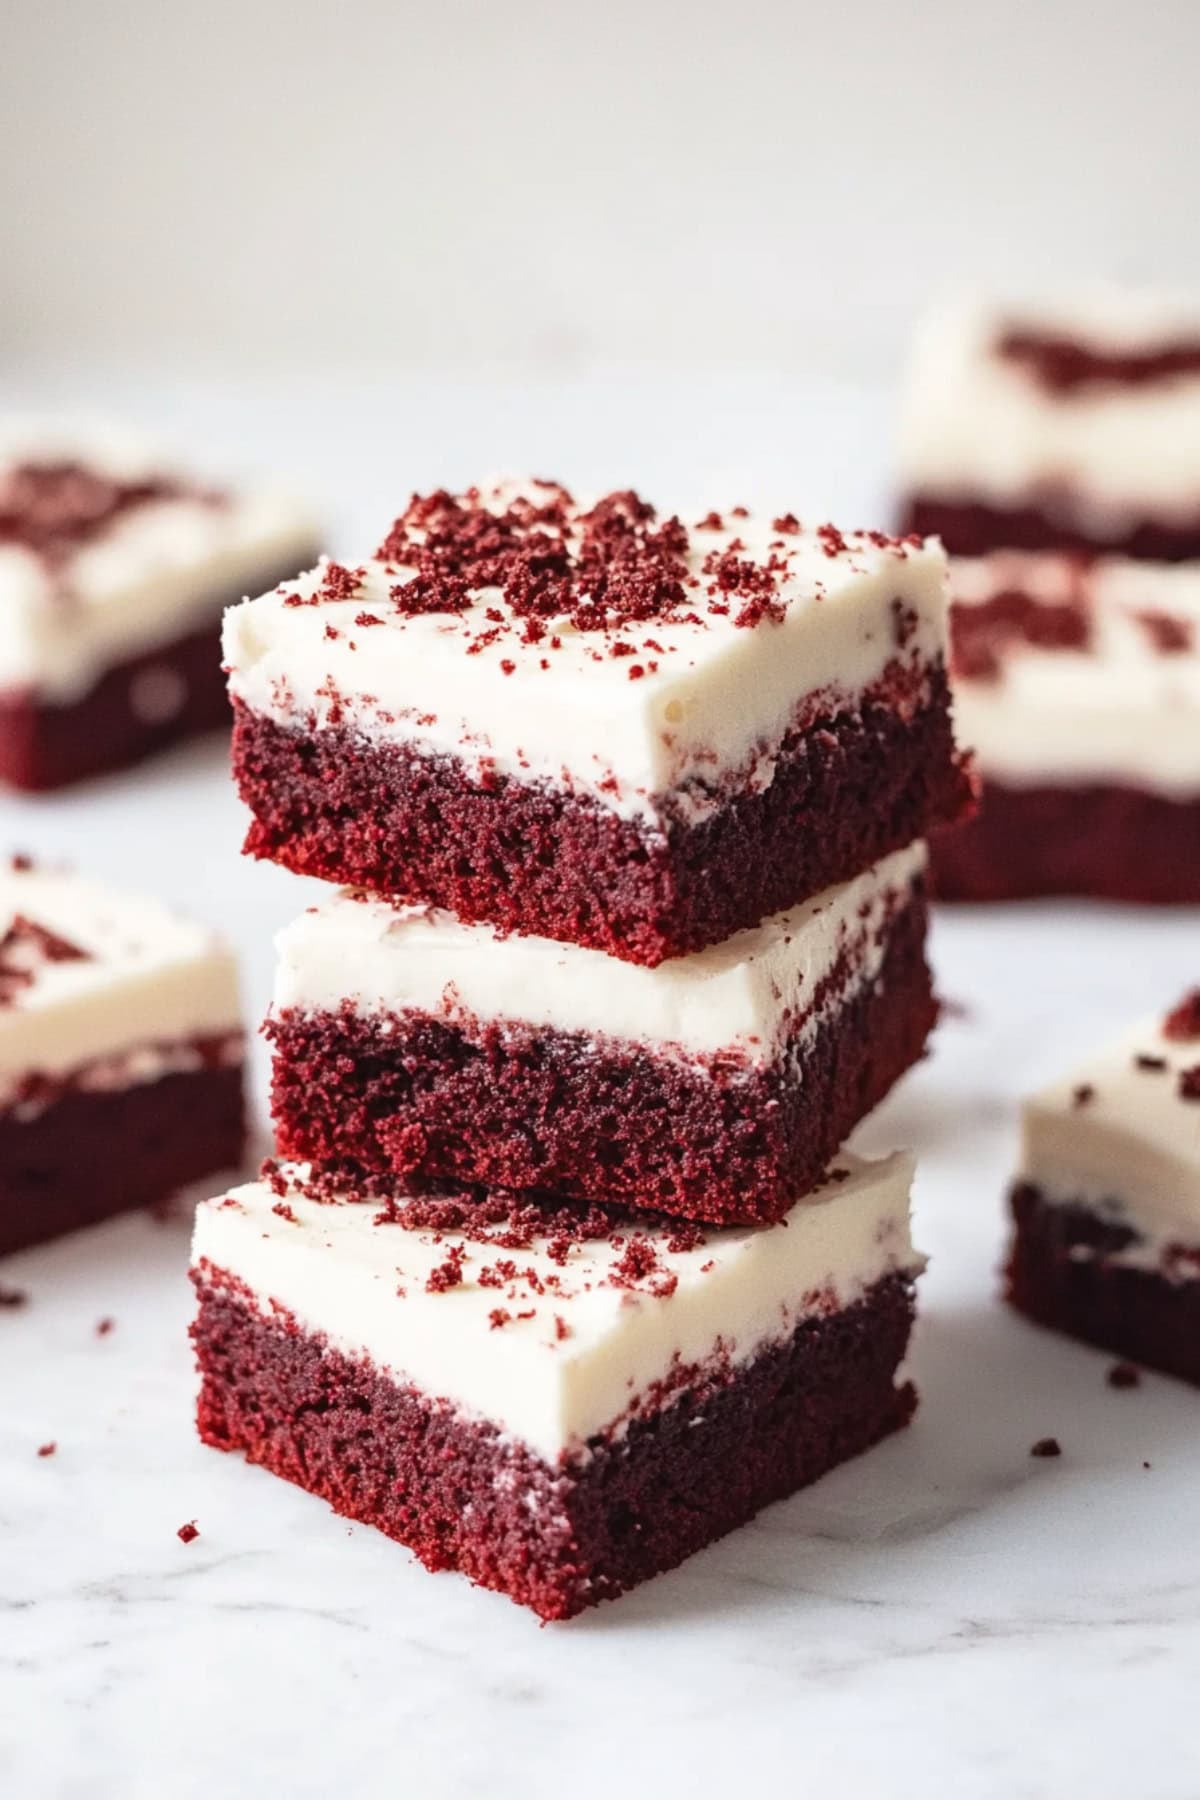
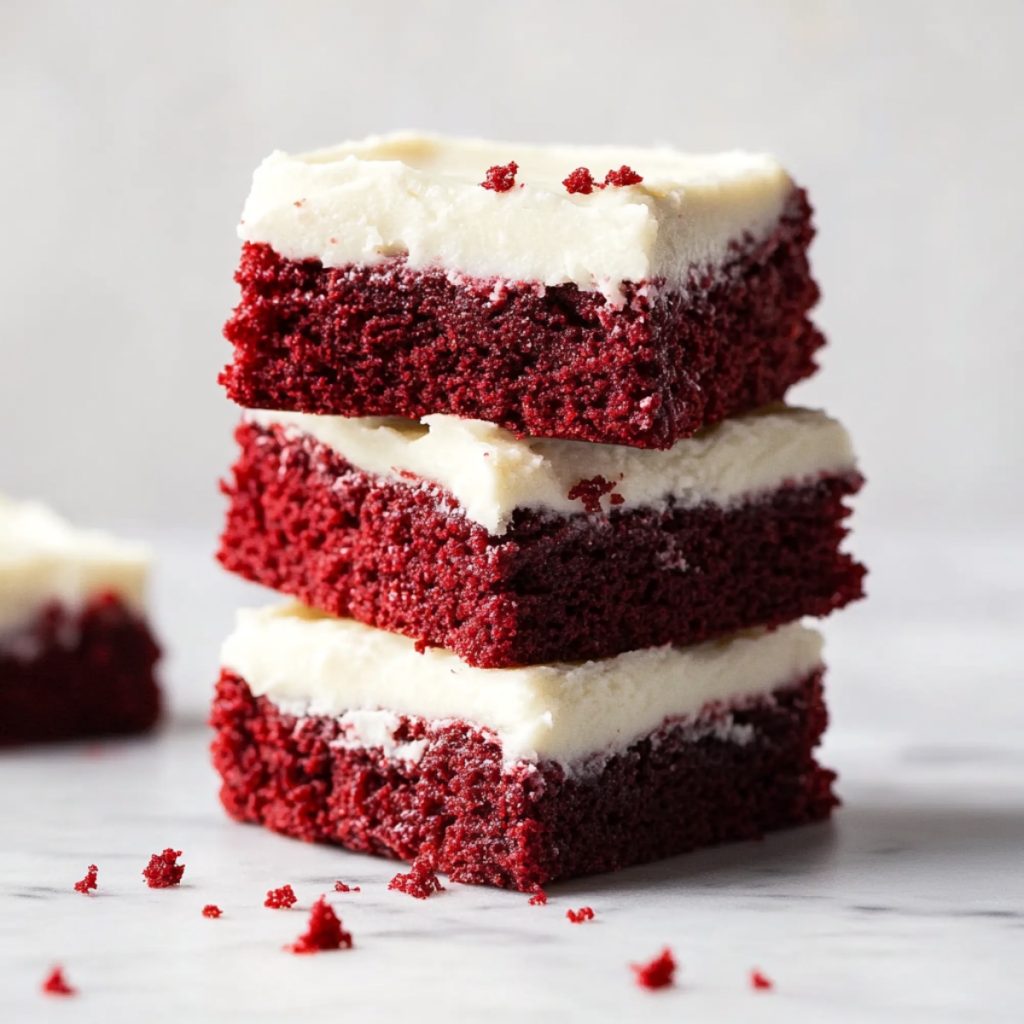
Red velvet lovers, this one’s for you! These red velvet bars with cream cheese frosting are a rich, moist twist on the classic cake.
Each bite delivers that signature subtle cocoa flavor and stunning crimson hue that makes red velvet so captivating.
The luscious cream cheese frosting provides the perfect balance of sweetness and tang.
Easy to make and visually stunning, they’re an ideal treat for the holidays. Everyone will love them.
Why You’ll Love These Red Velvet Bars with Cream Cheese Frosting
Simple Yet Elegant: These gorgeous red bars with creamy frosting look 100% bakery-worthy. But despite that, they’re ridiculously easy to make.
Unbeatable Taste: As mentioned, these bars have the classic red velvet cake flavor. A rich, buttery base with a tangy-sweet frosting. They’re both decadent and satisfying.
Versatile Treat: Great for holidays, birthdays, or any time you crave a decadent dessert!
Customizable Toppings: Add your own personal flair with sprinkles, white chocolate drizzle, or a dusting of cocoa powder.
Ingredients
- All-Purpose Flour: Provides structure and stability without a lot of fuss.
- Unsweetened Cocoa Powder: For the traditional hue and subtle chocolate flavor.
- Baking Soda: The leavening agent that makes the bars rise so they’re not too dense.
- Salt & Vanilla Extract: To balance the sweetness and enhance the other flavors.
- Unsalted Butter & Oil: For richness, moisture, and a tender crumb. You’ll also need butter in the frosting.
- Granulated Sugar: For sweetness.
- Eggs: To hold everything together and add extra moisture.
- White Vinegar: The surprise ingredient! It reacts with the cocoa to enhance the red color and improve the bars’ tenderness.
- Red Food Coloring: For that visually striking red hue. Use gel for the best results.
- Cream Cheese: For a smooth, sweet-n-tangy frosting that complements the rich red velvet base.
- Powdered Sugar: To sweeten and stabilize the frosting.
How to Make Red Velvet Bars with Cream Cheese Frosting
Don’t be surprised if these steps look similar to those for a red velvet cake.
After all, they’re very similar to the classic cake – only cut into convenient dessert bars for ease of serving.
1. PREHEAT the oven to 350°F. Grease a 9×13-inch pan and line it with parchment paper, leaving some overhang.
2. MIX the flour, cocoa powder, baking soda, and salt. Set aside.
3. WHISK the butter, oil, and sugar until well blended. Then, mix in the eggs, vanilla, vinegar, and food coloring one at a time.
4. STIR the dry ingredients into the wet mixture with a spatula until just combined. Spread the batter evenly into the prepared pan.
5. BAKE for 20–25 minutes, or until a toothpick inserted in the center comes out clean. Cool completely in the pan.
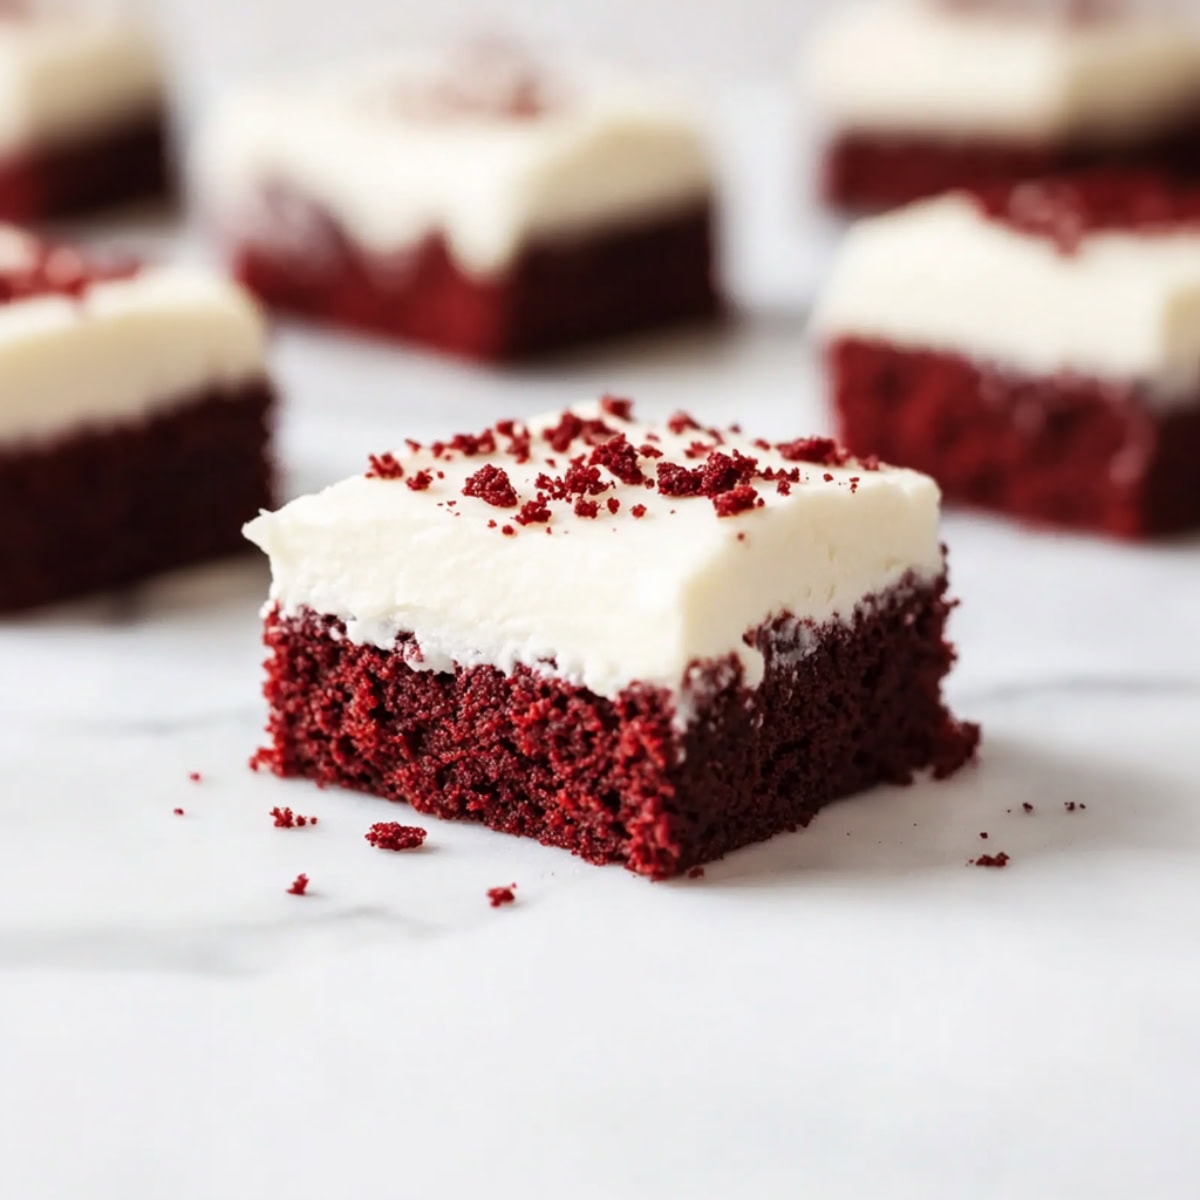
6. BEAT the cream cheese and butter until smooth. Gradually mix in the powdered sugar, vanilla, and salt until fluffy.
7. SPREAD the frosting over the cooled bars. Garnish with cake crumbs*, chocolate chips, or sprinkles if desired. Enjoy!
*I usually cut the edges to make the slices super neat. Then, I use the cake trimmings to sprinkle over the top.
Tips for the Best Red Velvet Bars with Cream Cheese Frosting
While not as easy to make as no-bake dessert bars, these still aren’t difficult.
Keep these tips in mind, and the recipe will be even easier.
- Use room-temperature ingredients. This tip is pretty standard in baking, but I always like to remind people. (Never know when I have a newbie baker visiting!) Set the butter, cream cheese, and eggs out early to warm to room temperature for easier mixing.
- Avoid overmixing. Another pretty common tip. When adding the dry ingredients to the wet ones, be gentle. Stop mixing as soon as everything is just combined to avoid overmixing. That is the number one culprit of dense, flat baked goods, after all!
- Don’t skip the vinegar. I know it seems like an odd ingredient for dessert bars, but trust me! The chemical reaction is invaluable.
- Test for doneness. Remember the toothpick test! Stick a toothpick straight down into the center of the baked bars. If it comes out clean or with just a few crumbs, they’re ready to remove from the oven.
- Use gel food coloring. It provides a brighter hue than classic liquid food coloring. It also won’t thin or water down the batter.
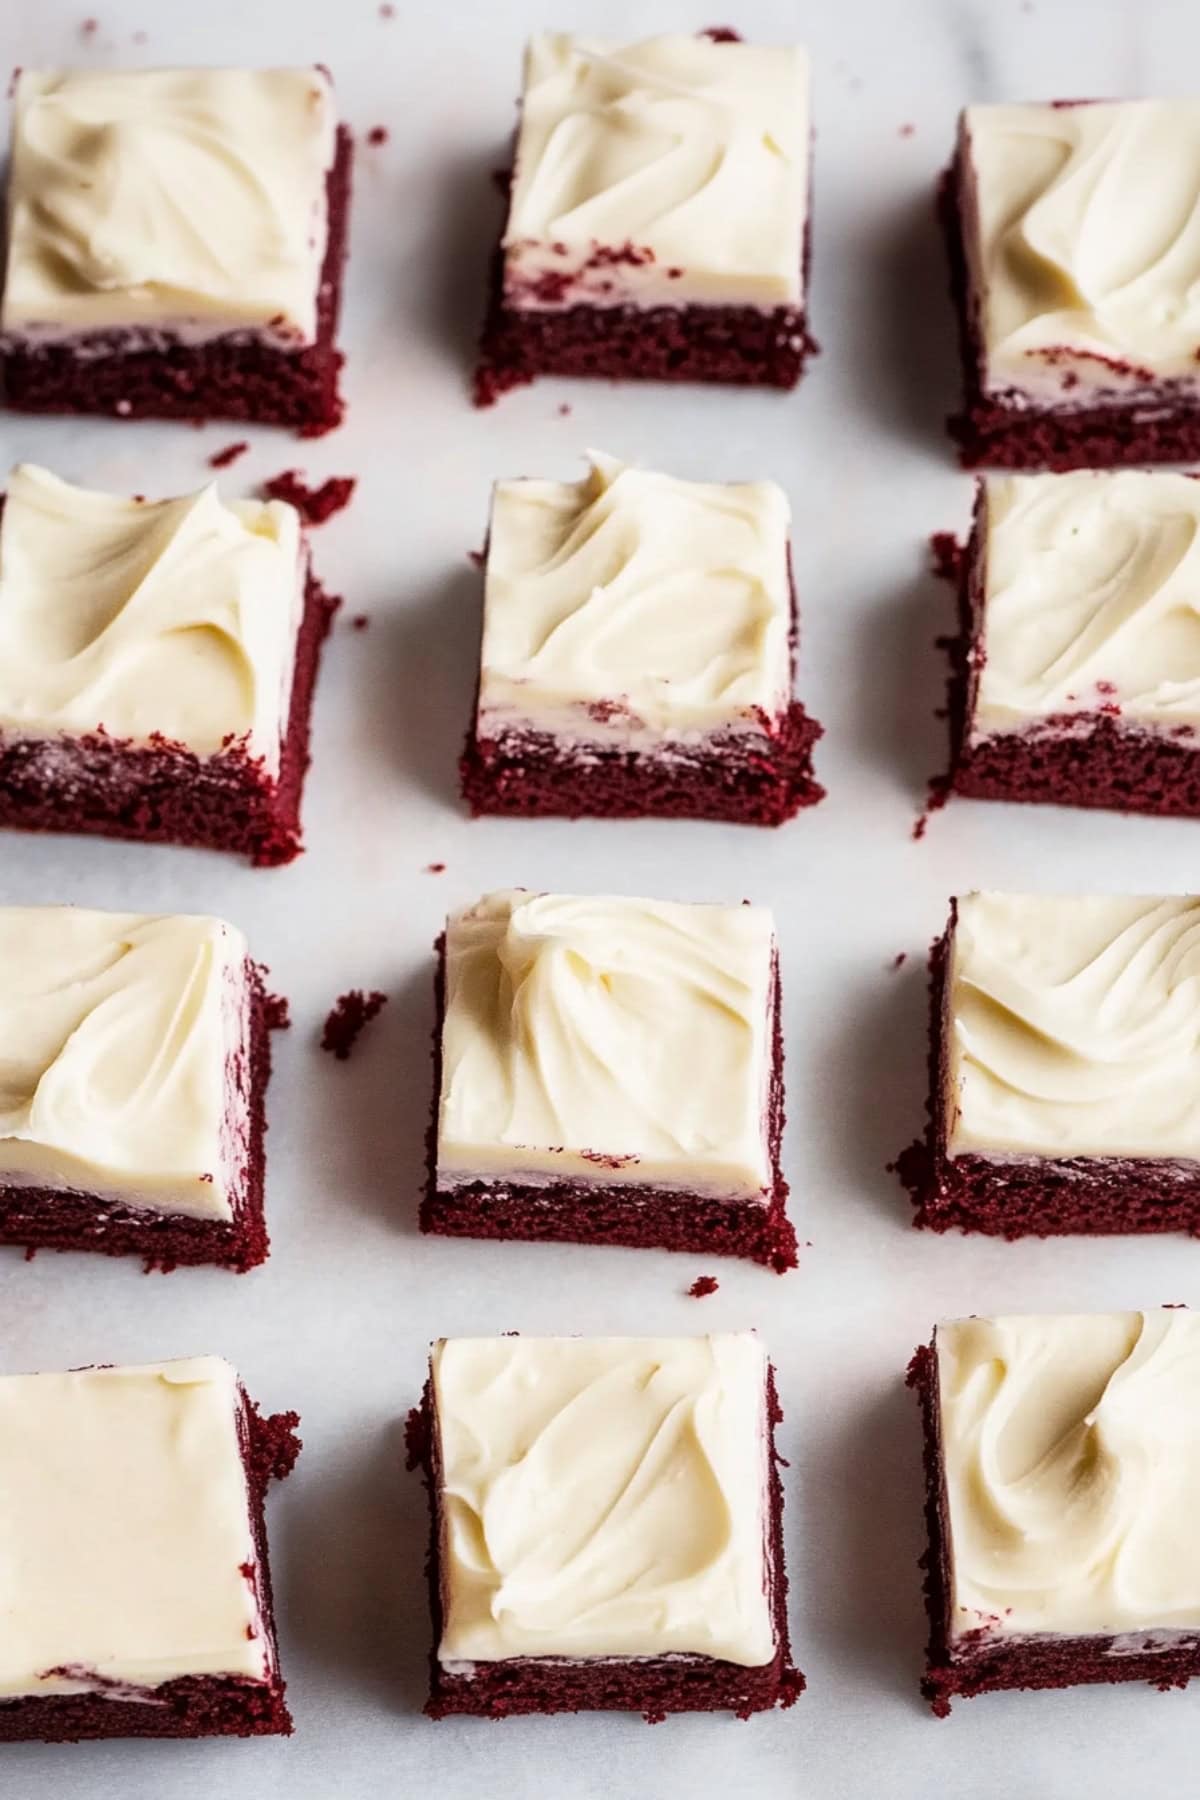
- Make clean cuts. Chill the bars to set the frosting. Then, use a sharp knife and wipe it clean between each cut.
- Garnish creatively. I mentioned sprinkles, cocoa powder, and a chocolate drizzle already. But those aren’t your only options. Experiment with crushed nuts, cookie crumbles, or whatever else you like.
How to Store
Unfortunately, the cream cheese frosting doesn’t hold up well after freezing.
For that reason, I don’t recommend freezing the frosted bars. You do have options for leftovers, though!
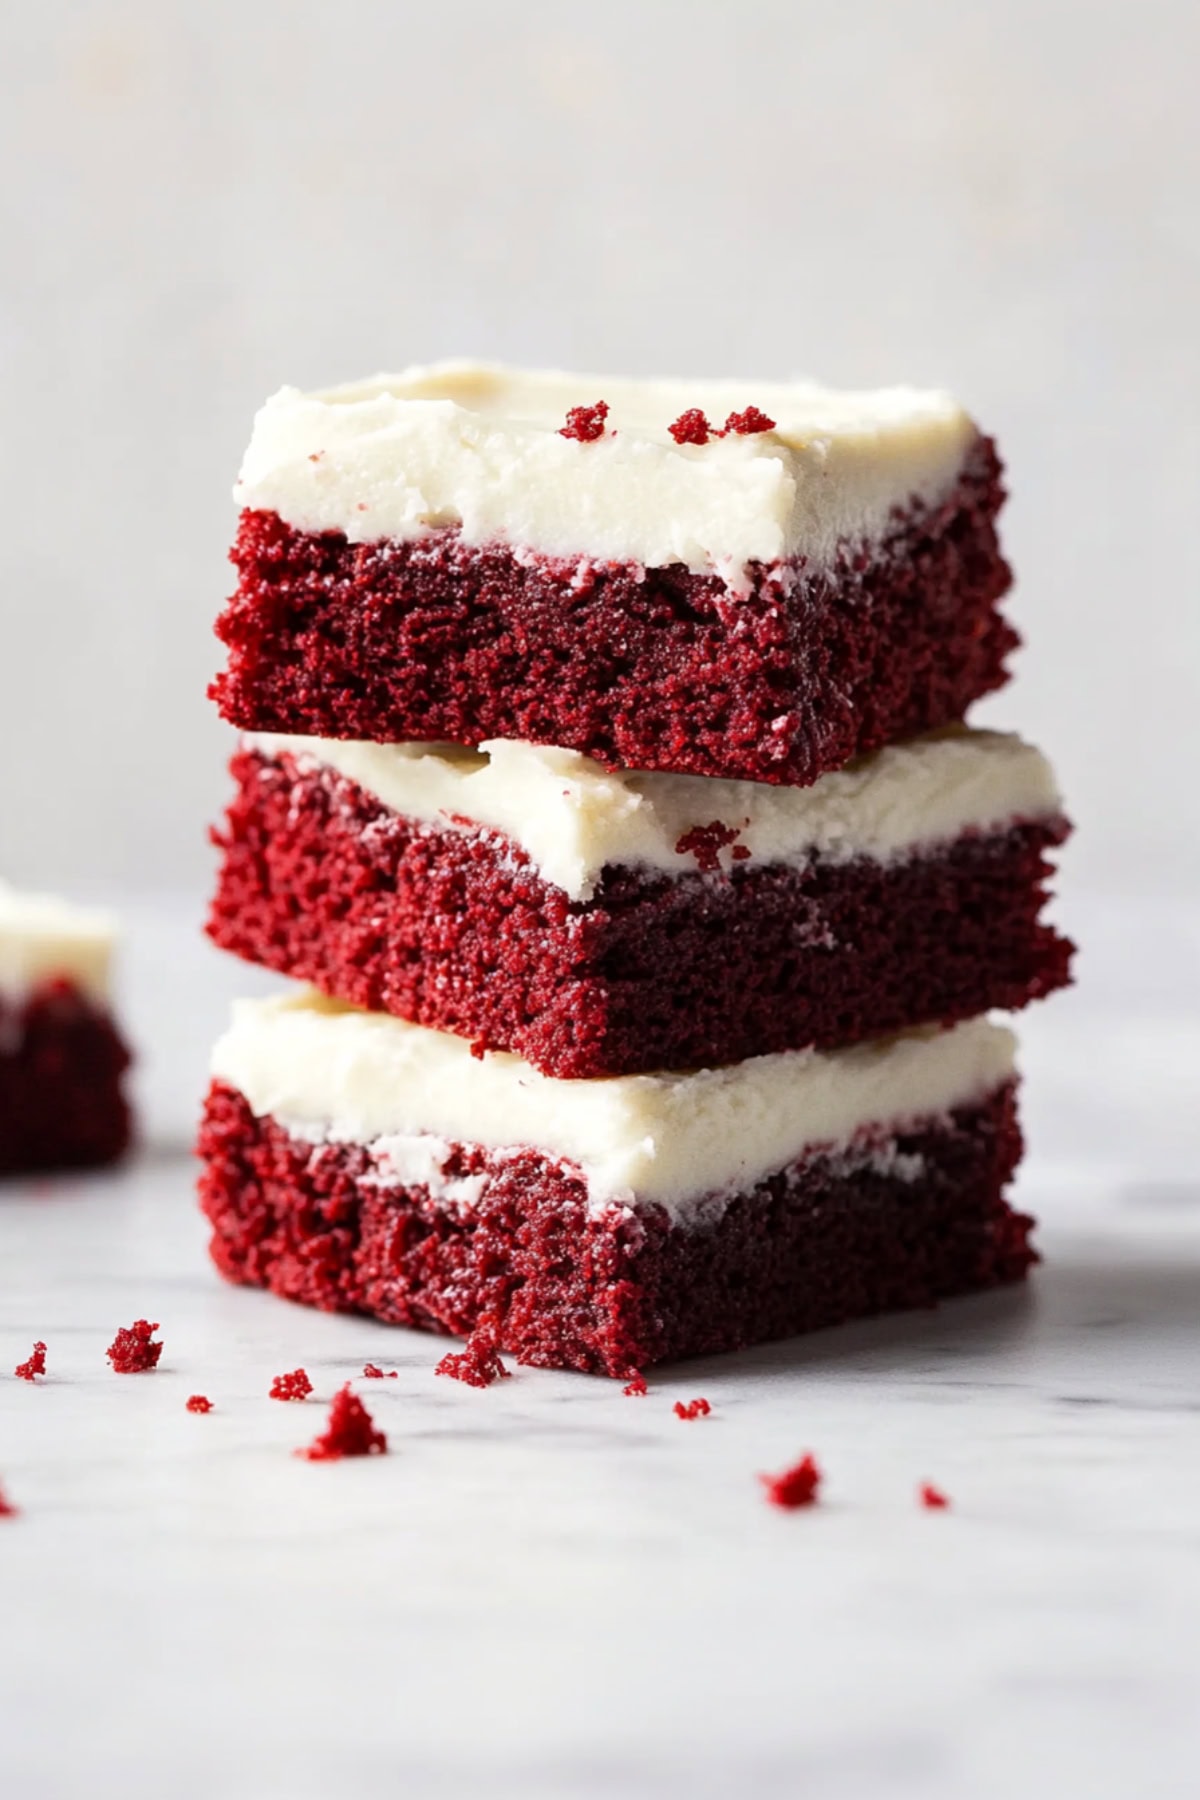
To Store: Transfer the bars to an airtight container and refrigerate for up to 5 days. When ready to serve, set them at room temperature for about 30 minutes to warm up.
To Freeze: If you think you’ll have enough leftovers to freeze, don’t frost all the bars. Instead, wrap the unfrosted bars tightly in plastic wrap and place them in an airtight container. Freeze for up to 3 months.
More Red Velvet Desserts You’ll Love
Red Velvet Brownies with Cream Cheese Frosting
Red Velvet Cake Roll
Red Velvet Whoopie Pies
Red Velvet White Chocolate Chip Cookies

