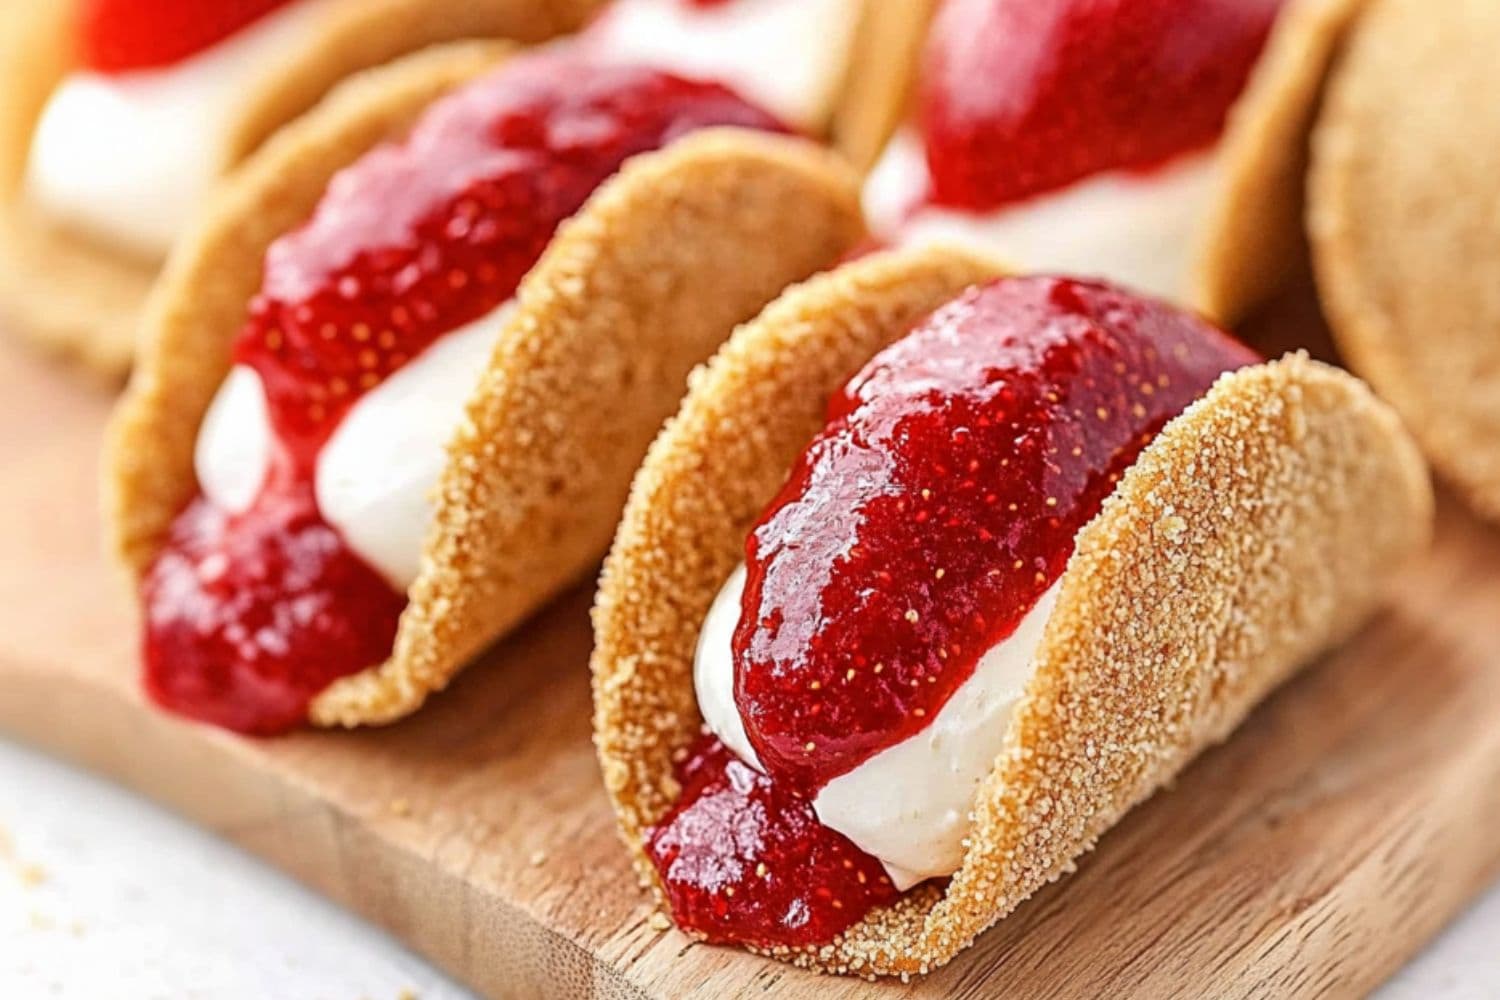
I can’t resist sweet, delicious, and totally eye-catching desserts. And these strawberry cheesecake tacos definitely check all the boxes!
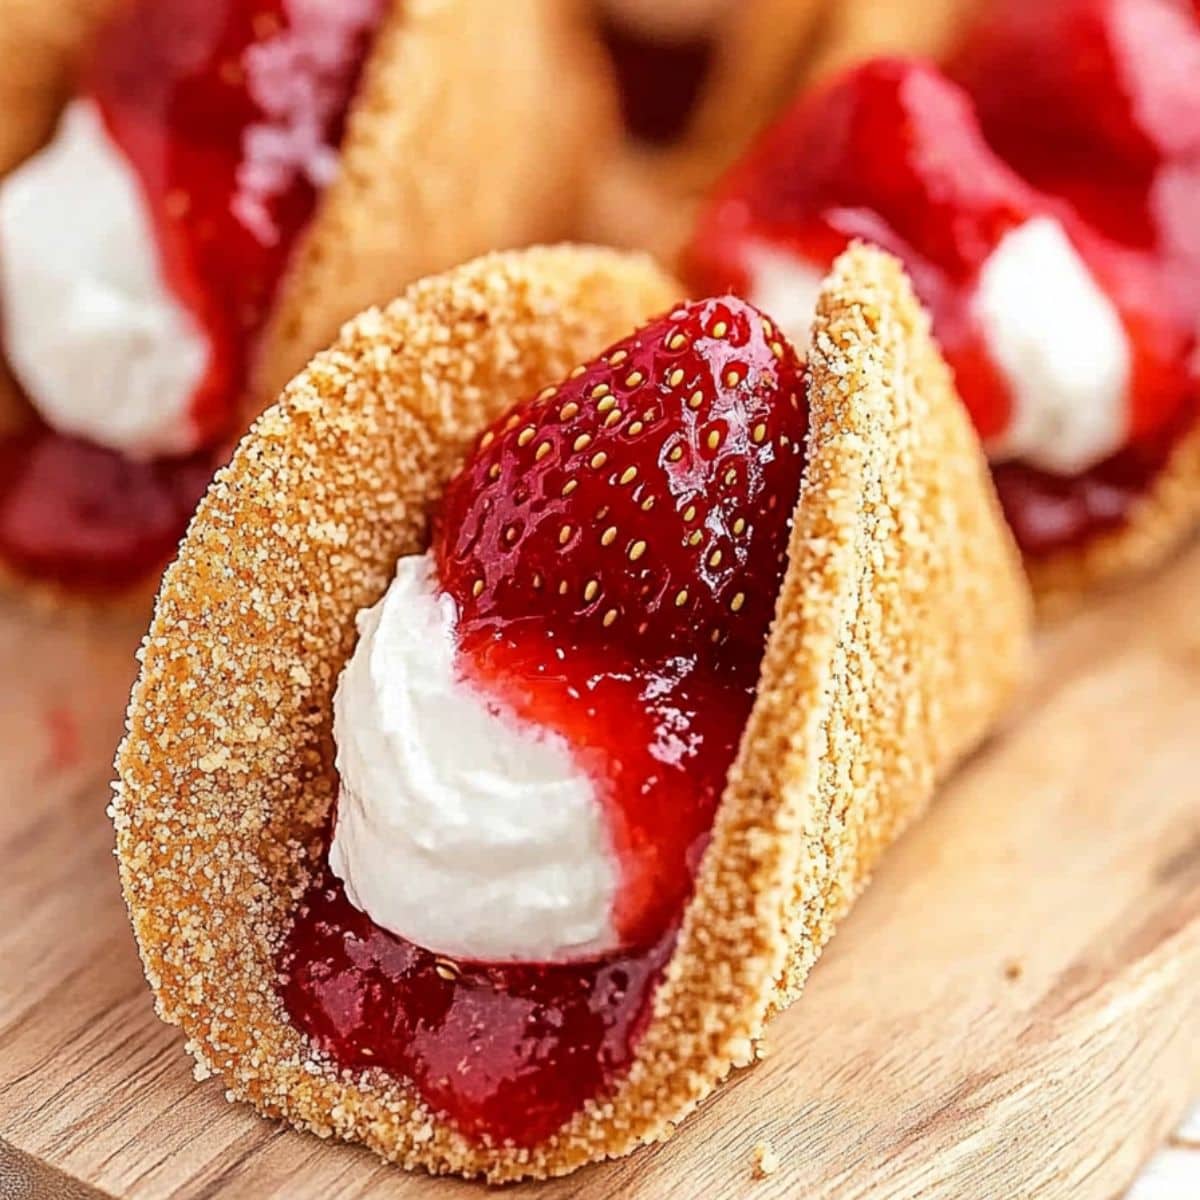
These babies are made with crispy graham cracker taco shells and a silky cheesecake filling. Top them with a sweetly tart strawberry sauce, and voila! Pure culinary (edible) art!
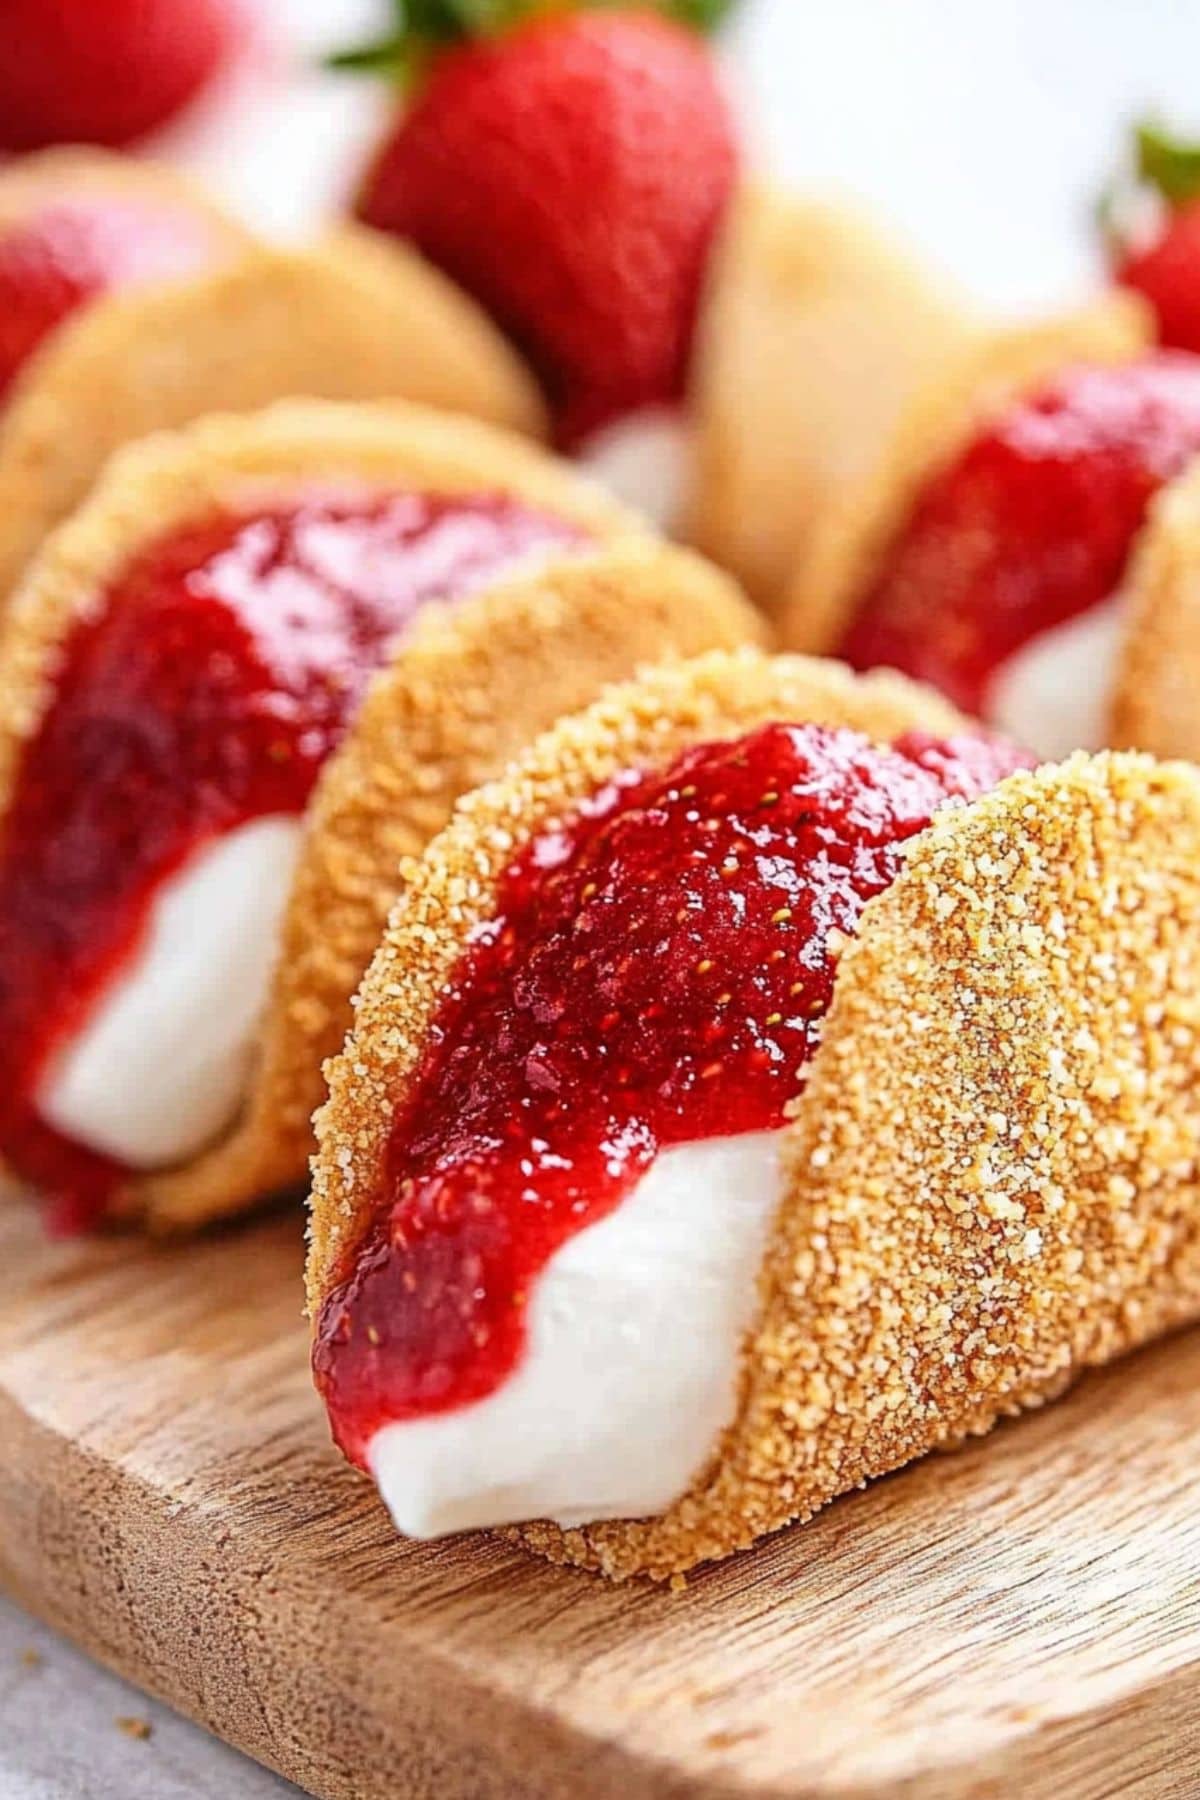
They’re the perfect blend of flavors and textures and will elicit tons of compliments.
Try them yourself at your next party or potluck. They’re amazing!
Why You’ll Love These Strawberry Cheesecake Tacos
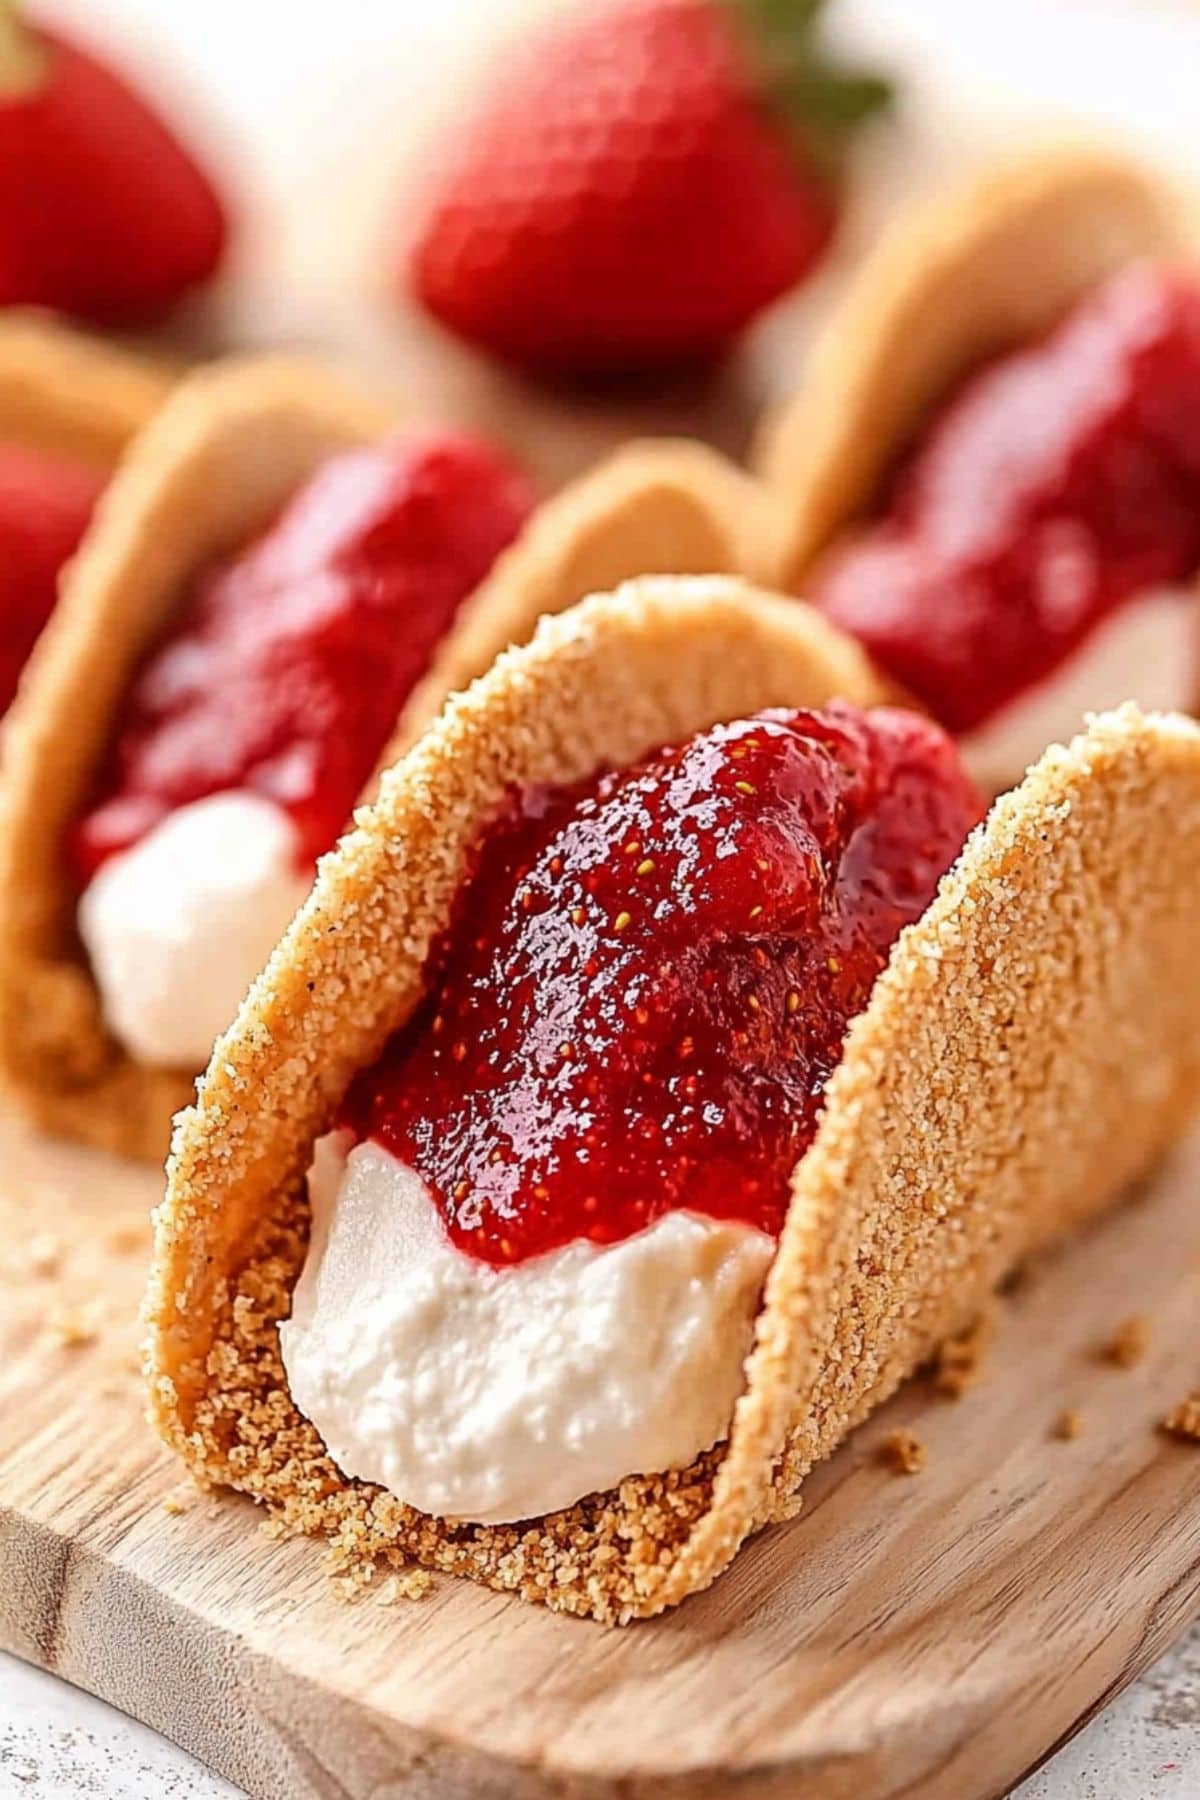
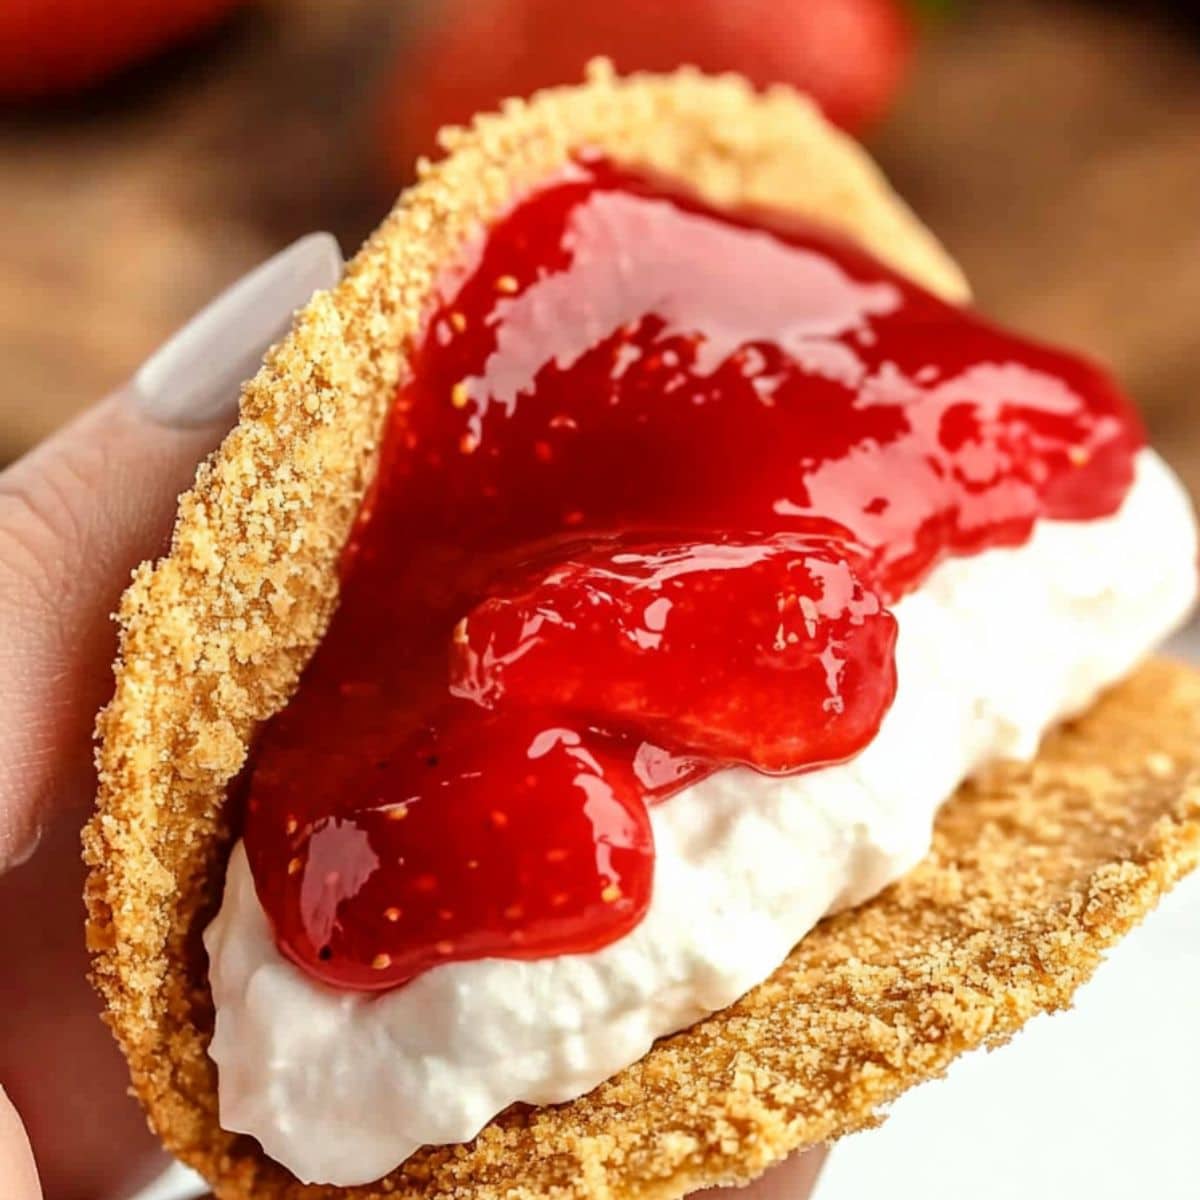
Visual Appeal: You’ll love how vibrant the strawberry sauce looks against the white filling and golden shells. Plus, their shape really does look like tacos! It doesn’t get much cuter than that.
Irresistible Taste: They’re sweet, tangy, fruity, and tart. These little treats have it all. The strawberry sauce and cheesecake filling pair perfectly with the graham cracker shells.
Seasonal Delight: Though you can make them year-round, these are perfect for spring and summer when strawberries are ripe.
Perfect for Parties: You can easily prepare the separate components ahead of time and store them until needed. Simply keep everything in its own container and assemble immediately before serving.
Ingredients
- Fresh Strawberries: Select ripe, juicy strawberries with few or no blemishes to make the strawberry sauce. It’s much better than using squeezable store-bought sauce.
- Cream Cheese: The tangy base of the dreamy no-bake filling. Use full-fat, block-style cream cheese for the best taste and texture.
- Large Flour Tortillas: You coat them in a sweet graham cracker coating.
- Butter: To help the graham crackers stick to the tortillas. It also adds an unbeatable richness.
- Graham Cracker Crumbs: The key to creating a classic cheesecake crust.
- Sugars: This recipe calls for brown, powdered, and granulated sugars.
- Lemon Juice: It adds a bright, citrusy accent to the strawberry sauce to balance the sweetness.
- Cornstarch: It’s essential for thickening the strawberry sauce.
- Vanilla Extract: It adds warm vanilla notes to the cheesecake filling.
- Heavy Whipping Cream: For lightness and a silky texture.
How to Make Strawberry Cheesecake Tacos
This recipe has three primary components: the shells, the sauce, and the filling. Once you have those ready, it’s just a matter of assembling!
1. Make the shells. Preheat the oven to 375 degrees. Cut the tortillas into 3 1/2- or 4-inch circles. Cover them with melted butter and a mix of graham cracker crumbs and brown sugar. Drape them over an inverted muffin tin and bake for 10 to 12 minutes until done.
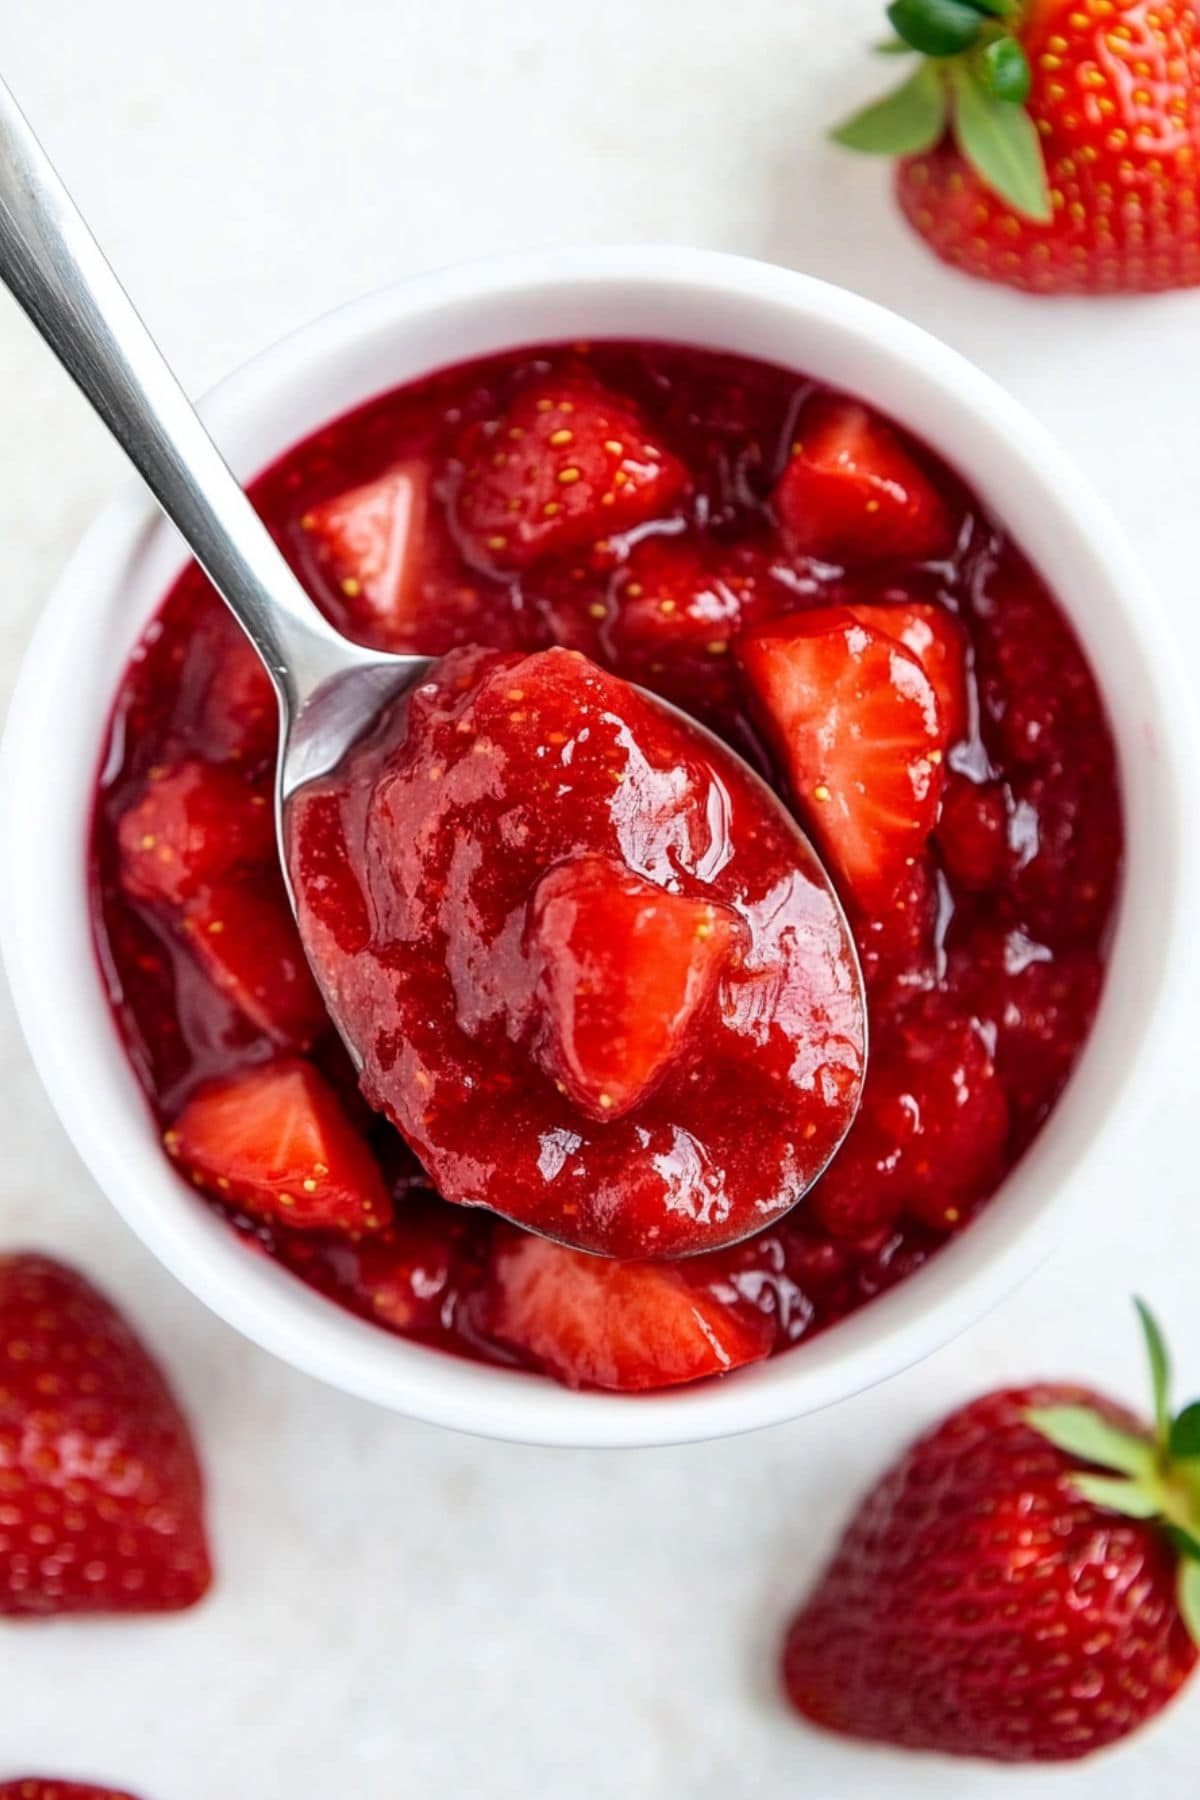
2. Make the sauce. Add the chopped strawberries, granulated sugar, lemon juice, cornstarch, and water to a saucepan. Cook over medium heat, stirring frequently. Once the mixture thickens, transfer it to a bowl and refrigerate until chilled.
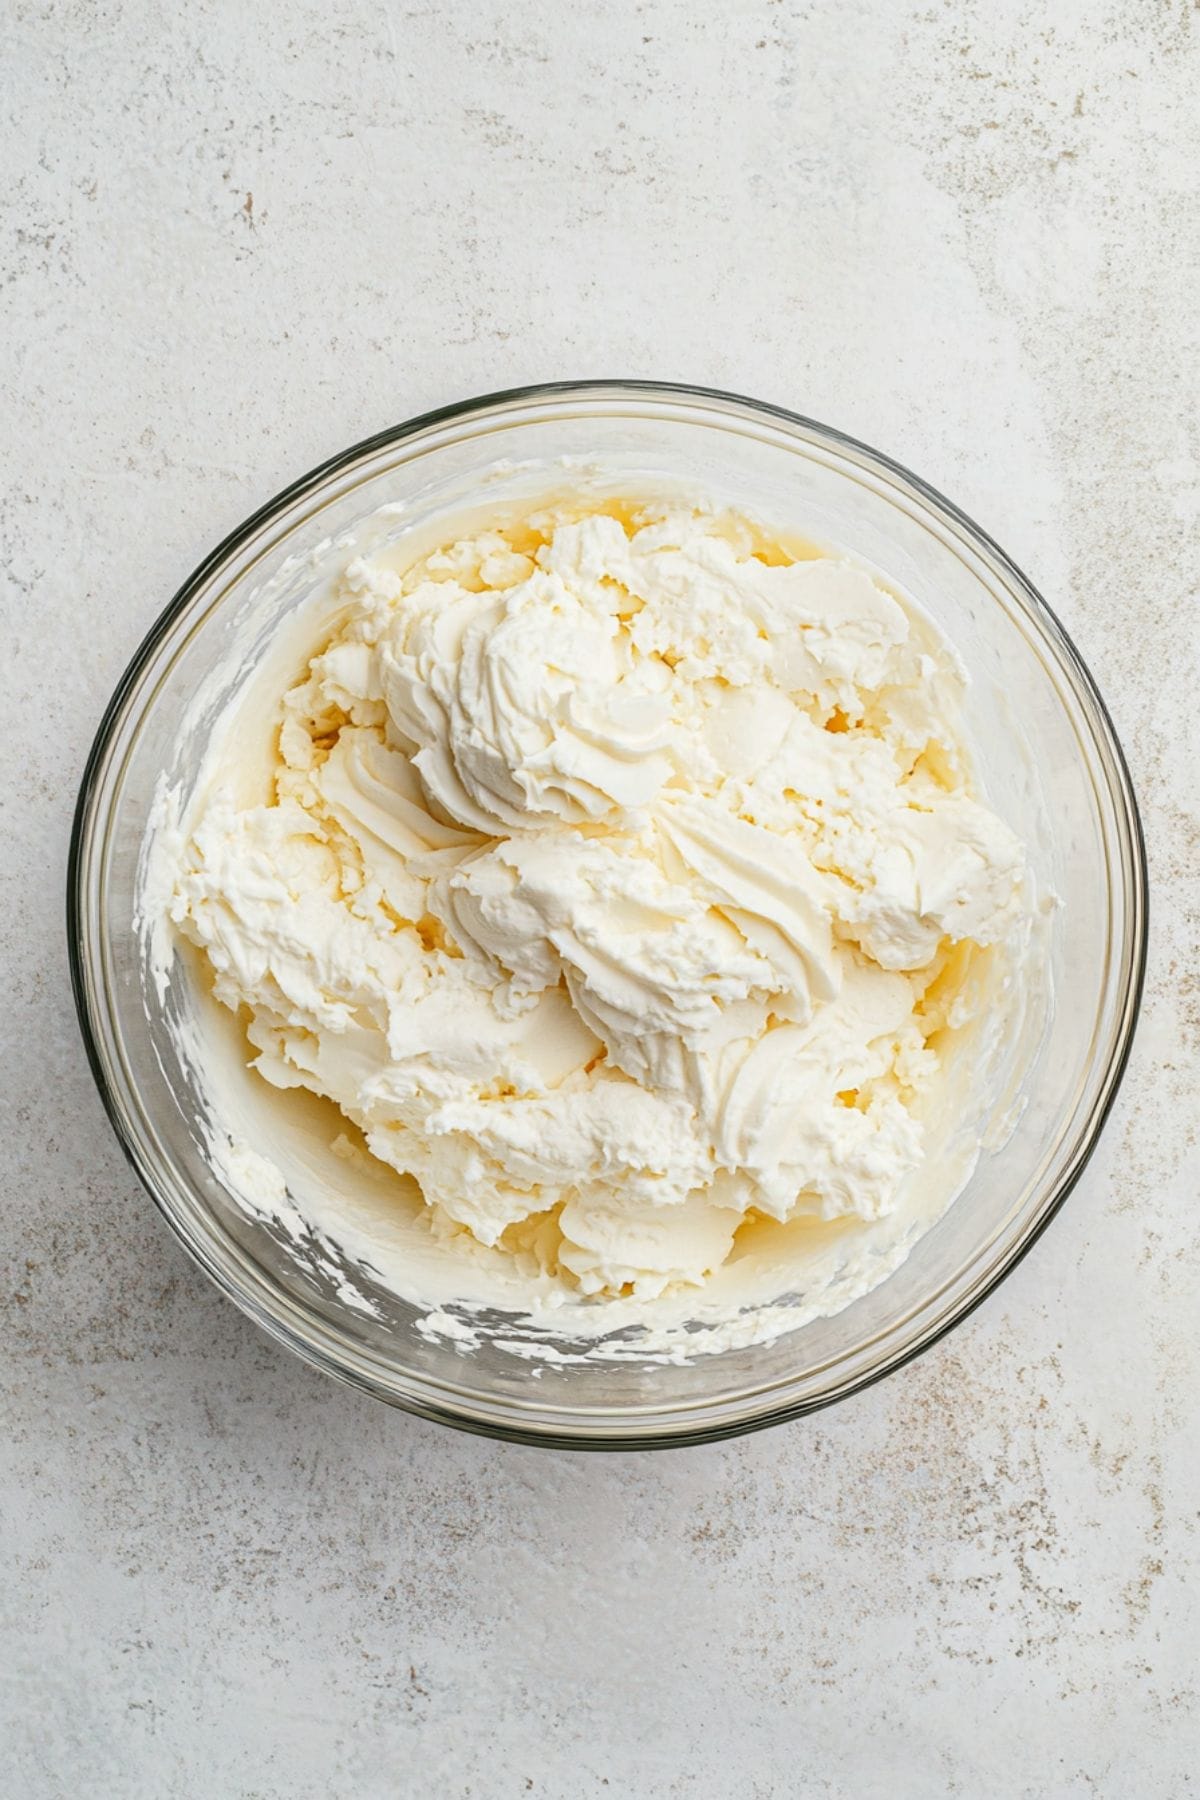
3. Make the filling. Beat the cream cheese, powdered sugar, and vanilla with an electric mixer until smooth. Then, whip the heavy cream to stiff peaks in a second bowl. Gently fold the whipped cream into the cream cheese mixture and mix well.
4. Assemble and serve. Spoon the cheesecake filling into the cooled taco shells. Top with a generous spoonful of strawberry sauce. Serve and enjoy!
Tips for the Best Strawberry Cheesecake Tacos
Here are a few things to remember when making these yummy dessert tacos:
- Say goodbye to bubbles. Baking tortillas often causes them to form air bubbles. Avoid that by poking several holes in the tortillas with a fork before baking them.
- Save some time! Cutting large tortillas into smaller tortillas isn’t difficult, but it is an extra step you can avoid if you can find 4-inch flour tortillas. (It’s harder than you might think.) La Banderita sells 4.5-inch ones if you don’t mind them being slightly oversized.
- Give ’em a good coating. Thoroughly coat both sides of each tortilla with the graham cracker crumb mixture. Adding it to both sides maximizes crunchiness.
- Cool shells completely. They need to be cool before you add any fillings to them. If they’re even still slightly warm, the filling and strawberry sauce will make them soggy.
- Let the sauce and filling chill. Both are easier to work with when cold. Plus, the strawberry sauce tastes better chilled.
- Watch the temp. For example, the cream cheese should be at room temperature to avoid lumps in the filling. The heavy cream should remain as cold as possible to achieve stiff peaks when whipping.
- Don’t hesitate. These tacos don’t get better with time. In fact, the longer they sit out, the soggier the shells will become. Serve them immediately after assembling for the best results.
Variations
Strawberries aren’t the only fruit that works well in this recipe. Try other fruit compotes, such as blueberry, raspberry, and mango.
Here are a few other variations to try:
- Use a berry medley. Instead of using a single fruit compote, make a compote with several berries. Strawberries always pair nicely with blueberries, raspberries, and blackberries.
- Vary the coating on the shells. You can coat the shells in anything from melted chocolate to crushed coconut flakes. You can also use other cookie crumbs, such as Oreos, Nilla Wafers, etc.
- Add chocolate. The shells aren’t the only place you can add a little chocolate. Mix some cocoa powder into the cheesecake filling for a rich, chocolatey flavor.
- Make caramel apple tacos. Forget the strawberry and graham crackers entirely! Instead, coat the shells in cinnamon sugar. Then, fill them with the cheesecake filling and top them with sautéed cinnamon apples. Finish them with a drizzle of caramel sauce. YUM!
- Pumpkin spice & everything nice. Add pumpkin puree and pumpkin pie spice to the cheesecake filling. Coat the shells in crushed gingersnap cookies. Replace the fruity syrup with chocolate syrup for extra sweetness.
How to Store
Unfortunately, these don’t store very well once assembled. The shells become soggy fairly quickly. You can, however, store the individual components.
To Store: Keep the taco shells at room temperature in an air-tight container. Refrigerate the cheesecake filling and strawberry sauce separately for up to 3 days.

