Bisquick Fried Chicken is unbelievably crisp on the outside, tender and juicy on the inside. It’s made with just a few simple ingredients, super easy to make, and a family favorite in our house!
The name might be a bit misleading because this dish is not fried at all, rather, it is baked. And this is exactly what I love about it!
First of all, because the chicken won’t be swimming in a pool of oil, this dish is a lot healthier and easier to clean up.
Second, you don’t have to stand in front of the hot stove, waiting for your chicken to cook. And last, it tastes incredibly amazing. Just like real deep-fried chicken, minus the guilt.
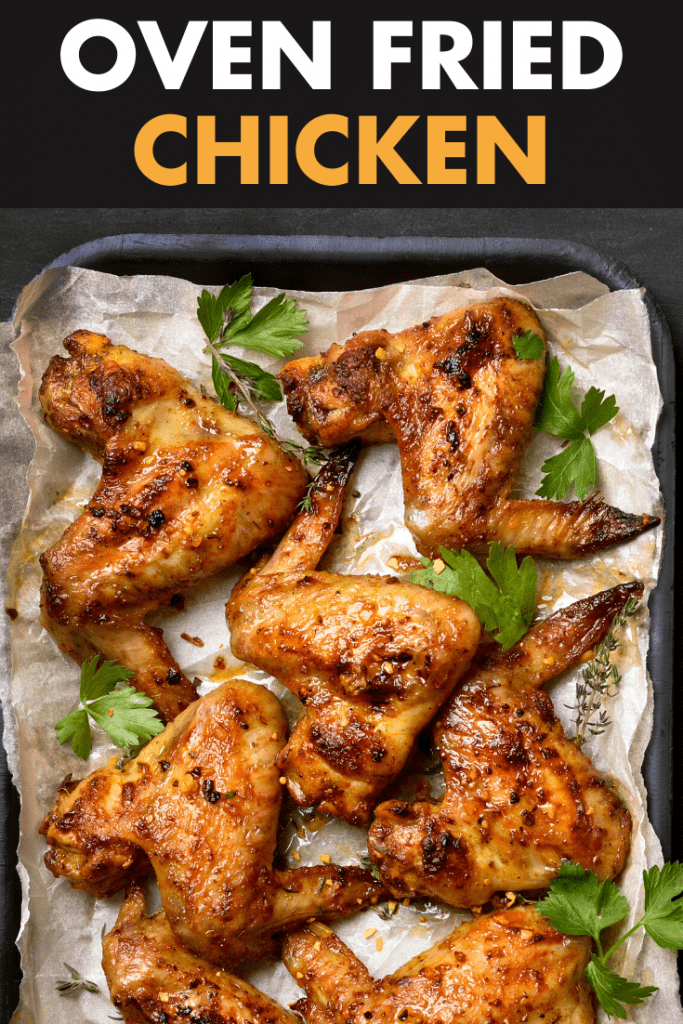
Tips & Tricks for the Best Fried Chicken
- Want moister chicken? Use thin, boneless cuts of chicken or use a mallet to pound the pieces thin.
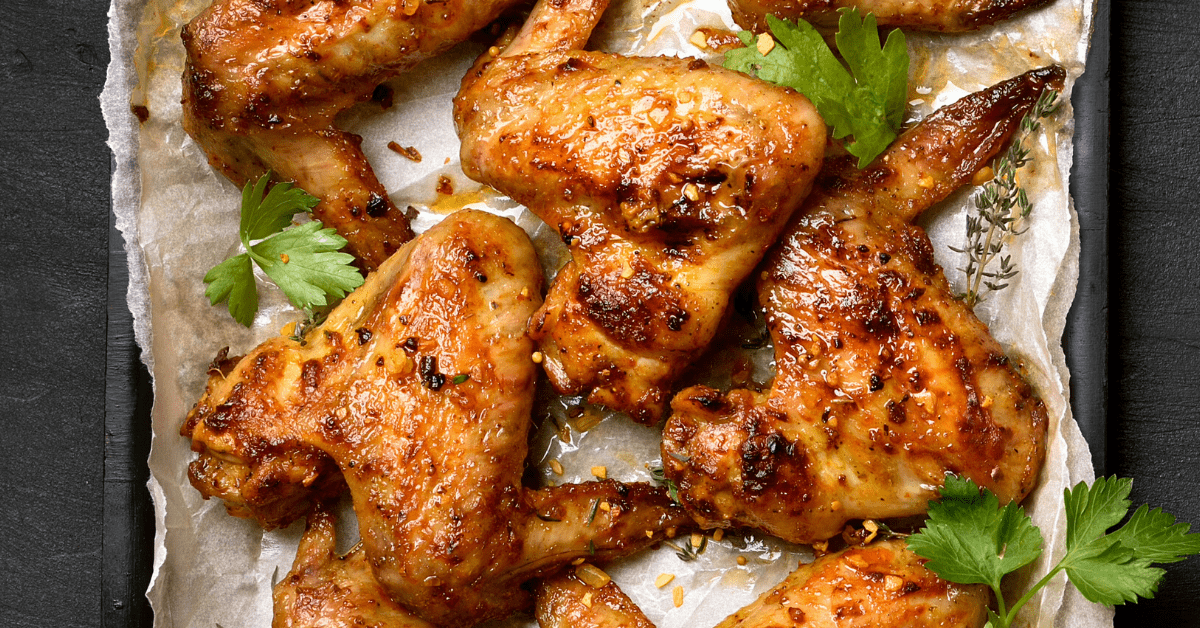
- Depending on the cut of chicken you’re using, you will have to adjust the cooking time. For bone-in, skin-on chicken breasts, bake for 30 minutes, flip, and cook for 20 more minutes. For skinless chicken breasts, bake for 20 minutes, flip, then bake for 20 minutes more. For chicken wings, bake for 15 minutes, flip, then bake for another 15 minutes.
- Apart from the breading, what makes this recipe so flavorful is the butter. That said, do not substitute it with any kind of oil.
- Dip the chicken in egg before the Bisquick mix, that way the coating has a better chance to stay in place.
- I highly suggest you use either a baking dish or pan for this recipe since the chicken will ooze out juices as it bakes. If you only have a baking sheet available, be sure to line it with foil.
- Bisquick fried chicken is fantastic on its own, but it’s hardly a complete meal. Serve it with some warm buttery biscuits, a side salad, or creamy mashed potatoes for the perfect comfort meal.
- Don’t have or don’t want to use Bisquick? It’s okay, you can make your own mix instead. Here’s how: sift together 6 cups of flour, 3 tablespoons of baking powder, and a tablespoon of salt. With a pastry blender, cut in 1 cup of vegetable shortening until you get a crumbly mixture. Done! This DIY Bisquick mix will last for 3 months in an airtight container.
- Be sure to place the chicken on the pan skin side down. This way, you’ll get extremely crispy chicken skin. YUM.
- Remove the chicken out of the baking pan right after baking. Don’t let it sit on the butter while cooking or else it will start to get soggy.
Try a Variety of Flavors for Your Bisquick Chicken
This recipe yields irresistible and flavorful chicken. But, if you want to kick things up a notch, here are some spices and seasonings you can add to achieve your desired chicken flavor:
Spicy chicken: Combine paprika, chili powder, garlic, salt, and pepper.
Smoky chicken: Combine smoked paprika, garlic, salt, and pepper.
Lemon garlic chicken: Combine garlic powder, lemon pepper, garlic salt, and paprika.
KFC-style chicken: Use KFC Potato Wedges seasoning mix.
Southern fried chicken: Combine buttermilk powder, paprika, cayenne pepper, pepper, and kosher salt.
Barbeque chicken: Combine barbeque rub, kosher salt, and pepper.

















Looks so good, looking forward to trying out this recipe soon as I never considered using Bisquick for chicken. Thanks for a great idea and recipe!
It’s in the oven cooking right now. It sure was easy so I hope it tastes great as well. Stay tuned for part two of this message, Lol… THANKS!
If I place the chicken on a rack would I have to turn it?
I wouldn’t think so, Daisy.
As long as the rack is elevated so that airflow can circulate beneath the chicken as well as on top of it, it should be fine. 🙂