I cannot get enough of these white chocolate covered Oreos! They’re dangerously delicious, kind of addictive, and super easy to make.
You only need 3 key ingredients – Oreos, chocolate, and a little oil – plus about 15 minutes of prep.
After some time in the fridge to set, they’re ready to be devoured.
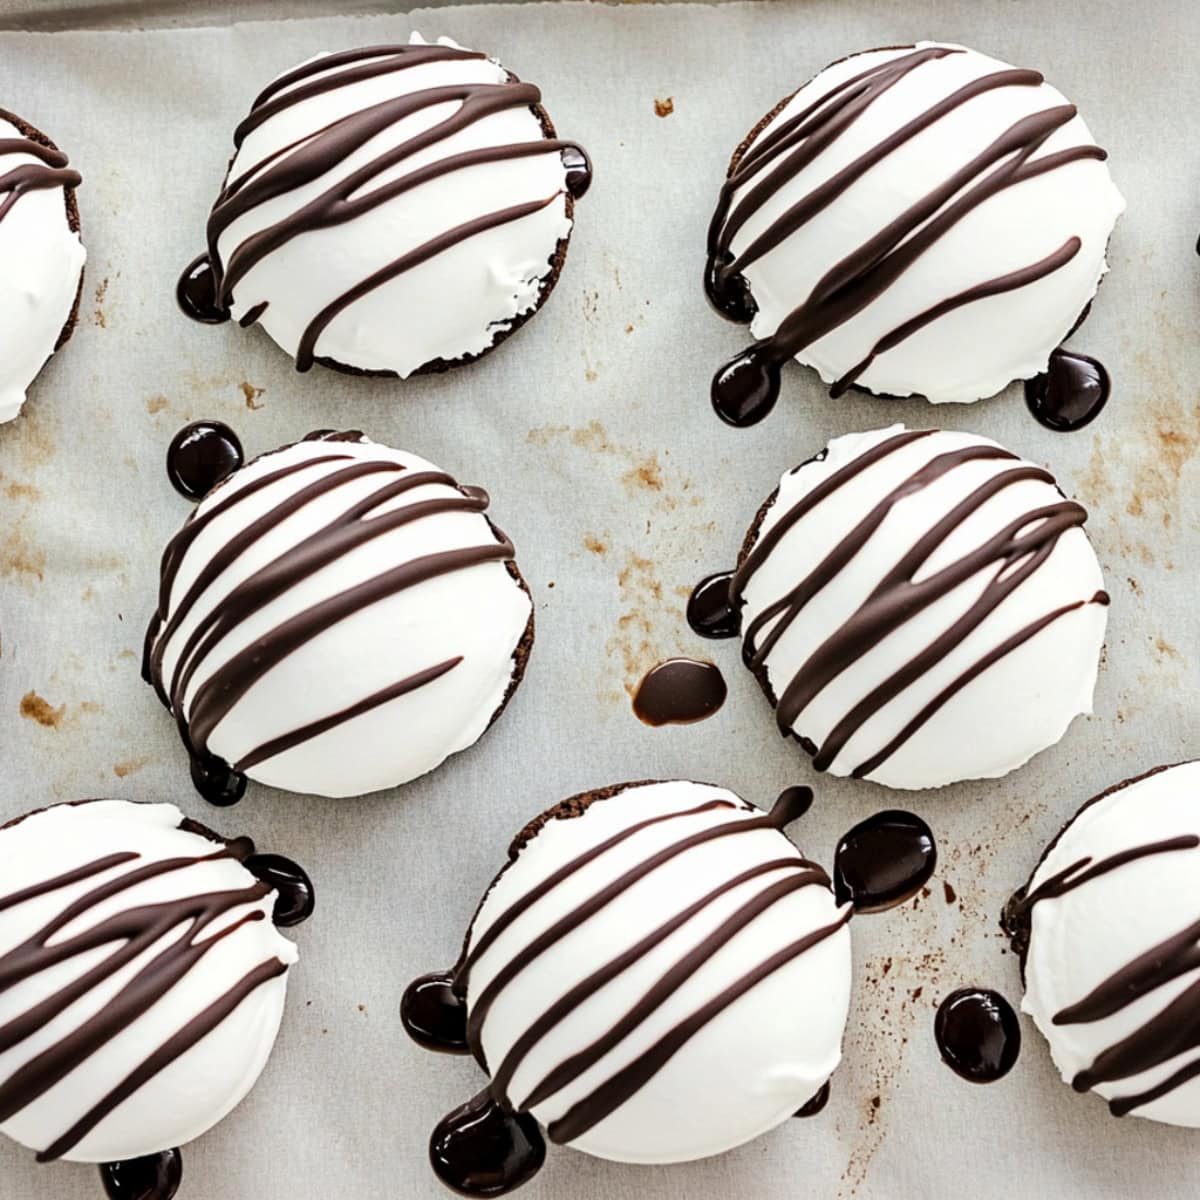
Add a chocolate drizzle or fun sprinkles, and everyone will want seconds (and thirds!).

Why You’ll Love These White Chocolate Covered Oreos
Versatile Dessert: Use white chocolate-covered Oreos as a topping for ice cream sundaes, incorporate them into cakes and cheesecakes, or crush them as a garnish for other desserts.
Customizable: Experiment with different Oreo flavors and chocolate, or try colorful sprinkles or crushed candies on the chocolate. The customization options are endless!
Gift-Giving Gold: Package these homemade treats in decorative boxes or jars. They’re a thoughtful and delicious handmade gift that friends and family will appreciate.
Ingredients
- Oreo Cookies: Use whatever flavor cookie you like best!
- White Chocolate: Use melting wafers or top-quality chips for the smoothest finish.
- Vegetable Oil: Thins out the melted chocolate, making it easier to dip.
- Dark Chocolate Chips (optional): Add a contrasting drizzle and a hint of rich chocolate flavor.
How to Make White Chocolate Covered Oreos
These delightful treats transform the classic Oreo cookie into an elegant confection.
Easy to prepare and impossible to resist, they offer a luxurious twist on a familiar favorite.
Check out how easy they are to make at home:
1. LINE a baking sheet with wax paper or parchment paper.
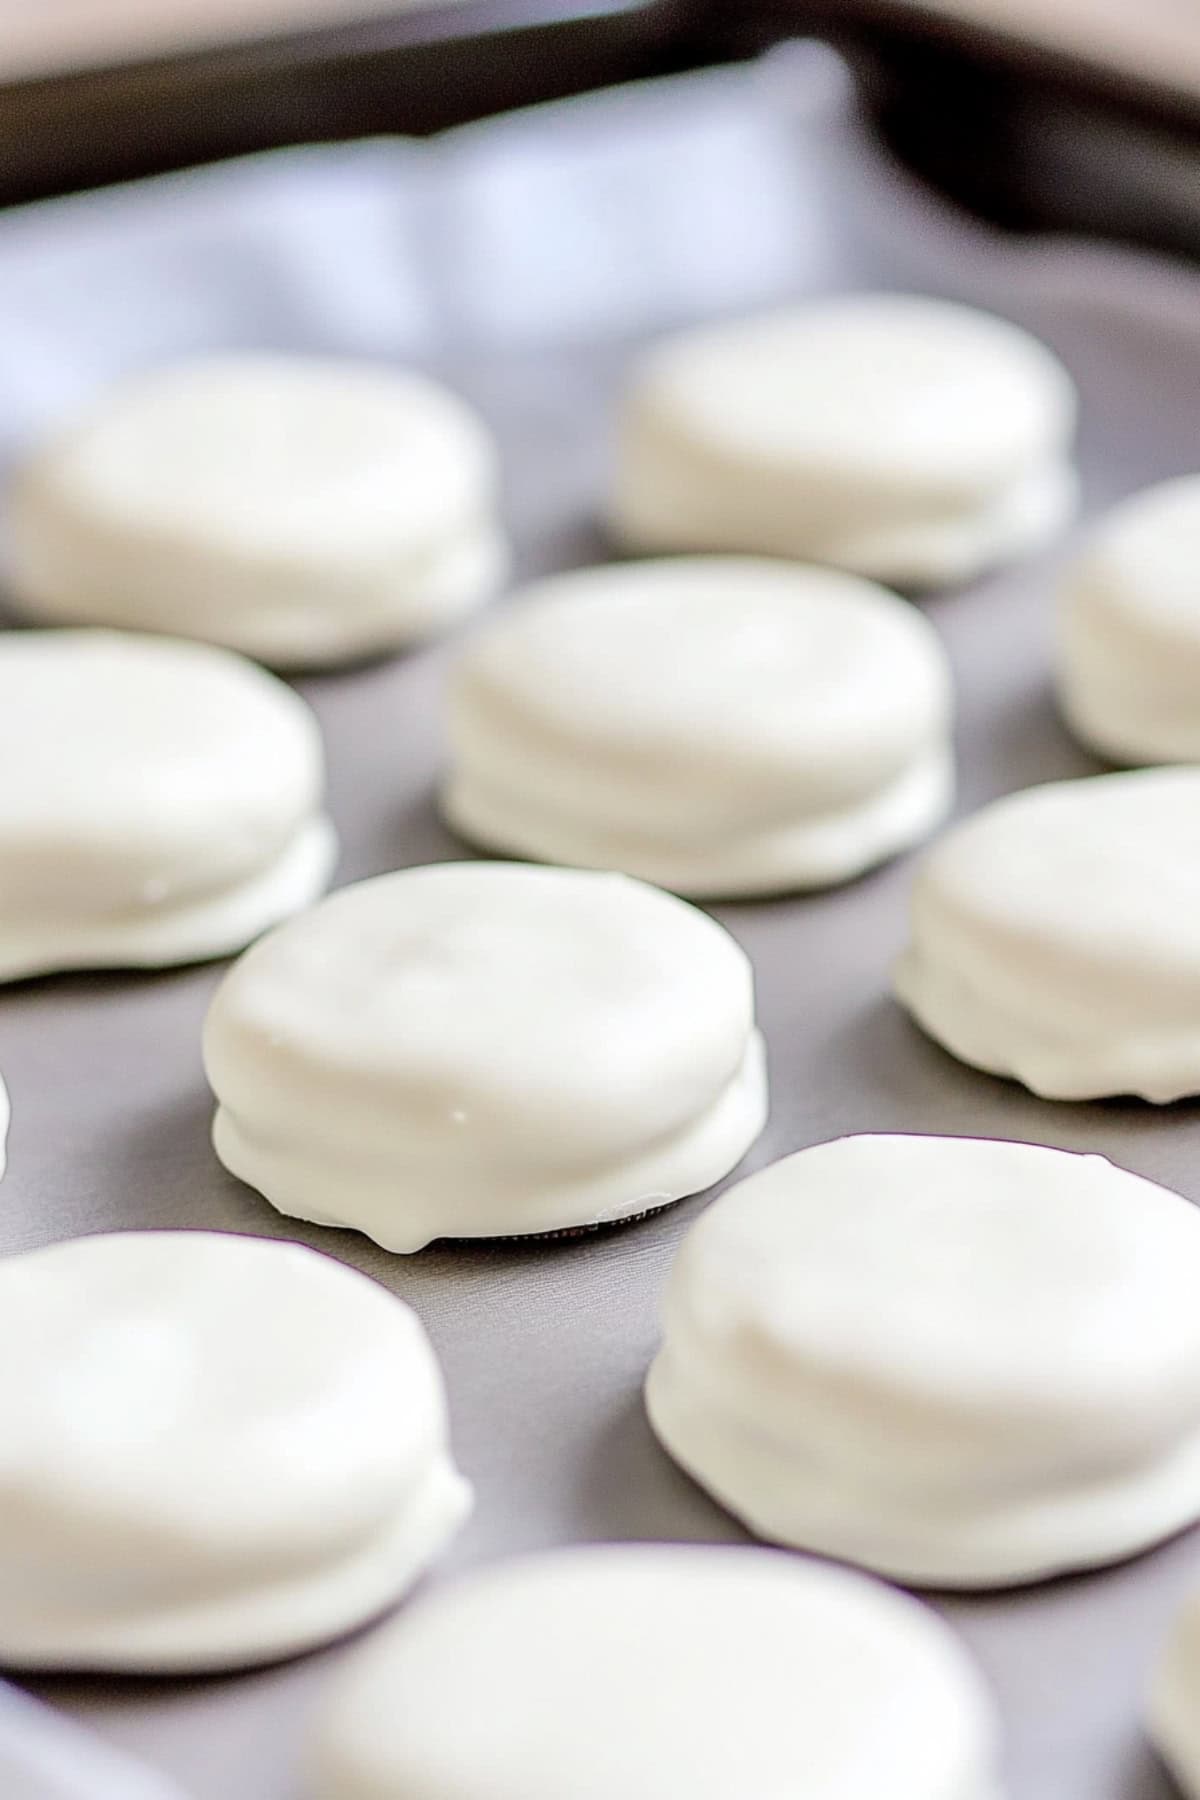
2. MELT the white chocolate with the oil until smooth.
3. DIP the Oreo cookies into the melted white chocolate using a fork. Gently tap off the excess chocolate and place them on the baking sheet.
4. SET in the fridge until firm.
5. Optional: DECORATE with melted dark chocolate or sprinkles as desired. If using sprinkles, add them while the chocolate (white or dark) is still wet.
Tips For the Best White Chocolate Covered Oreos
I’ve been wanting to try this recipe for a while now and I’m so glad I finally did. It’s such a simple yet satisfying way to curb my cravings.
And since the recipe is so simple, I only have a few tips:
- Chocolate brands. Ghirardelli white chocolate melting wafers or Nestle white chocolate chips are recommended for their smooth melting and good flavor. White almond bark works nicely too.
- Melt the chocolate slowly. Use a double boiler or microwave on 50% to melt the white chocolate. It’s prone to burning so be patient and stir frequently.
- The best dipping technique. Use a fork to dip each Oreo into the melted chocolate. Submerge them and flip them to ensure even coating. Then, tap the fork on the side of the bowl to remove excess chocolate.
- Decoration ideas. Drizzle with melted dark chocolate for a nice contrast. Or top with sprinkles, crushed peppermints, or other candy pieces before the white chocolate sets. Other options include chopped nuts, toasted coconut, or crushed pretzels.
- Variations. Experiment with different flavors of Oreos, use colored candy melts instead of white chocolate, or add peanut butter or butterscotch chips with the white chocolate.

How to Store
These chocolate covered Oreos make a great addition to any party or gathering.
Plus, they look so pretty and impressive, no one will guess how simple they were to make!
And yes, they store well, too!
To Store: Place the Oreos in an airtight container, separating layers with parchment paper. Store at room temperature for up to 2 weeks or in the refrigerator for 1 month.
To Freeze: Flash freeze the Oreos on a baking tray, then transfer to a freezer-safe container or bag for 2-3 months. Thaw in the refrigerator before serving.
Note: While you can freeze these, I don’t usually recommend it.
The chocolate is likely to dry out and can crack. On the flip side, if it’s exposed to moisture, it can turn grainy after thawing.

