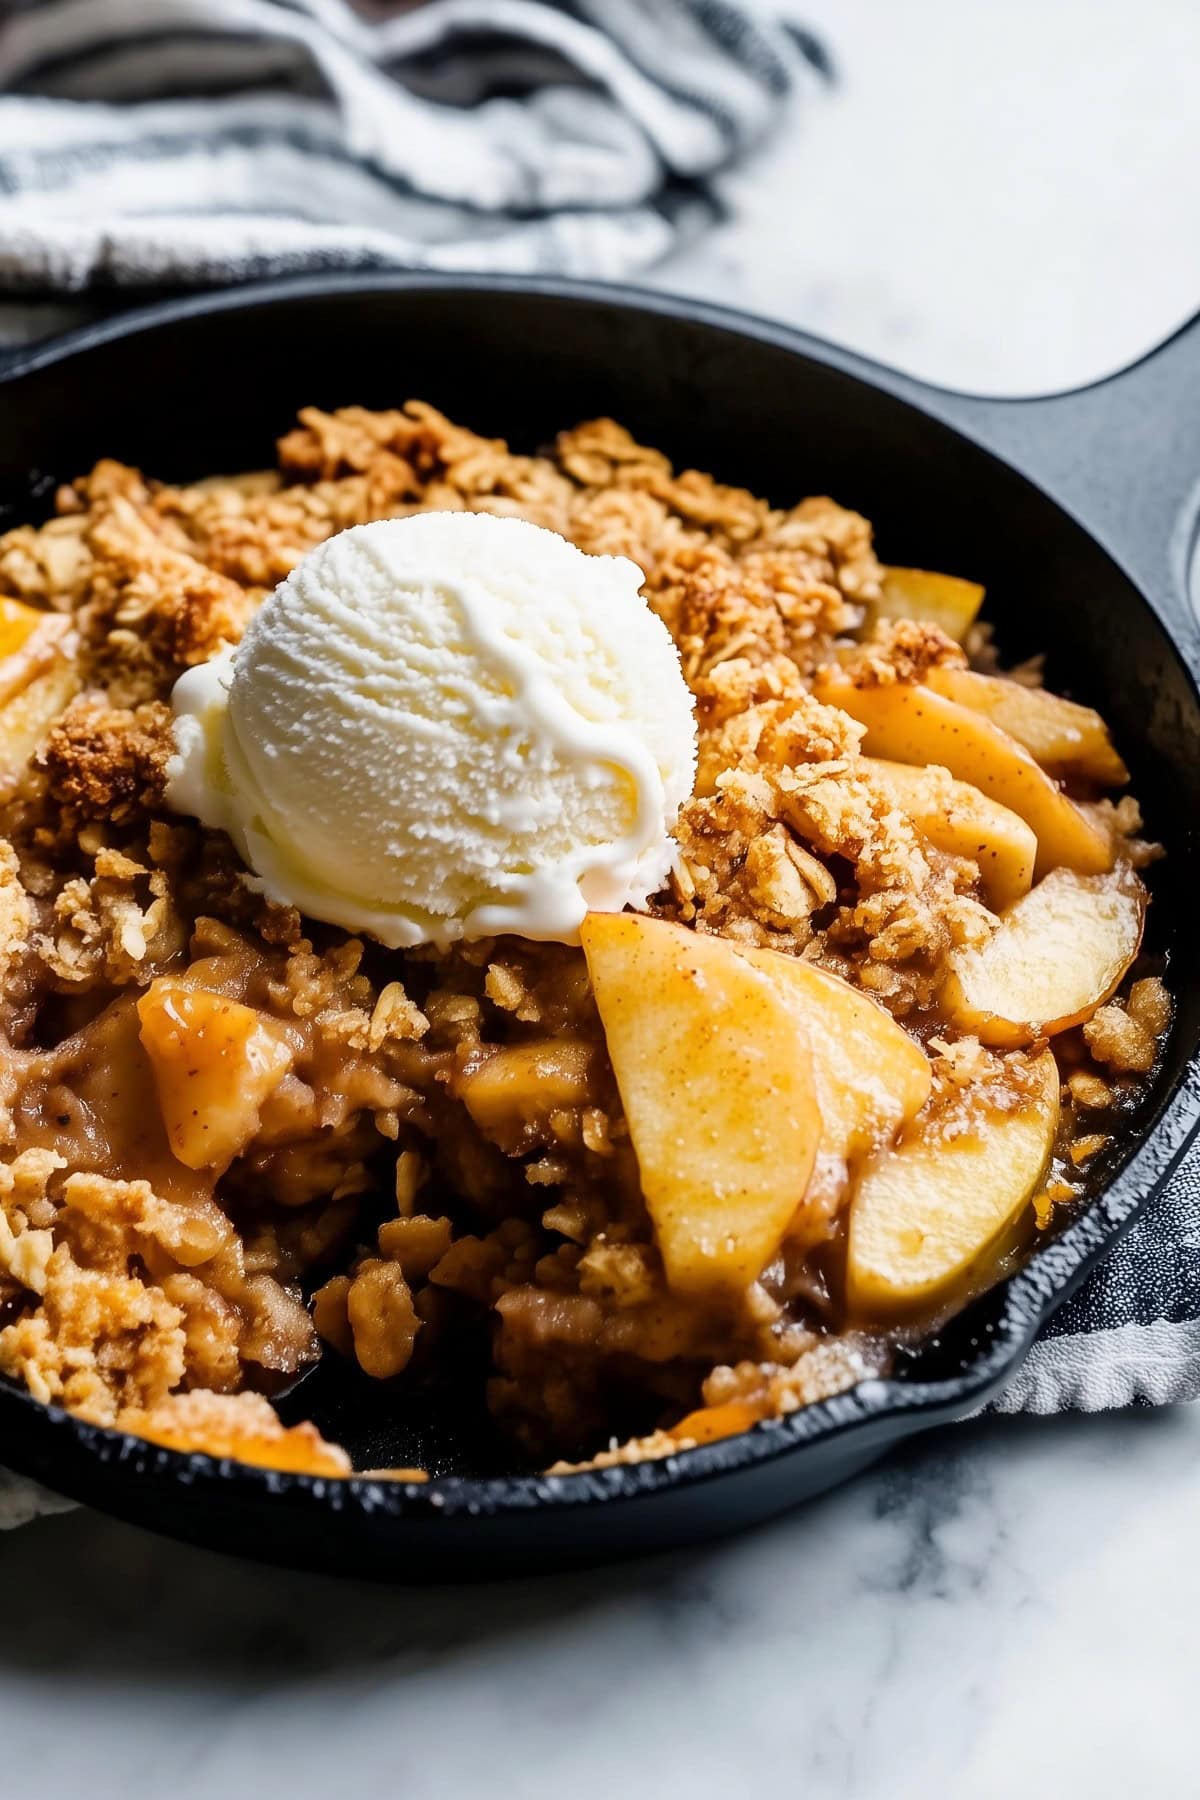
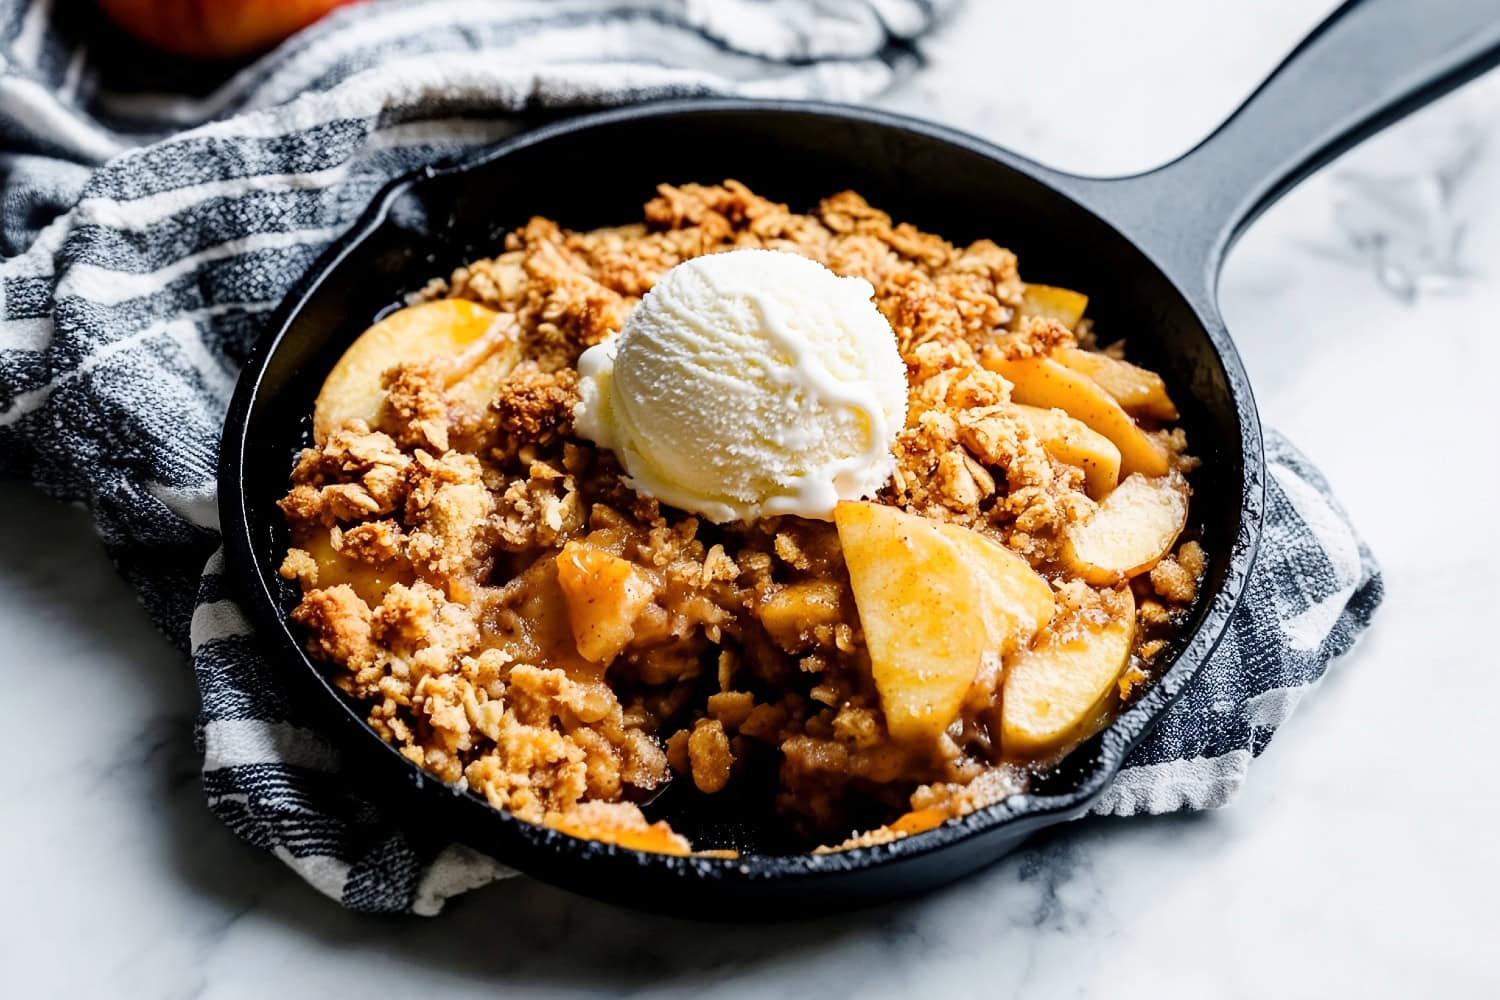
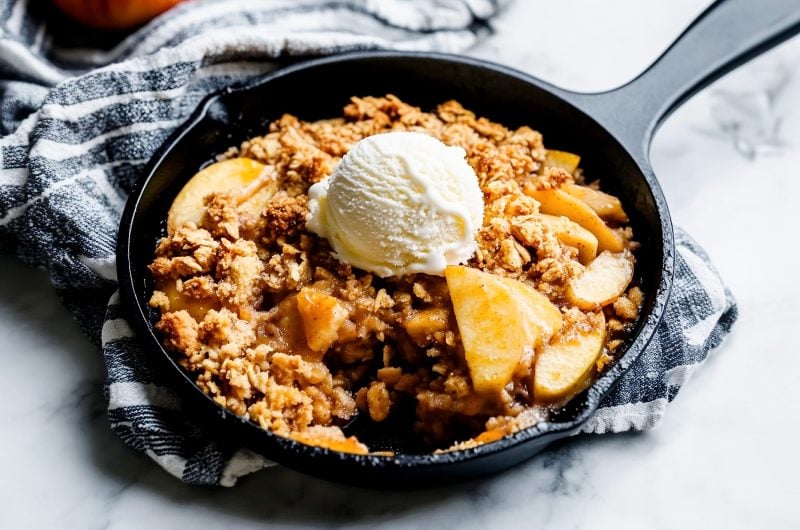
The next time you need something warm, sweet, and comforting, try this quick and easy cast iron skillet apple crisp.
Featuring tender fruit and cozy fall flavors, it’s a real crowd-pleaser.
I love the cinnamon-spiced apples and how they get almost caramelized in the skillet.
And the crispy topping is the perfect textural contrast that’ll keep you coming back for more.
Why You’ll Love This Skillet Apple Crisp
Seasonal Spices: From the apples and oats to the dreamy spice blend, this dessert screams fall!
Rustic Charm: There’s something so homey and charming about serving in a cast iron skillet. Plus, it keeps the dish warm!
Minimal Cleanup: You’ll need one bowl for mixing the topping and a skillet for cooking. Besides a few utensils, that’s all you’ll have to clean up when you’re done.
Ingredients
- Apples: Select tart, firm apples that’ll hold their shape well when baked. I recommend Granny Smiths or Honeycrisps.
- Brown Sugar: For that rich, caramel-like sweetness and just a hint of molasses. You’ll use it in the topping and the filling.
- Lemon Juice: Freshly squeezed is always best. It brightens the filling and slows down the apples’ browning time.
- Cornstarch: Thickens the filling so it’s not watery after baking.
- Spices: Use cinnamon and nutmeg for a warm, enticing aroma and taste.
- Salt: To balance the sweetness and dial up the flavors.
- Unsalted Butter: For a rich flavor and a deep, golden-brown crisp topping.
- Old-Fashioned Roll Oats: For heartiness and a chewy, nutty flavor in the topping. Not to mention the wonderfully crispy texture.
- All-Purpose Flour: Helps hold the topping together and create a delicate, crumbly texture.
How to Make Skillet Apple Crisp
If you’ve never baked in a cast iron skillet before, I highly recommend this recipe.
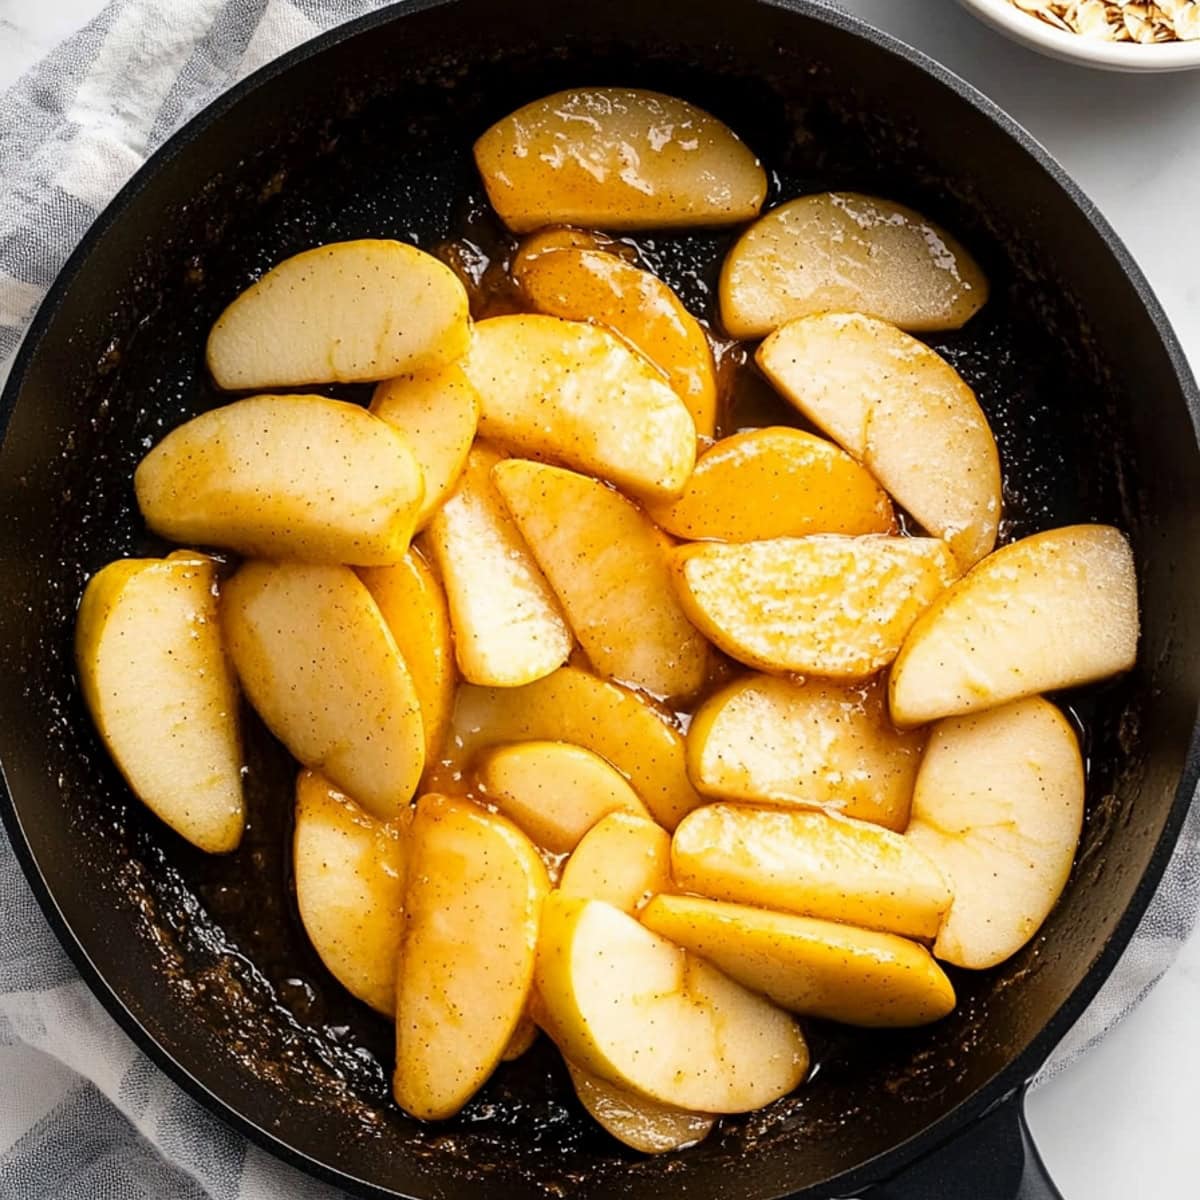
The apples become beautifully caramelized, creating a delightful contrast with the crisp topping.
Here are the basic steps:
1. PREHEAT the oven to 375 degrees Fahrenheit. Peel, core, and slice the apples.
2. MIX the flour, sugar, cinnamon, and salt, then cut in the butter. Mix the oats in last and chill until needed.
3. MELT the butter in a skillet, then stir in the brown sugar, cornstarch, lemon juice, cinnamon, nutmeg, and salt. Mix the apples in the skillet until evenly coated.
4. POUR the crumb topping over the apples, being sure to cover them as best you can.
5. BAKE for 30-40 minutes or until the topping is crisp and the apples are tender.
6. COOL for at least 15 minutes. Then, serve with any desired toppings and enjoy!
Tips for the Best Skillet Apple Crisp
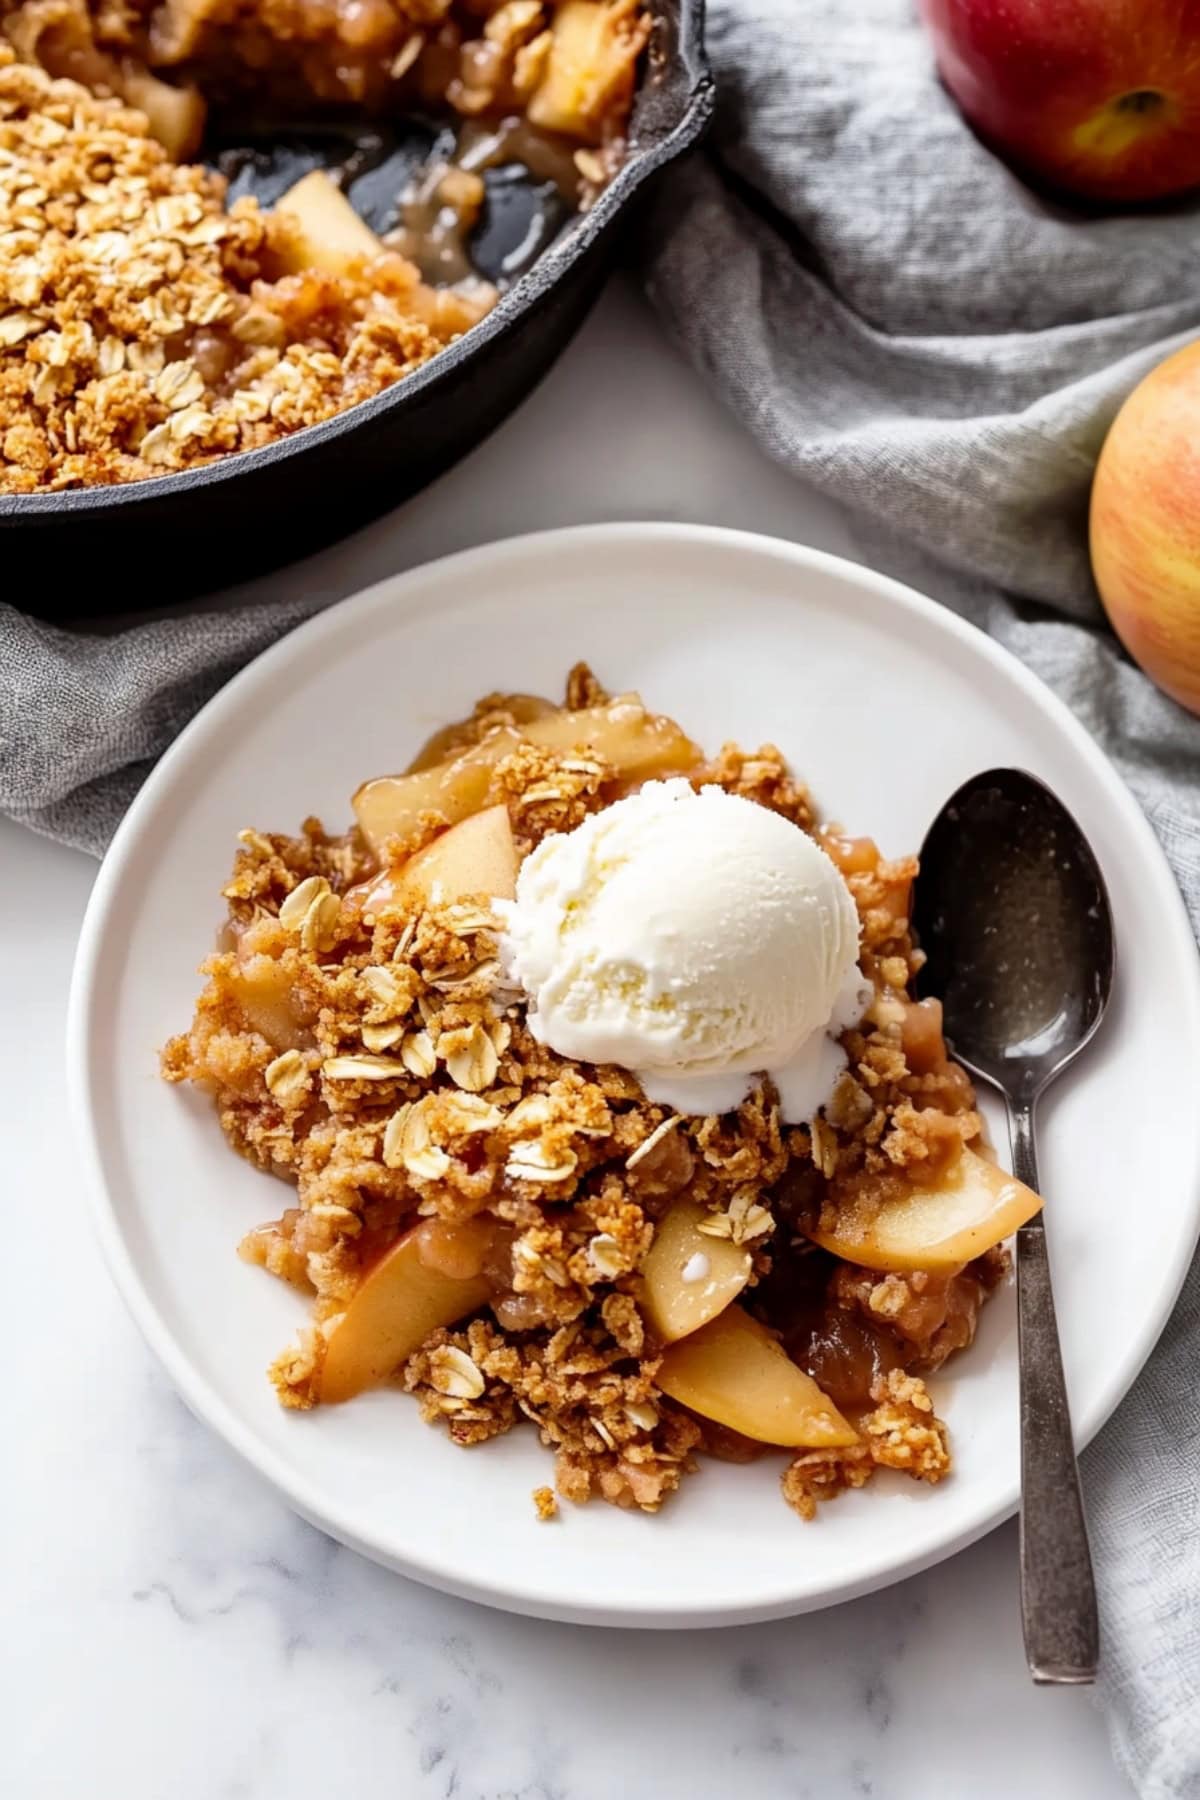
I love how easy this recipe is – just a simple apple filling topped with a buttery, crumbly oat streusel, all baked to golden perfection in a cast iron skillet.
The hardest part is waiting for it to cool before digging in!
Through trial and error, I’ve discovered a few apple crisp-making tips that’ll help:
- Select the right apples. As mentioned, Honeycrisp and Granny Smith apples work best in this recipe. You can even combine the two for the perfect balance of sweetness and tart.
- Don’t overcook. If they’re pretty thick, they might need a few minutes in the skillet before adding the topping. But they shouldn’t be soft before baking.
- Use cold butter. If it’s soft before baking, the topping won’t crisp up properly.
- Avoid quick-cooking oats. They just won’t work in this recipe.
- Use add-ins. Allspice or ground ginger would make nice additions. You could also add some chopped nuts to the topping.
- Let it rest. Don’t skip the 15-minute rest period – it needs time for the filling to set. Plus, it’ll burn your mouth if you dive right in!
- To serve. Vanilla ice cream, whipped cream, a drizzle of caramel…there are no wrong answers. Though, if you’re a caramel fan, check out my caramel apple crisp recipe.
How to Store
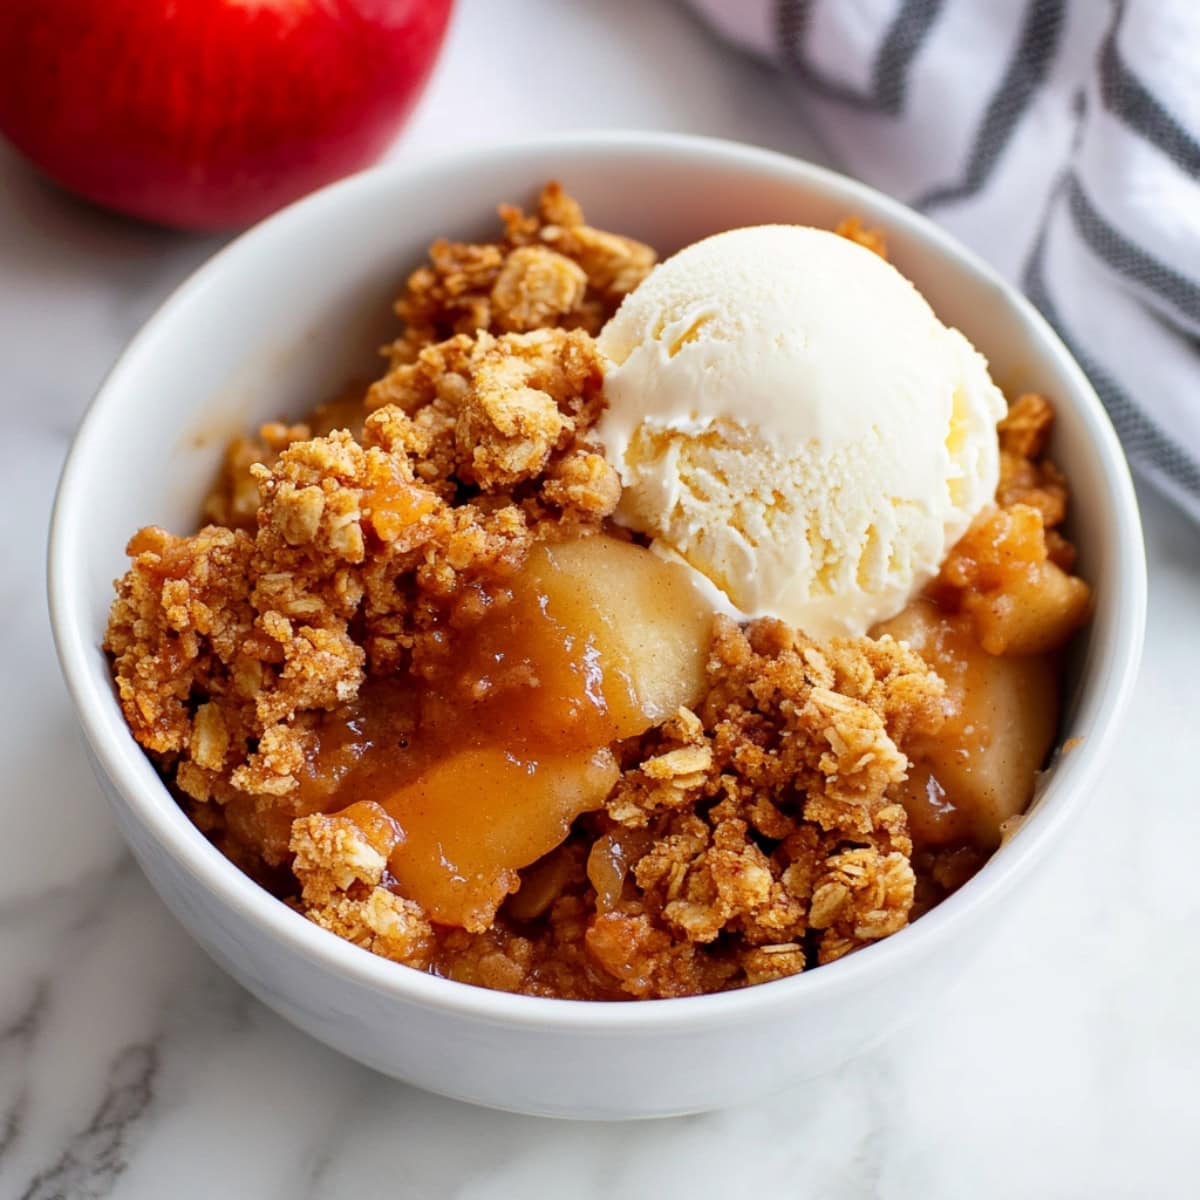
Crisp desserts will always taste best when fresh because that’s when their texture is best.
You can still store your leftovers for later, though.
To Store: Cover the cooled crisp tightly with plastic wrap (or foil) and refrigerate it for up to 5 days.
To Freeze: Wrap the cooled crisp tightly in plastic wrap. Then, wrap it again in aluminum foil. Freeze for up to 3 months. Thaw in the refrigerator overnight before reheating.
To Reheat: Reheat a large amount for 15 and 20 minutes at 350°F. For smaller portions, 30-60 seconds in the microwave will do the trick.
More Apple Desserts Your Family Will Love
Skillet Apple Pie
Apple Turnovers
Caramel Apple Cheesecake
Apple Pie Bread Pudding







can I use campus on pan?
you say to mix the butter in step with mixture. in step 4 you say to melt the butter in a pan. are we supposed to split the butter?
Hi, James! Yes. If you look at the ingredients section, part of the butter (1 cup) is cubed and goes for the topping. The other (2 tablespoons) is melted for the filling. I’ll play around with this recipe and see how to make that clearer, though. Thanks for pointing it out. 🙂
is it really 1 cup of butter for the Apple Crisp, Kim.
Hi Sonie!
Yes, the topping needs 1 cup of butter to make it nice and crumbly.
If you want, you can try reducing it to 3/4 cups. If it’s not the right consistency, add cold water, a tablespoon at a time, until it’s how you like it 🙂