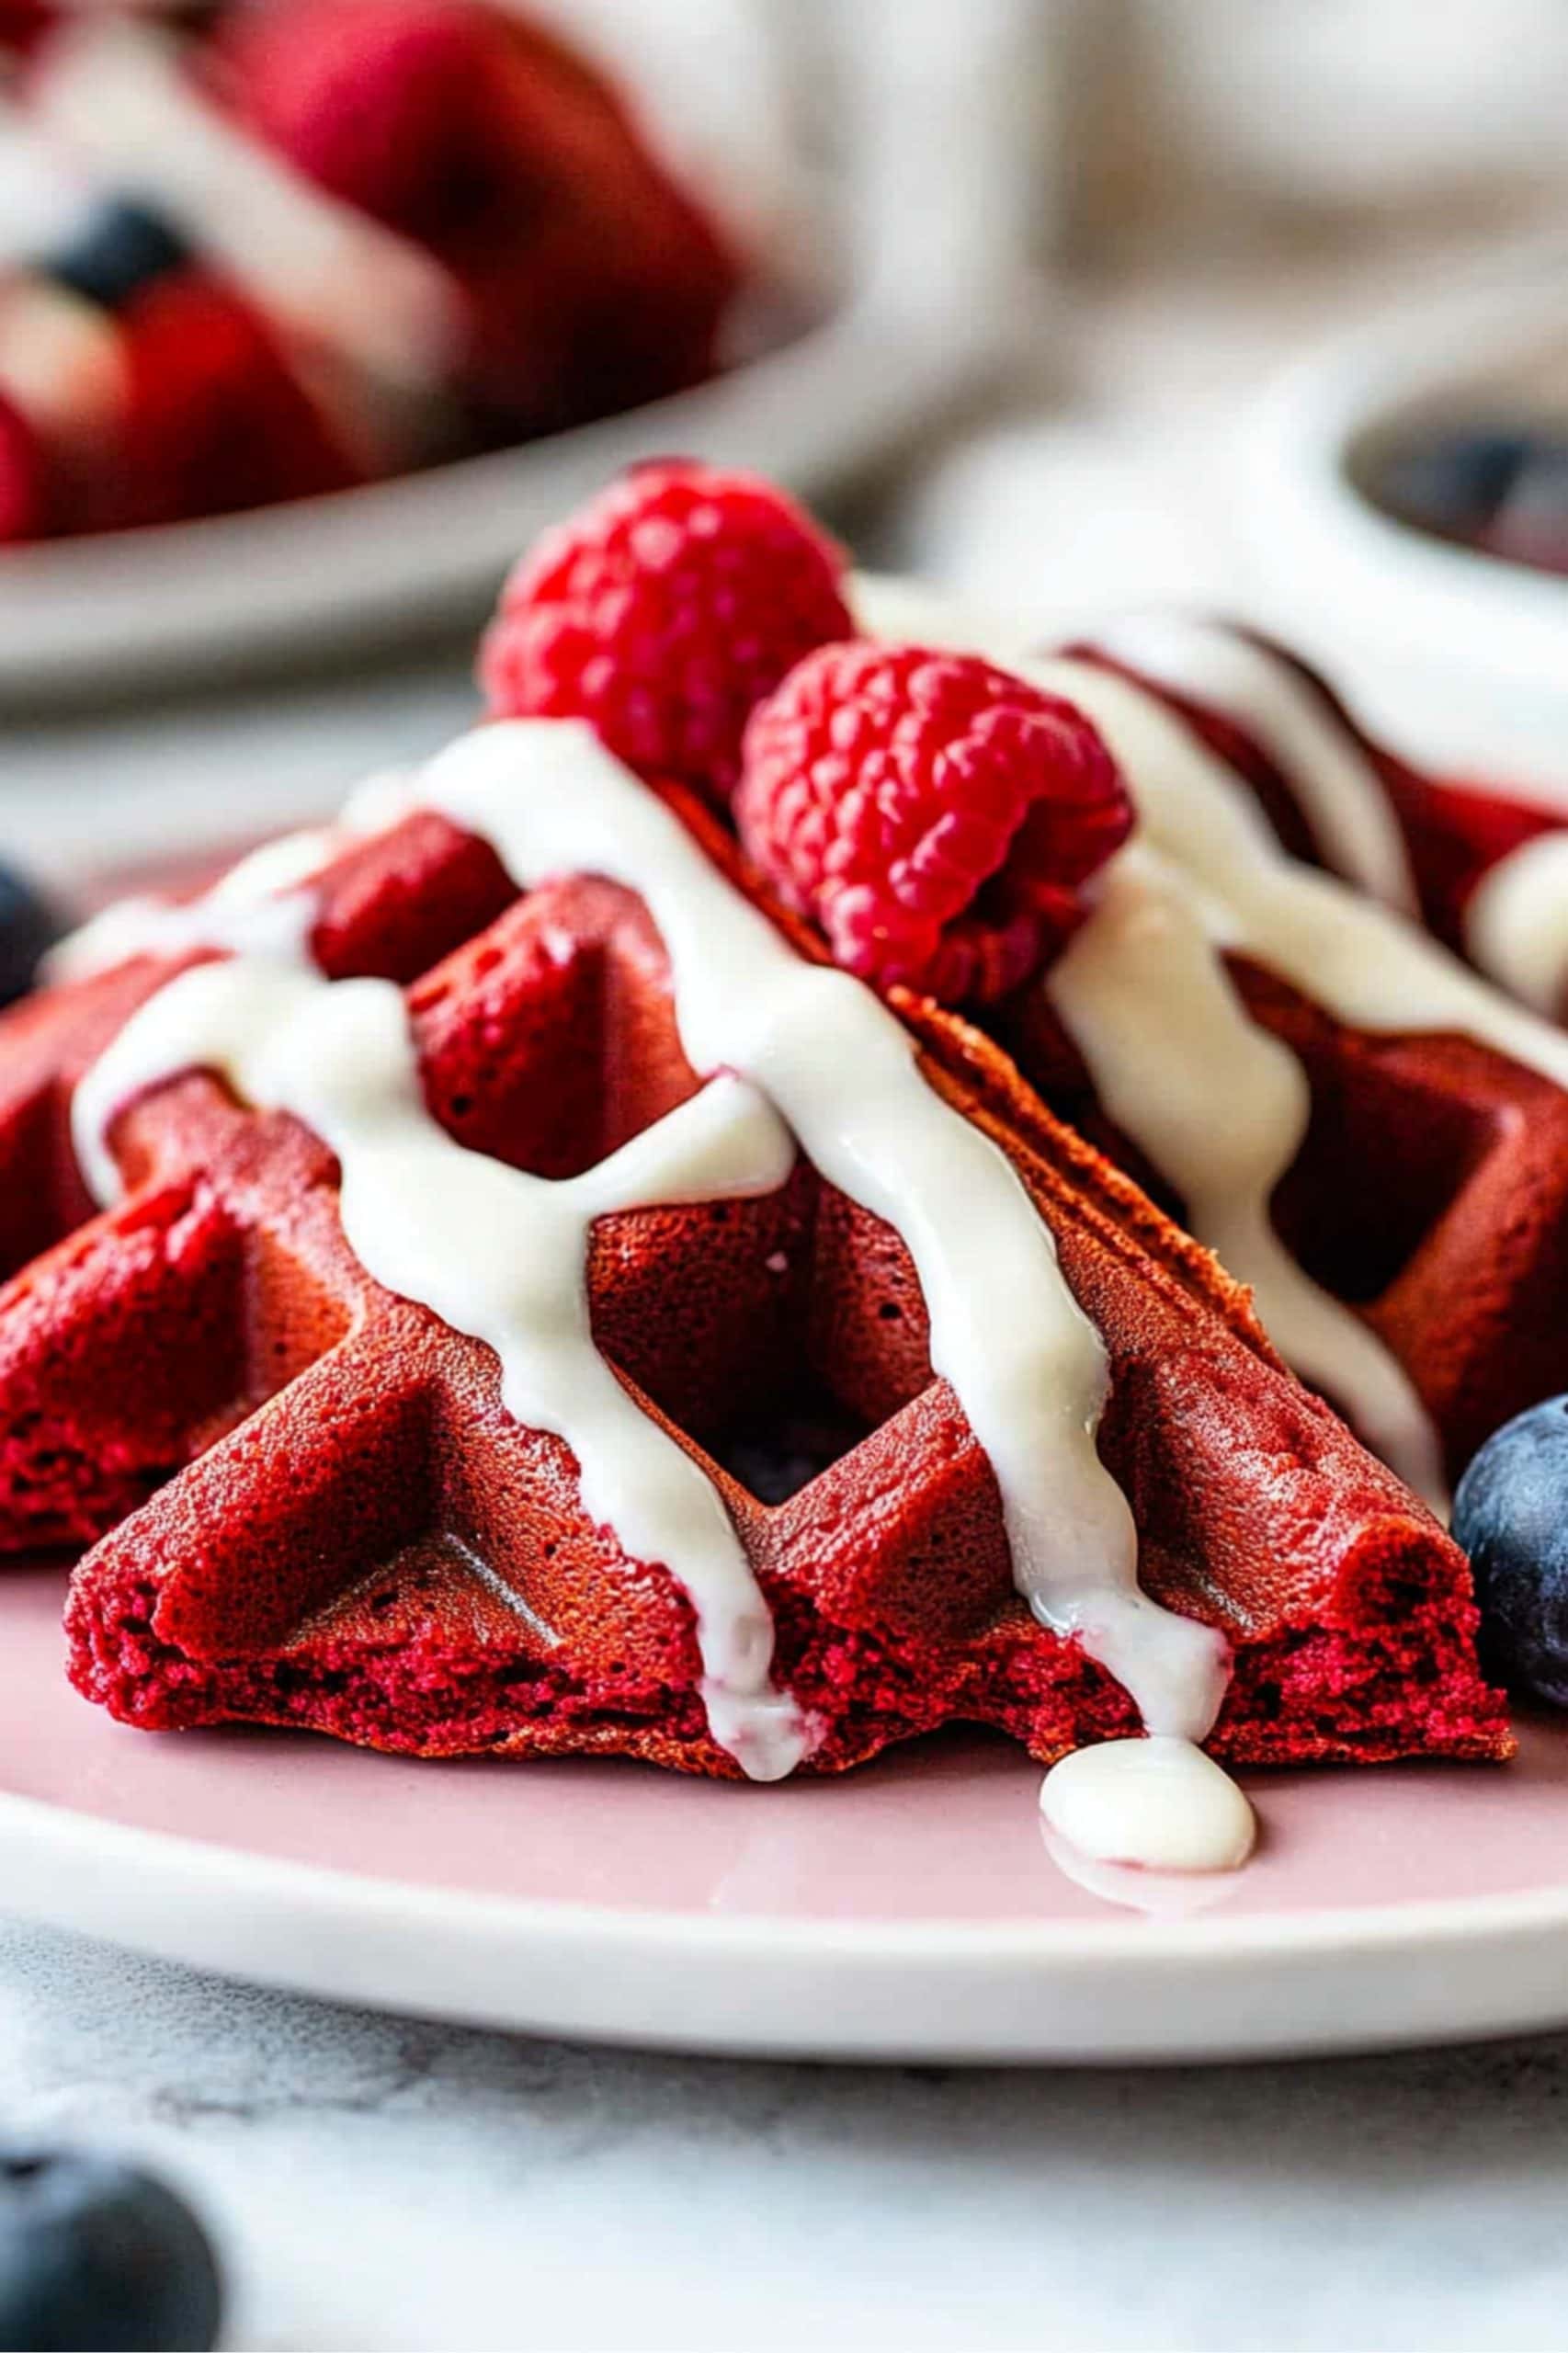
Make breakfast extra special with these fun red velvet waffles with cream cheese glaze!
They’re perfectly fluffy with a hint of cocoa and a vibrant red hue. And when you top them with that luscious glaze… oh my goodness, it’s pure decadence!
It’s like having dessert for breakfast, but I’m not complaining.
Valentine’s Day, brunch, or lazy Saturday mornings, these waffles are the perfect treat.

Why You’ll Love These Red Velvet Waffles
Simple Ingredients: Aside from red food coloring, this waffle recipe calls for basic pantry staples.
Irresistible Flavor: Rich cocoa, tangy buttermilk, and a decadent cream cheese glaze turn ordinary waffles into an irresistible treat.
Versatile Toppings: Add a personal touch with your favorite toppings! Fresh berries, chocolate chips, chocolate syrup, and whipped cream are some ideas.
Ingredients
- All-Purpose Flour: The base of the waffle batter, providing structure and a fluffy texture.
- Granulated Sugar: Adds sweetness to the waffles, balancing the cocoa flavor.
- Cocoa Powder: Brings the signature chocolatey depth to these red velvet waffles.
- Salt & Vanilla Extract: Balance and enhance the waffles and glaze.
- Baking Powder & Baking Soda: The leavening agents that help the waffles rise and become airy.
- Buttermilk: Adds moisture and a slight tang, keeping the waffles tender.
- Eggs: Bind the batter and add richness, creating a light, fluffy waffle.
- Red Gel Food Coloring: Gives the waffles their iconic red velvet hue. Start with a little, then add more as needed.
- Cream Cheese Glaze: A simple blend of cream cheese, butter, powdered sugar, and vanilla.

How to Make Red Velvet Waffles
Ready to elevate your breakfast game? Then grab your waffle maker, and let’s get cookin’!
1. PREP: Preheat the waffle iron according to the manufacturer’s instructions.
2. GLAZE: Beat the cream cheese and butter until smooth. Add the powdered sugar, vanilla, and milk. Chill until ready to use.
3. MIX: Whisk the dry ingredients (including the sugar) in a large bowl. Whisk the wet in a separate bowl, then gently stir them together.
4. COOK: Lightly grease the waffle iron. Pour in the batter and cook until golden brown and crisp. Repeat as needed.
5. FINISH: Whisk the glaze until smooth and drizzle over the warm waffles. Enjoy!

Tips For the Best Red Velvet Waffles
I’ve always been a big fan of red velvet cake, but transforming it into a waffle? Pure genius!
This recipe is a fun twist on a classic that’s easy to make. But before you mix the batter, check out my top tips:
- Use room temp ingredients. Make sure your eggs and buttermilk are at room temperature before mixing. This helps create a smoother, more cohesive batter.
- DIY buttermilk. No buttermilk? No problem! Add 1 tablespoon of lemon juice or vinegar to regular milk and let it sit for 5 minutes.
- Sift the ingredients. Sift the flour, cocoa powder, sugar, baking powder/soda, and salt together to remove any lumps.
- Don’t overmix. Gently fold the wet ingredients into the dry ingredients until just combined. Overmixing can lead to tough, dense waffles.
- Up the decadence. For extra decadence, serve with chocolate whipped cream or a scoop of vanilla ice cream. Yum!
- Get creative. Try mini waffles for a cute presentation or turn the batter into pancakes by adding a bit more oil. You can also add mix-ins like fresh fruit, chocolate chips, or sprinkles.
How to Store
Want to keep some waffles on hand for special occasions in the future? Just follow these tips:
To Store: Place cooled waffles in an airtight container, separating layers with parchment paper. Refrigerate for up to 3 days.
To Freeze: Wrap individual waffles tightly in plastic wrap, then place them in a freezer bag. Freeze for up to 3 months.
To Reheat: Warm waffles in a toaster or oven at 350°F for 2-3 minutes. Avoid microwaving to maintain crispness.
More Delicious Breakfast Treats to Try
Sheet Pan Pancakes
Caramel Pecan Sticky Buns
Cinnamon Raisin Biscuits
Sheet-Pan French Toast

