
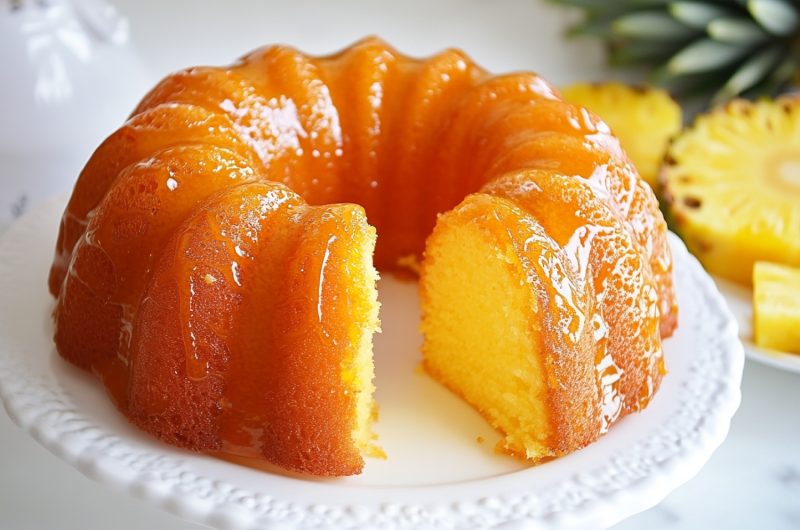
Escape to paradise with this insanely good pineapple quick bread recipe. Made with crushed pineapple and juice, it’s soft, sweet, and overflowing with bright, fruity flavor.
Add some toasted coconut on top, and you’ll almost hear the waves.
I know banana bread gets all the attention (and for good reason!). But this pineapple bread is a terrific alternative when you just feel like something different.
Why You’ll Love This Pineapple Quick Bread
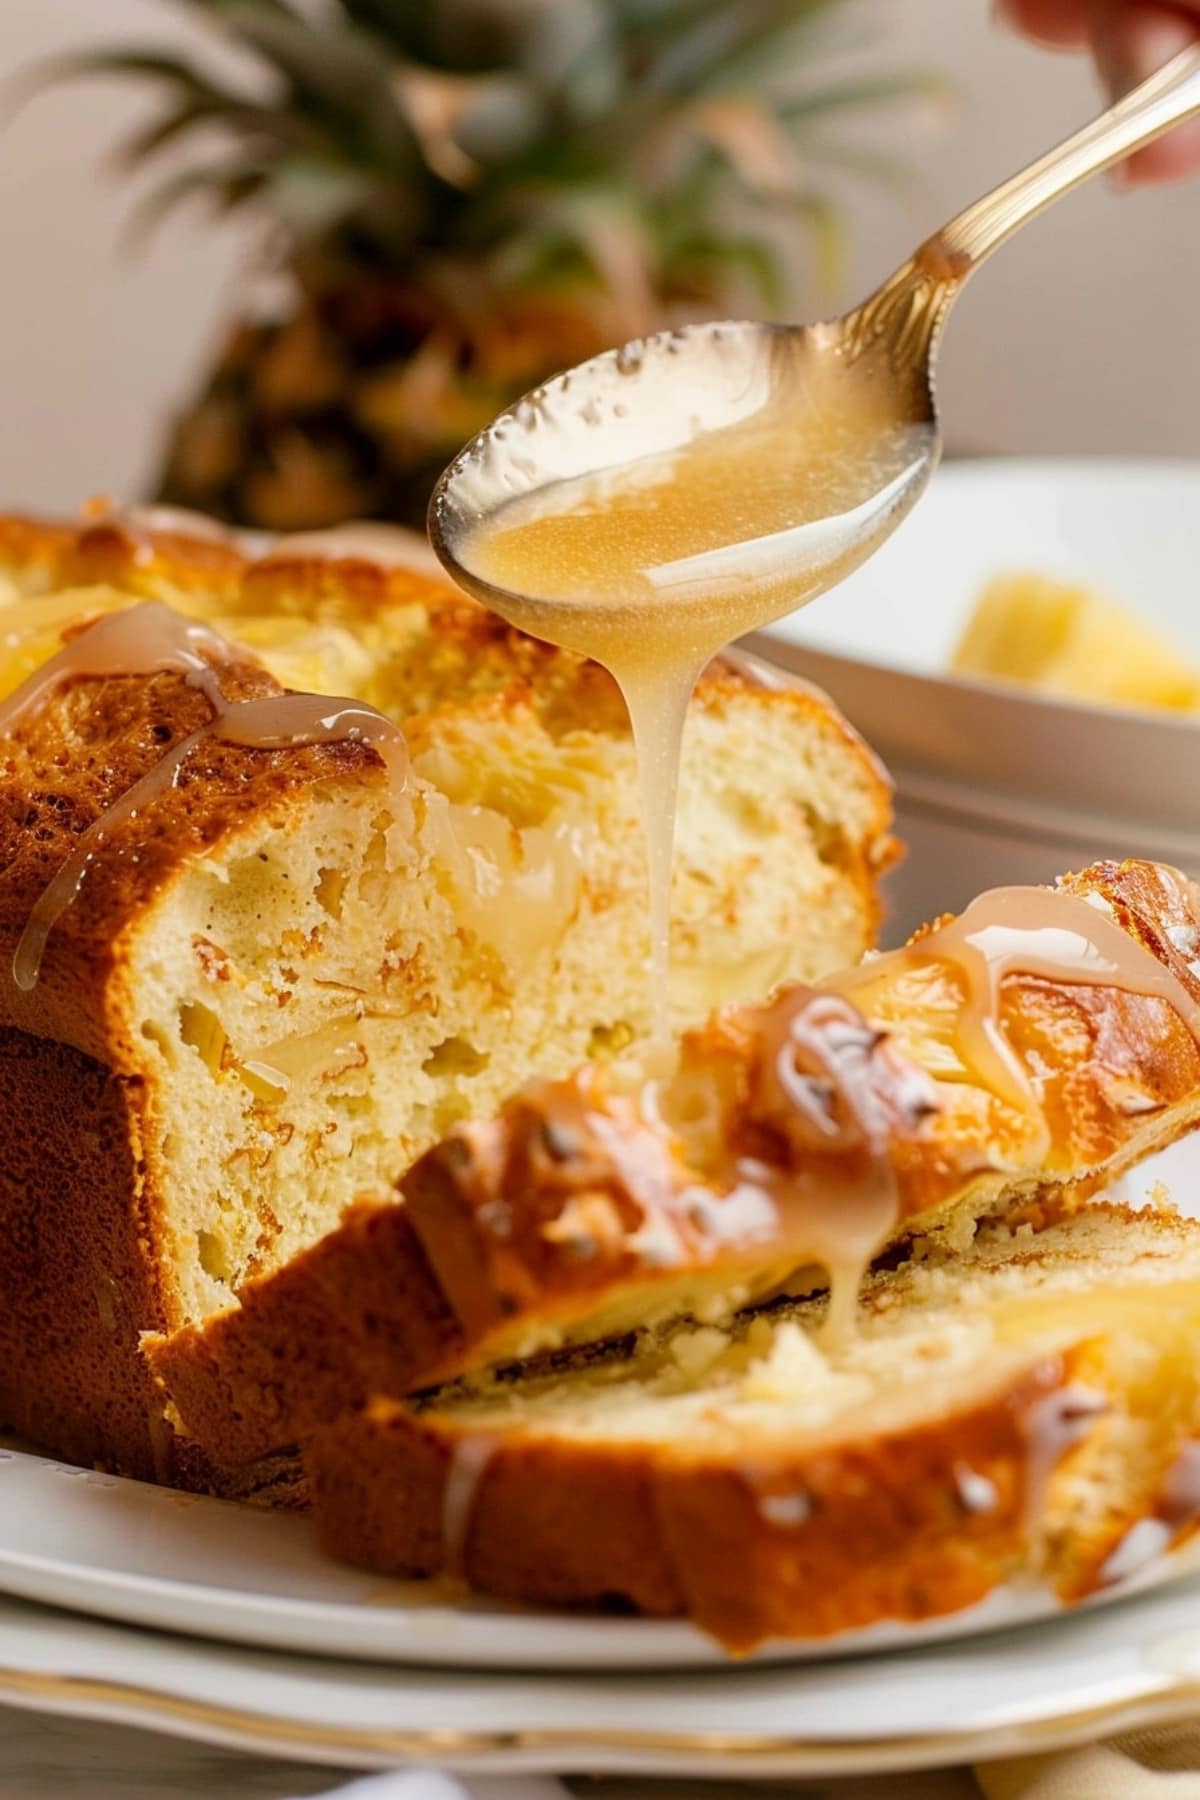
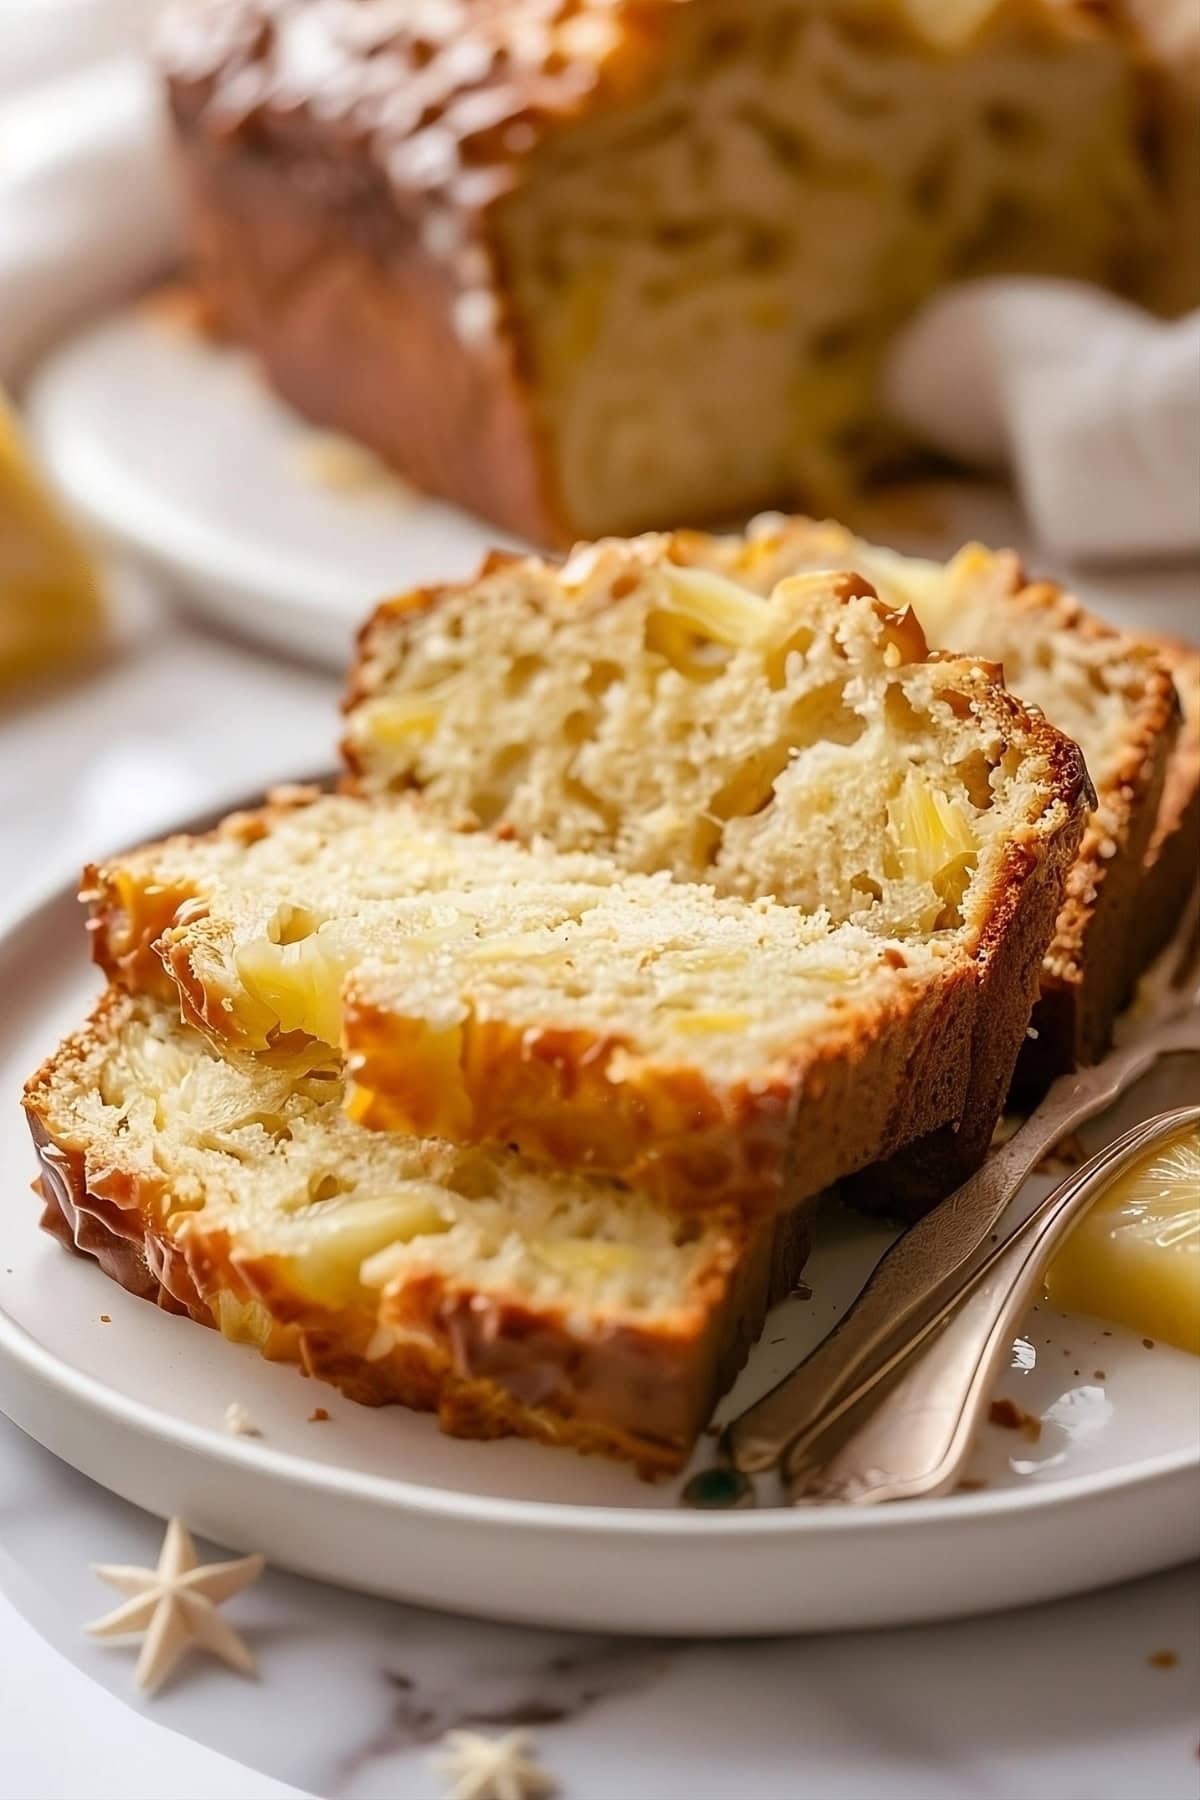
Tropical Treat: Unlike banana bread, this treat is sweetly tart and loaded with chunks of fruit. Plus, the pineapple glaze on top ensures every bite is tender and juicy.
Easy Baking: This quick bread is fast and simple to make, with no yeast or rising time required. Just mix, pour, and bake!
Crowd-pleaser: Its tropical aroma and taste make it a hit for any occasion, from brunch gatherings and bake sales to homemade gifts.
Ingredients
This isn’t your average quick bread – it’s an explosion of sweet, juicy pineapple, perfectly balanced with rich, creamy butter.
The secret ingredient? The reserved pineapple juice in the glaze adds an extra kick of flavor.
Here’s what you need to make it:
- Crushed Pineapple: Drained, but save the juices for the glaze!
- All-Purpose Flour: Provides the perfect structure for quick bread.
- Baking Soda: The leavening powerhouse that helps the bread rise to fluffy perfection.
- Salt: A dash of salt balances the sweetness and brings out the best in the other ingredients.
- Unsalted Butter: The rich base that keeps things moist.
- Granulated Sugar: To add sweetness and help the loaf develop a soft crust on top.
- Large Eggs: They hold everything together and contribute to a rich flavor and tender texture.
- Vanilla Extract: Enhances the overall flavor profile of the bread.
- Sour Cream: The secret weapon behind the tender crumb.
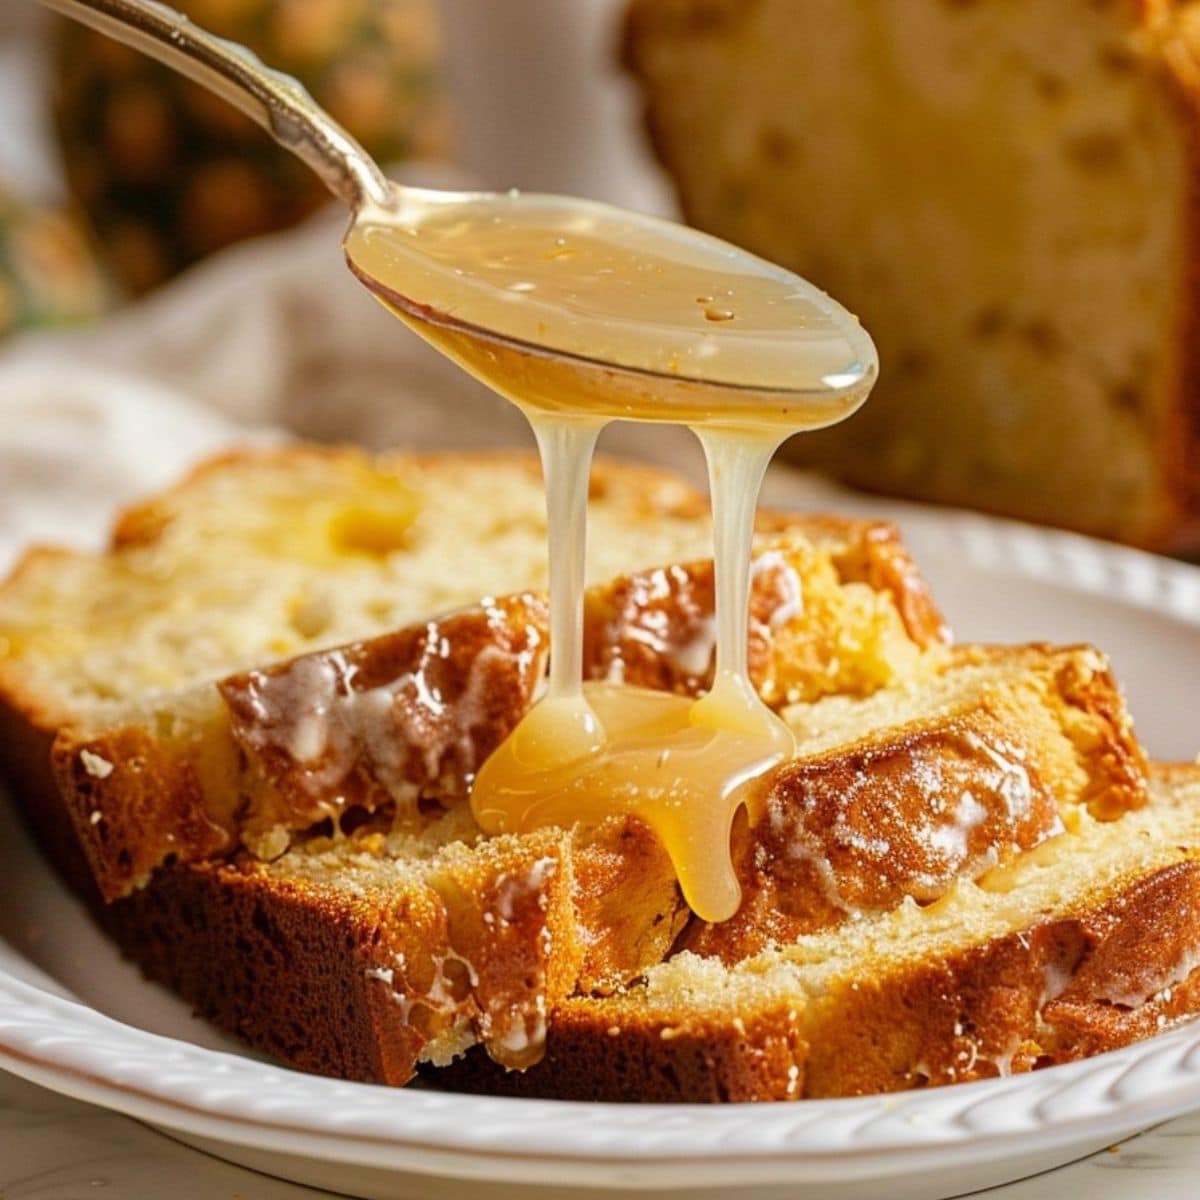
- Pineapple Glaze: You could leave this off. But the blend of reserved pineapple juice and powdered sugar is an easy and delicious way to make this even more addictive.
How to Make Pineapple Quick Bread
As the name suggests, this is a quick recipe. The only thing to remember is to be gentle when mixing.
Here are the steps:
1. DRAIN: Pour the fruit into a sieve over a bowl and leave to drain while you make the batter. You don’t need to press the juices out.
2. PREP. Preheat the oven to 350°F and grease a 9×5-inch loaf pan.
3. TOAST. If using, toast the coconut, then leave it to cool.
4. BEAT the butter and sugar until fluffy. Then mix in the eggs and vanilla.
5. STIR in the dry ingredients and sour cream alternately. Start and end with the flour, then mix in the pineapple.
6. BAKE for 50-60 minutes and leave to cool.
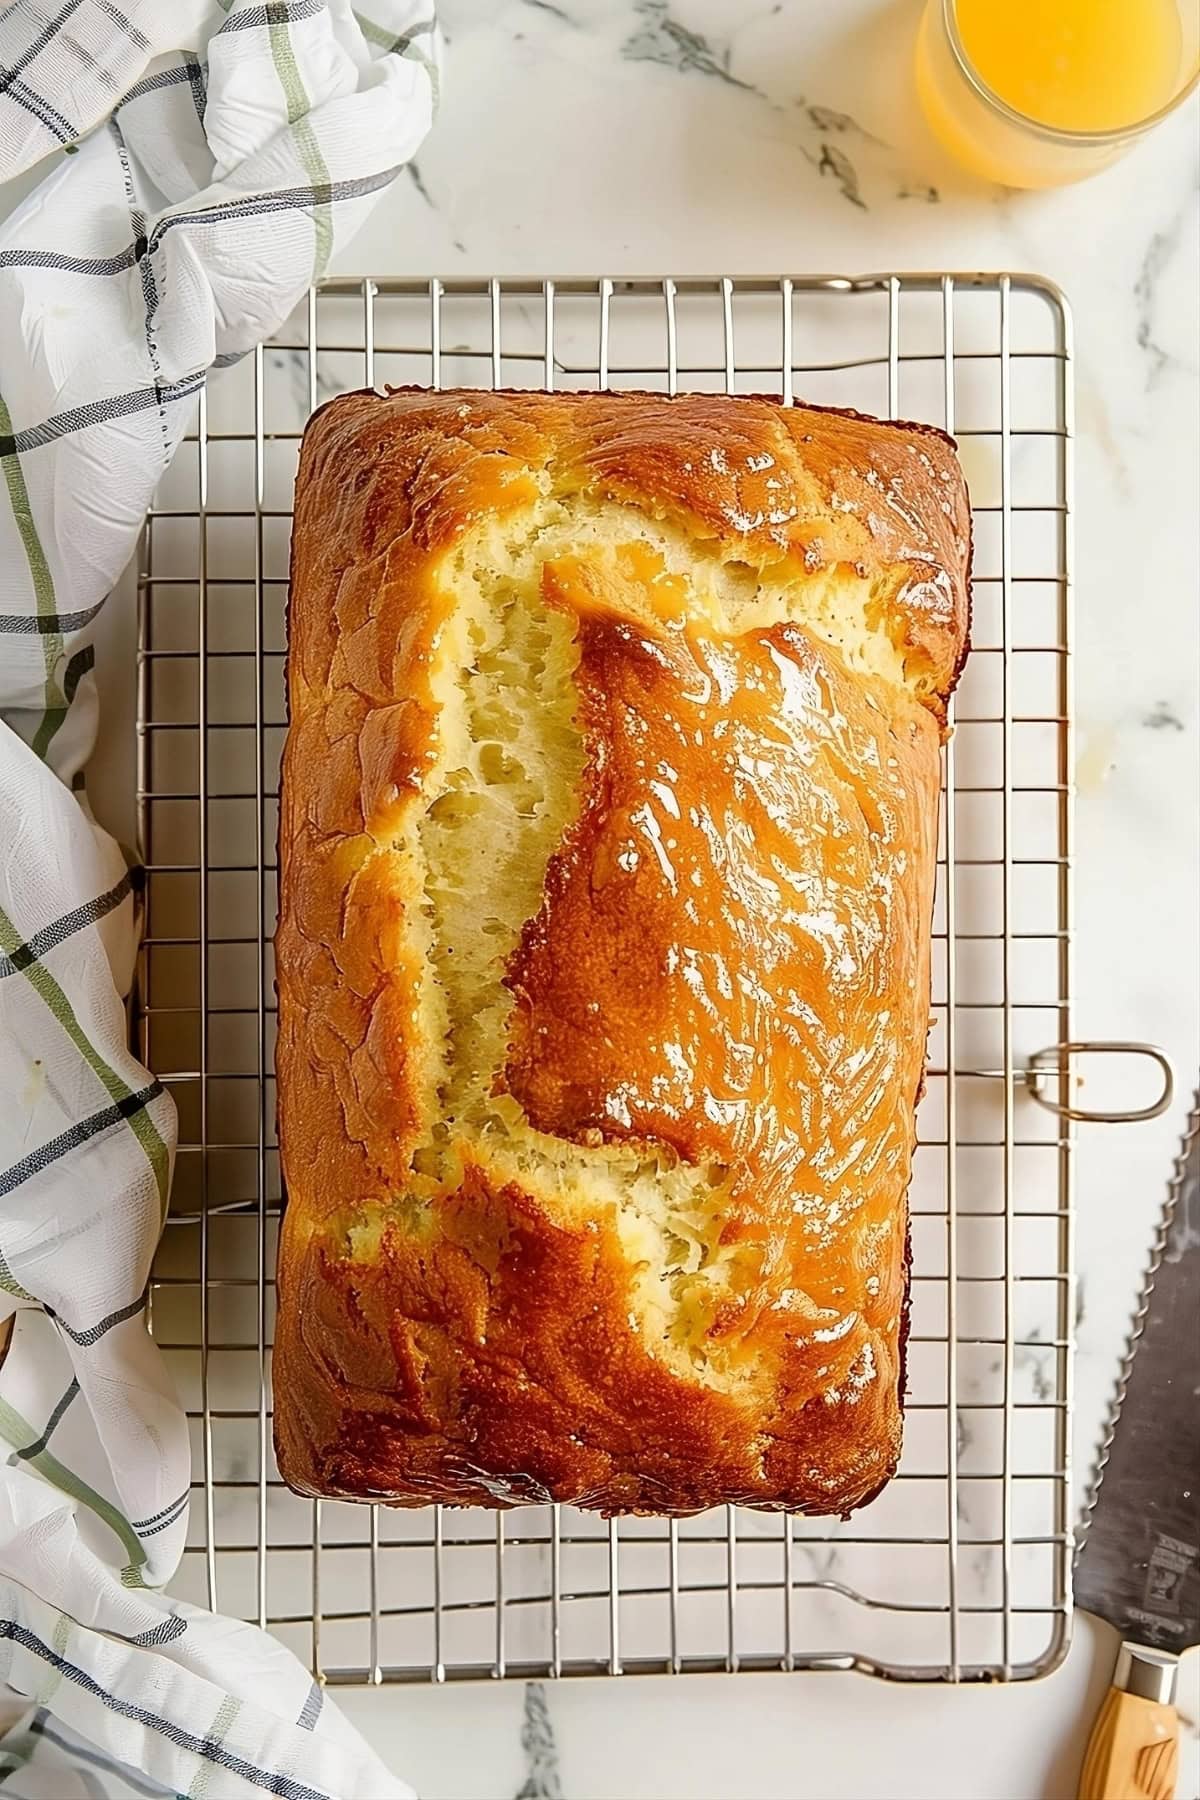
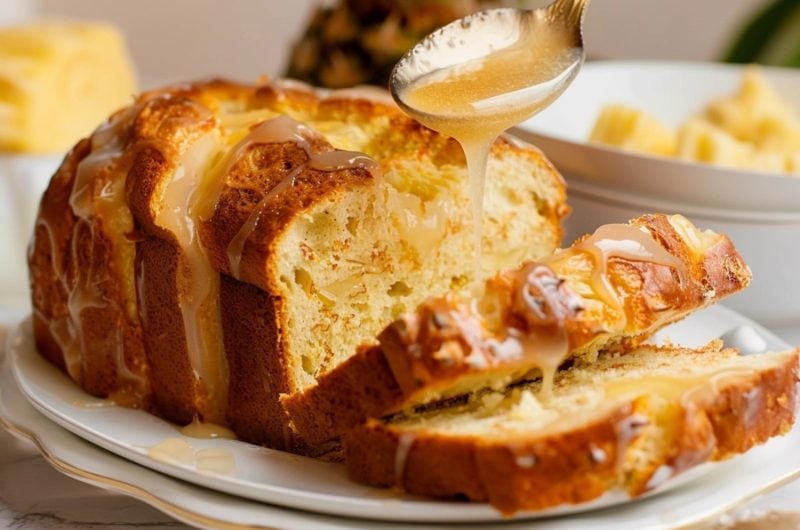
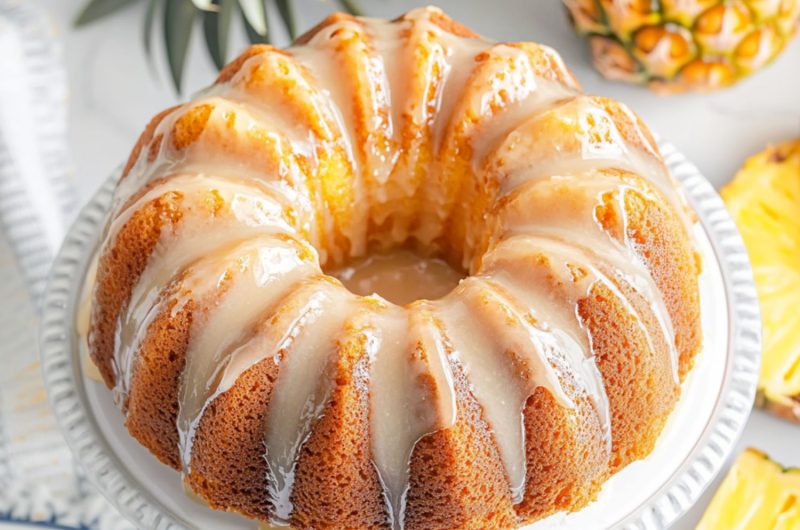
7. GLAZE. Mix the powdered sugar with the reserved juice until smooth and drizzle over the cake. Top with the coconut, if using, while the glaze is still wet.
8. SERVE when the glaze is set, and enjoy!
Tips For the Best Pineapple Quick Bread
Whether you serve this warm for breakfast, with a mid-morning coffee, or as a late-night snack, you won’t be disappointed.
And if you read these tips before starting, your pineapple loaf will be flawless every single time:
- Don’t overmix. I know I already said it, but this is key. Mix the batter by hand, and you won’t have to worry about overmixing.
- Adjust the sugar. Reduce the sugar by 1/4 cup if using sweetened canned pineapple.
- Spread the batter flat. Use a spatula and make sure the surface is level before baking.
- Test for doneness. Insert a toothpick or skewer into the center of the bread; it should come out clean or with a few moist crumbs when done.
- Cool completely. Allow the bread to cool completely before glazing. That way, it won’t seep into the loaf.
- Use a serrated knife. It helps with clean cuts.
- Flour mix-ins. Toss any mix-ins, like nuts or dried fruit, with some flour before adding them to the batter. It keeps them from sinking to the bottom.
Variations & Substitutions
Did you run out of sour cream? Or maybe you just want to jazz it up? Either way, check out these variation ideas:
- Greek yogurt – use the same amount of plain Greek yogurt in place of sour cream.
- Pineapple Tidbits – use chunks of fruit instead of crushed for more texture.
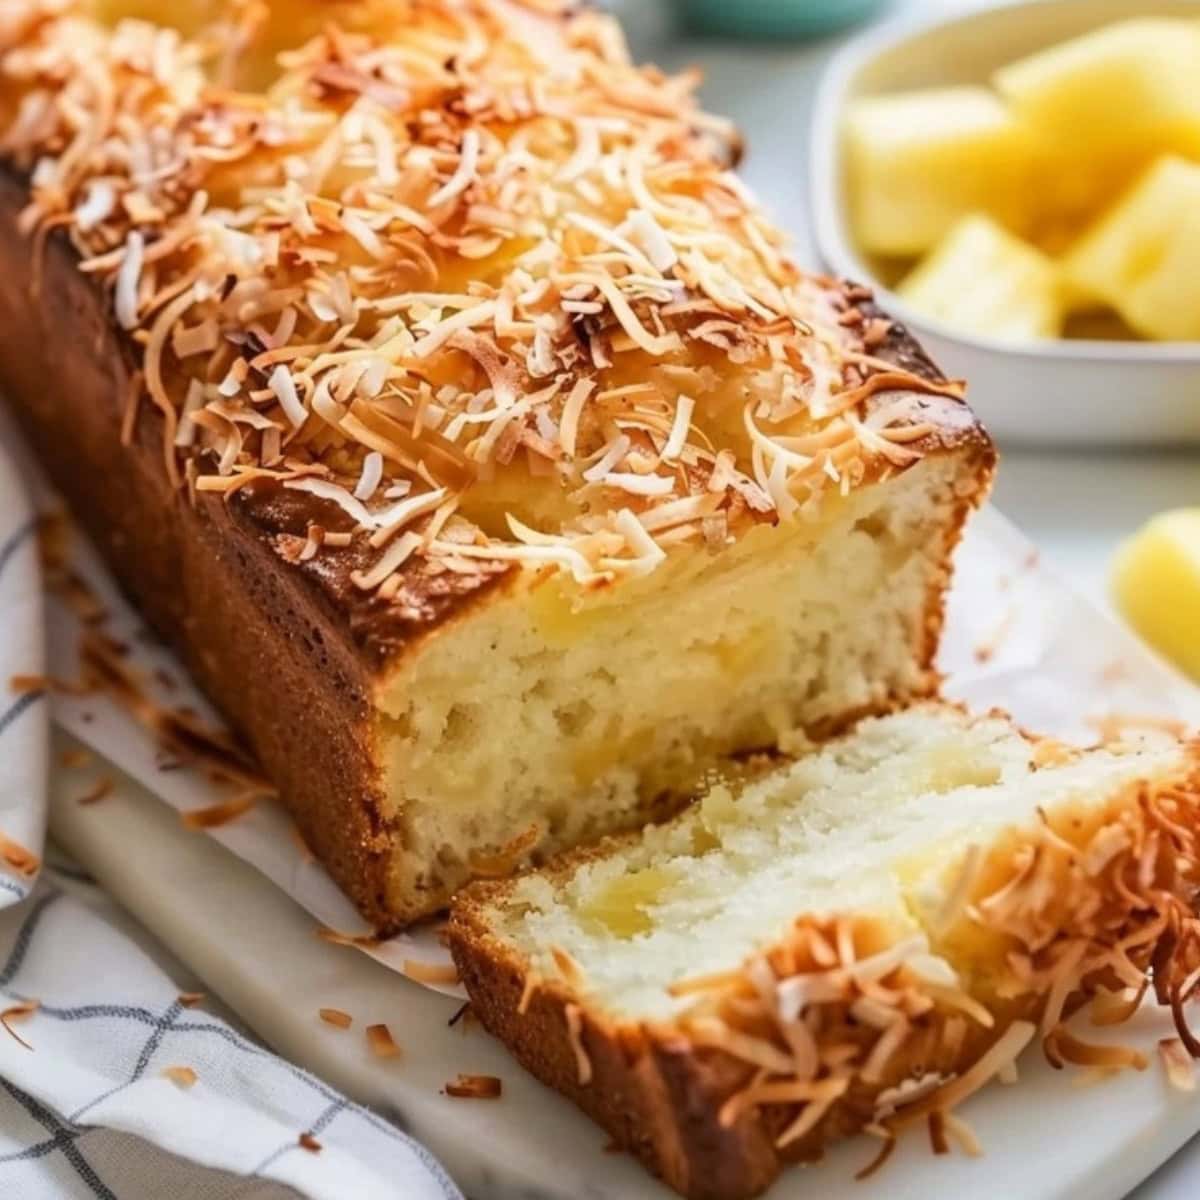
- Add coconut – add 1/2 cup of toasted coconut over the glaze. Spread it on a parchment-lined baking tray. Bake for 5-8 minutes, stirring halfway, then cool.
- Use brown sugar – it’ll add a really nice caramel tone.
- Fun mix-ins – this is great with dried cranberries, raisins, or chopped nuts. White chocolate could also be nice.
- Add spice – 1-2 teaspoons of cinnamon adds a pleasant warmth.
Oh, and if you need ideas for serving, try it layered with this yummy banana pudding fluff! It’s like a yummy tropical trifle.
How to Store
I typically make a double batch of pineapple bread because I know one won’t last long.
And since it stores really well, you don’t have to worry about it going bad!
Here’s how to store it:
To Store: Wrap cold loaves in plastic or transfer leftovers to an airtight container. Keep in a cool place for 4-5 days or in the fridge for up to 1 week.
To Freeze: Wrap the cooled pineapple bread tightly in plastic wrap, followed by a layer of aluminum foil. Freeze for 2-3 months. Thaw at room temperature or in the fridge before serving.
To Reheat: Wrap whole loves in foil and bake at 350°F for 5-10 minutes. Alternatively, microwave individual slices for 10-20 seconds on 50% power, covered with a damp paper towel to prevent drying out.
More Pineapple Desserts You’ll Love
Grilled Pineapple
Pineapple Sorbet
Air Fryer Pineapple
Pineapple Pie
Pineapple Pretzel Fluff
Pineapple Quick Bread
10
servings15
minutes1
hour356
kcalEscape to paradise with this insanely good pineapple quick bread! It’s soft, sweet, and overflowing with bright fruity flavor.
Ingredients
- For the Quick Bread
2 cups all-purpose flour
1 teaspoon baking soda
1/2 teaspoon salt
1/2 cup unsalted butter, softened
3/4 cup granulated sugar
2 large eggs
1 teaspoon vanilla extract
1/2 cup sour cream
1 (20 ounce) can crushed pineapple, drained with juice reserved
- For the Pineapple Glaze
1 cup powdered sugar
2-4 tablespoons reserved pineapple juice
Instructions
- Preheat the oven to 350°F (175°C) and grease a 9×5-inch loaf pan. Line with parchment, if desired, and set aside.
- In a medium bowl, whisk the flour, baking soda, and salt. Set aside.
- In a separate, large bowl or stand mixer, beat the butter and sugar until light and fluffy, about 2-3 minutes. Scrape the bottom and sides of the bowl, then add the eggs one at a time, mixing well after each addition. Stir in the vanilla extract last.
- Alternate adding the flour mixture and the sour cream, beginning and ending with the flour. Mix just until incorporated, then gently stir in the crushed pineapple until evenly distributed.
- Pour the batter into the prepared loaf pan and spread flat on top. Bake for 55-60 minutes, or until a toothpick inserted into the center comes out clean. If the top starts browning too quickly, tent with aluminum foil.
- Let the bread cool in the pan for 15 minutes before transferring it to a wire rack to cool completely.
- When the bread is cool, make the glaze. Whisk the powdered sugar and 2 tablespoons of the reserved pineapple juice until smooth. Add more juice if needed to reach the desired consistency.
- Drizzle the glaze over the cooled pineapple bread and leave to set before slicing. Enjoy!
Notes
- Reduce the sugar by 1/4 cup if using sweetened canned pineapple.
- Drain the fruit by letting it sit in a strainer, but don’t squeeze it. You want some of that juice to keep things moist.
Did you like the recipe?
Click on a star to rate it!
Average rating 5 / 5. Vote count: 5
No votes so far! Be the first to rate this post.
We are sorry that this post was not useful for you!
Let us improve this post!
Tell us how we can improve this post?








4 Responses
I made this yesterday! It’s very easy and I can’t say how DELICIOUS it is! It came out perfect! The only part I had a question on is, do you squeeze the pineapple to get the juice out or do you just put it in a strainer and let it drain that way? I put it in a strainer and used the back of the spoon to get rid of more juice. Before I put the batter in the breadpan, I did add about 2 more tbsp of juice. It just seemed a bit thick and I didn’t want it soggy. This is an awesome recipe and I already shared it on Facebook as someone requested it after seeing my post. Thank you so much!
Hi Lori!
Great question 🙂
It’s fine to just let it drain for a few minutes and add it with some of the juices.
I usually set it to drain first, then it’s ready when I have the batter mixed.
I’ve added this to the post – thanks for catching it!
New to one of those breadmakers, where it does all the work and bakes too!.. but how would I use it to make this bread?
Hi Lynda!
Bread machines are usually only for yeast-based recipes.
This is quick bread, which means it’s more like cake. You just mix the ingredients and bake. It uses baking soda to rise.
Some of the more basic bread machines cannot make quick breads. But newer ones can.
You’ll need to check the manufacturer’s manual to find out if yours does, and then follow the directions given.
Hope this helps!