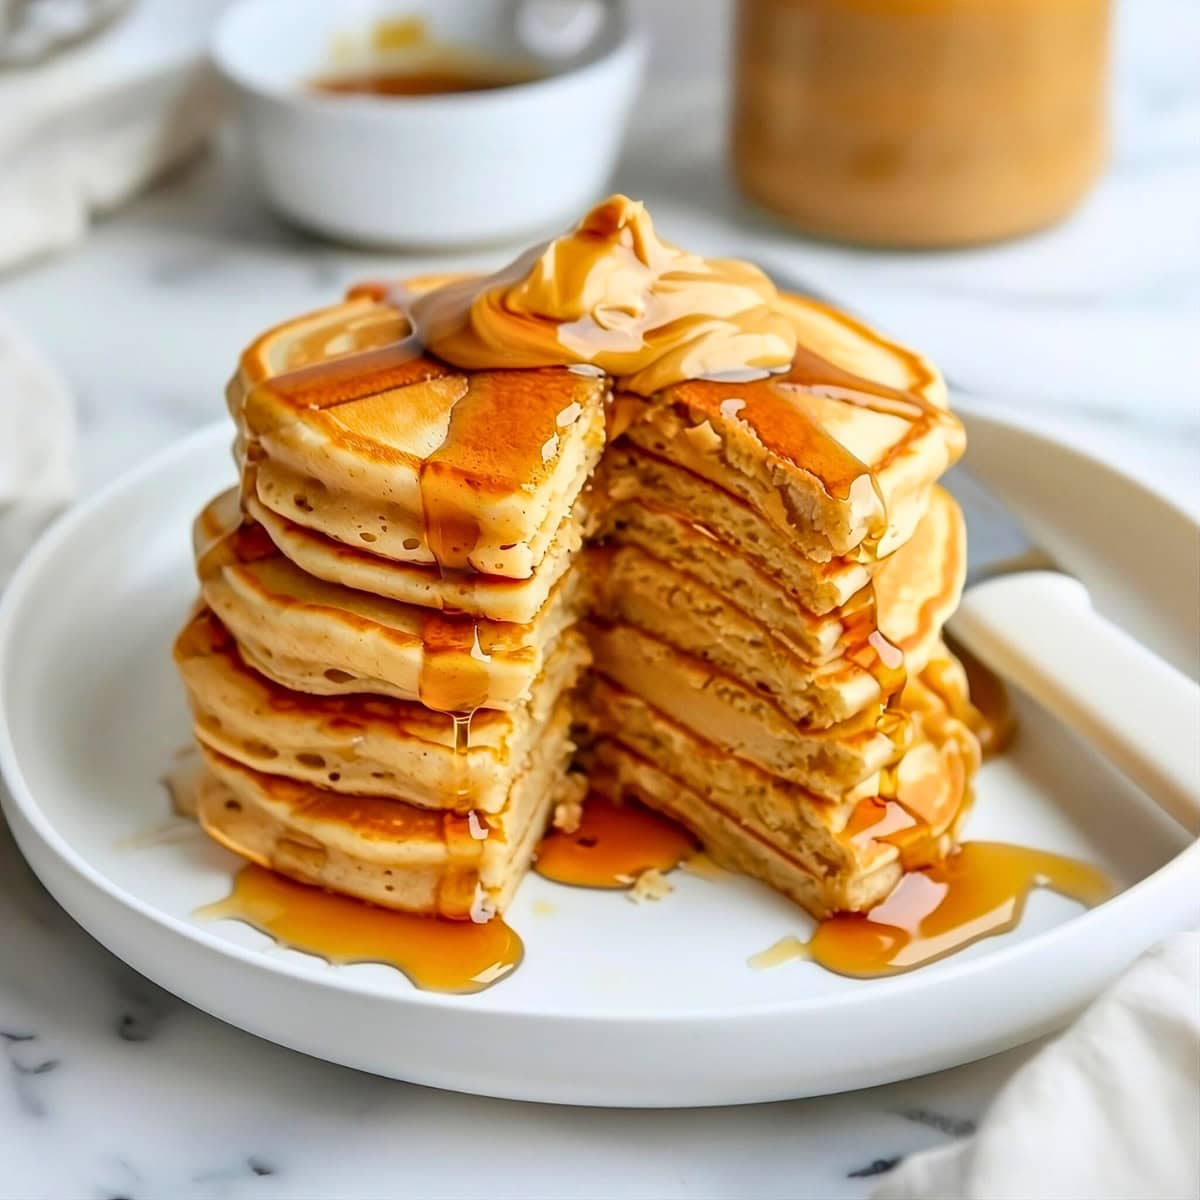
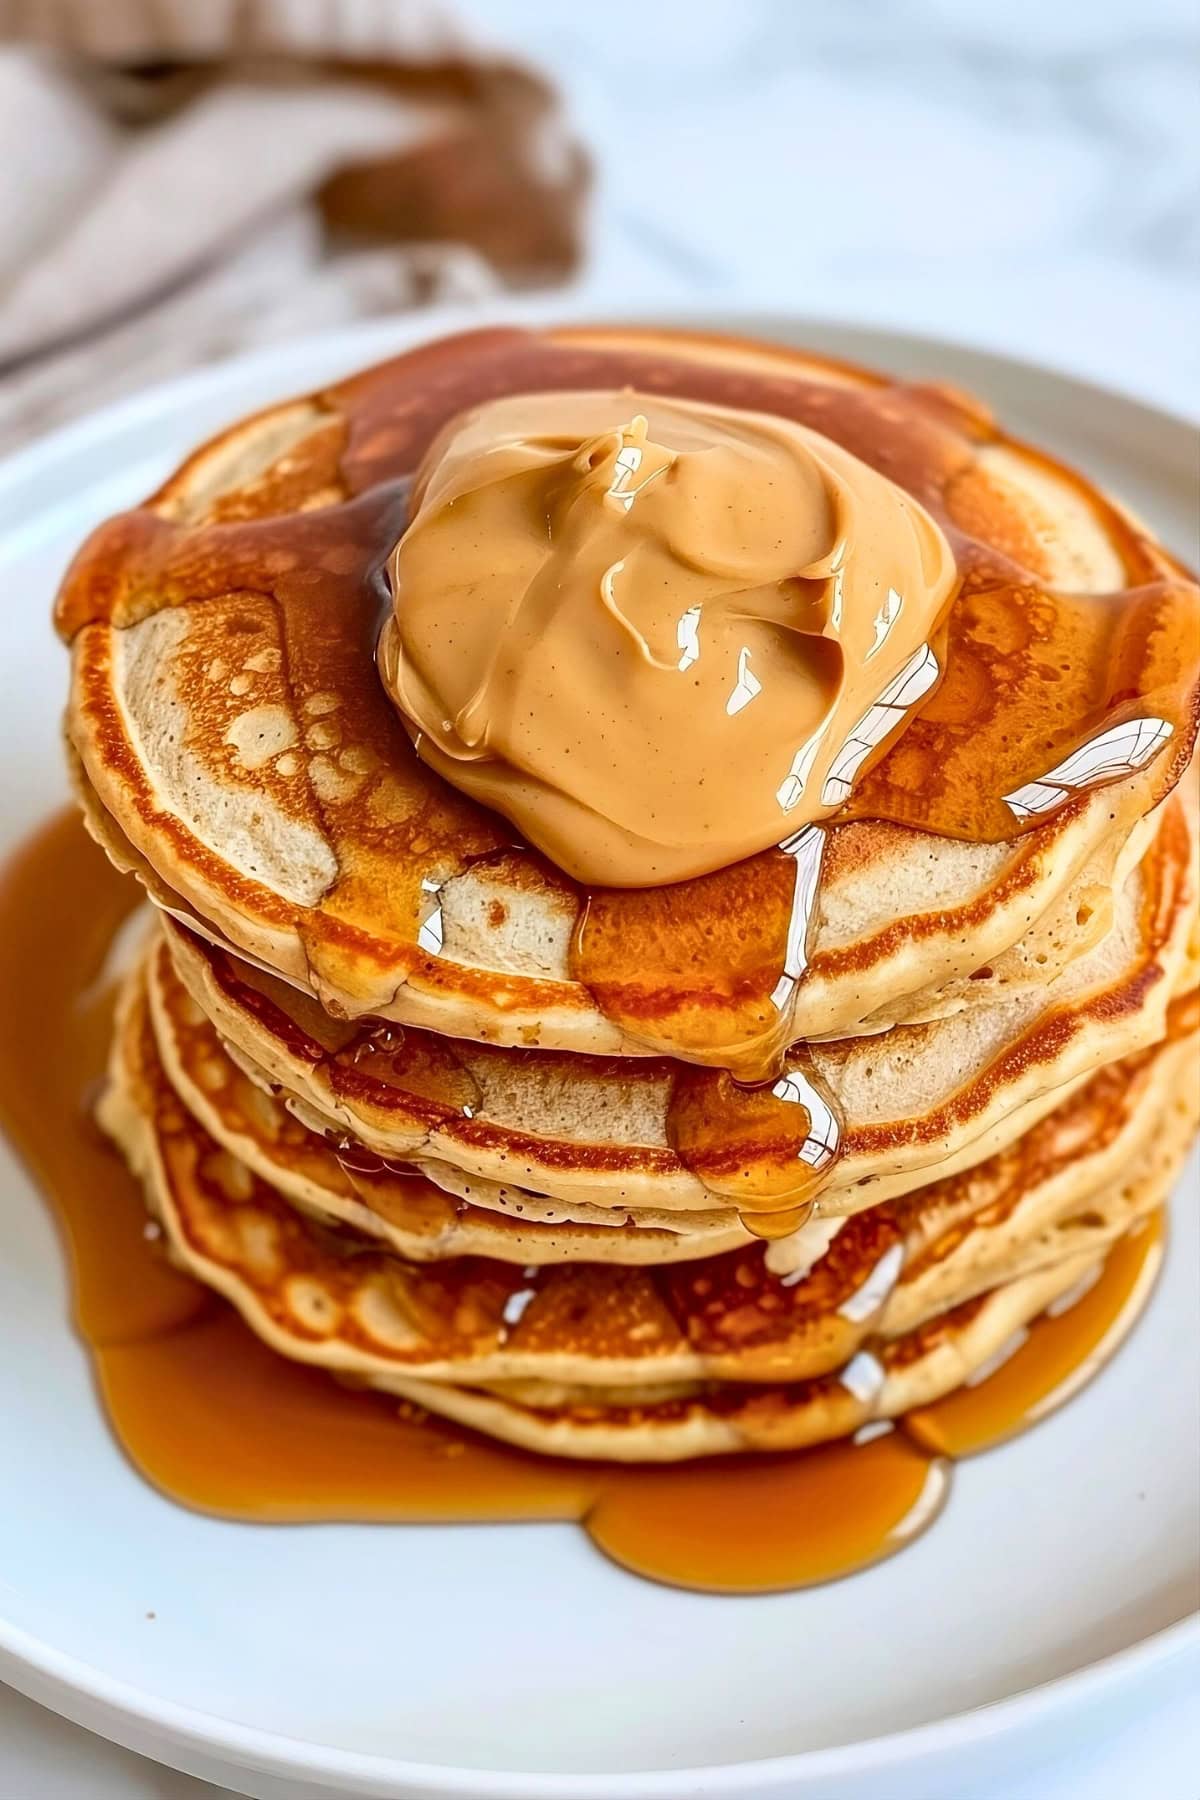
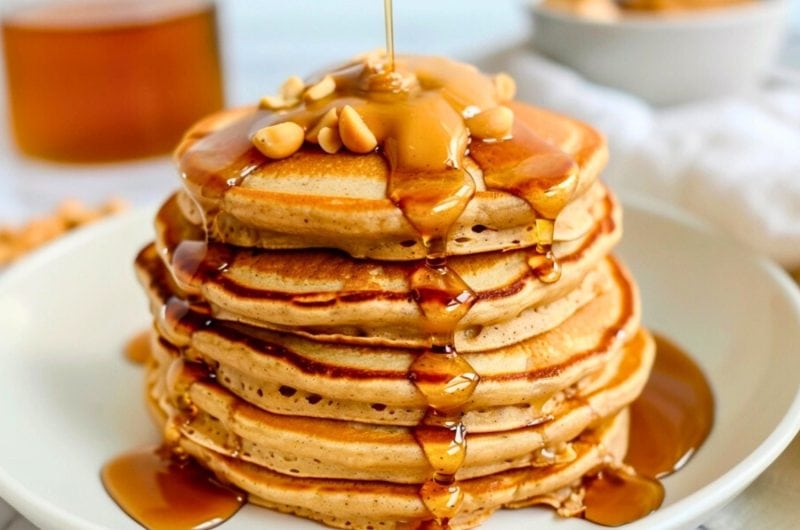
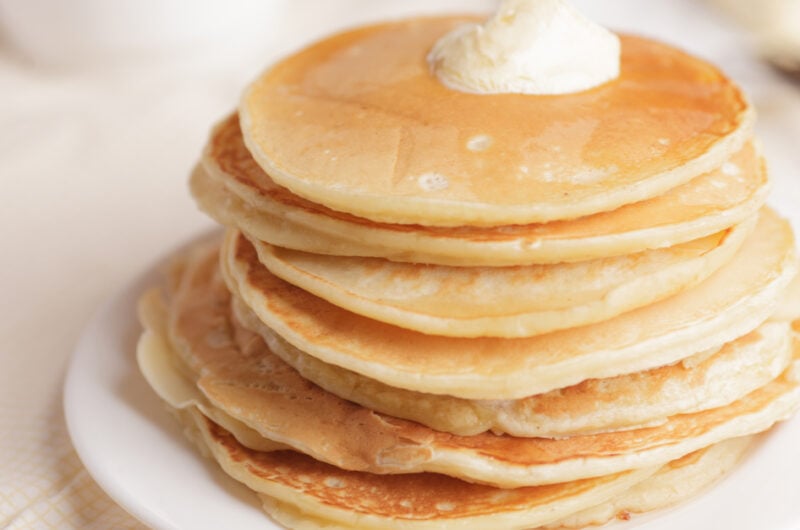
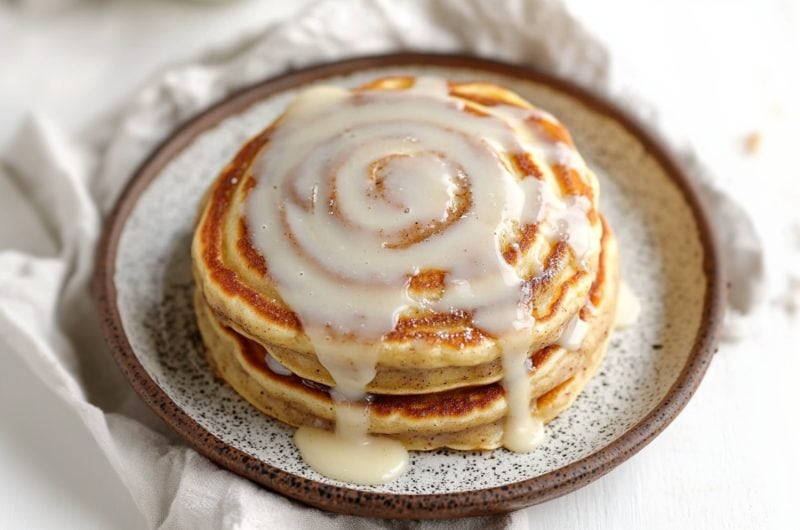
These peanut butter pancakes are so good, I jump out of bed to make them! I’m telling you, they’re about to become your new weekend brunch obsession.
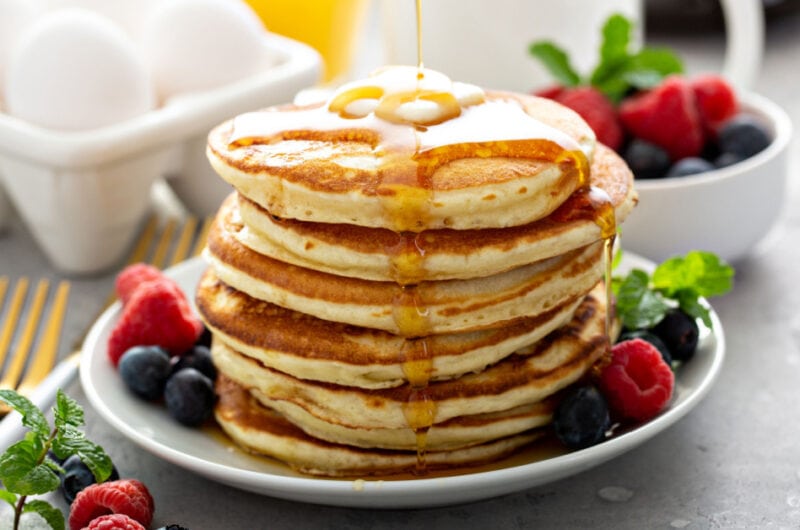
They’re wonderfully fluffy with a rich peanut butter flavor. They also have slightly crisp edges but are melt-in-your-mouth soft and tender inside.
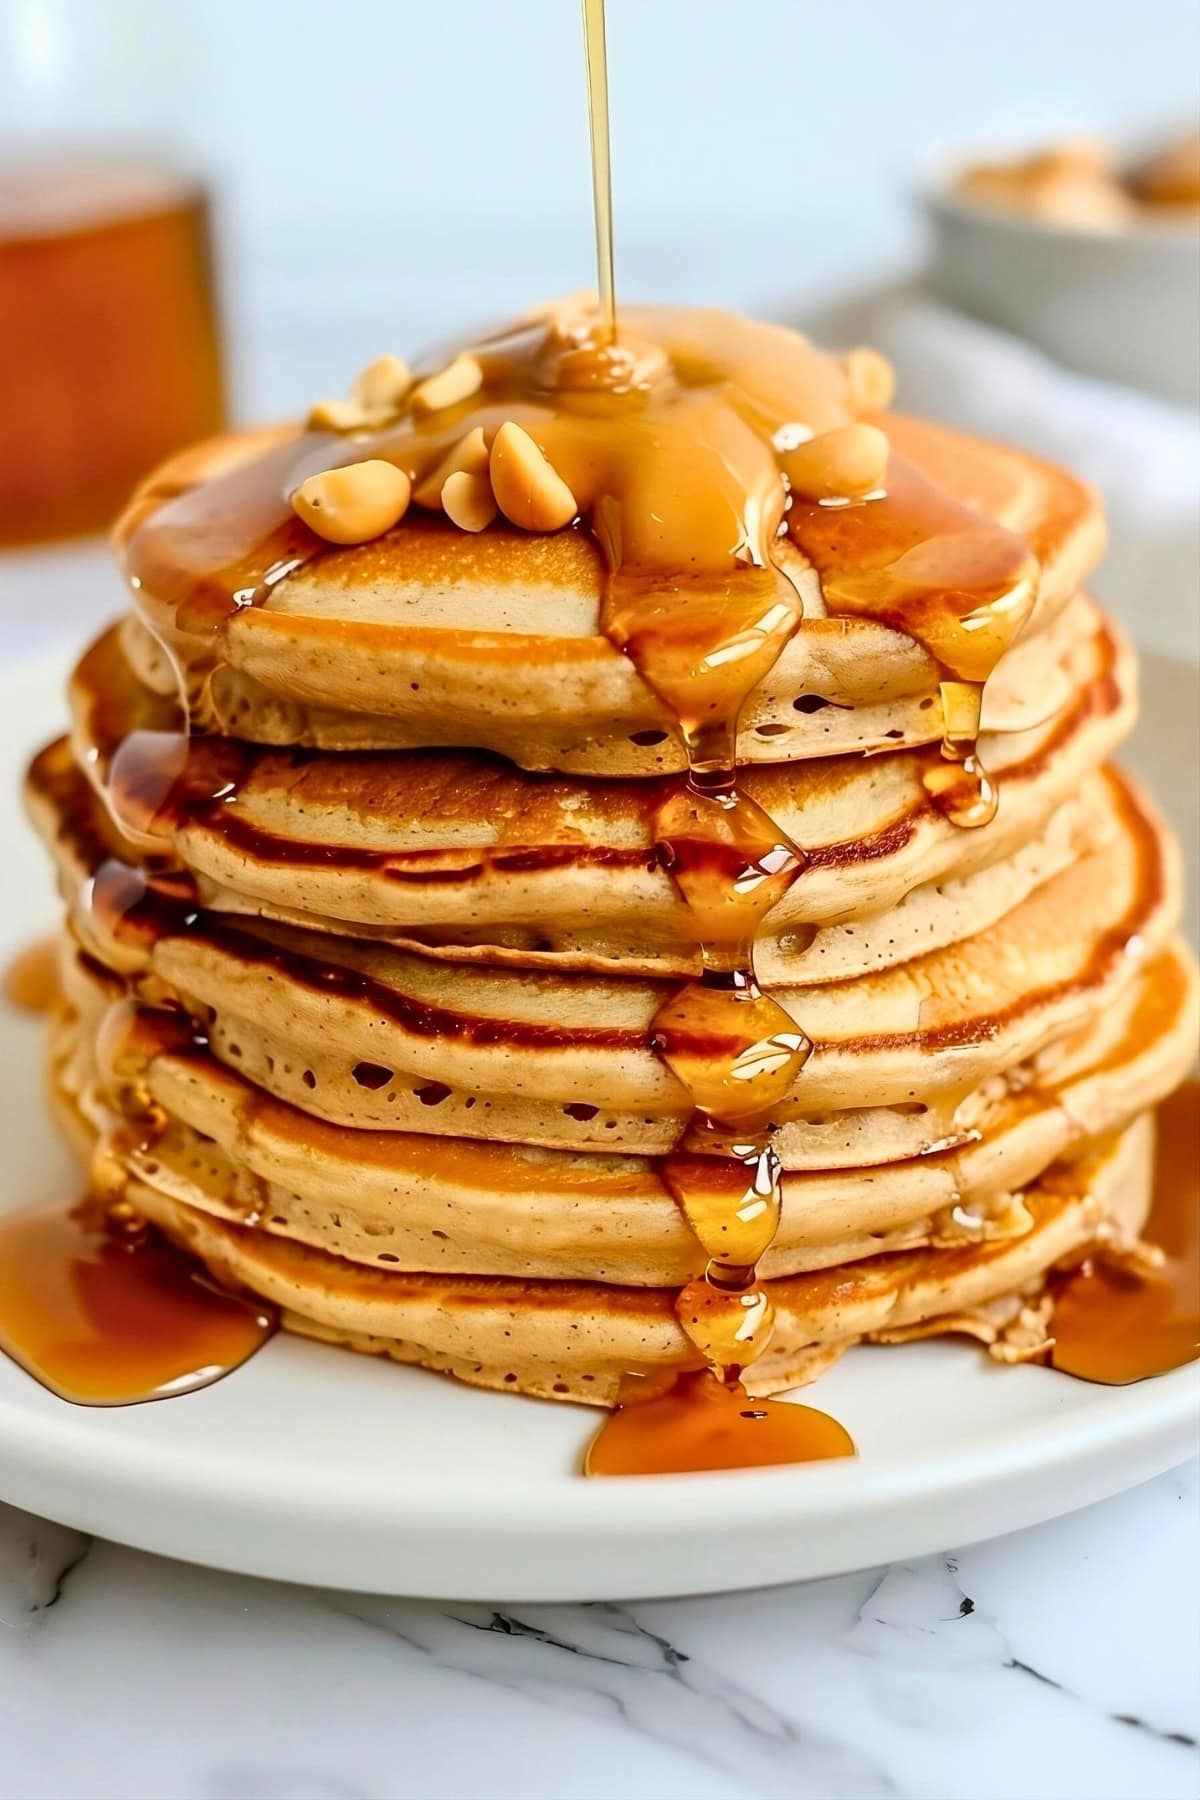
And don’t even get me started on adding toppings! Everything about these flavorful flapjacks is fantastic!
Why You’ll Love These Peanut Butter Pancakes
Nutty Indulgence: Peanut butter’s rich, nutty flavor elevates breakfast pancakes to a whole new level. With these guys, you can satisfy cravings for both sweet and savory.
Cozy & Comforting: They provide a warm, cozy meal for breakfast or brunch. They’re one of those feel-good treats that just make you happy to eat them.
Kid-Friendly: What kid doesn’t love pancakes?! Plus, the familiar flavor of peanut butter makes them extra special.
Ingredients
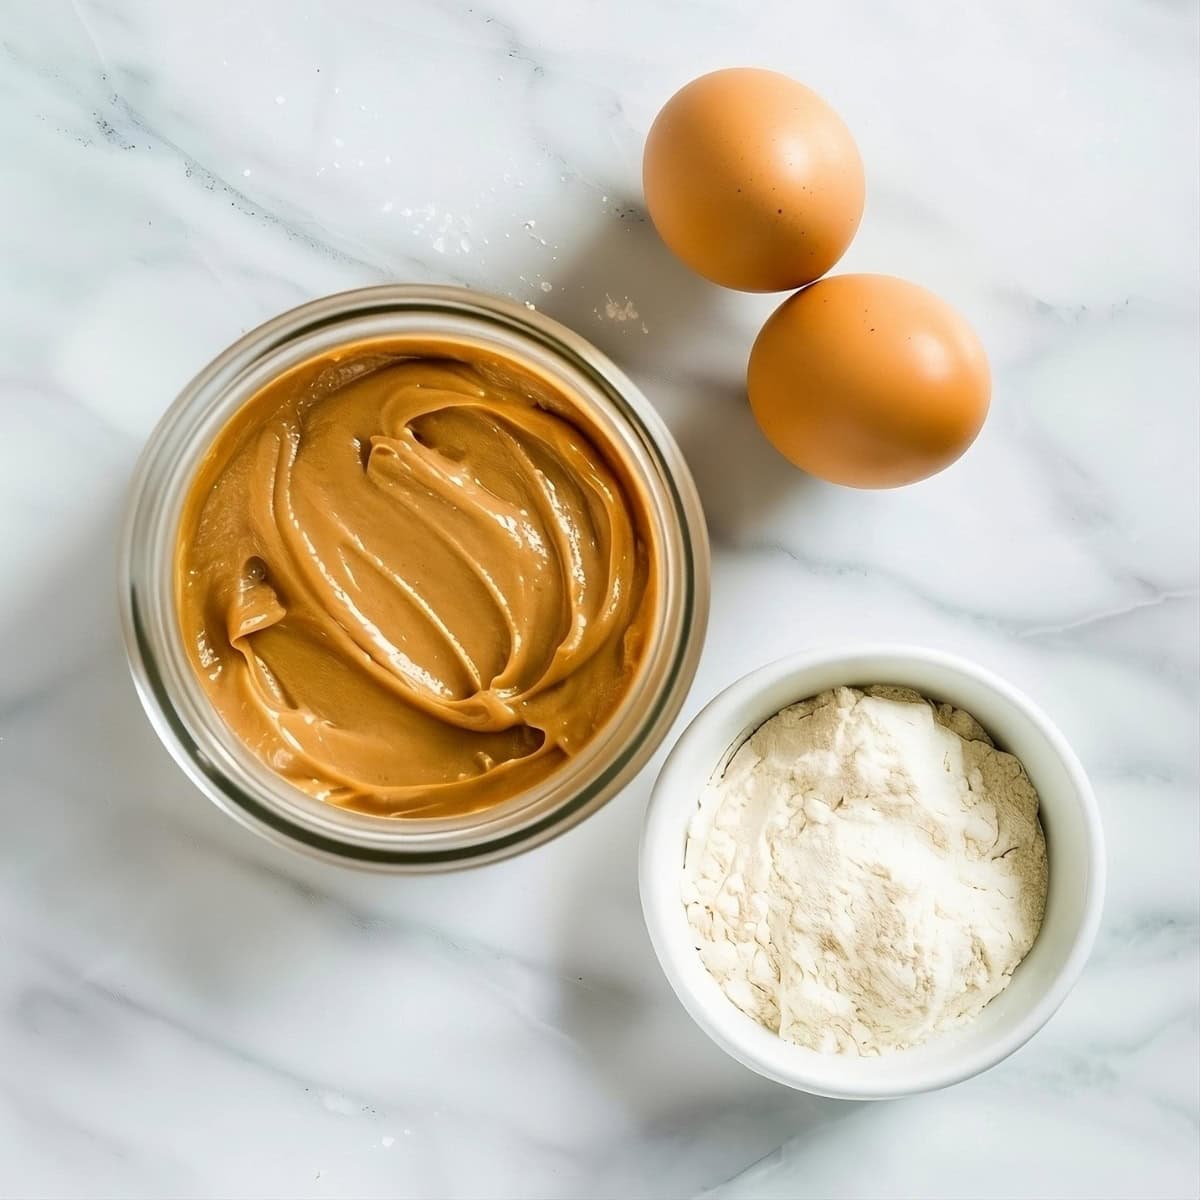
- Creamy Peanut Butter: You get all the nutty flavor without messing up the pancakes’ fluffy texture.
- All-Purpose Flour: It provides structure and stability for the pancakes. All-purpose is the best and easiest to work with.
- Granulated Sugar: For a hint of sweetness. It pairs well with the savory notes in the peanut butter.
- Baking Powder: The leavening agent responsible for making the pancakes rise.
- Salt: It enhances all the flavors and brings out the best in the peanut butter.
- Milk: I like whole milk best, but you can use whatever you have. It makes the batter smooth and pourable.
- Large Eggs: Eggs are the binding agent. They hold everything together and give the flapjacks their tender consistency.
- Vegetable Oil: Oil prevents the pancakes from sticking to the griddle.
- Vanilla Extract: It adds a subtle warmth and sweetness.
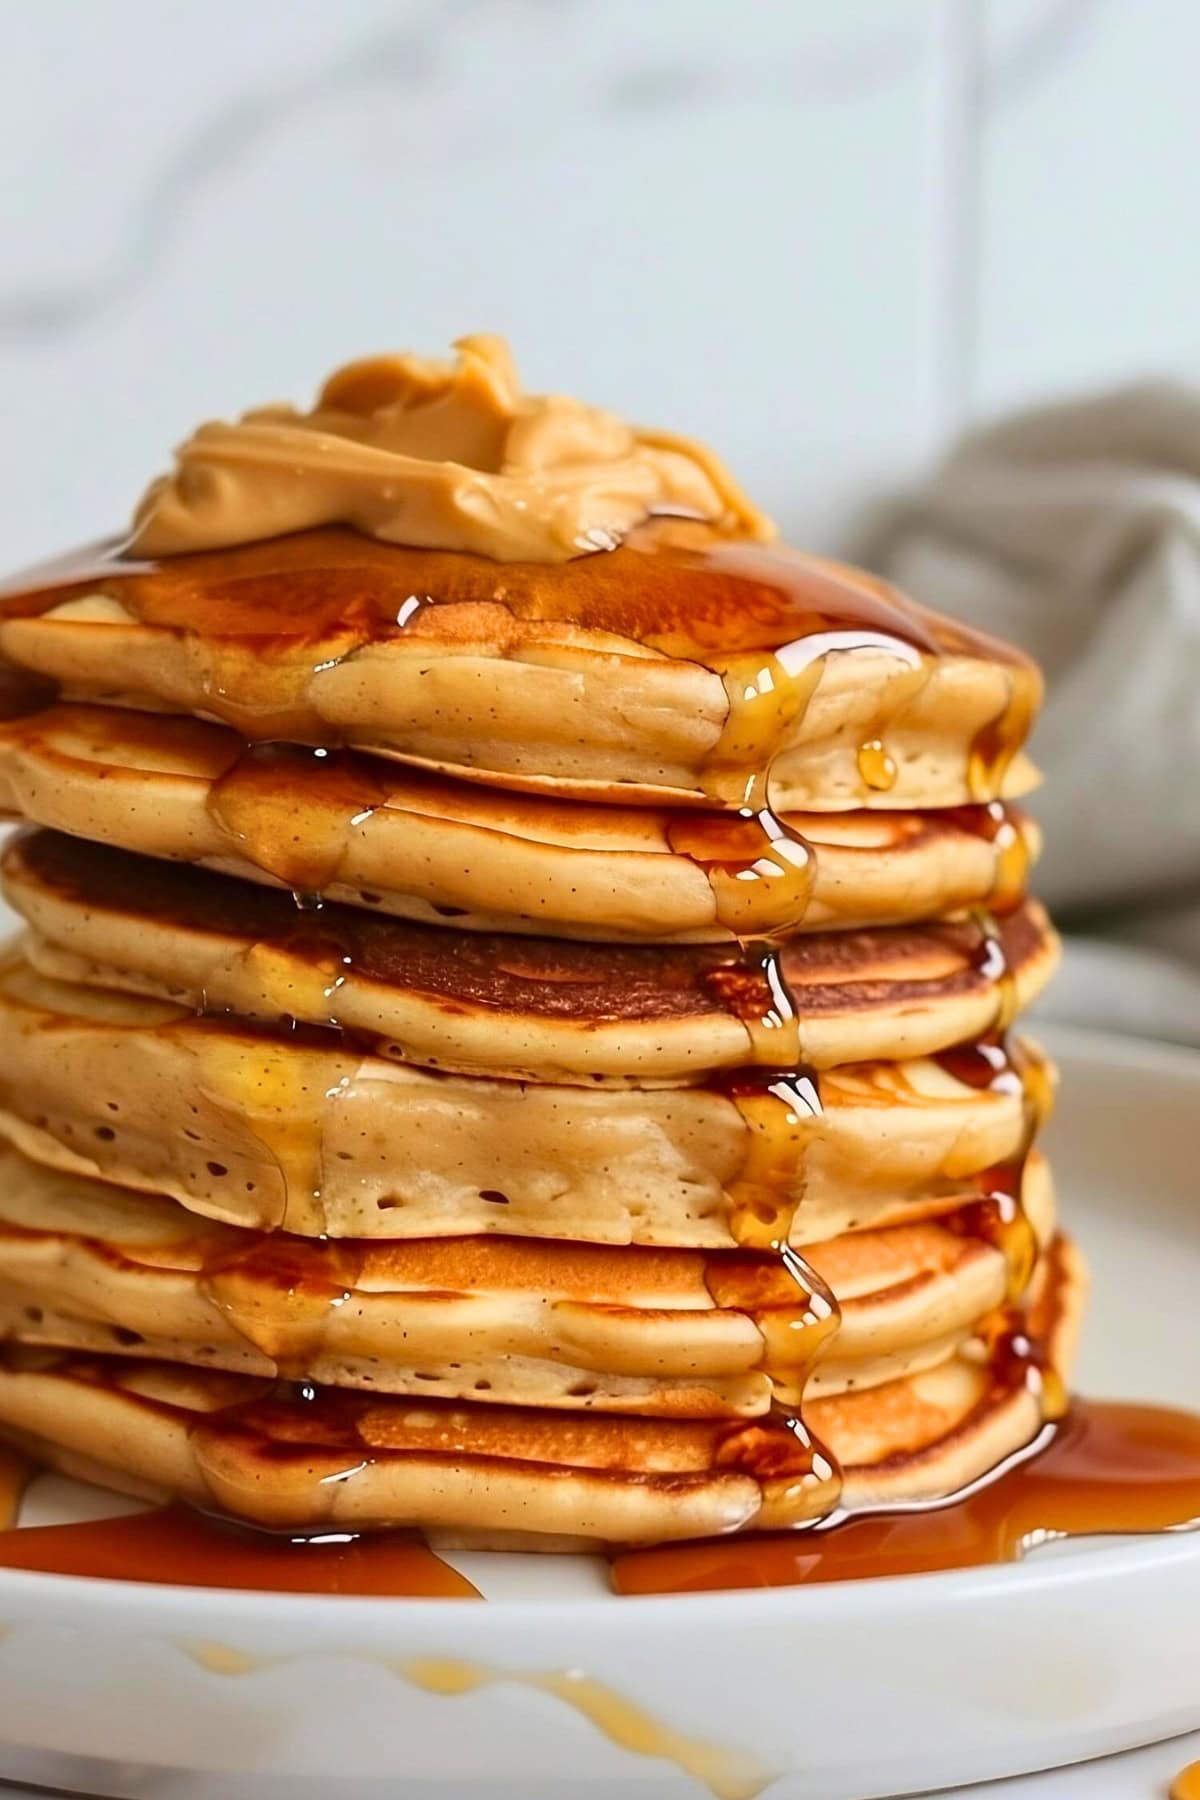
How to Make Peanut Butter Pancakes
These peanut butter pancakes couldn’t be easier to make.
1. Combine the dry ingredients. Whisk together the flour, sugar, baking powder, and salt in a large bowl until combined.
2. Combine the wet ingredients. Combine the milk, peanut butter, eggs, oil, and vanilla in a separate bowl. Whisk until mostly smooth. (It’s fine if the peanut butter is slightly lumpy.)
3. Form the batter. Pour the wet ingredients into the dry ingredients. Mix gently until everything is just barely combined. Don’t overmix!
4. Preheat. Preheat your griddle to medium heat. Or heat a large skillet over medium heat on the stove. Grease the skillet or griddle lightly with oil or butter.
5. Cook. Pour about 1/4 cup of batter per pancake onto the hot griddle or skillet. Cook for 2 to 3 minutes or until you see bubbles forming on the surface. Then, flip the pancakes and cook the other side until golden brown. (Approximately 1 to 2 more minutes.)
6. Serve with toppings. Serve the pancakes hot with your favorite toppings. Enjoy!
Tips for the Best Peanut Butter Pancakes
Incorporate these tips the next time you whip up these decadent pancakes:
- Give the batter a rest. After preparing the batter, let it rest for at least 5 to 10 minutes before cooking the pancakes. It’ll give the baking powder time to activate, resulting in fluffier pancakes.
- Don’t raise the heat! You may be tempted to raise the heat to cook the pancakes faster. Don’t do it! Keep it strictly at medium heat and cook them slowly.
- Resist the urge to keep flipping. Over-flipping is a common mistake for newbie pancake makers. You should flip each pancake only once. Wait until you see bubbles forming on the surface of the pancake before flipping it. Then, leave it alone until the other side is also golden brown.
- Add fun mix-ins. Tweak the flavor by mixing chocolate chips, chopped nuts, etc., into the batter. Sliced bananas, toffee bits, and berries are also good options.
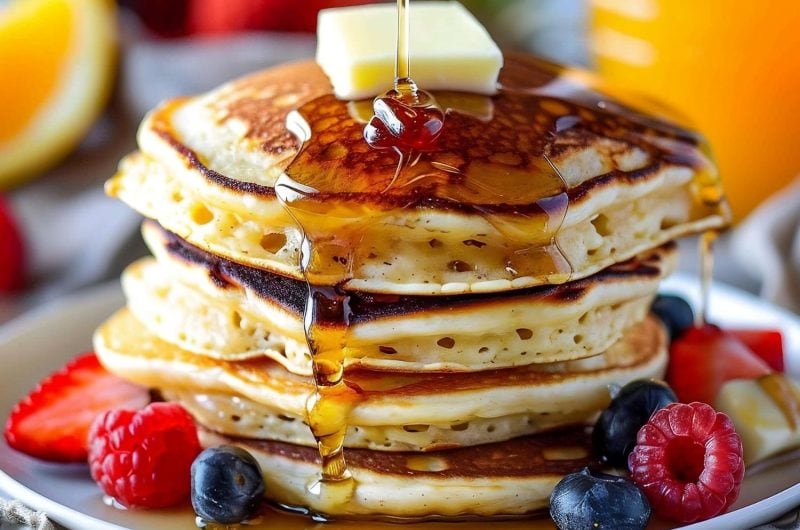
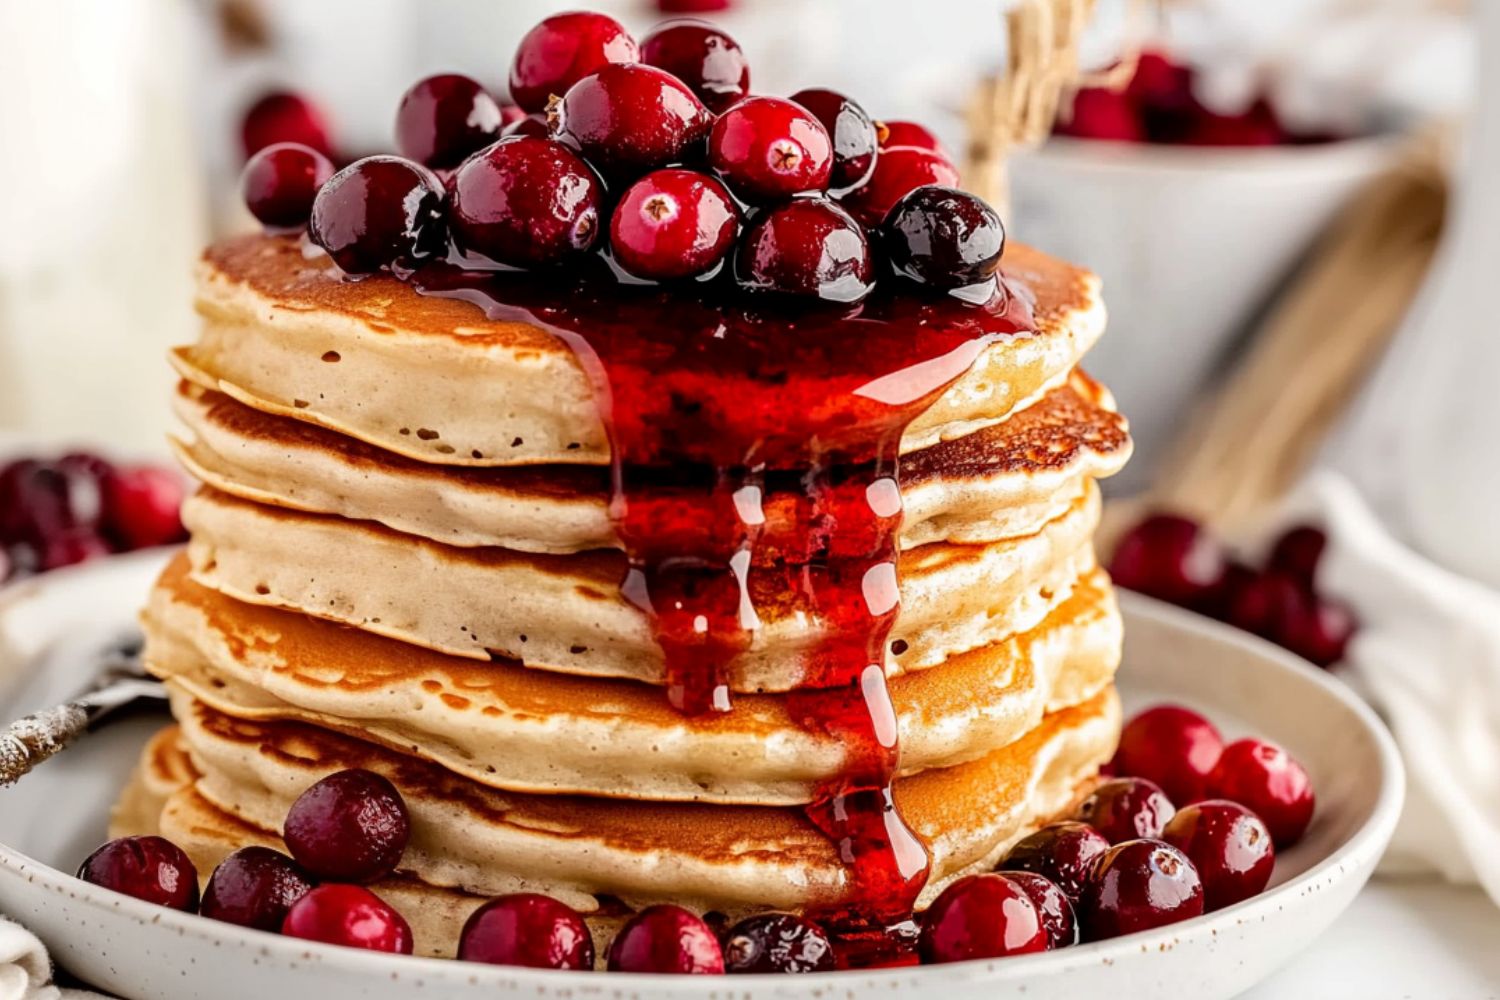
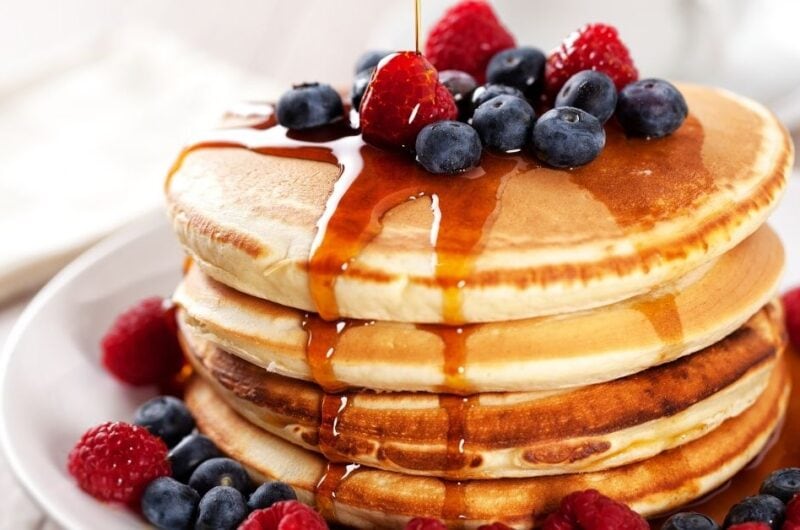
- Don’t forget the toppings! Butter and syrup are common, but they aren’t the only options. Try berries, sliced fruit, bacon crumbles, whipped cream, and more.
How to Store
It doesn’t matter if you have leftovers or just want to make extras for meal-prepping. Storing pancakes is a super simple process.
To Store: Refrigerate leftover pancakes in an air-tight container for up to 4 days. They may become a little dry after 2 days, but they’ll still taste fine.
To Freeze: Wrap individual pancakes in plastic wrap or aluminum foil. Alternatively, store stacks in a freezer-safe container with parchment paper between each layer. Freeze for up to 3 months.
To Reheat: You can reheat chilled pancakes and frozen pancakes straight from the freezer. They reheat best in the oven at 300 degrees Fahrenheit. (5-10 minutes.) You can also microwave them on high power for 30 to 60 seconds.
More Peanut Butter Recipes to Try
Peanut Butter Mousse
Peanut Butter Chocolate Chip Muffins
Peanut Butter Whipped Cream
Grilled Peanut Butter and Banana Sandwich
Peanut Butter Pancakes
12
servings10
minutes20
minutes141
kcalTreat yourself to a stack of these incredible peanut butter pancakes! They’re full of nutty flavor and packed with protein.
Ingredients
1 1/4 cups all-purpose flour
2 tablespoons granulated sugar
1 tablespoon baking powder
1/2 teaspoon salt
1 cup milk
1/3 cup creamy peanut butter
2 large eggs
2 tablespoons vegetable oil
1 teaspoon vanilla extract
Instructions
- In a large bowl, whisk together the flour, sugar, baking powder, and salt until combined.
- In a separate bowl, whisk together the milk, peanut butter, eggs, oil, and vanilla until smooth. The peanut butter may remain slightly lumpy, which is okay.
- Pour the wet ingredients into the dry ingredients. Mix gently until the batter is just combined. Don’t overmix the batter, or the pancakes will be tough. Some small lumps are fine.
- Heat a large skillet or griddle over medium heat. Grease lightly with butter or oil.
- Pour about 1/4 cup of batter per pancake onto the hot skillet. Cook until bubbles form on the surface, about 2 to 3 minutes. Flip and cook the other side until golden brown, another 1 to 2 minutes.
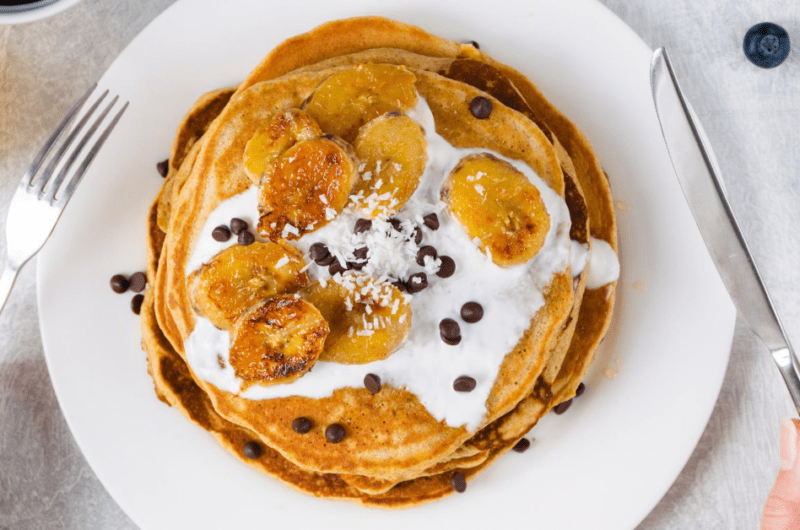
- Serve the pancakes hot with your favorite toppings like sliced bananas, chocolate chips, syrup, or extra peanut butter. Enjoy!
Notes
- You may substitute natural peanut butter if you prefer. Just note the batter may be thicker and require an extra tablespoon of milk.
Did you like the recipe?
Click on a star to rate it!
Average rating 5 / 5. Vote count: 1
No votes so far! Be the first to rate this post.
We are sorry that this post was not useful for you!
Let us improve this post!
Tell us how we can improve this post?




One Response
Hello Kim,
I enjoyed trying out this recipe. Asides from having fun making it, my entire family enjoyed it and we will be trying it again for sure. Although I made mine with healthy plantain flour I got from qualityafricanfoods.com, the outcome was nothing short of amazing. Thank you. This was very good information.