
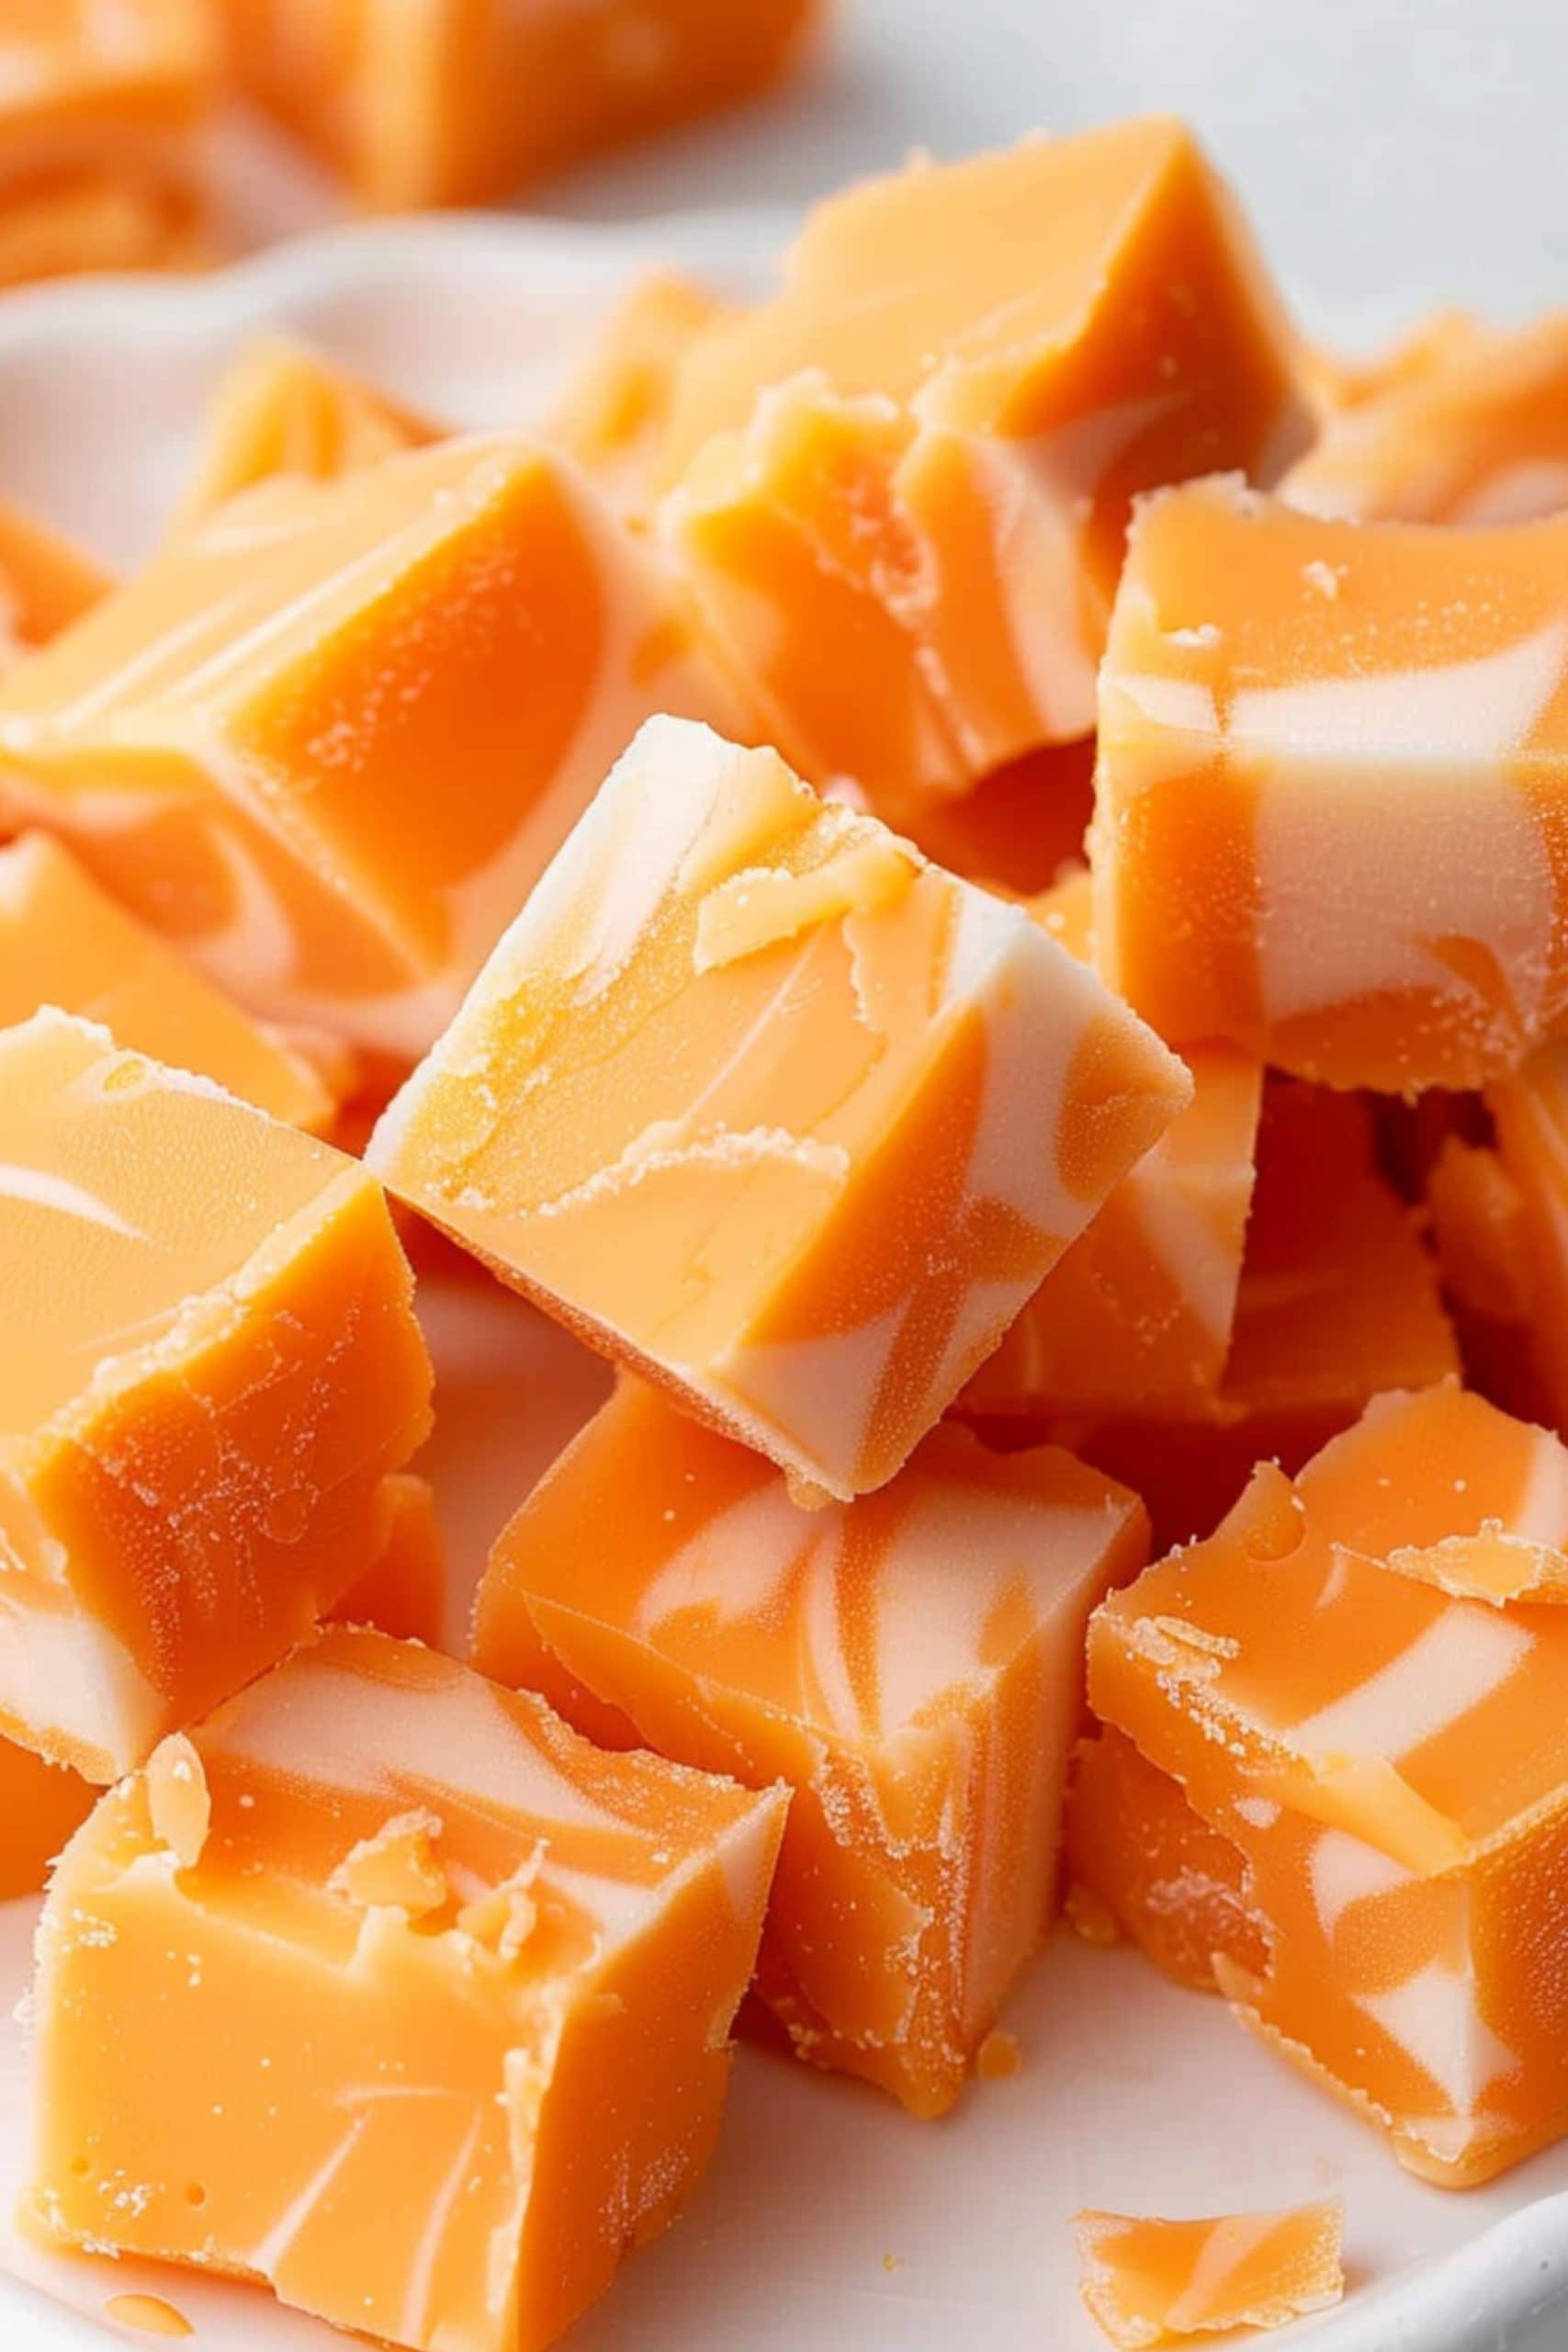
Looking for a treat that captures the essence of summer and transports you back to childhood? Try this orange creamsicle fudge.
It combines the creamy richness of white chocolate with a bright, tangy orange flavor.
And if that makes you think nostalgically of Orange Push Pops, you’re right on the mark! These melt-in-your-mouth fudge bites are just like orange sherbet pops.
Better yet, since they require no baking, you can whip them up any time.
Why You’ll Love This Orange Creamsicle Fudge
Simple Ingredients: This recipe only requires four ingredients. So, it’s incredibly easy to prepare without requiring a long shopping list.
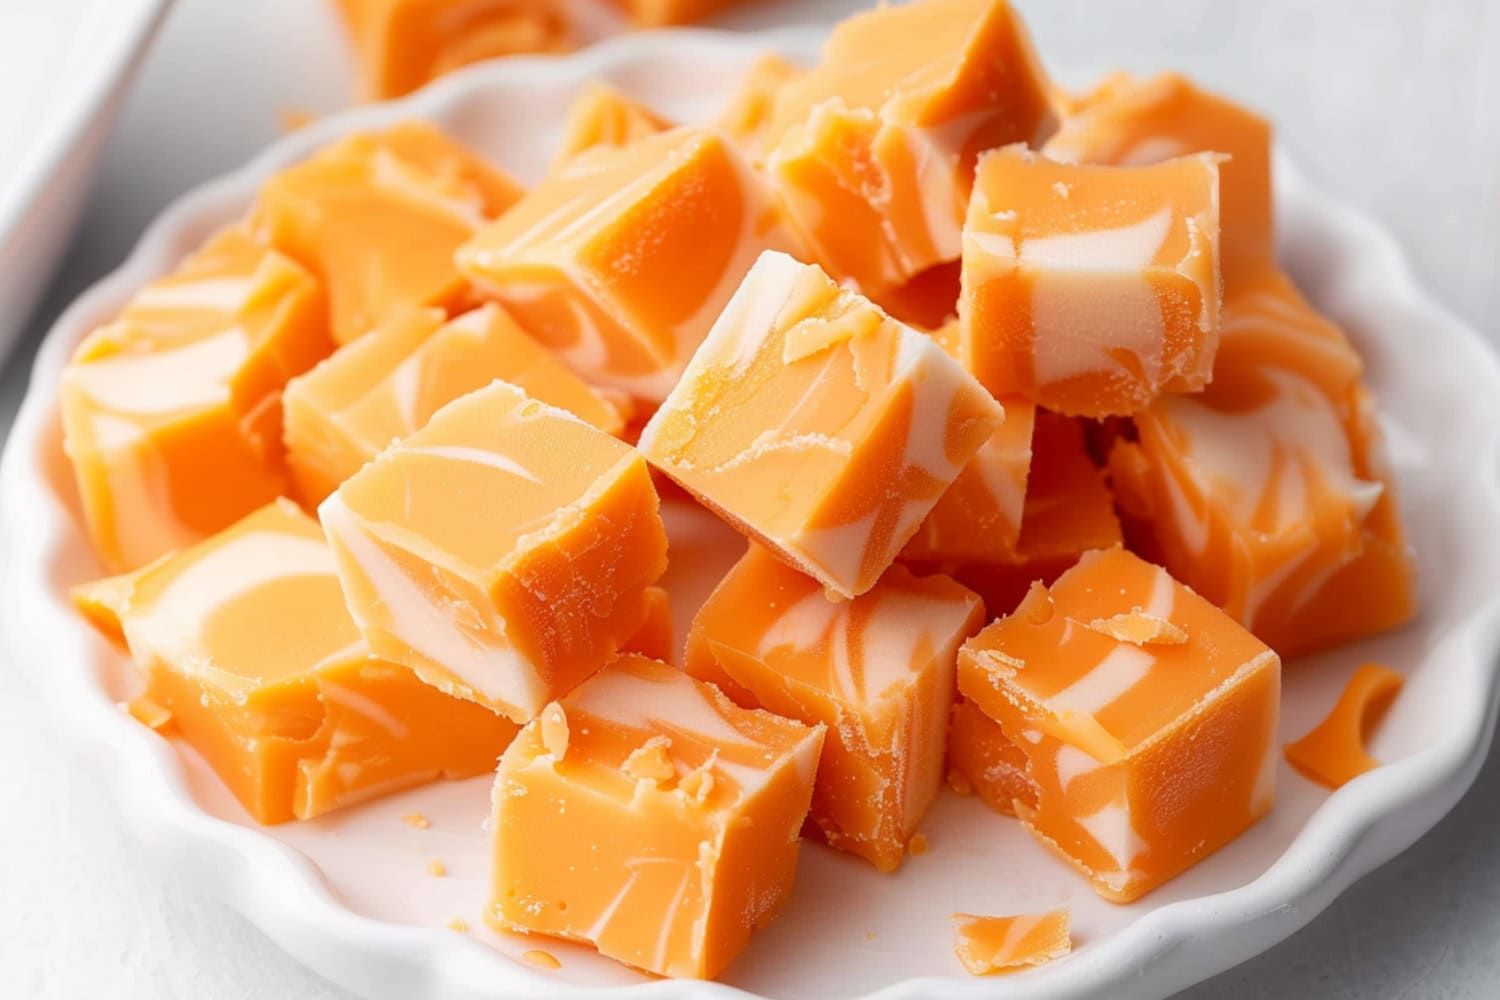
Vibrant Appearance: Adding orange food coloring creates an eye-catching treat. Plus, the marbling effect is absolutely stunning. It’s sure to stand out at any gathering, potluck, or event.
Microwave-Friendly: There’s no need for complicated cooking techniques with this fudge! It’s made entirely in the microwave, so anyone can do it!
Nostalgic Flavor: The orange and vanilla flavors will remind you of the classic creamsicle ice cream bars. They’re a taste of summer in every bite.
Ingredients
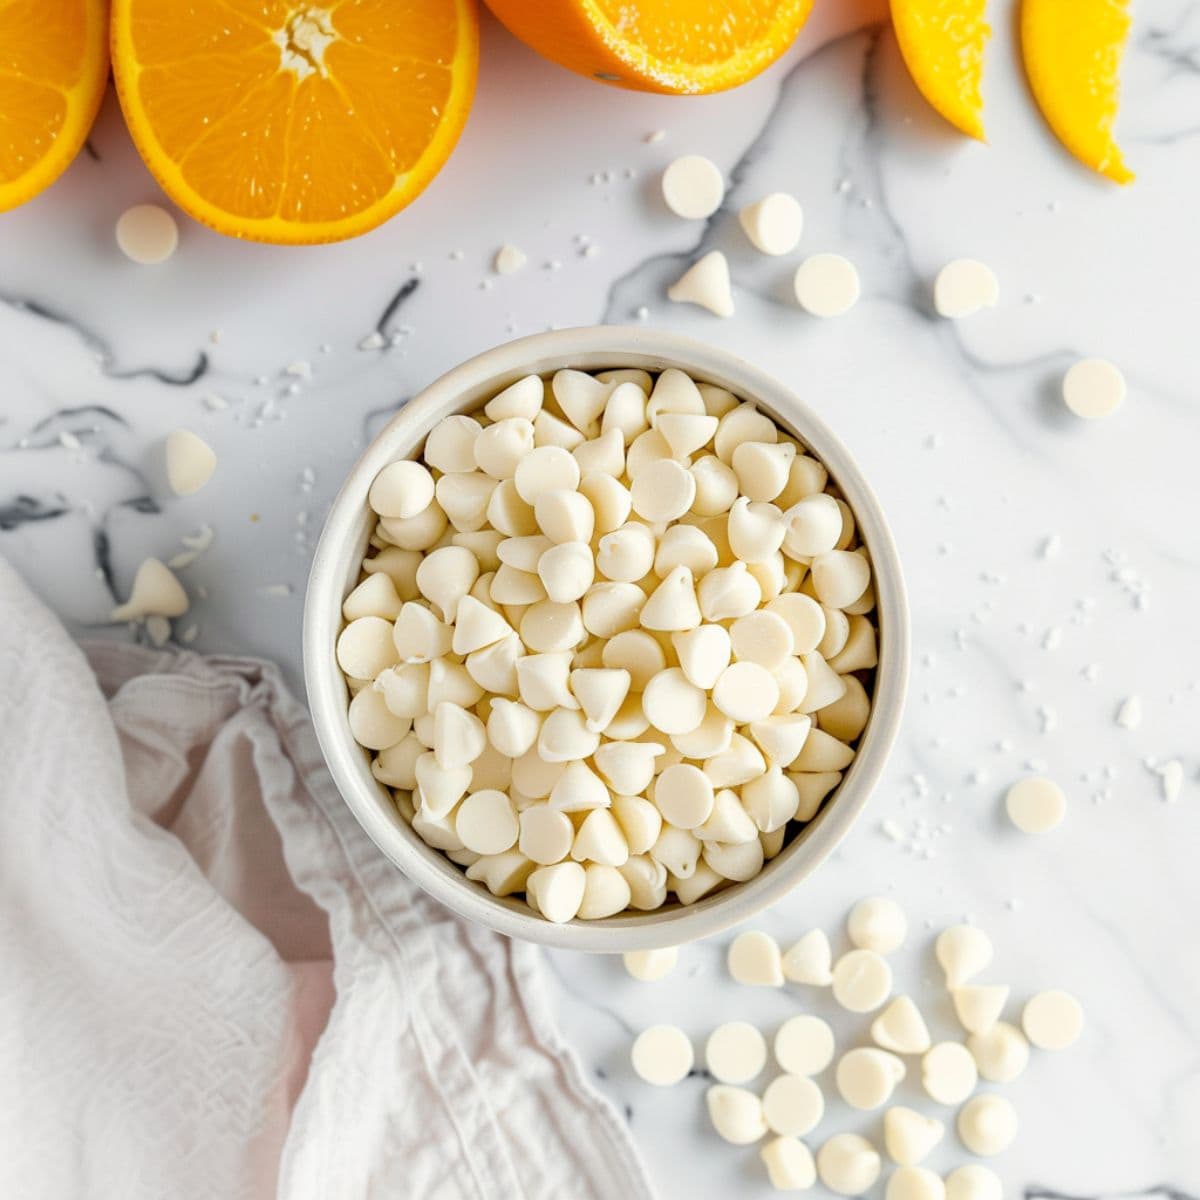
- White Chocolate Chips: Use a high-quality brand of white chocolate chips. They’ll act as the creamy base that gives the fudge its rich flavor and smooth texture.
- Vanilla Frosting: You’ll mix it in with the white chocolate chips. Together, they’ll create an easy, foolproof fudge that doesn’t need a candy thermometer.
- Orange Extract: For the bright, citrusy notes to complement the white chocolate’s sweetness.
- Orange Gel Food Coloring: Technically, this is optional. But it gives the fudge its vibrant pop of orange color.
How to Make Orange Creamsicle Fudge
Perfect for novice and experienced cooks, this recipe is straightforward and quick, making it an ideal project for a lazy afternoon.
Plus, it’s a great way to get the kids involved in the kitchen.
There are a few more steps than ingredients in this recipe. Luckily, they’re still easy to follow.
1. PREP. Line a 9×9-inch baking pan with parchment paper and lightly coat it with cooking spray.
2. MELT. Microwave the white chocolate chips and vanilla frosting in 30-second intervals, stirring well between each, until smooth.
3. SEPARATE Remove 1 cup of the mixture and set aside. Add the orange extract and orange food gel to the remaining mixture. Stir well, adding more color until you reach the desired level of brightness.
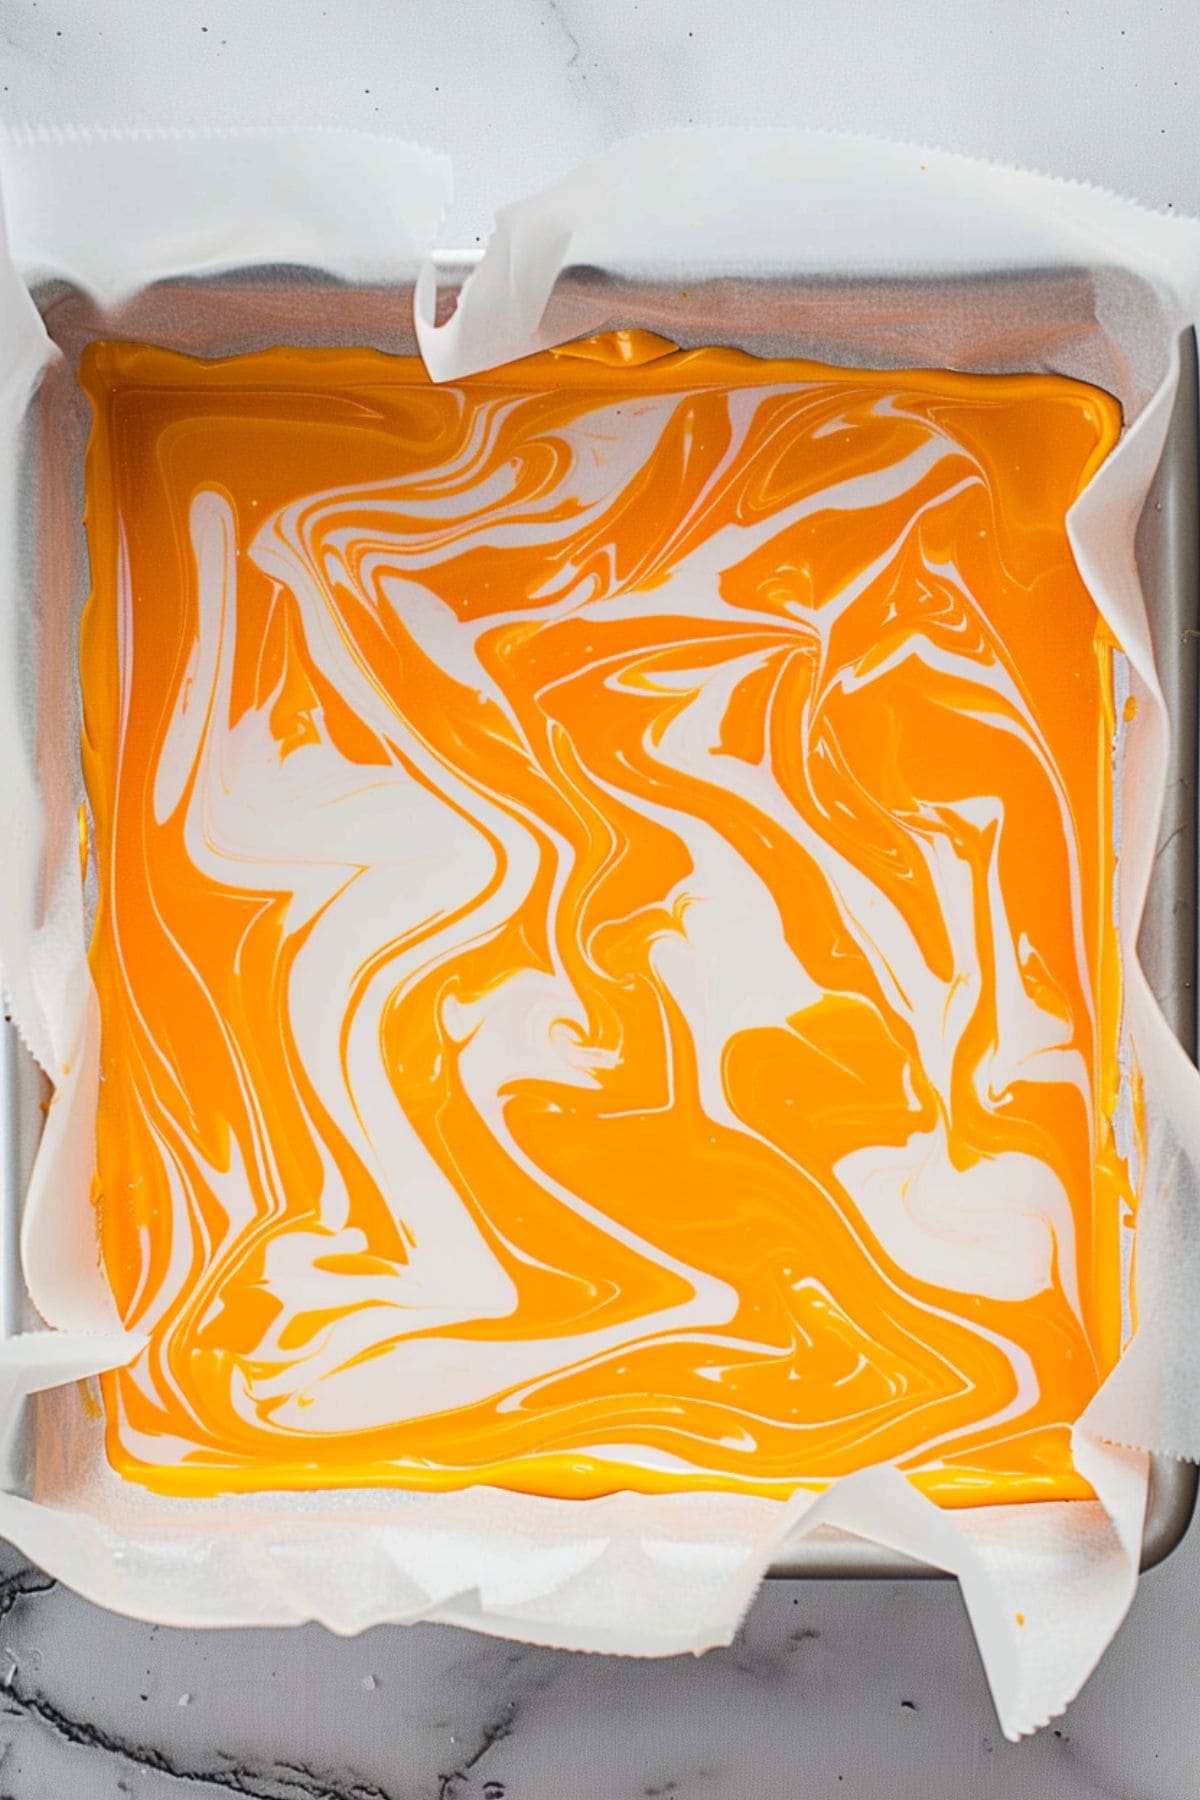
4. MARBLE. Pour the orange fudge into the pan. Then, drop spoonfuls of the reserved white mixture over the top. Use a butter knife to swirl it into the orange. Don’t overmix.
5. CHILL. Refrigerate the fudge for at least 2 hours or until set. Then, slice, serve, and enjoy!
Tips for the Best Orange Creamsicle Fudge
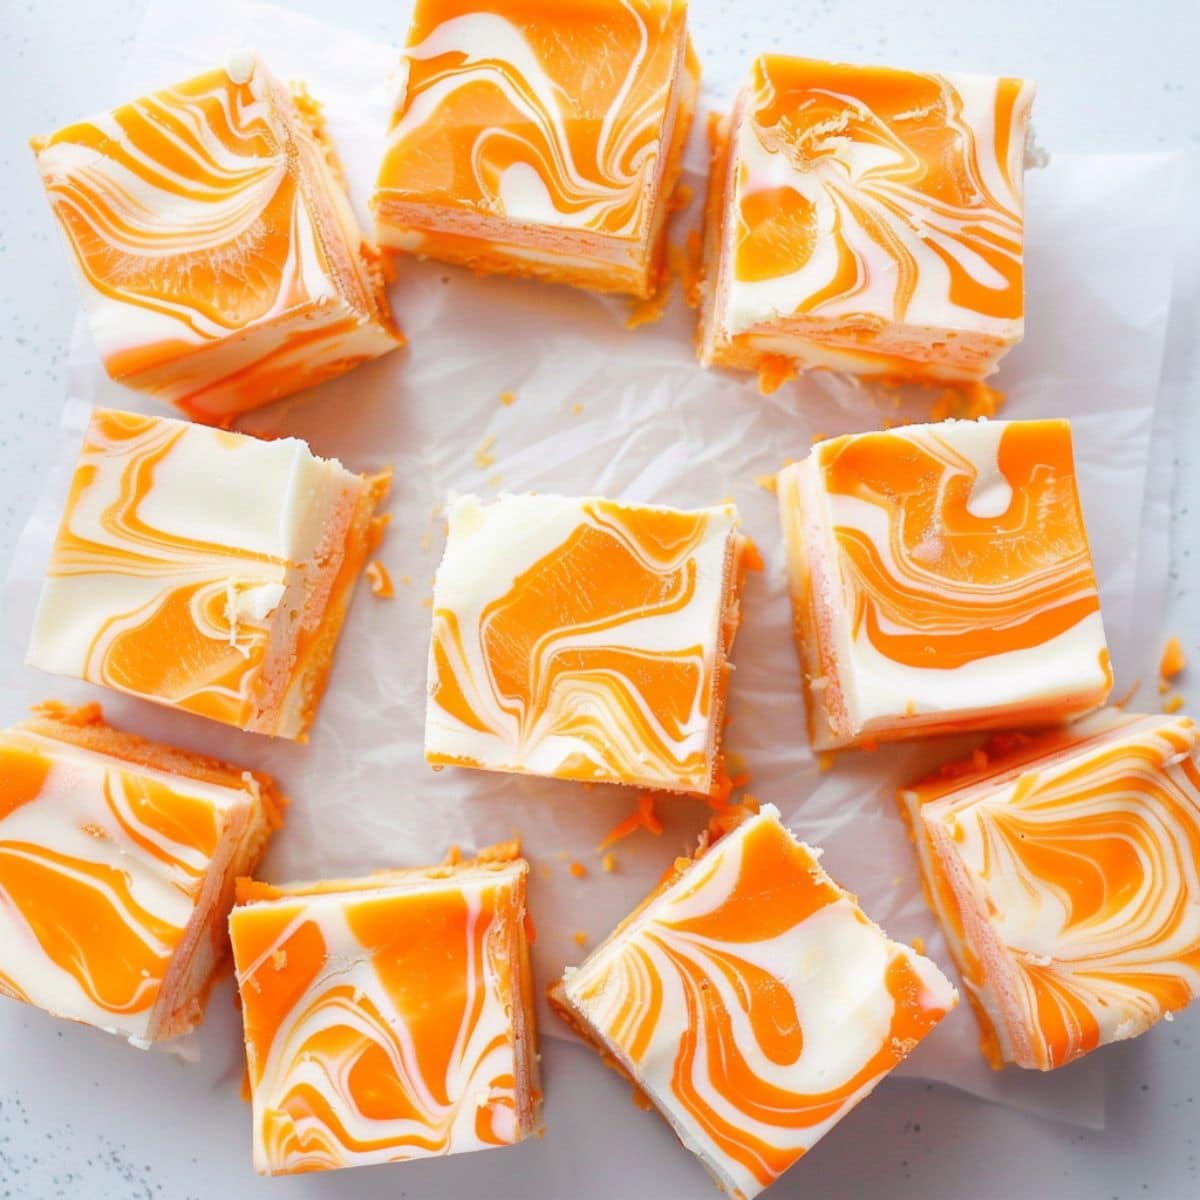
This fudge is super easy to make, and it’s perfect for sharing
Just melt, mix, swirl, and chill. In a couple of hours, you’ll have a batch of these little squares of sunshine ready to brighten up your day.
And these tips will make it even easier:
- Use high-quality ingredients. For white chocolate chips, I like Ghirardelli or Guittard. Also, select a vanilla frosting whose flavor you enjoy. (I’m a fan of Duncan Hines.)
- Don’t use liquid food coloring. Gel is thicker and won’t alter the fudge’s consistency. Liquid food coloring might keep it from setting properly.
- Leave an overhang. Tear off more parchment paper than you actually need. The overhang will act as a handle, making it easier to lift the fudge from the pan.
- For a smoother finish. Press the top of the fudge with aluminum foil before chilling it.
- Cut into small squares. Like most fudge, orange creamsicle fudge is extremely rich, so don’t cut it into too-large squares.

Variations
If you want to try something new, one of these variations is a good place to start:
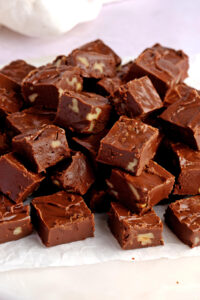
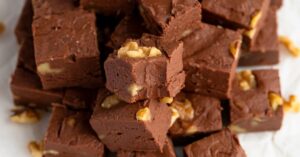
- Make it chocolatey. Add 1/2 cup of cocoa powder to the melted white chocolate mixture. Or simply use milk chocolate chips.
- For even more creamsicle flavor. Add a teaspoon of vanilla extract.
- Add a citrus flair. Mix in lemon or lime extract for a tangier twist. If you can find pineapple extract, it works well, too.
- Make it nutty. Stir in a cup of finely chopped nuts.
- Layer instead of marble. Marbling is beautiful, but it’s not the only way to make this fudge. Instead, you can do alternating layers of orange and white. Just reserve about half of the melted mixture before adding the food gel.
- Make it richer. Adding 4 ounces of cream cheese to the mixture will really dial up the richness. It also gives the fudge a slightly tangy finish.
How to Store
Whether you’re hosting a summer party, looking for a unique gift, or simply craving something sweet, this orange creamsicle fudge is sure to impress.
But remember, fudge needs to stay cool. Otherwise, it will become too soft.
To Store: Place the fudge in an airtight container and refrigerate for up to 2 weeks.
To Freeze: Wrap the entire block of fudge in plastic wrap. Then, place it in a freezer-safe, airtight container for up to 3 months. Let thaw in the fridge overnight before serving.
More Fudge Recipes to Try
Oreo Fudge
Marshmallow Fluff Fudge
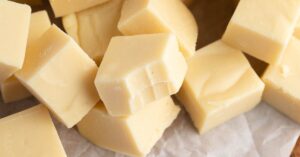
White Chocolate Fudge
Christmas Cookie Fudge

Orange Creamsicle Fudge
24
servings10
minutes2
minutes205
kcalThis dreamy 4-ingredient orange creamsicle fudge melts in your mouth, delivering a burst of citrusy goodness followed by a smooth, vanilla finish.
Ingredients
2 1/2 cups white chocolate chips (about 20 ounces)
1 (16-ounce) can vanilla frosting
1 teaspoon orange extract
orange gel food coloring
Instructions
- Line a 9×9-inch baking pan with parchment paper. Lightly grease the lining and set aside.
- In a large microwave-safe bowl, combine the white chocolate chips and vanilla frosting. Microwave on high in 30-second intervals, stirring well between each interval, until the mixture is completely melted and smooth. This should take about 90 seconds in total.
- Remove 1 cup of the melted white chocolate mixture to a separate bowl and set aside.
- To the remaining mixture, add the orange extract and a small amount of orange gel food coloring. Start with just a couple of drops and stir well. Add more coloring a little at a time until you reach a bright, creamsicle orange color.
- Pour the orange fudge mixture into the prepared pan and spread into an even layer.
- Drop spoonfuls of the reserved white chocolate mixture over the top of the orange layer. Use a butter knife to gently swirl the white into the orange, creating a marbled effect. Don’t overmix.
- Refrigerate the fudge for at least 2 hours, or until completely set.
- Use the parchment to lift the fudge from the pan and cut into small squares. Serve and enjoy!
Notes
- Avoid using white chocolate coating or candy melts.
- Let the fudge set completely before cutting for cleaner slices. Use a large sharp knife, and wipe the blade between cuts.