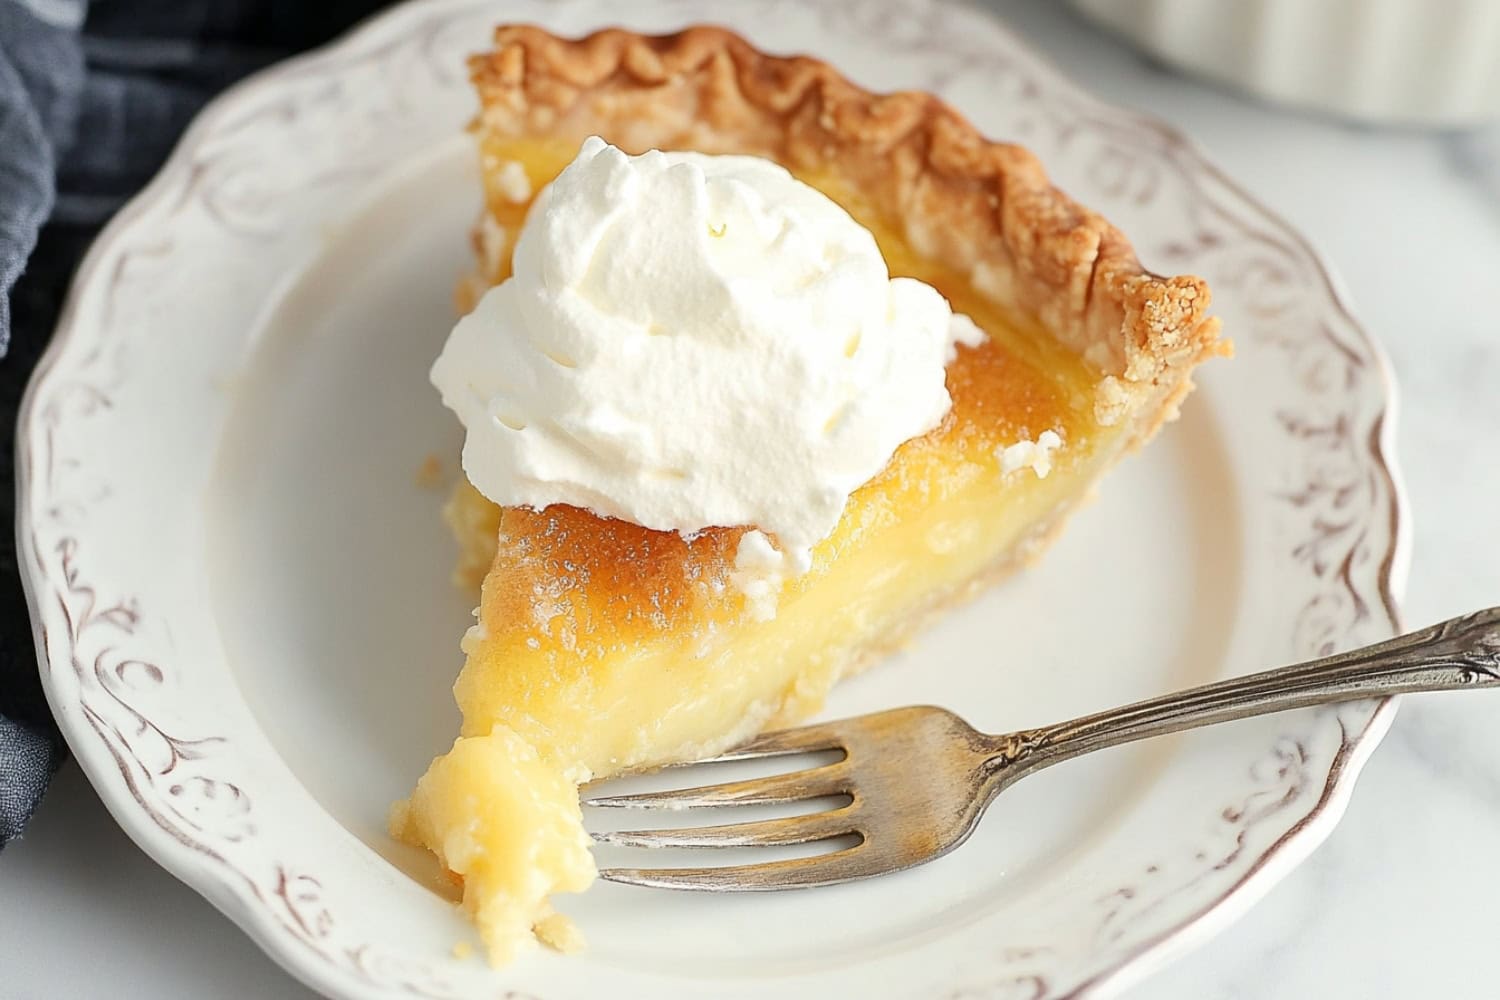
Discover a slice of American history with this old fashioned vinegar pie!
It’s a hidden gem from the Depression era when folks had to get creative with pantry staples.
But don’t let the name fool you – this pie is surprisingly sweet and custardy, with just a hint of tang!
The vinegar adds depth and complexity, balancing perfectly with the warm notes of cinnamon.
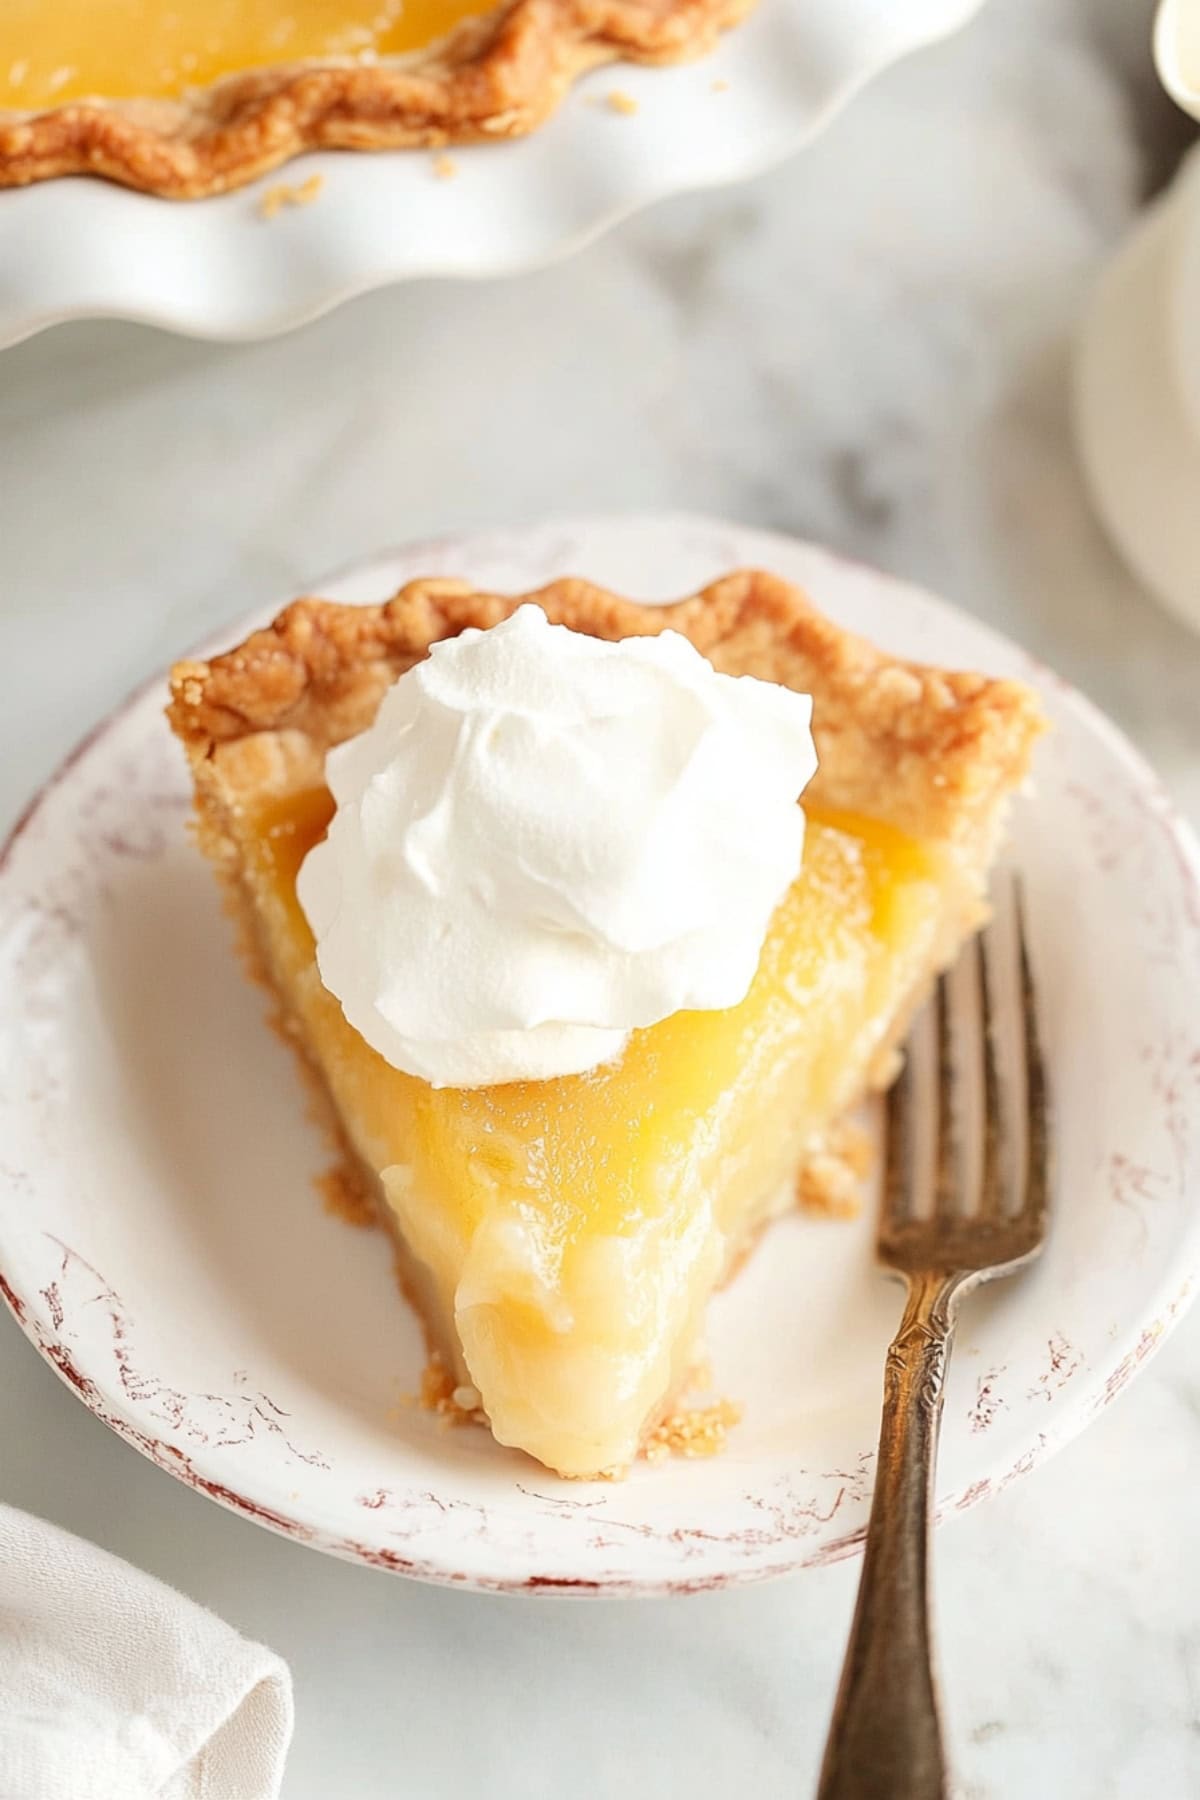
What Is Vinegar Pie?
Vinegar pie might sound a little unusual at first, but…
It’s a delightful, old-fashioned dessert that dates back to pioneer days when fresh fruit was hard to come by.
It’s a simple, comforting treat with a surprising twist—and trust me, one bite will make you a believer!
What Does Vinegar Pie Taste Like?
Vinegar pie has a surprisingly balanced flavor!
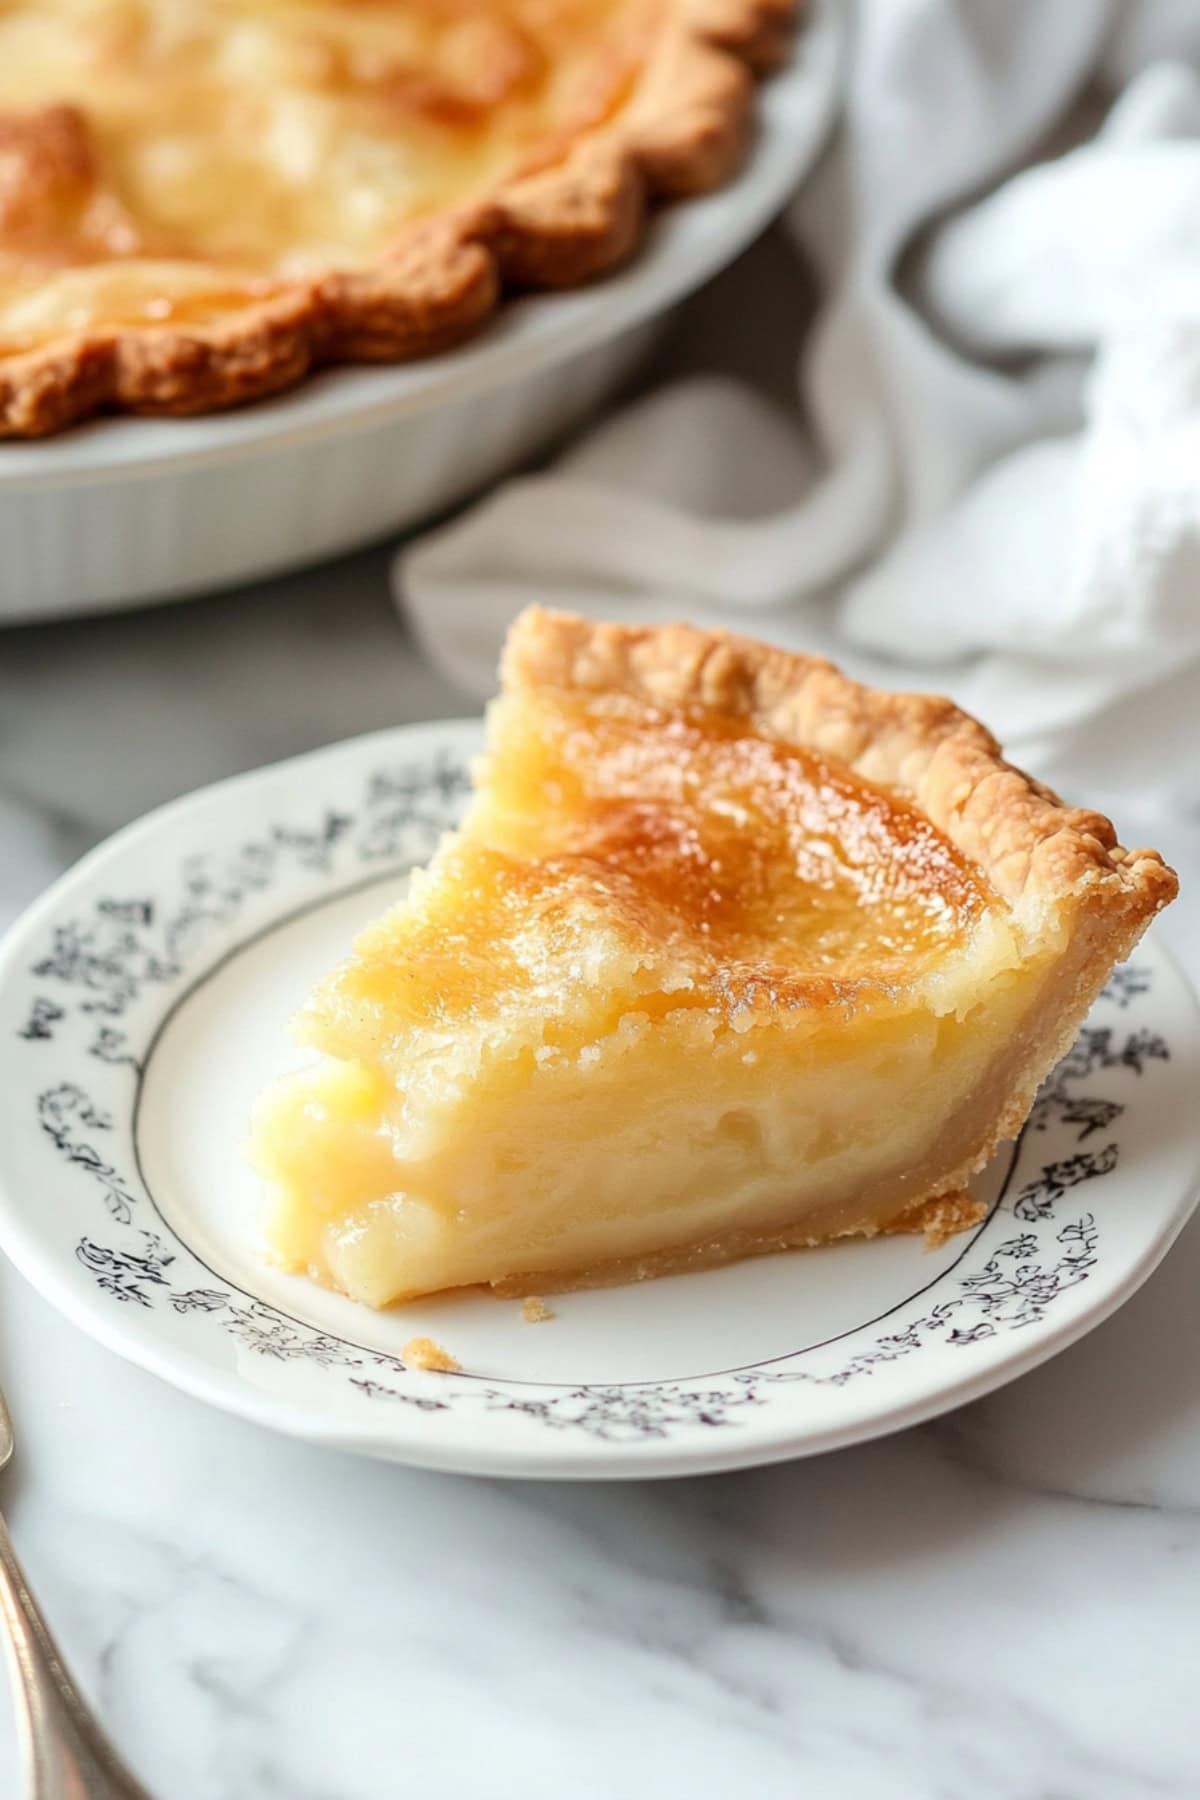
The tangy vinegar gives it a hint of tartness, but it’s mellowed out by the sweetness of the sugar, creating a deliciously smooth, custard-like filling.
Think of it as a cross between a lemon pie and a creamy custard, with a subtle kick that keeps you coming back for more.
It’s sweet, tangy, and totally unexpected—in the best way!
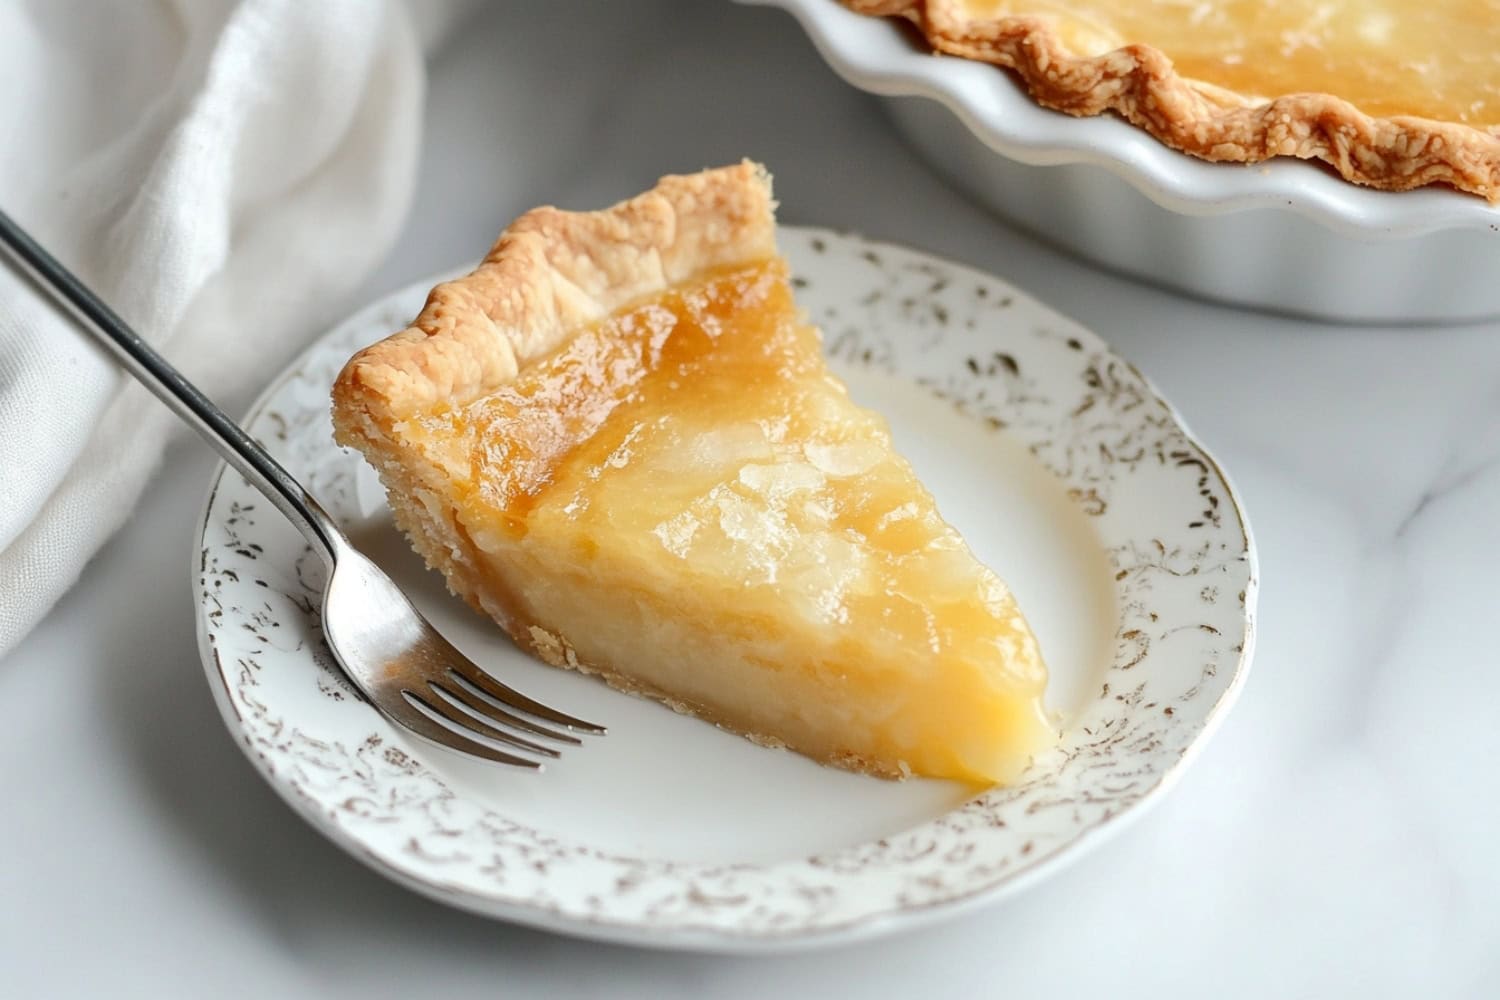
Why You’ll Love This Old Fashioned Vinegar Pie
Simple Ingredients: This recipe uses basic pantry staples like sugar, eggs, and butter, making it accessible for bakers of all skill levels.
Silky Texture: The custard-like filling provides a smooth, silky texture, complemented by a slightly crunchy top.
Quick & Easy: You don’t need to mess around with tempering eggs. Just whisk the filling and bake!
Ingredients
- Pie crust: The foundation of this pie, offering a buttery, flaky base for the tangy filling.
- Large eggs: They bind the ingredients and give the filling its custard-like texture.
- Granulated sugar: Sweetens the pie and balances the tartness of the vinegar.
- Apple cider or white vinegar: Adds a unique tangy flavor that gives this pie its signature taste.
- Unsalted butter: Provides richness and a smooth, melt-in-your-mouth texture.
- All-purpose flour: Thickens the filling just enough to set perfectly.
- Seasonings: A touch of salt enhances the flavors, while cinnamon adds a hint of warmth.
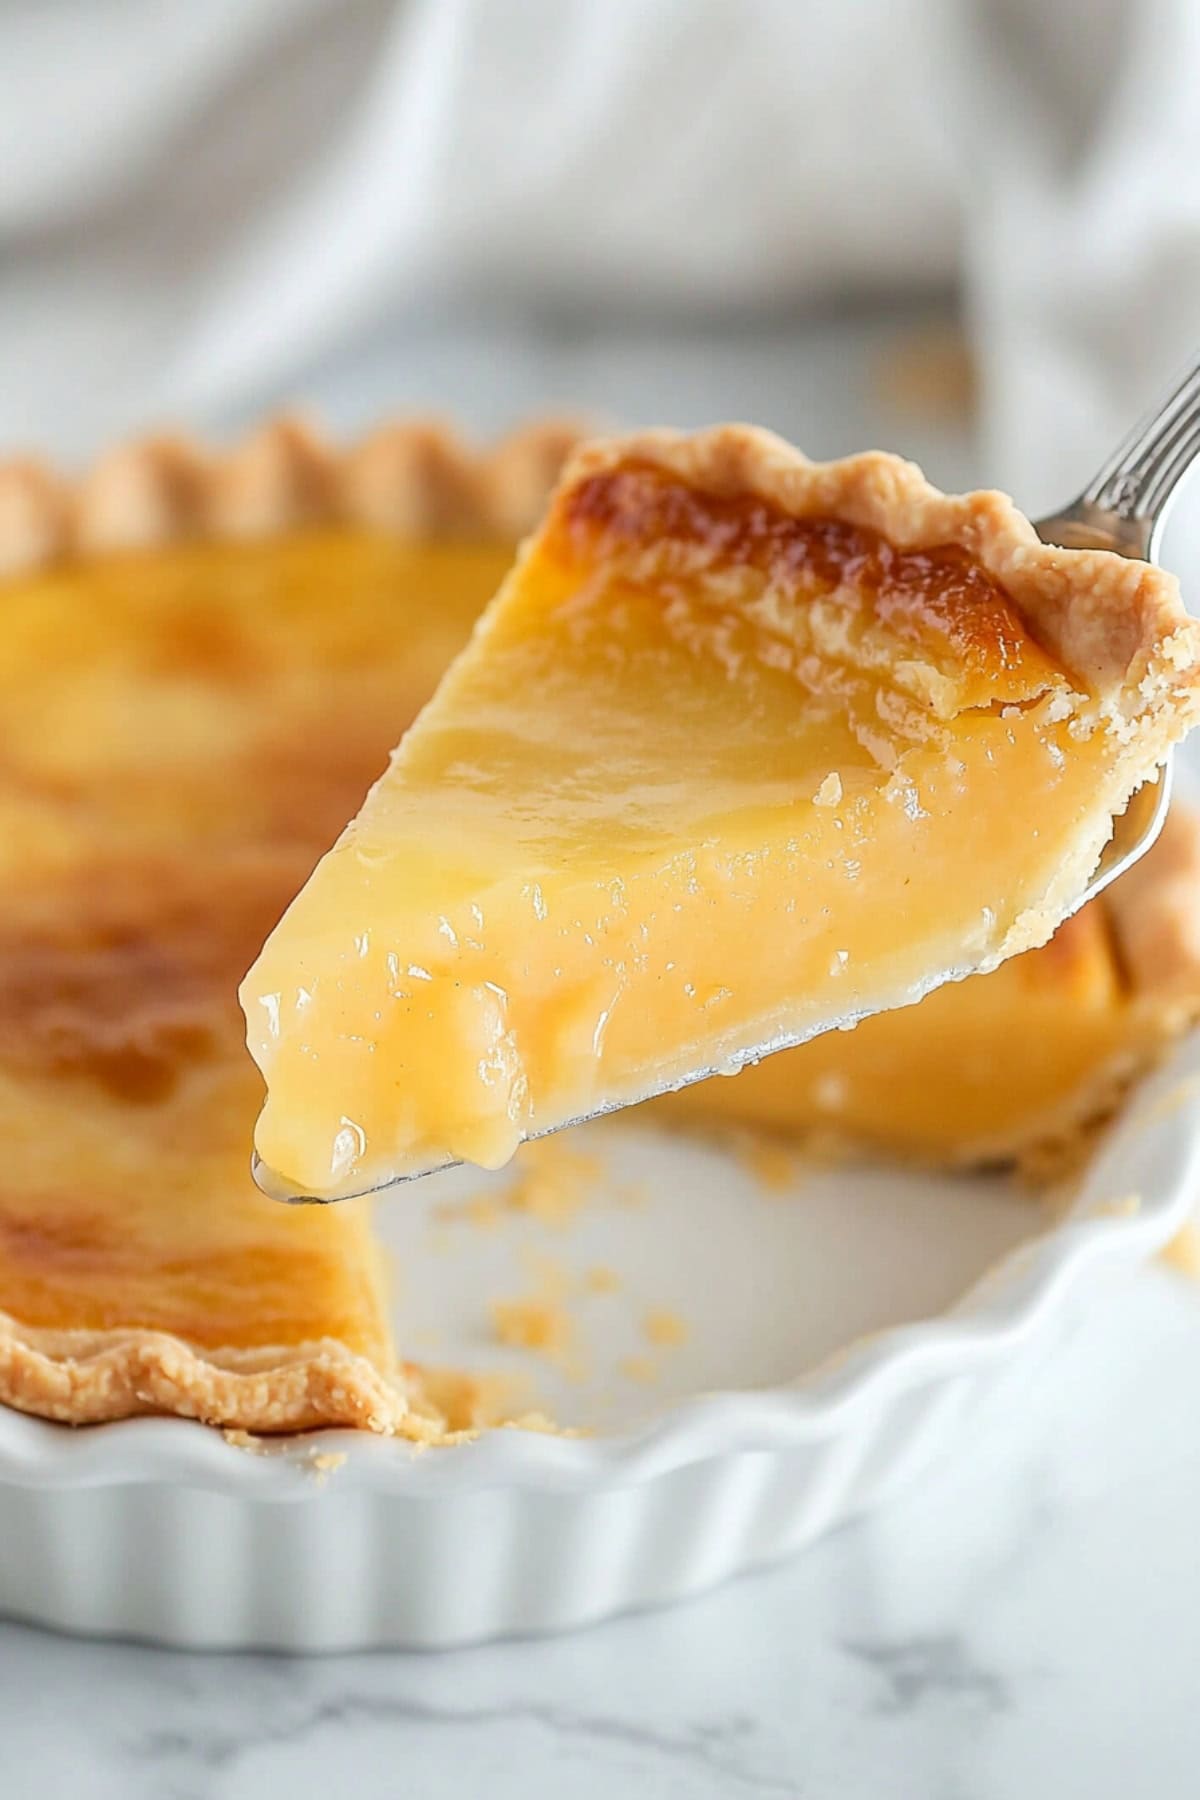
How to Make Old Fashioned Vinegar Pie
As far as recipes originating from the pioneer days go, this humble dessert has stood the test of time.
And it’s a cinch to recreate.
1. Par-bake: Preheat the oven to 350°F and par-bake the crust with parchment paper and dried beans for 10 minutes. Remove the paper and beans, then bake for another 5 minutes until dried. Set aside to cool and increase the oven temperature to 400°F.
2. Whisk: In a large bowl, whisk the eggs and sugar until smooth. Blend in the vinegar, salt, melted butter, flour, and cinnamon. Strain into the pie crust.
3. Bake: Bake at 400°F for 10 minutes, then reduce to 350°F and bake for 35–40 minutes until set. cool completely on a wire rack.
4. Serve: Dust with powdered sugar, slice, and serve with whipped cream. Enjoy!
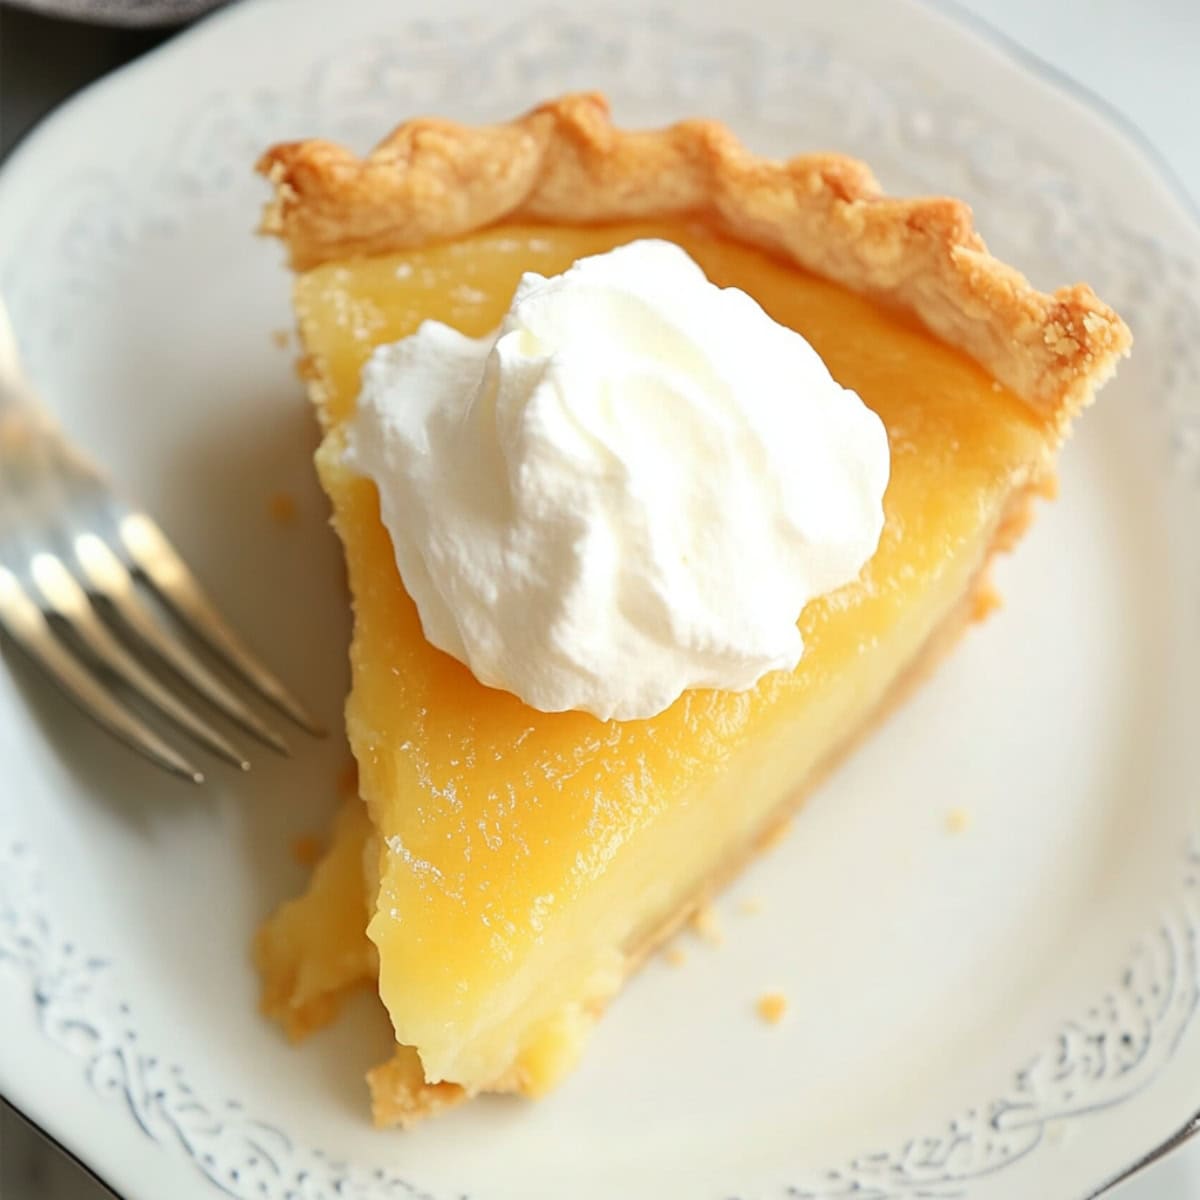
Tips for The Best Old Fashioned Vinegar Pie
Are you a history buff, a culinary adventurer, or looking for a unique dessert to impress your guests?
This vinegar pie is sure to spark conversation and delight taste buds.
Check out these tips to ensure it comes out just right.
- Vinegar choice. Use apple cider vinegar for a subtle flavor or white vinegar for a cleaner taste; both work well, but preferences may vary.
- Skip the par-bake. I recommend you par-bake to be safe. But if you prefer, you can warm a baking tray in the oven as it preheats. Then, bake the pie on the hot tray to keep the bottom from becoming soggy.
- Mix the dry ingredients. Whisk sugar, flour, cinnamon, and salt together to evenly distribute the spices and prevent the filling from clumping.
- Gradual mixing. Gradually whisk the dry ingredients into the wet mixture to avoid lumps and ensure a smooth filling. I also like to strain it to be sure it’s smooth.
- Baking temperature. Start baking at a higher temperature (400°F) to set the top crust, then lower it to 350°F for even cooking of the filling.
- Check doneness. The pie is done when the filling is set and no longer jiggly in the center; a slight jiggle is okay, as it will firm up while cooling.
How to Store
I love how this recipe connects me to the resourcefulness of our ancestors.
It’s a reminder that deliciousness can come from the simplest ingredients!
Got leftovers? I’ve got you covered:
To store: Place the cooled pie in an airtight container or cover it loosely with plastic wrap or foil. Refrigerate for 3-4 days.
To freeze: Wrap the completely cooled pie tightly in plastic wrap and aluminum foil and freeze for up to 3 months. Thaw overnight in the refrigerator before serving.

