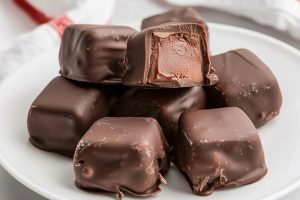
Martha Washington candy is a classic, no-fail treat!
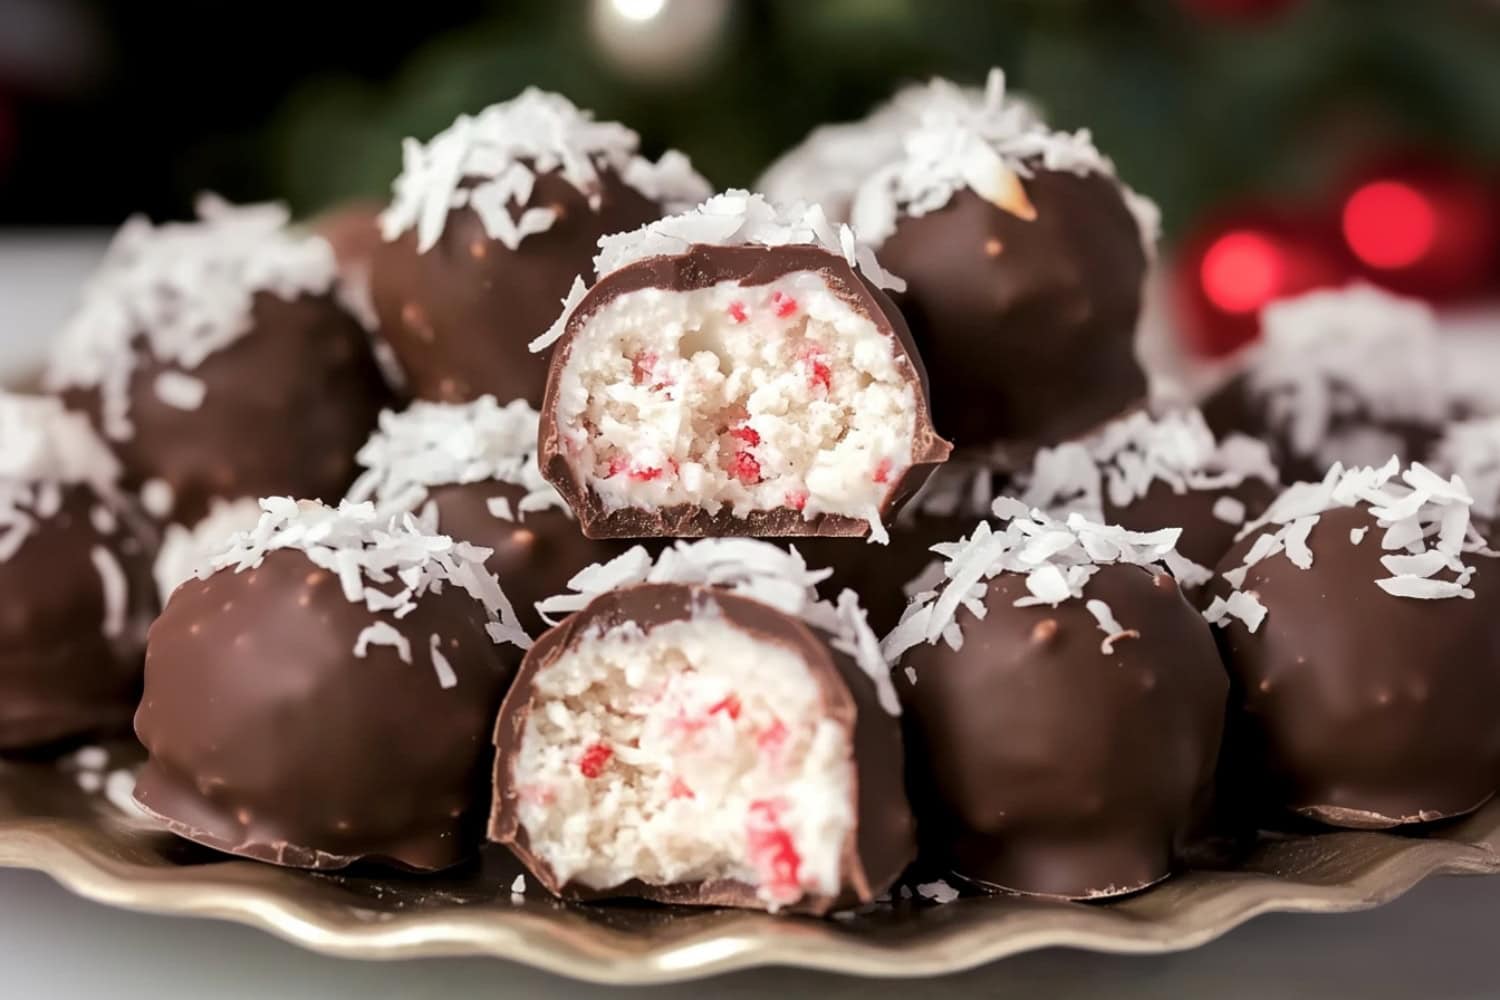
It’s a cherished Southern confection filled with coconut, pecans, and cherries, all dipped in rich, velvety chocolate.
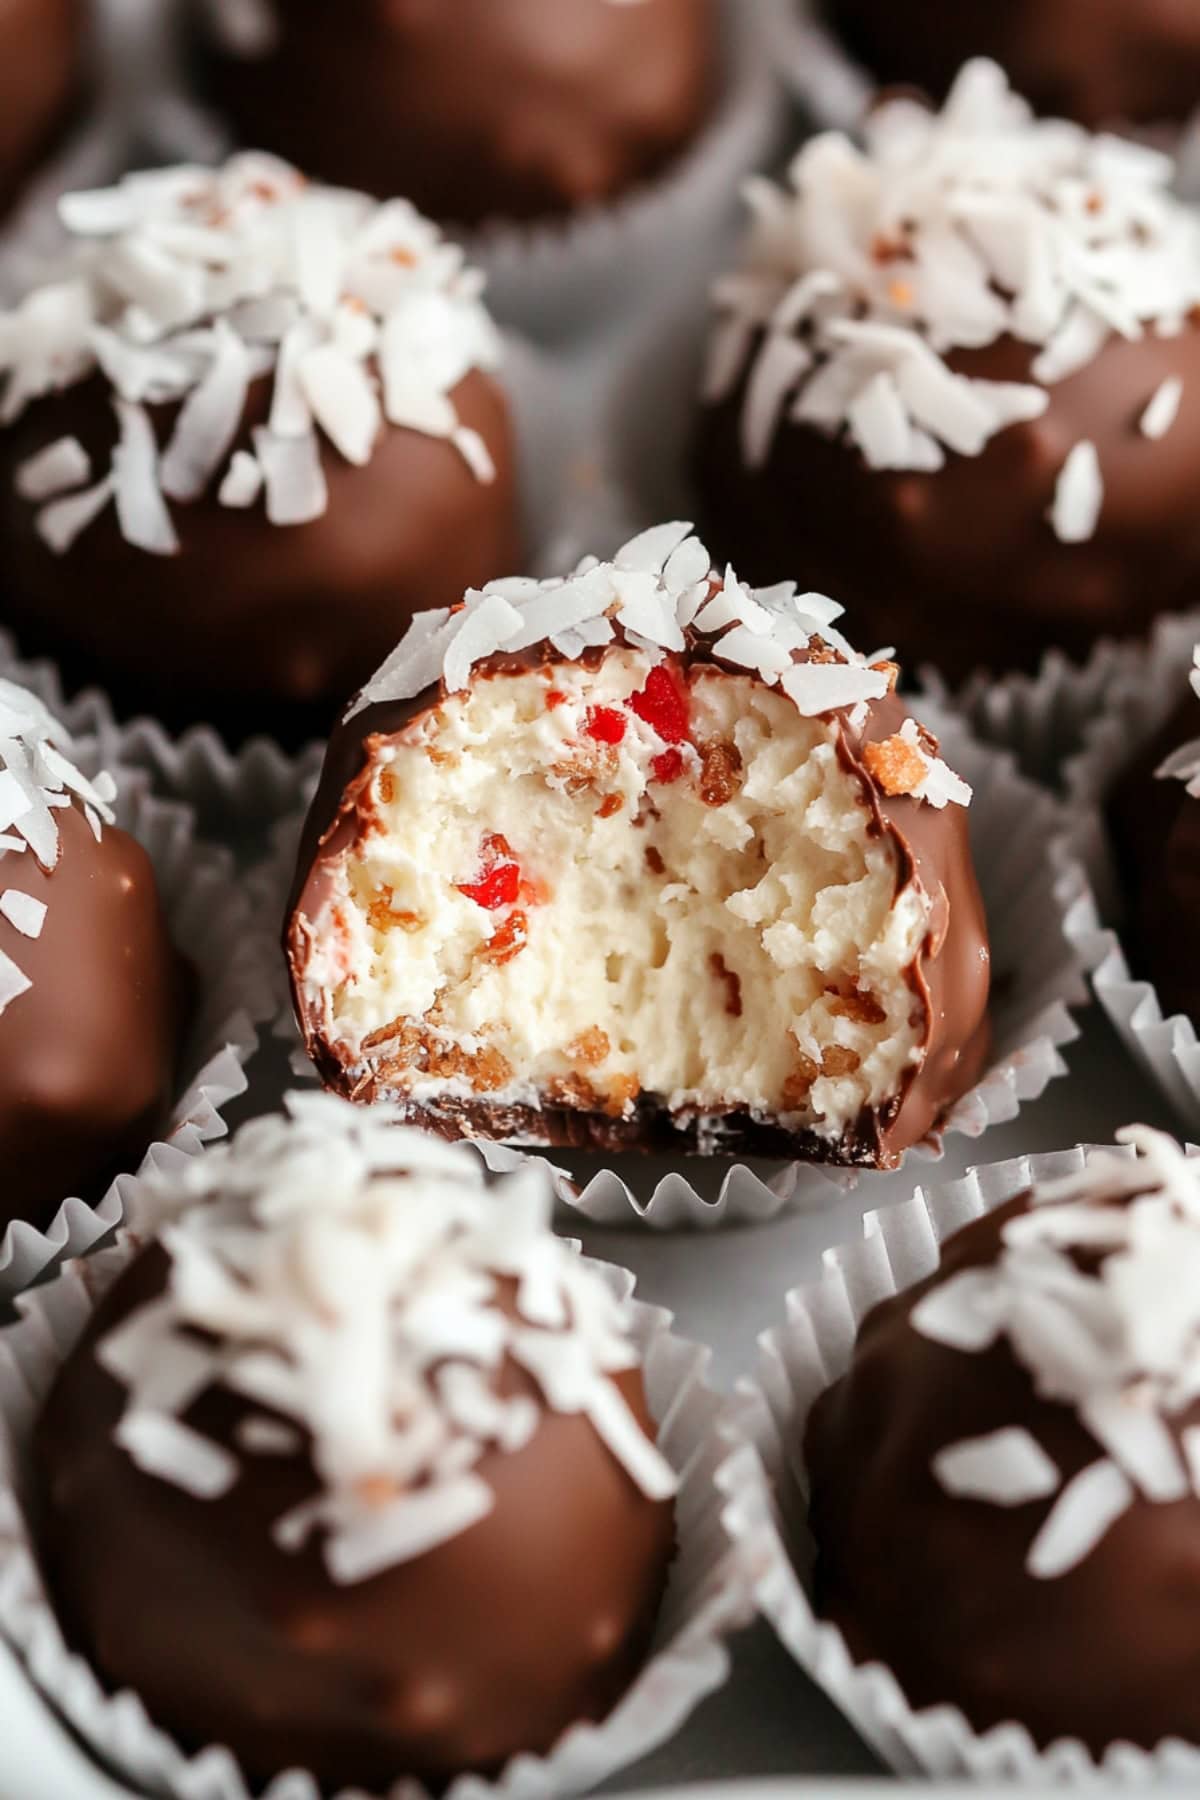
Perfect for gifting or indulging, these homemade candies are festive and delicious.
And they’re named after America’s first First Lady, so you know they’re classy, too.
Why You’ll Love This Martha Washington Candy
Party Perfect: These bite-sized treats are ideal for parties and gatherings. They offer an elegant, portable dessert option, sure to impress guests.
Nostalgic Treat: This candy is a beloved classic that evokes warm memories of family gatherings. It’s an easy way to recreate cherished childhood experiences. (Or start new family traditions!)
Taste Sensation: The creamy coconut filling and crunchy pecans pair nicely with the sweet cherries. The rich chocolate creates a multi-layered taste to delight any palate.
Why Is It Called Martha Washington Candy?
Many say this candy got its name because Martha Washington actually made it for Christmas every year.
Truthfully, however, the candy takes its name from the company that made it famous: The Martha Washington Candies Company.
Still, there’s no denying the first First Lady is the inspiration behind the name one way or another.
Ingredients
- Butter: The rich, creamy base. It provides structure and holds everything together.
- Powdered Sugar: For sweetness, a smooth texture, and easy rolling.
- Sweetened Condensed Milk: It gives the candy its signature “fudgy” texture. It also adds sweetness and smooths the filling.
- Sweetened Coconut Flakes: For a unique texture and a hint of tropical flavor. They’re essential for creating a chewy interior.
- Vanilla Extract: It adds a layer of depth and enhances the candies’ overall flavor.
- Pecans: A traditional element of Southern candy-making! They provide a satisfying crunch and a rich, nutty taste. Toast them first to bring out their full flavor.
- Maraschino Cherries: They add bursts of sweet, fruity flavor and a vibrant red color.
- Semisweet Chocolate Chips: Melt them with coconut oil to form the outer chocolate candy shell. They’re rich and chocolatey without being overwhelming.
- Coconut Oil: Thins the chocolate and gives it a nice, glossy finish.
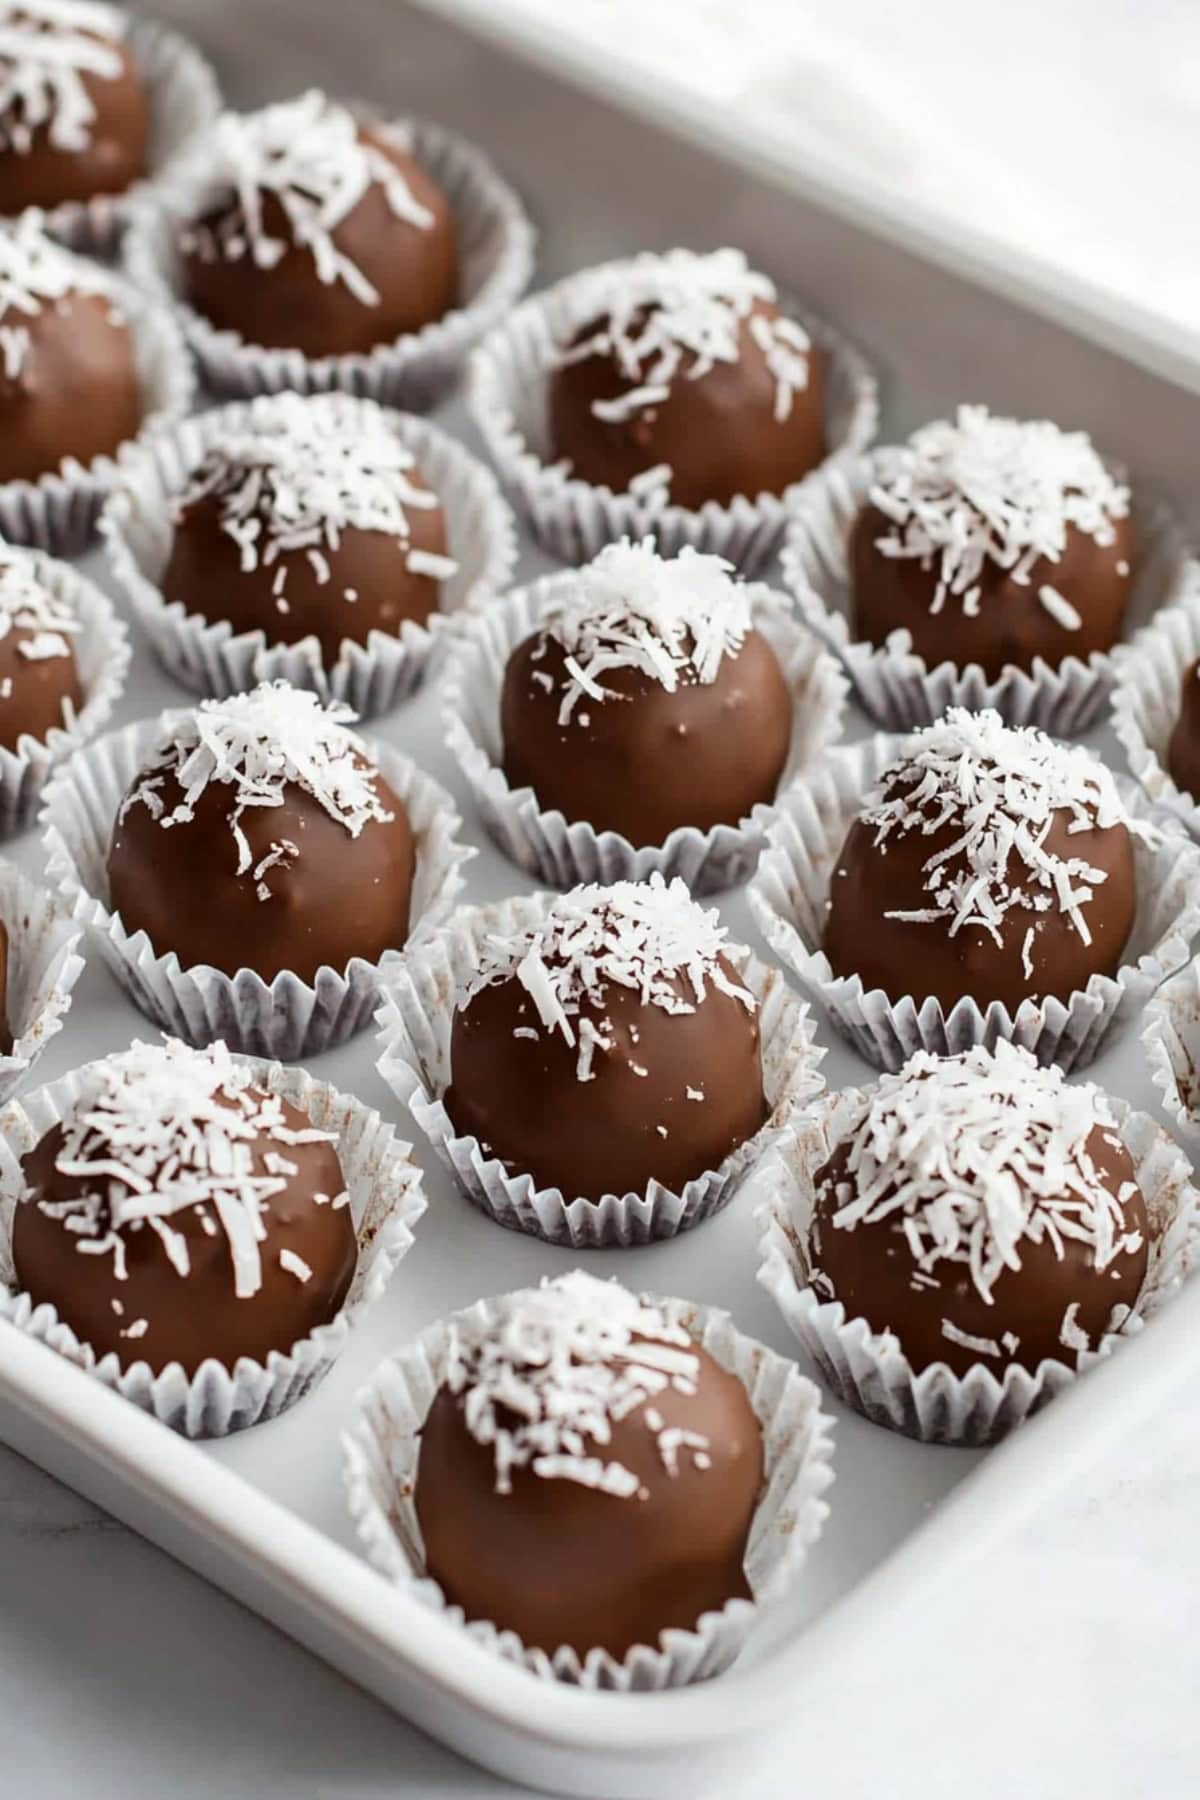
How to Make Martha Washington Candy
In terms of Christmas candy recipes, this is one of the easier ones to make. You won’t need any special equipment or even a candy thermometer. Easy peasy!
1. Prepare the butter. Beat the softened butter in a large mixing bowl until creamy. Slowly mix in the powdered sugar a cup at a time until fully combined. Then, add in the sweetened condensed milk and vanilla, mixing until smooth.
2. Incorporate add-ins. Fold in the coconut flakes, chopped toasted pecans, and chopped cherries. Mix well, then cover the bowl in plastic wrap and chill for 2 to 3 hours until firm.
3. Shape. Line a baking sheet with parchment paper and roll tablespoons of the mixture into balls. Place them on the baking sheet and freeze for at least 1 hour.
4. Prepare the coating. Add the chocolate chips and coconut oil to a microwave-safe bowl. Microwave in 20- to 30-second intervals, stirring between each, until fully melted.
5. Dip. Dip each frozen candy ball into the melted chocolate with a fork or candy dipping tool. Return them to the baking sheet after letting excess chocolate drip off.
6. Set and serve. Let the candies sit at room temperature until the chocolate sets fully. Then, serve and enjoy!
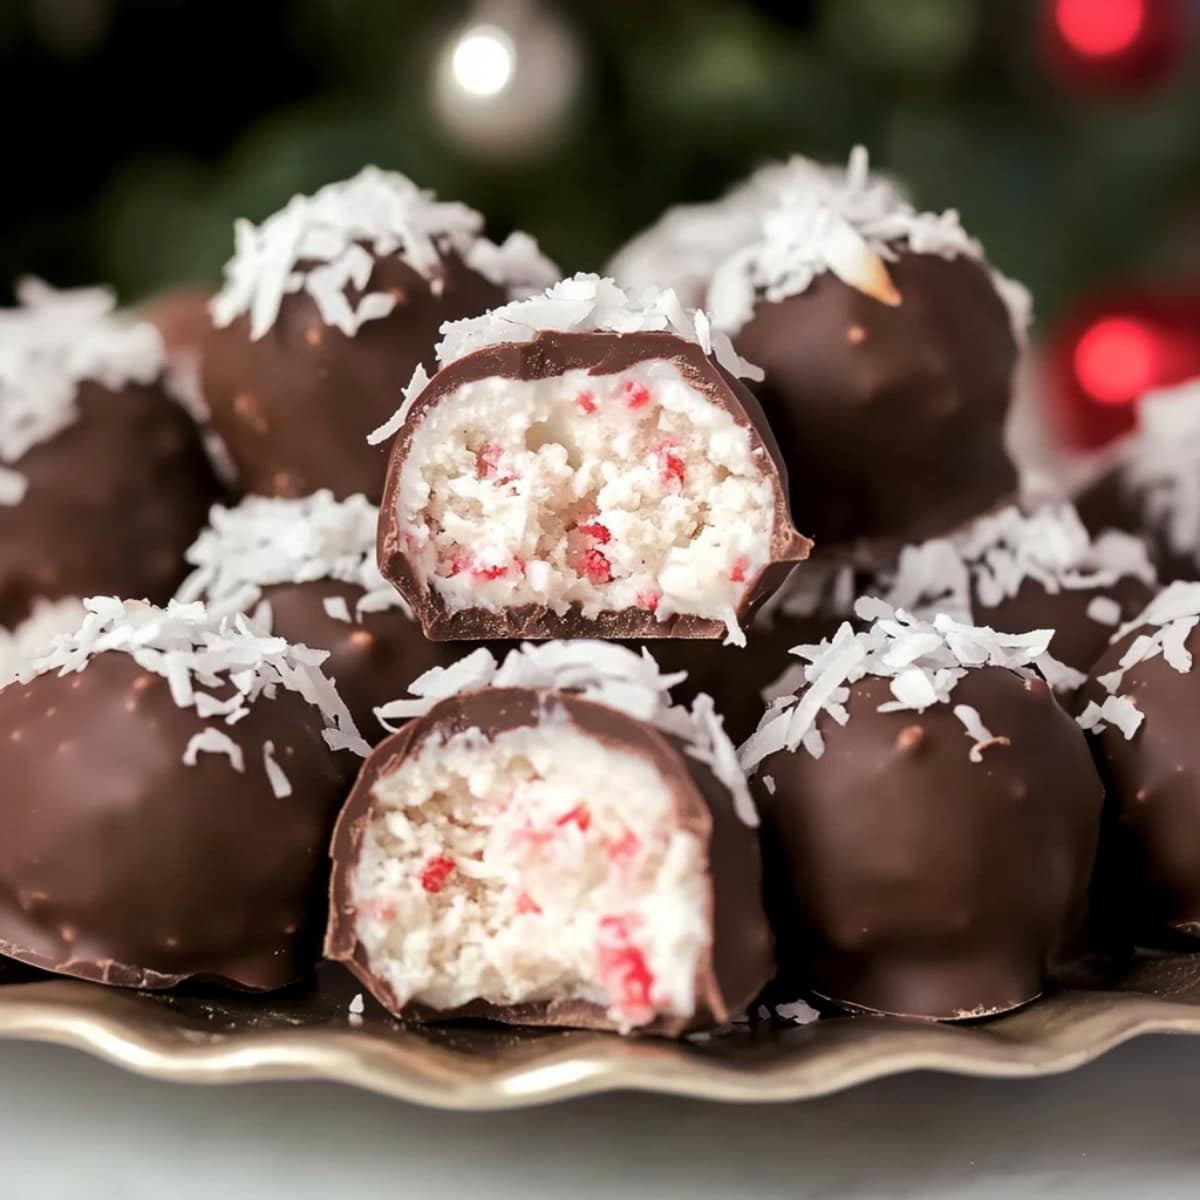
Tips for the Best Martha Washington Candy
My family has made Martha Washington candy for years. So, we’ve gathered several tips and best practices along the way.
- Room-temperature butter is key. It should be well softened but not melted. Room-temperature butter provides smooth mixing and creamy texture.
- Don’t skip the sifting. Don’t just dump the sugar into the bowl. Sifting it beforehand will prevent lumps and ensure a silky-smooth texture.
- Get the nuts toasty. Pop them in a 350-degree oven for 8 to 10 minutes, stirring once halfway through. You’ll know they’re ready when they’re nice and fragrant.
- Ditch the liquid. Drain the cherries well, then pat them dry with paper towels. This will prevent excess moisture from affecting the candy mixture’s texture.
- Keep things uniform. Ensuring the balls are all the same size will make them look more professional and appealing. The easiest way to do that is with a 1-tablespoon cookie scoop.
- Keep a watchful eye. When heating the chocolate and coconut oil, do so in short intervals. Keep an eye on it while it’s heating to prevent scorching and burning. Be sure to stir between each 20- to 30-second interval, as well.
- Don’t refrigerate too soon! Never refrigerate chocolate-covered candies until completely set at room temperature. If you chill them too soon, the chocolate will “bloom” (develop a whitish coating or discoloration on its surface).
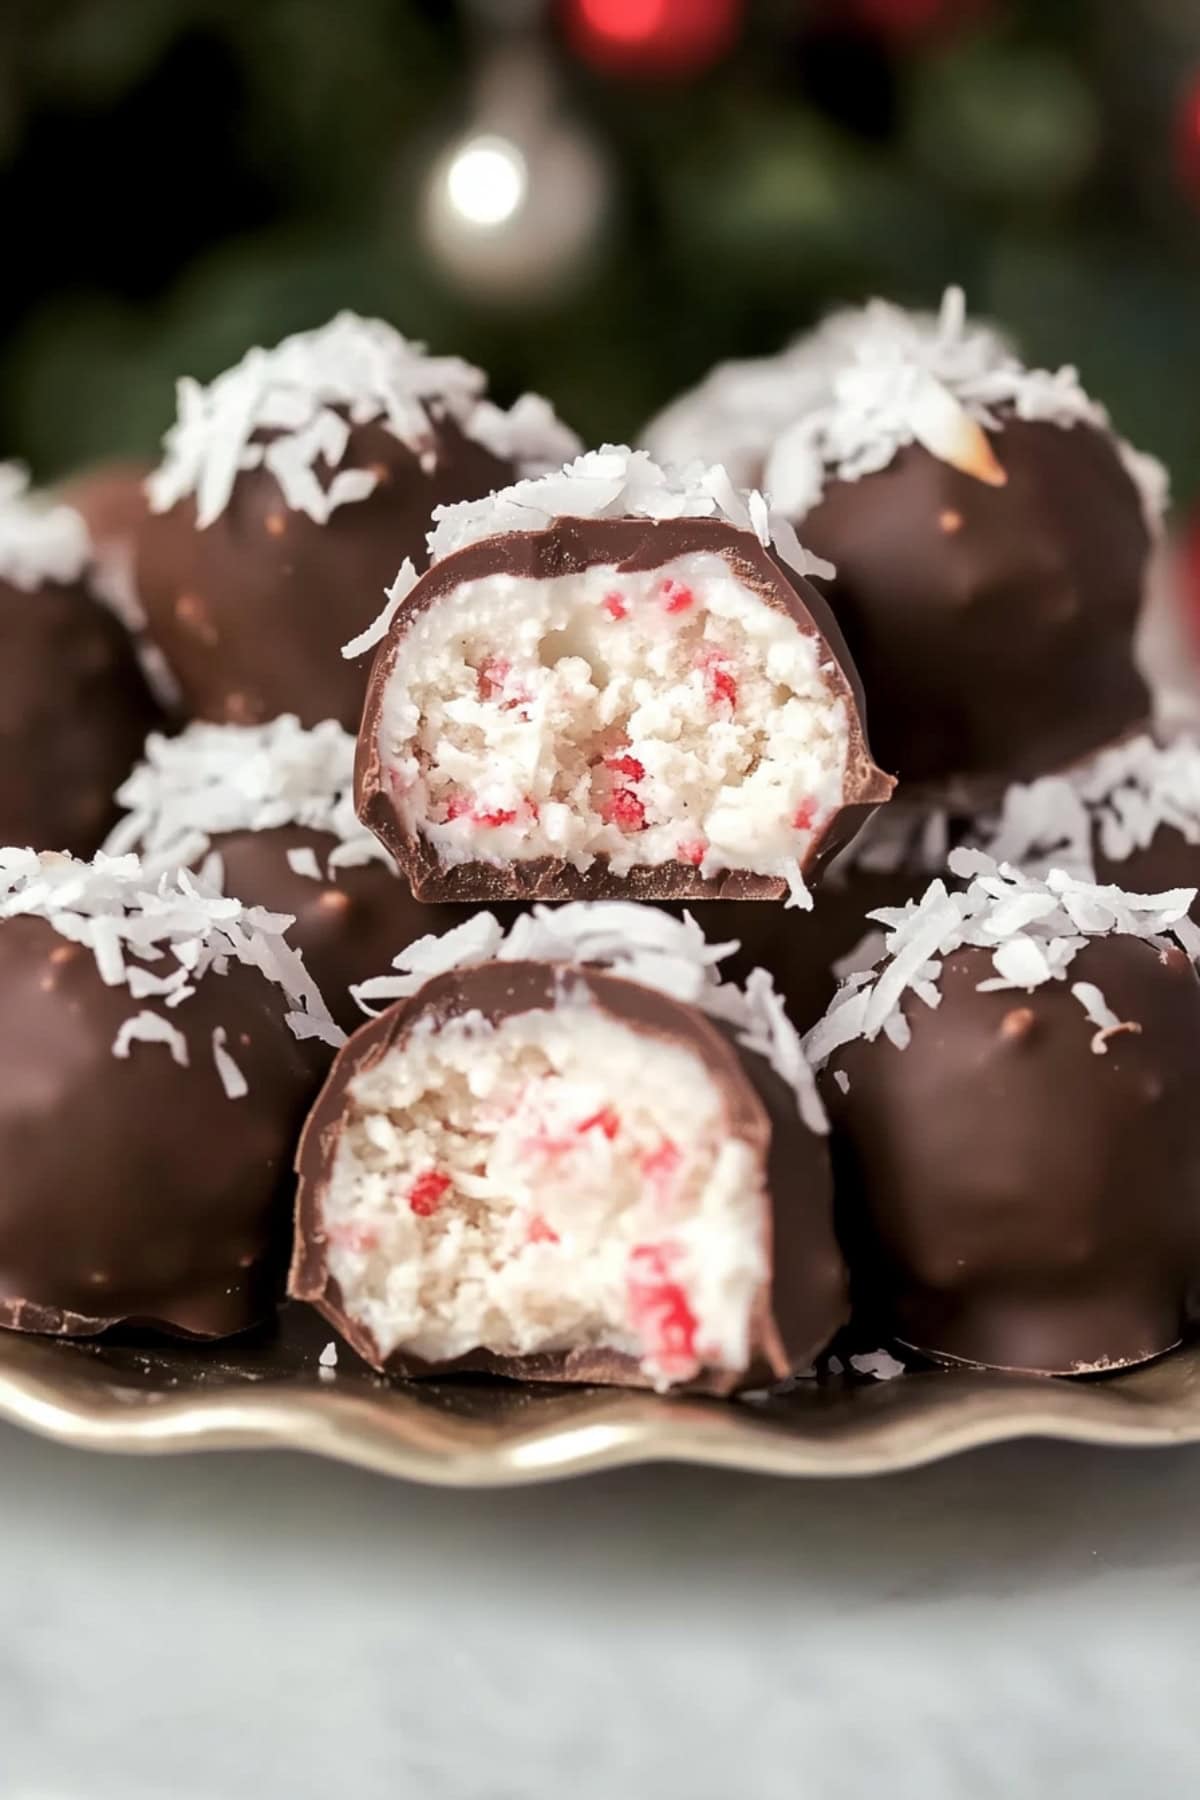
Variations
Want to jazz up the already lovely chocolate balls a little? Try one of these variations.
- Change up the chocolate. I think Ghirardelli and Guittard semisweet chocolate chips are best for this recipe. However, you can swap them out for your favorite brand of white, milk, or dark chocolate. Just ensure you use something that melts well.
- Swap out the nuts. Pecans are perfect, but almonds and walnuts work nicely, too. Select your favorite nuts to go with your favorite type and brand of chocolate.
- Add flavor enhancers. A splash of rum or bourbon will give the balls a festive touch. You can also experiment with different extracts to tweak the flavor.
- Feeling salty? Sprinkle the dipped balls with coarse sea salt before the chocolate fully sets. The salty-sweet contrast is a delicious combo.
- Double the chocolate. Drizzle the balls with white or dark chocolate for decoration and extra chocolatey goodness!
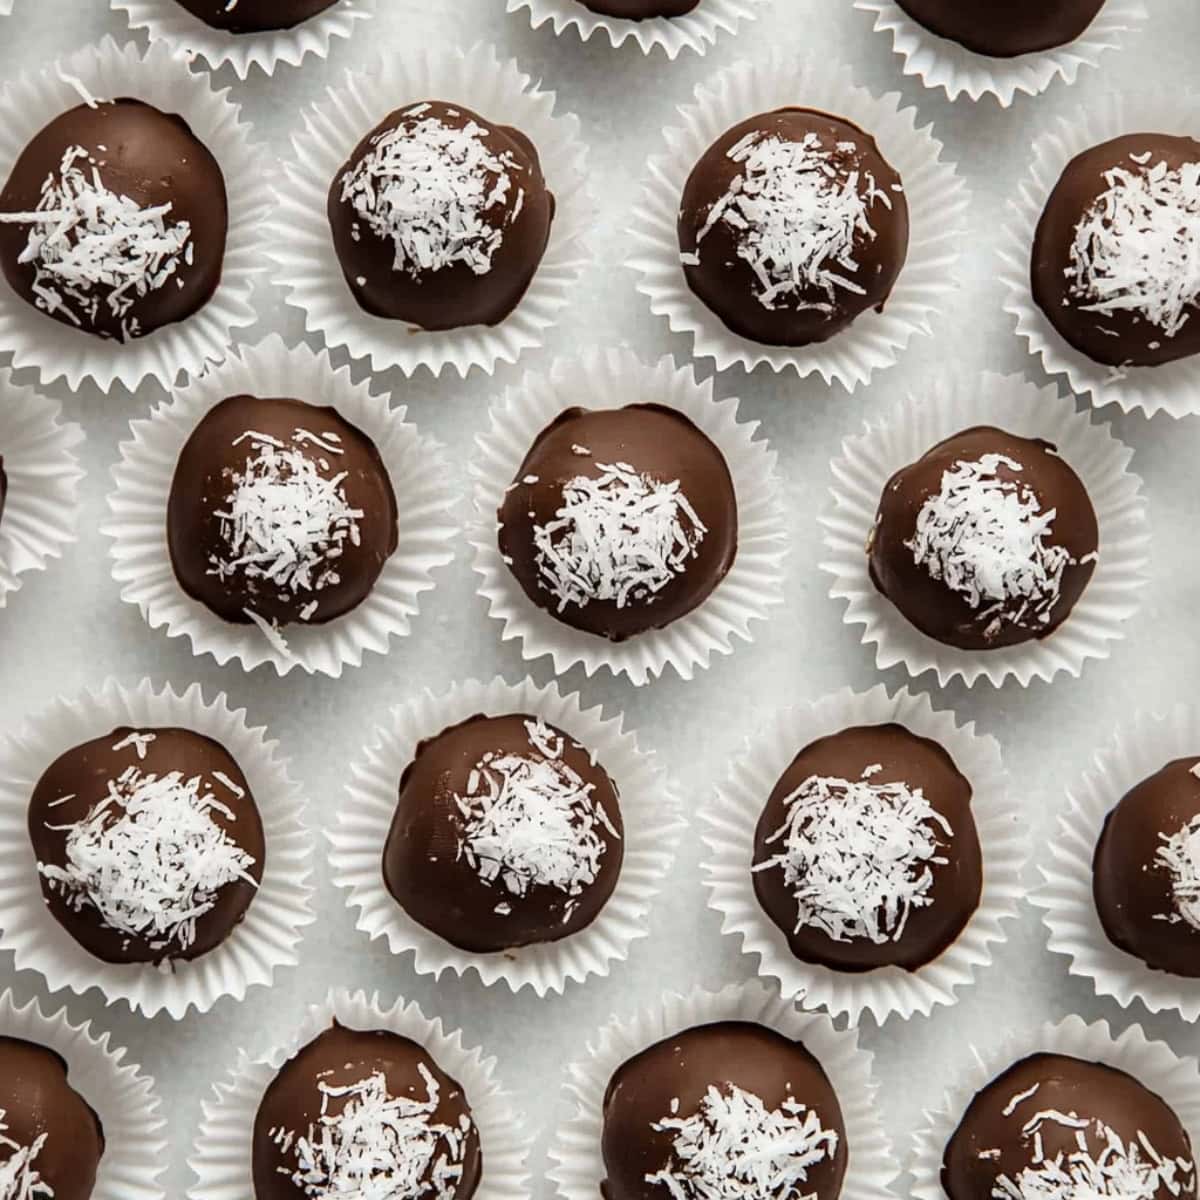
- Decorate as desired. Top the balls with tiny shredded coconut flakes or holiday sprinkles. You can even vary the sprinkle colors to suit different occasions and holidays.
How to Store
These little balls of joy store and freeze nicely. They taste great when chilled, too, so you don’t have to heat or warm them.
To Store: Refrigerate the candies in an air-tight container with wax paper between layers. They should remain fresh for 2 to 3 weeks.
To Freeze: Freeze the candies for 30 minutes on a baking sheet until frozen. Then, freeze them in a freezer-safe container for up to 3 months.

