Marry Me cookies are a love letter in cookie form, and nobody can possibly say no to them!
Bursting with browned butter, oats, and chocolate chips, they’re a perfect blend of flavors.
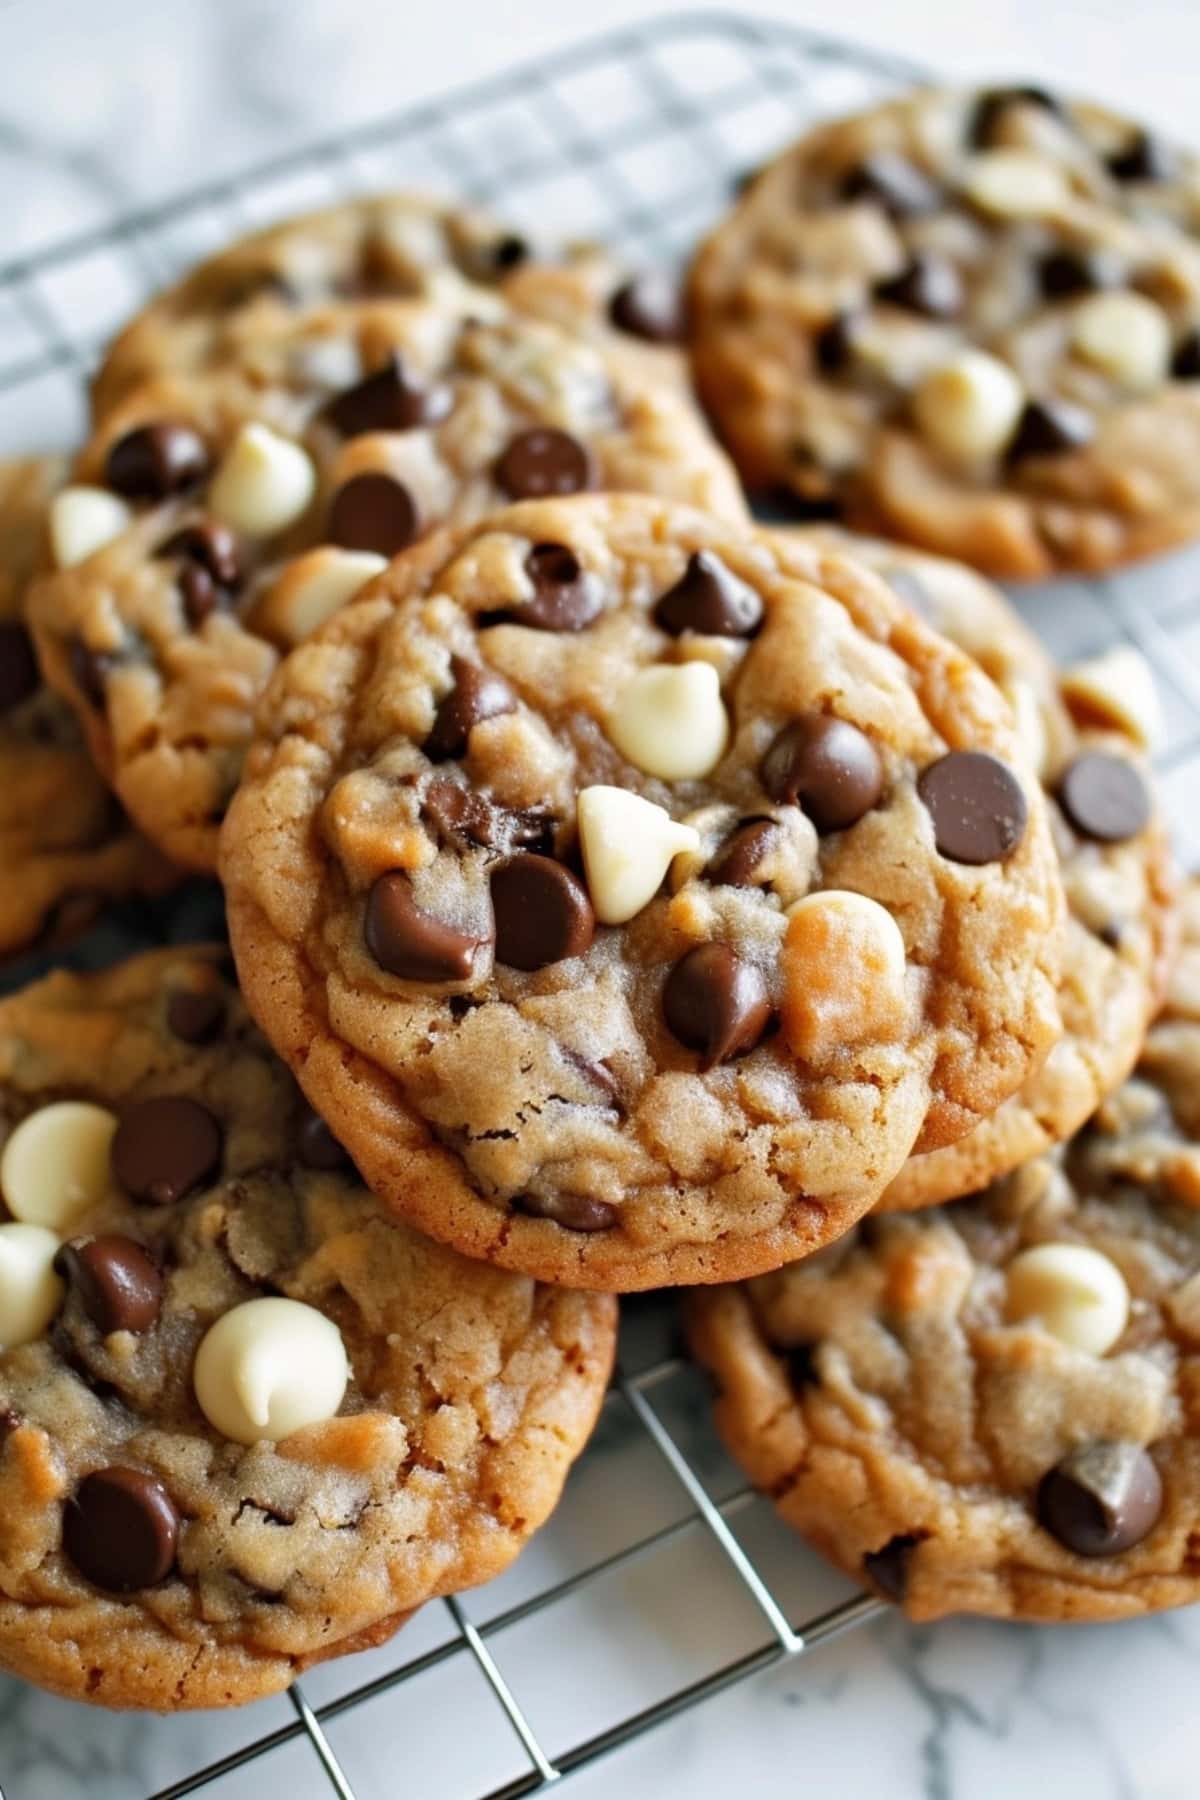
Whether it’s a special occasion or a desire to indulge, these cookies have an irresistible charm.
And who knows, they might just seal the deal!
Marry Me Cookies
Marry Me cookies, originally known as “I Want to Marry You Cookies,” hails from the kitchen of recipe creator Melissa Stadler.
These aren’t your average cookies. They’re a delectable mix of browned butter, two kinds of chocolate, cinnamon, and oats.
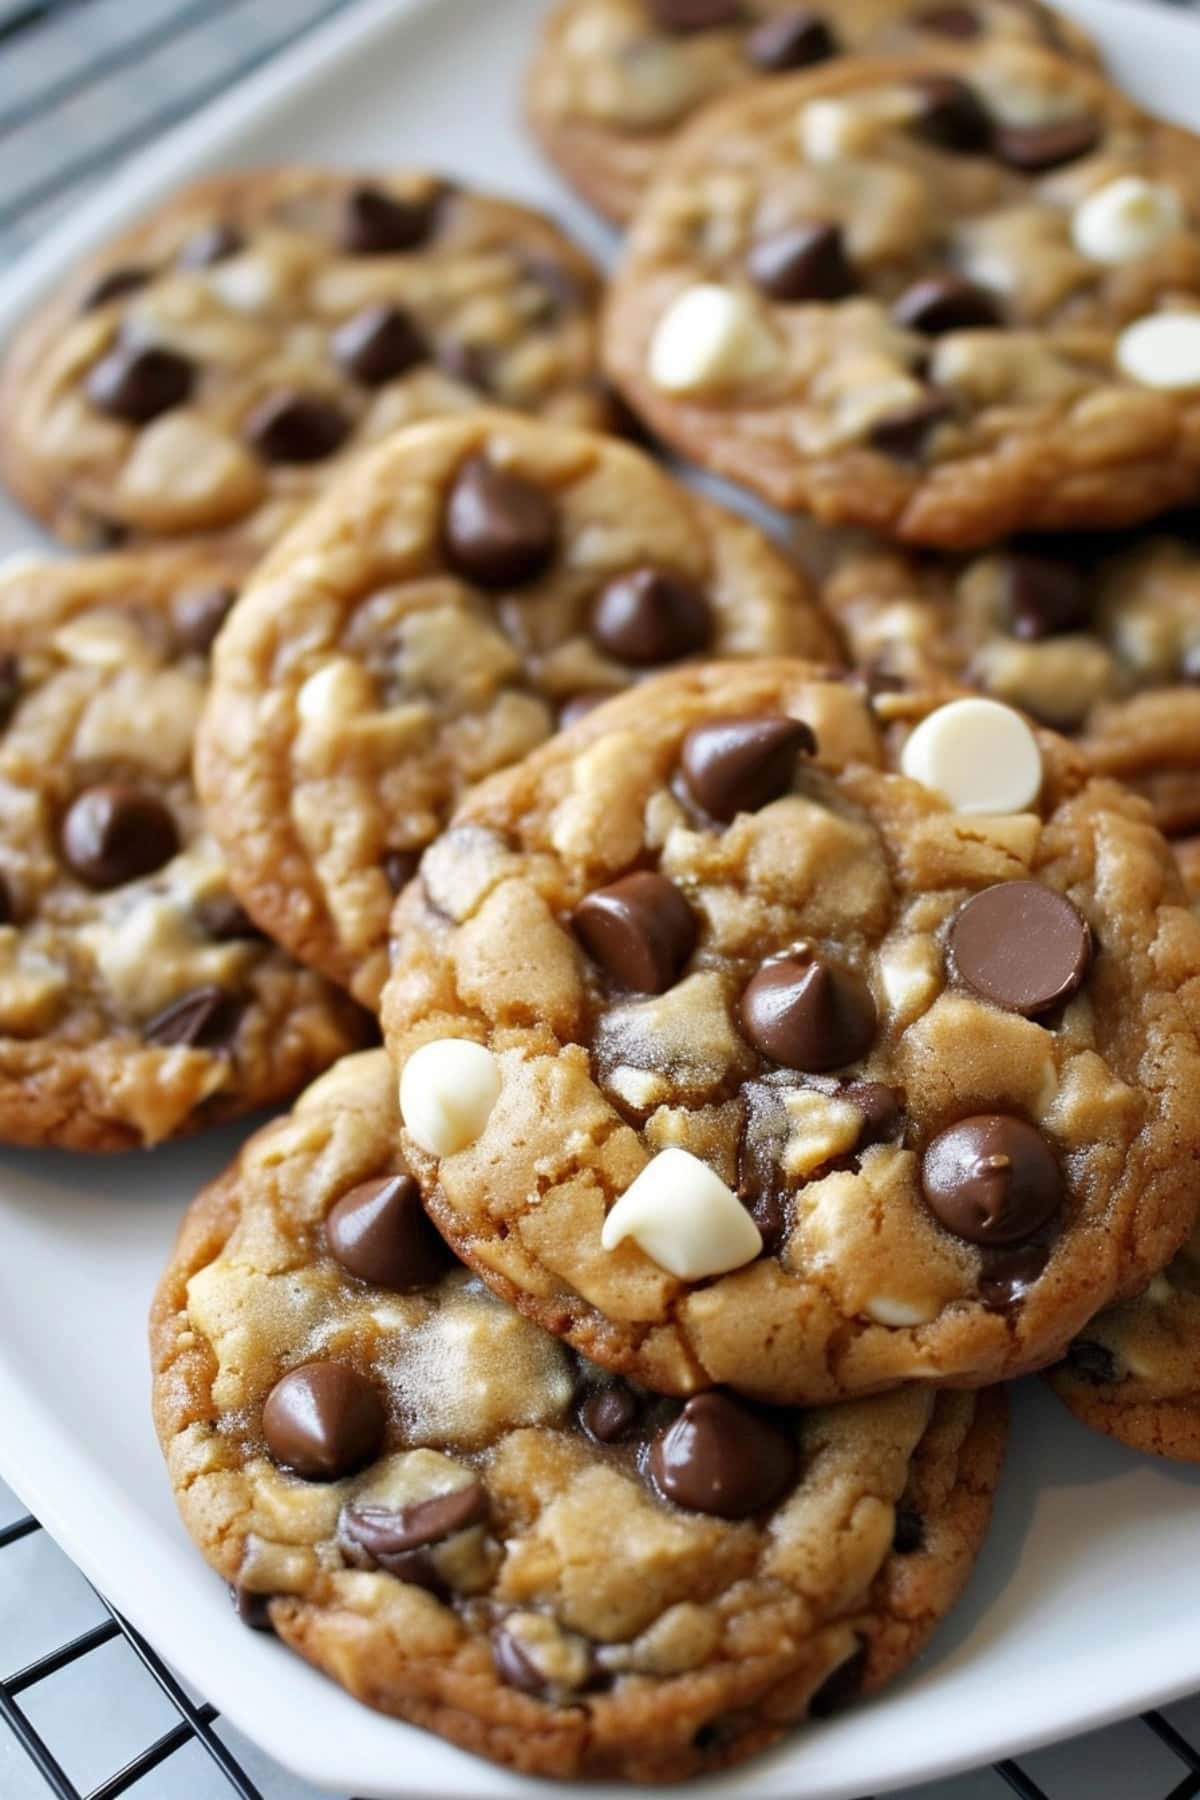
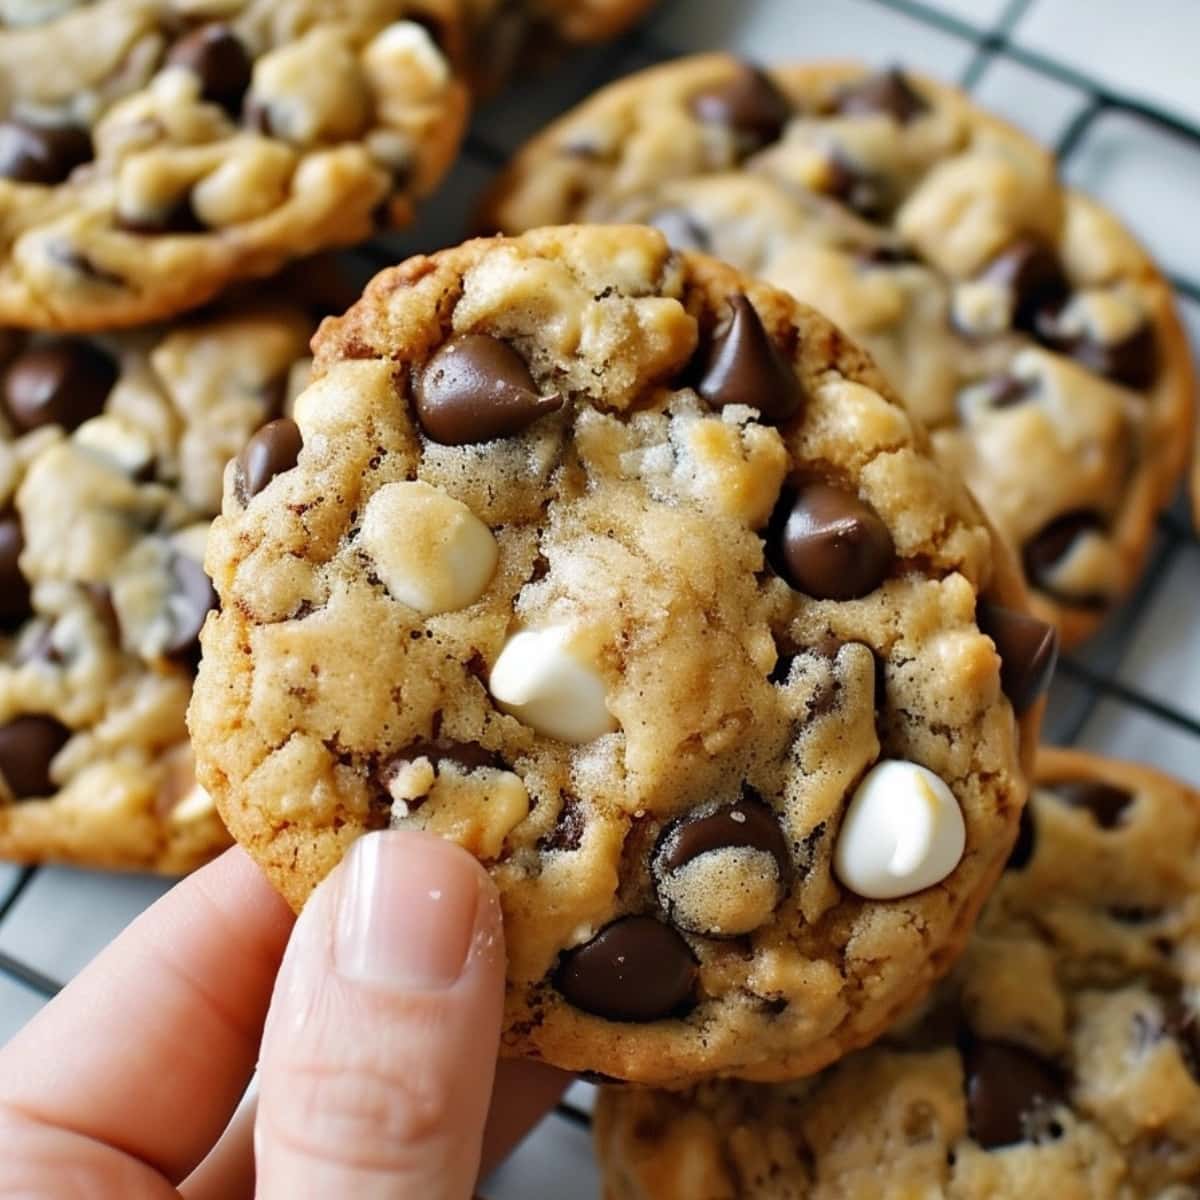
The result is cookies with a tantalizing texture combo: crispy edges, chewy bites, and a rich, fudgy center.
For a romantic evening, pair them with Marry Me chicken for a match made in heaven.
Ingredients
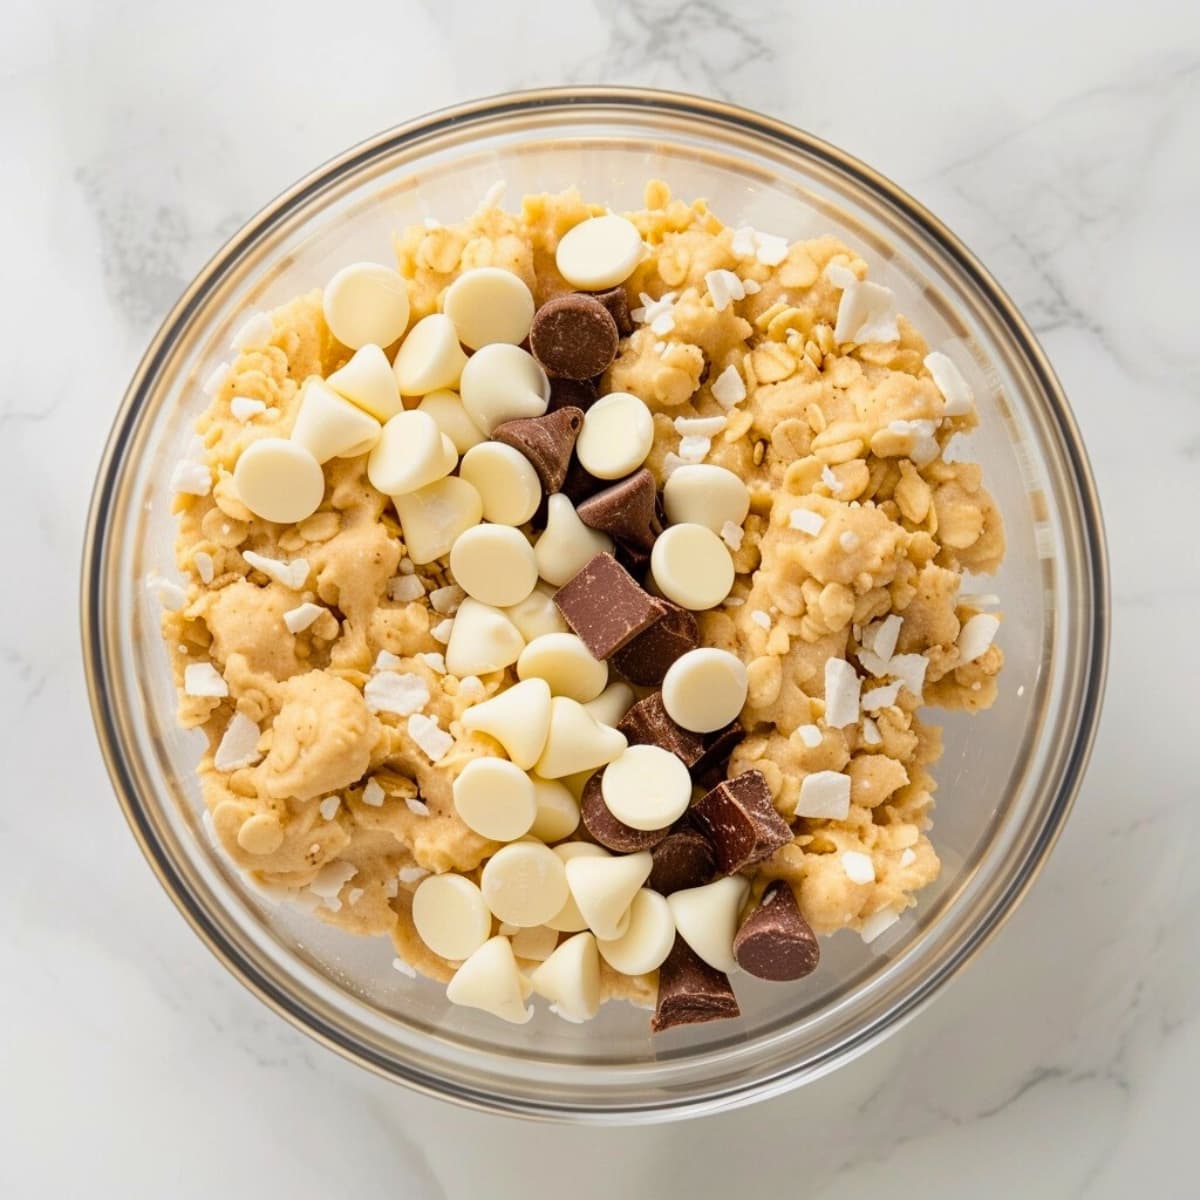
Let’s check out the ingredients that make Marry Me cookies so irresistible. For the complete list and recipe, scroll down to the bottom of the page.
- Butter – This recipe starts with browning unsalted butter. This step adds a nutty, toasty flavor, making the cookies rich and aromatic.
- Sugars – There’s a mix of light brown and granulated sugars. Brown sugar brings chewiness and depth, while granulated sugar adds a hint of crispness.
- Flour – All-purpose flour forms the cookies’ structure. It balances the richness of the butter and the sweetness of the sugars.
- Egg & Egg Yolk – They bind the ingredients, adding moisture. The extra yolk enriches the dough, making the cookies tender.
- Vanilla Extract – A splash of vanilla adds a sweet, aromatic flavor. It’s like the secret melody in a great song.
- Oats. – Old-fashioned oats bring a chewy texture. They add heartiness to each bite, making these cookies satisfyingly substantial.
- Baking Soda – This leavening agent ensures your cookies rise just right. It’s like a little lift for each cookie.
- Salt & Cinnamon – A pinch of salt enhances all flavors, and cinnamon adds a warm, subtle spice. Together, they’re a quiet yet essential background harmony.
- Chocolate Chips – Make a double treat with white and semisweet chips. They melt into pockets of chocolatey bliss in every bite.
- Nuts (optional) – Add chopped nuts for an extra crunch. They’re like a pleasant surprise in each mouthful.
How to Make Marry Me Cookies
Ready to bake some love into cookies? Here’s how to make Marry Me cookies, step by step.
1. Brown the butter. Melt and cook until nutty and brown, then let it cool a bit afterward.
2. Whisk sugars with butter until smooth. Pop this mixture into the fridge to cool.
3. Add the eggs and vanilla. Once the butter and sugar mix is cool, add the egg, egg yolk, and vanilla, combining well.
4. Prepare the dry ingredients: Sift the flour, oats, baking soda, salt, and cinnamon in a separate bowl.
5. Combine the wet and dry. Stir half the dry mix into the wet ingredients, then add the rest with the chocolate chips and nuts.
6. Chill the dough. Form the dough into balls and chill on a baking sheet for 30 minutes.
7. Bake the cookies. Space dough balls on baking sheets and bake them at 325 degrees Fahrenheit until golden.
8. Cool and serve: Let the cookies cool on the trays before moving them to a rack to cool completely. Then, serve and enjoy your homemade Marry Me cookies!
Can You Make These Cookies Ahead of Time?
Absolutely, you can prep Marry Me cookies ahead of time.
Make the dough, shape it into balls, and freeze them on a parchment-lined tray for 1-2 hours. Once they’re rock solid, pop them into freezer bags.
When you’re ready, grab however many you need and bake them straight from frozen. You might need to add 1-2 minutes to the baking time, but that’s it.
How to Store & Freeze
Storing and freezing Marry Me cookies is easy and keeps them tasting great for longer. Here’s how:
To Store: Keep baked cookies fresh in an air-tight container. Stick a slice of white bread in with them. It’s a nifty trick to keep the cookies soft for about a week.
To Freeze: Once the cookies cool off, line them up on a parchment-lined tray and freeze them for a couple of hours. Then, shift them to a freezer-safe container. They’ll stay good for 3-4 weeks.
More Cookie Recipes
S’mores Cookies
Chewy Brown Sugar Cookies
Cool Whip Cookies
Cowboy Cookies
Monster Cookies







Hi! These sound delicious, but before i dive right in and make them, i have a question:
Do you bake these as balls or should you flatten them a little before putting them in the oven? I’ve tried some recipes like this and end up with cookies that are too thick and a bit raw.
Hi Marisol!
For thicker cookies, leave them as is.
For thinner cookies, flatten them slightly with the bottom of a glass.
I like them gooey in the middle so I don’t flatten them. But if you want a chewier, more evenly baked cookies, I suggest pressing them gently with your hand or a glass before baking.
Not sure what I did wrong, the dough was super super dry. I was able to form into dough balls, but after chilling them they wouldn’t even flatten into cookies, they just stayed…. balls. Have any ideas?
Hey, Sierra! There could be a few reasons why this dough came out dry for you.
1. You could have added too much flour. How do you measure your flour? If you simply scoop the measuring cup into the container or pour the flour directly into the cup, you may be adding too much. The best way to measure flour is by transferring it with a spoon into your measuring cup and not packing it down. The other methods often result in you getting too much flour.
2. You may have overmixed the dough. This recipe has a high ratio of dry ingredients to wet ingredients anyway, so even a slight amount of overmixing the batter can cause it to dry out. The first time I made these, they came out dry for me, too, because I overmixed trying to make the batter smooth. (Slightly lumpy batter is fine, which I learned later. :-p)
3. Perhaps you refrigerated the cookie dough for too long? Or maybe the plastic wrap wasn’t tight enough? If either of these things happened, the fridge can dry out the dough.
Hopefully, one of those tips will help if you try this recipe again. 🙂
These cookies look delicious! I’m going to make them for a special church event in August. I’ll have to make them for my husband and me before then.
Absolutely, Lucy! You always want to do your “due diligence” and taste-test the goods beforehand. That’s pretty much a house rule in my family. <3
Do I cook them with the paper on them?
Hi, Doris. Be sure to remove the plastic from letting them chill in the fridge. But yes, you can bake them on top of parchment paper. I hope that answers your question. 🙂
I printed out the recipe. It did not state to sift dry ingredients. When I looked at the recipe on your website, it said to sift dry ingredients. Will not sifting make a difference?
Hi, Jane.
Sifting just makes the batter a bit smoother and adds more air into it for lighter cookies. If you didn’t sift, your cookies may be a little denser, but they should still taste great!
Made these yesterday, my daughter said they were the best cookies she’s ever had in her life! Will definitely be making these again and again.
That’s high praise!!! Love it!
Will be making these!!
Hope they turn out delicious for you, Colleen!
I’m going to my son’s in WI for the Thanksgiving weekend! I’m going to attempt these on Tuesday. We arrive on Wednesday. Do you think they’ll still be good on Thursday. I’m not the best baker, and do not have a sifter. They look delicious!!
Hi, Kathy!
Yes, these should be fine if you make them a couple of days ahead.
Simply pop them in an air-tight container, and stick a slice of white bread in with them. That will help keep them soft for about a week. 🙂
Can the be frozen?
Hi, Traci!
Taking this from the “how to store” section: “Once the cookies cool off, line them up on a parchment-lined tray and freeze them for a couple of hours. Then, shift them to a freezer-safe container. They’ll stay good for 3-4 weeks.”
Hope that helps! 🙂
These look so delicious but you said to said the oats. Not sure how to do that!?
Hi there!
Did you mean to type “sift” the oats?
If so, that just means to measure the oats, flour, baking soda, salt, and cinnamon, and place them in a sifter. Then, crank the sifter over the bowl to transfer them to the bowl. (Instead of just measuring and dumping.) Sifting in this manner helps eliminate lumps and incorporates air into the mixture for lighter cookies. 🙂
Made these cookies today for my friends . They turned out great ! After I rolled in balls, I
Covered and left in fridge for several hours . They took about 15 to 20 minutes to cook . Turned out soft and delicious!
These are a winner for me! Followed the recipe exactly, refrigerated them overnight, and oh my! The browned butter gives them such a great flavor.
Thanks for sharing this delicious recipe!
Right?!
There’s just something about browned butter that makes things taste so much richer and better.