

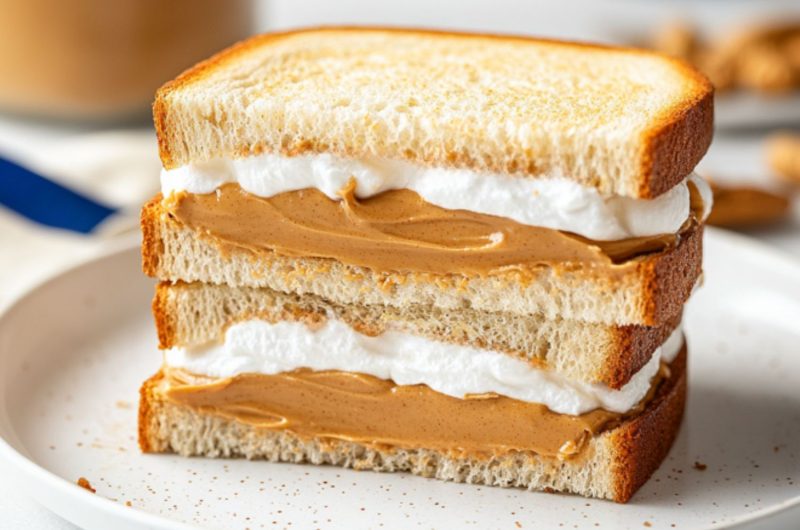
Guess what I just whipped up in the kitchen? Fluffernutter cookies! I’ve always loved the classic combination of peanut butter and marshmallow, so I thought, why not turn it into a cookie?
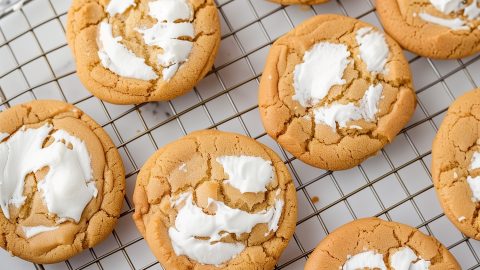
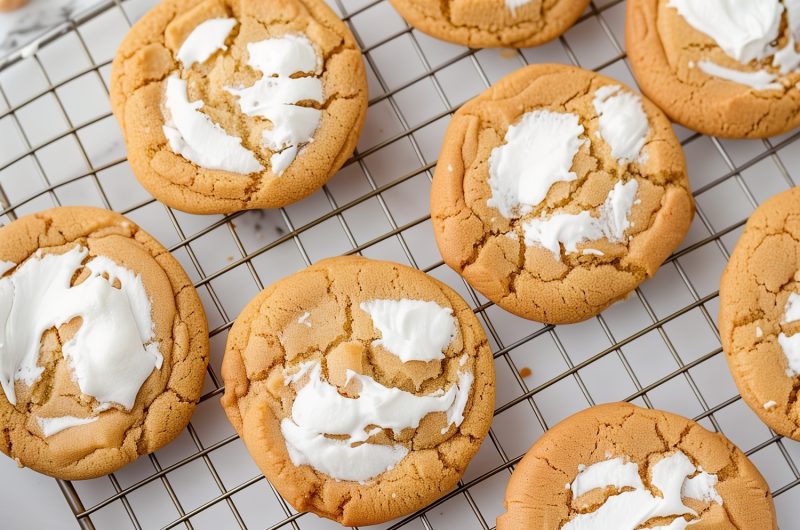
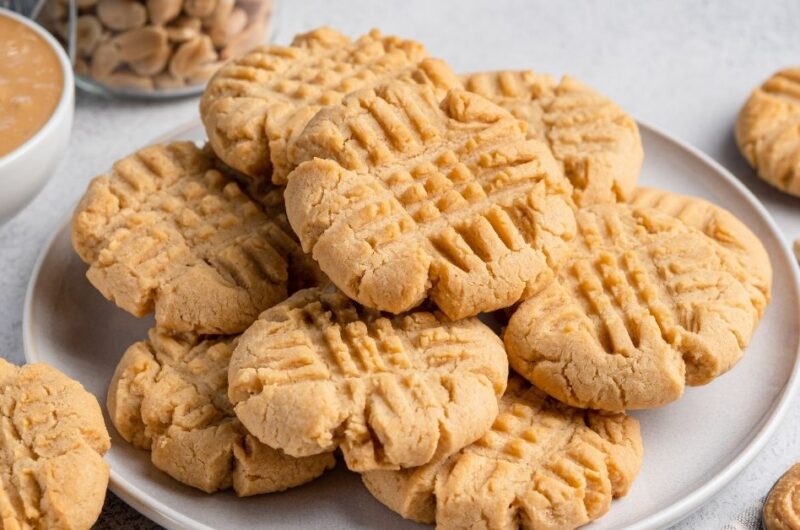
Let me tell you, these babies are dangerously delicious. The cookie base is soft, chewy, and packed with peanut butter flavor.
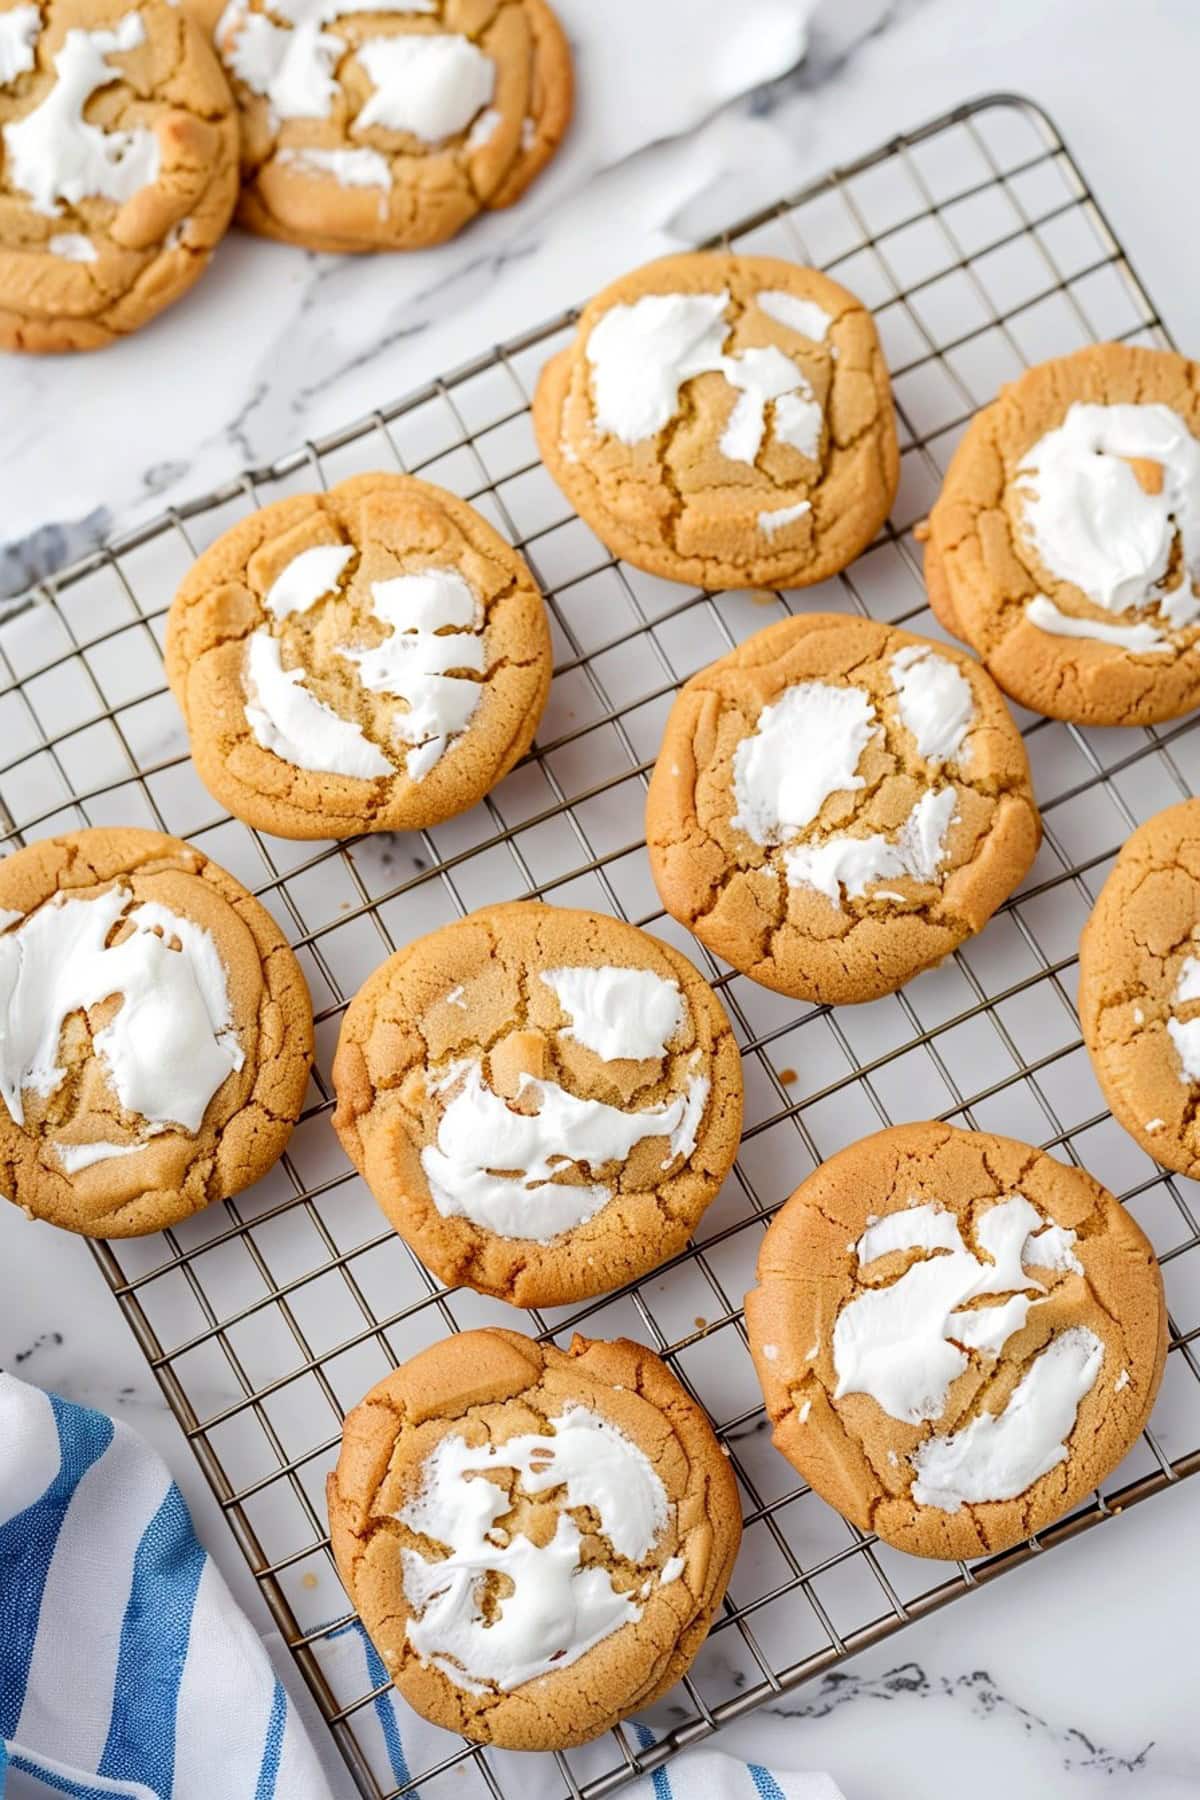
It’s like a Fluffernutter sandwich and cookie had a love child!
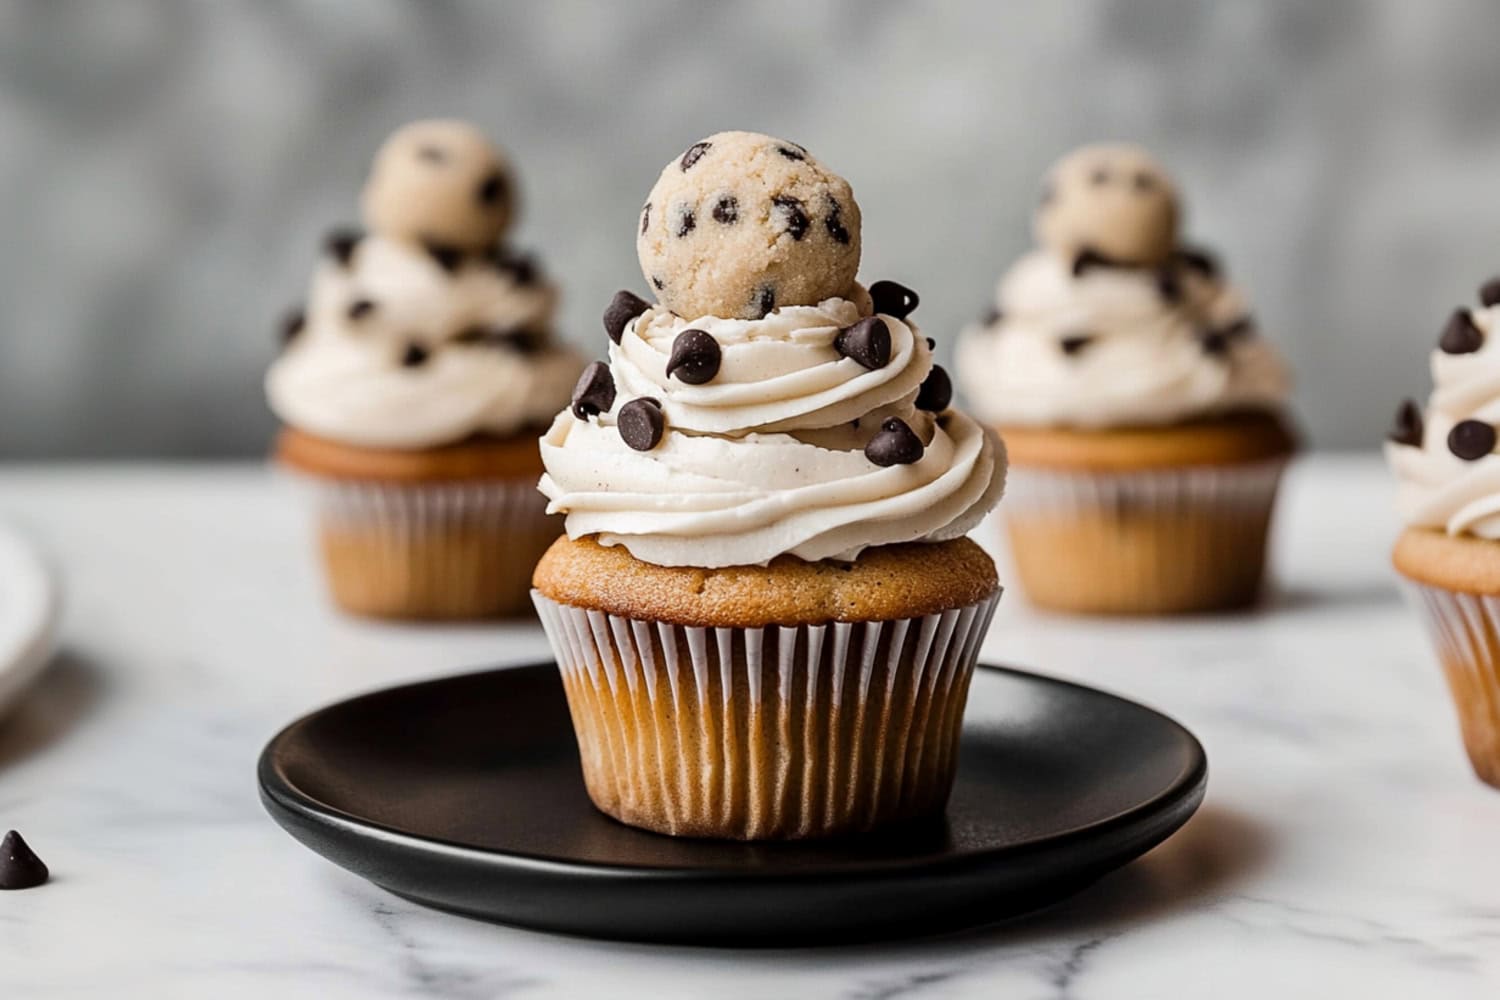
I even added some mini chocolate chips on top for an extra touch of sweetness. Trust me, you won’t be able to eat just one.
Why You’ll Love These Fluffernutter Cookies
Nostalgic Treat: Fluffernutter cookies bring back fond childhood memories of the classic peanut butter and marshmallow sandwich.
Gooey Texture: The marshmallow fluff center creates an irresistibly gooey and soft texture. It perfectly complements the chewy peanut butter cookie.
Crowd-Pleaser: These unique and indulgent cookies will impress at parties and potlucks.
Easy to Customize: The recipe can be easily adapted to include mix-ins like chocolate chips, peanut butter chips, or chopped nuts.
Ingredients
- Creamy Peanut Butter: Smooth and rich, it adds a creamy texture and nutty flavor to the cookies. Avoid using natural or organic varieties, which are too oily for baking.
- Unsalted Butter: It provides a neutral, creamy base for the cookies, allowing you to control the salt content.
- Light Brown Sugar and Granulated Sugar: Light brown sugar adds moisture and a subtle molasses flavor. And granulated sugar helps create a light and airy texture.
- Large Eggs: They bind the ingredients and add structure to the cookies.
- Vanilla Extract: It adds a subtle sweetness that complements the peanut butter and marshmallow.
- All-Purpose Flour: The backbone of cookie dough provides structure and chewiness.
- Baking Soda: It acts as a leavening agent, helping the cookies rise and become fluffy.
- Salt: It balances the sweetness and enhances the flavors of the other ingredients.
- Marshmallow Fluff: The star ingredient gives these cookies their signature gooey center, adding a delightful sweetness and texture.
- Mini Chocolate Chips (Optional): They add a touch of chocolatey goodness.
How to Make Fluffernutter Cookies
These cookies are almost as easy as making the classic sandwich!
1. Cream the wet ingredients. In a large bowl, cream together the butter, peanut butter, brown sugar, and granulated sugar until light and fluffy, about 2-3 minutes. Add the eggs one at a time, mixing well after each addition. Stir in the vanilla extract.
2. Mix the dry ingredients. In a separate bowl, whisk together the flour, baking soda, and salt.
3. Combine and chill. Gradually add the dry ingredients to the wet ingredients, mixing until just combined. Cover and chill the dough for at least 30 minutes.
4. Preheat the oven. Preheat the oven to 350°F. Line baking sheets with parchment paper.
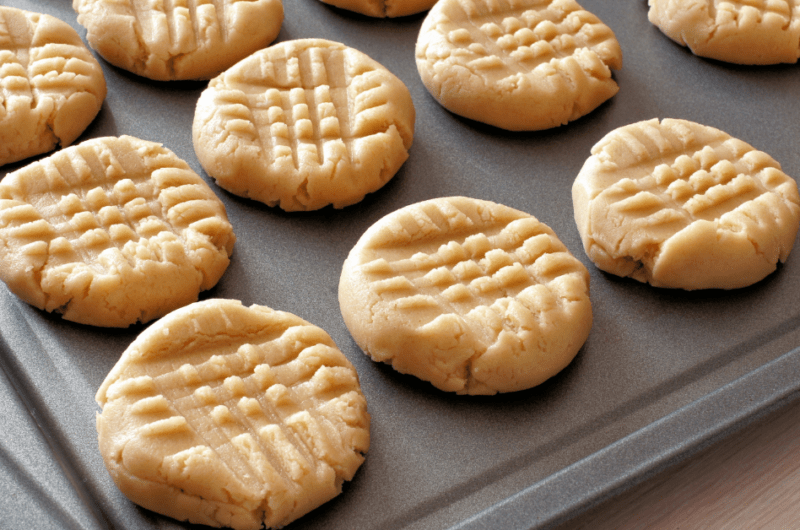
5. Form the cookie dough. Scoop about 2 tablespoons of dough and flatten into a disk. Place 1 tablespoon of marshmallow fluff in the center. Fold the edges of the dough up and around the fluff, sealing it in and forming a ball. Place on the prepared baking sheets about 2 inches apart.
6. Add the chocolate chips. If using, press a few mini chocolate chips into the top of each cookie dough ball.
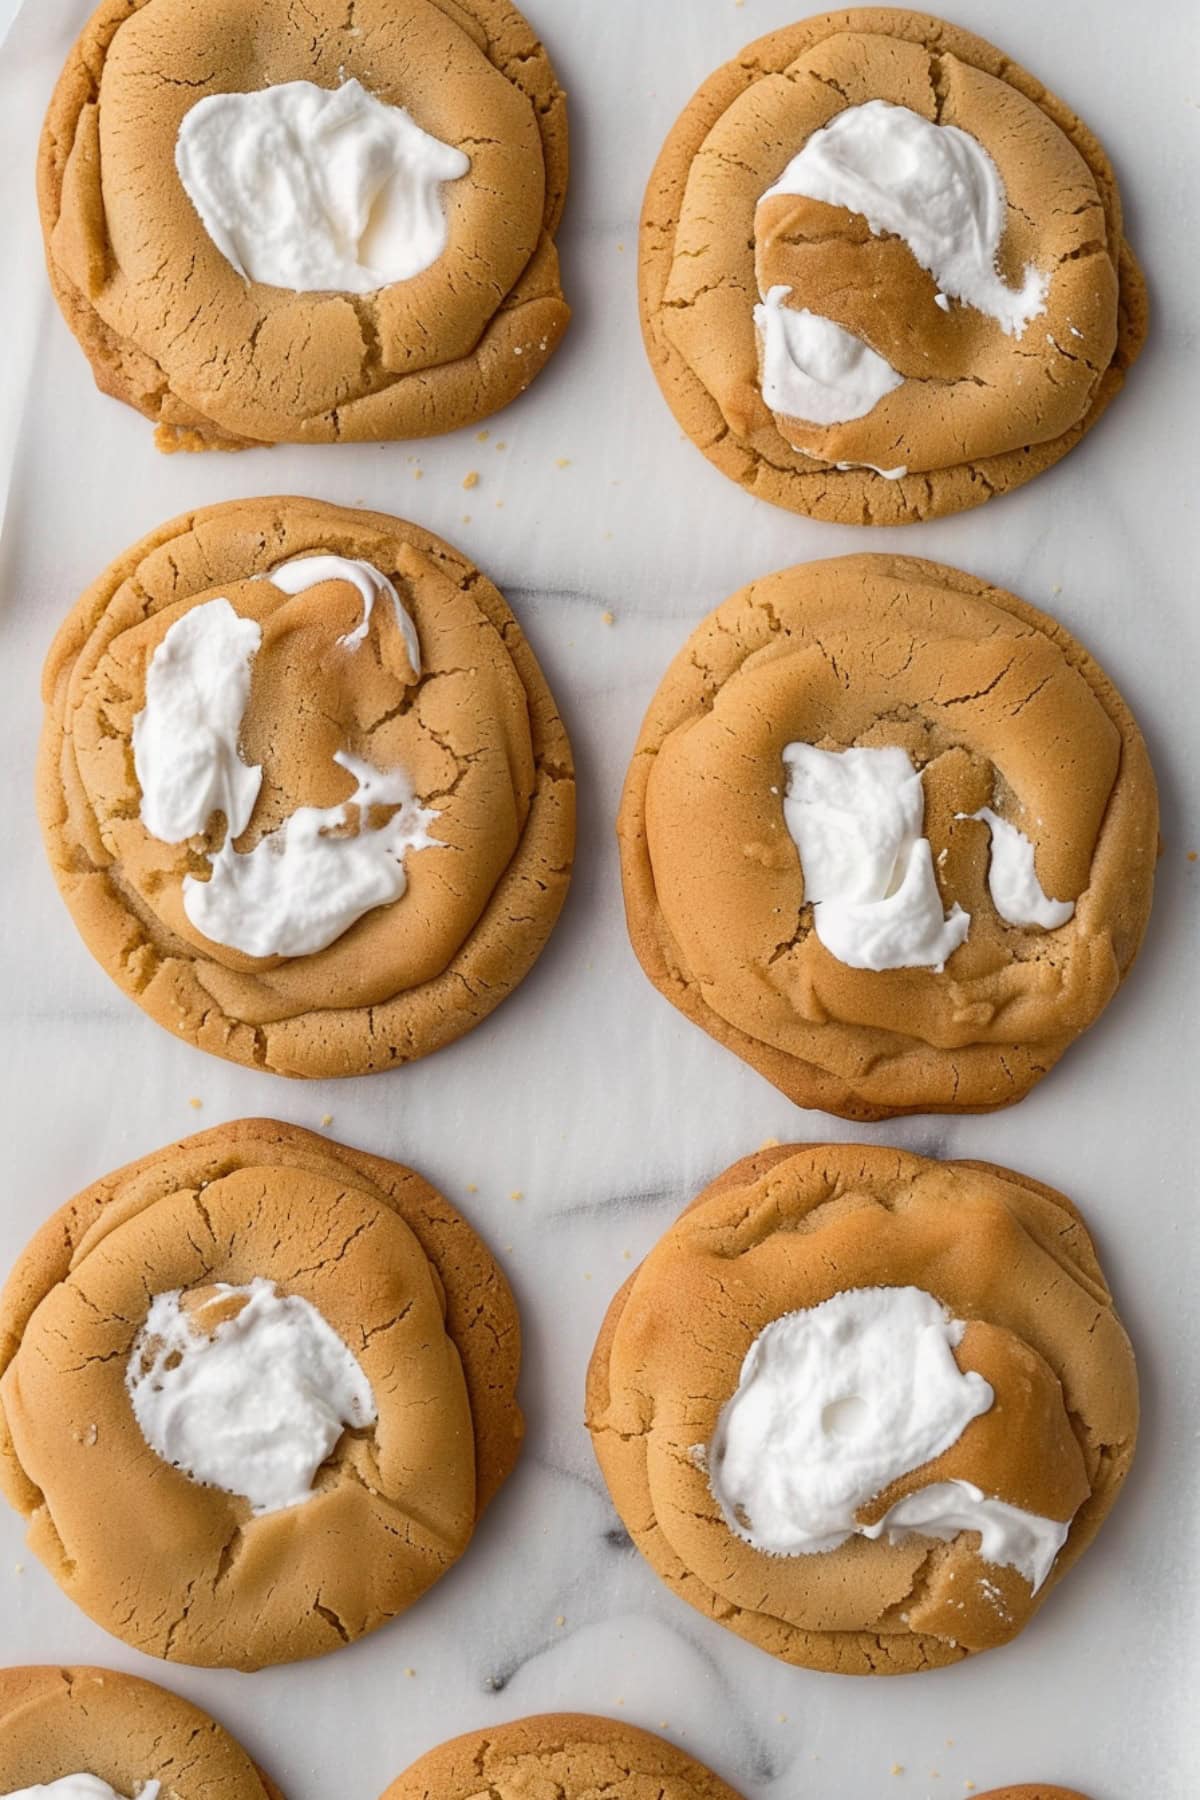
7. Bake the cookies. Bake for 10-12 minutes until the edges are lightly browned. The marshmallow may peek out a bit, which is okay.
8. Cool and serve. Let cool on the baking sheets for 5 minutes before transferring to a wire rack to cool completely. Serve and enjoy!
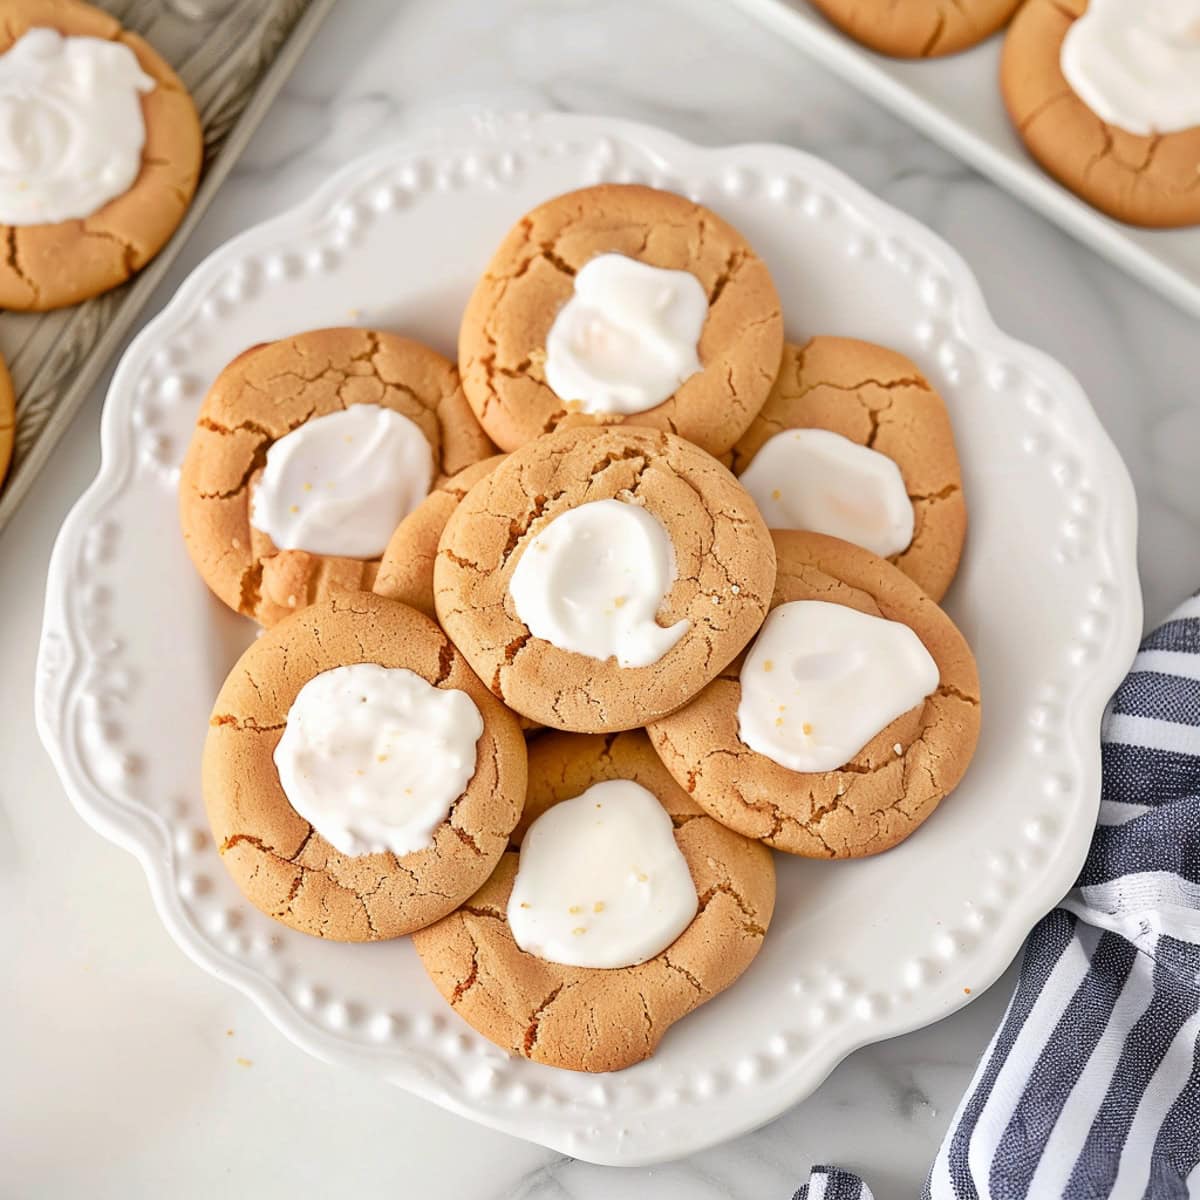
Tips for the Best Fluffernutter Cookies
Follow these tips to ensure your cookies come out perfect.
- Let the dough chill. Refrigerate the cookie dough for at least 30 minutes before shaping and baking to prevent excessive spreading.
- Seal ‘em up! When wrapping the cookie dough around the marshmallow fluff, seal the edges tightly to prevent the fluff from leaking out during baking.
- No fluff? No problem. If you don’t have marshmallow fluff, you can substitute an equal amount of mini marshmallows or homemade marshmallow creme.
- Toss in some flavor. Mix in 1/2 cup of mini chocolate chips, peanut butter chips, or chopped peanuts for extra flavor and texture.
- Try a shaping trick. Use a cookie scoop to portion out the dough, then flatten it into disks. This makes it easier to wrap the dough around the marshmallow filling.
How to Store
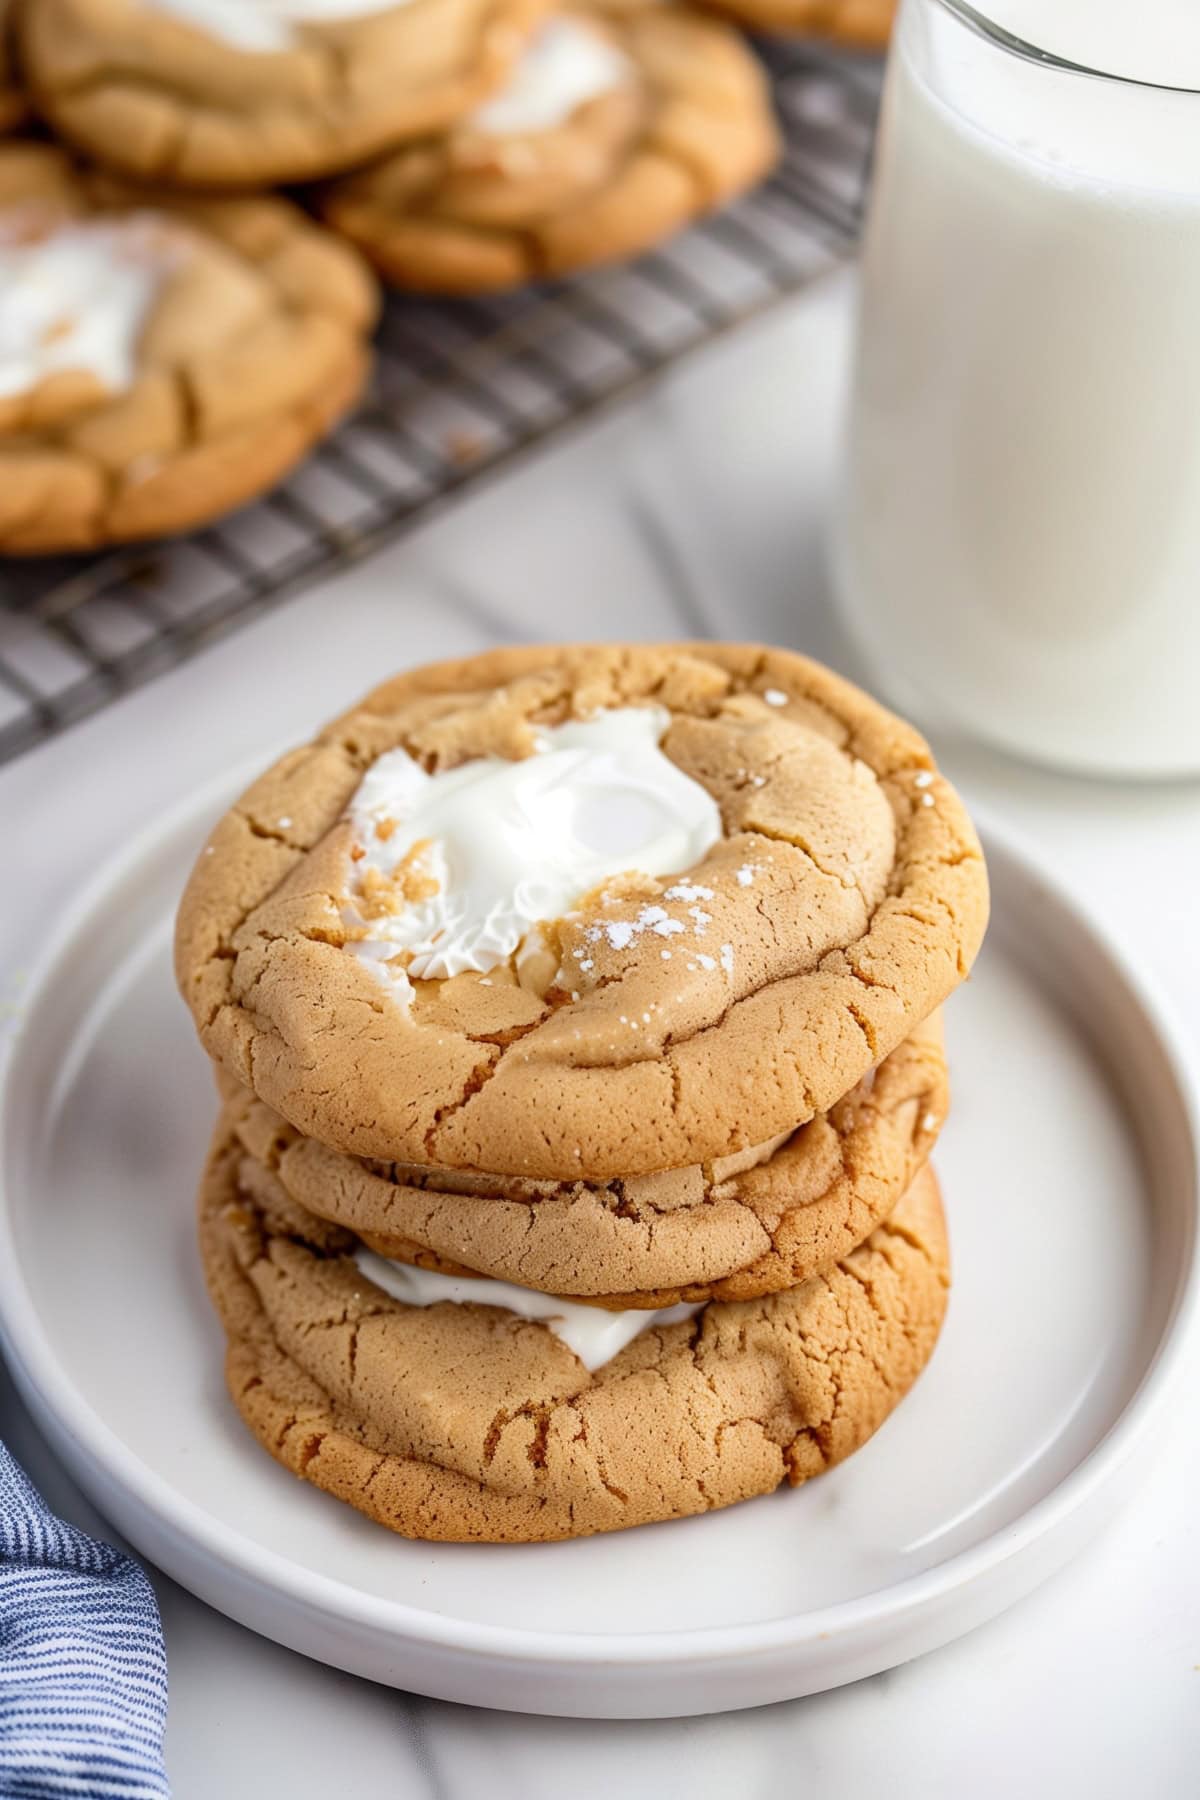
Here’s how to ensure leftover cookies taste close to freshly baked.
To Store: Store in an air-tight container at room temperature for up to 5 days. For longer storage, refrigerate the cookies for up to 1 week.
To Freeze Dough: To freeze the cookie dough, scoop and shape the dough balls, place them on a baking sheet, and freeze until solid. Then, transfer to an air-tight container or ziplock bag for up to 3 months. Bake the frozen dough balls straight from the freezer, adding a few extra minutes to the baking time.
To Freeze Baked Cookies: Let them cool completely before placing them in an airtight freezer-safe container or Ziploc bag for up to 3 months.
Fluffernutter Cookies
24
servings15
minutes12
minutes258
kcalThese fluffernutter cookies are soft, chewy, and so decadent! The peanut butter base combined with the marshmallow center is to die for.
Ingredients
1 cup unsalted butter, softened
1 cup creamy peanut butter
1 cup light brown sugar, packed
1/2 cup granulated sugar
2 large eggs
1 teaspoon vanilla extract
2 1/2 cups all-purpose flour
1 teaspoon baking soda
1/2 teaspoon salt
1 cup marshmallow fluff
1/2 cup mini chocolate chips (optional)
Instructions
- In a large bowl, cream together the butter, peanut butter, brown sugar, and granulated sugar until light and fluffy, about 2-3 minutes. Add the eggs one at a time, mixing well after each addition. Stir in the vanilla extract.
- In a separate bowl, whisk together the flour, baking soda, and salt. Gradually add the dry ingredients to the wet ingredients, mixing until just combined. Cover and chill the dough for at least 30 minutes.
- Preheat the oven to 350°F. Line baking sheets with parchment paper.
- Scoop about 2 tablespoons of dough and flatten into a disk. Place 1 tablespoon of marshmallow fluff in the center. Fold the edges of the dough up and around the fluff, sealing it in and forming a ball. Place on the prepared baking sheets about 2 inches apart.
- If using, press a few mini chocolate chips into the top of each cookie dough ball.
- Bake for 10-12 minutes until the edges are lightly browned. The marshmallow may peek out a bit, which is okay.
- Let cool on the baking sheets for 5 minutes before transferring to a wire rack to cool completely. Serve and enjoy!
Notes
- Use a good quality creamy peanut butter like Jif or Skippy for best results.
- Chilling the dough helps prevent the cookies from spreading too much.
- Use a cookie scoop to portion out the dough evenly.
- The marshmallow fluff can get sticky, so coat your hands with cooking spray if needed when shaping the cookies.
Did you like the recipe?
Click on a star to rate it!
Average rating 5 / 5. Vote count: 3
No votes so far! Be the first to rate this post.
We are sorry that this post was not useful for you!
Let us improve this post!
Tell us how we can improve this post?







2 Responses
Wish I could print some of these recipes.
Hi, Joann! Jump down to the recipe card at the bottom and check out the picture right above the ingredients list. In the lower right-hand corner, you’ll see a print button. It’ll open the recipe in a new window and just include the recipe itself, not all the other info from the page. 🙂 Hope that helps!