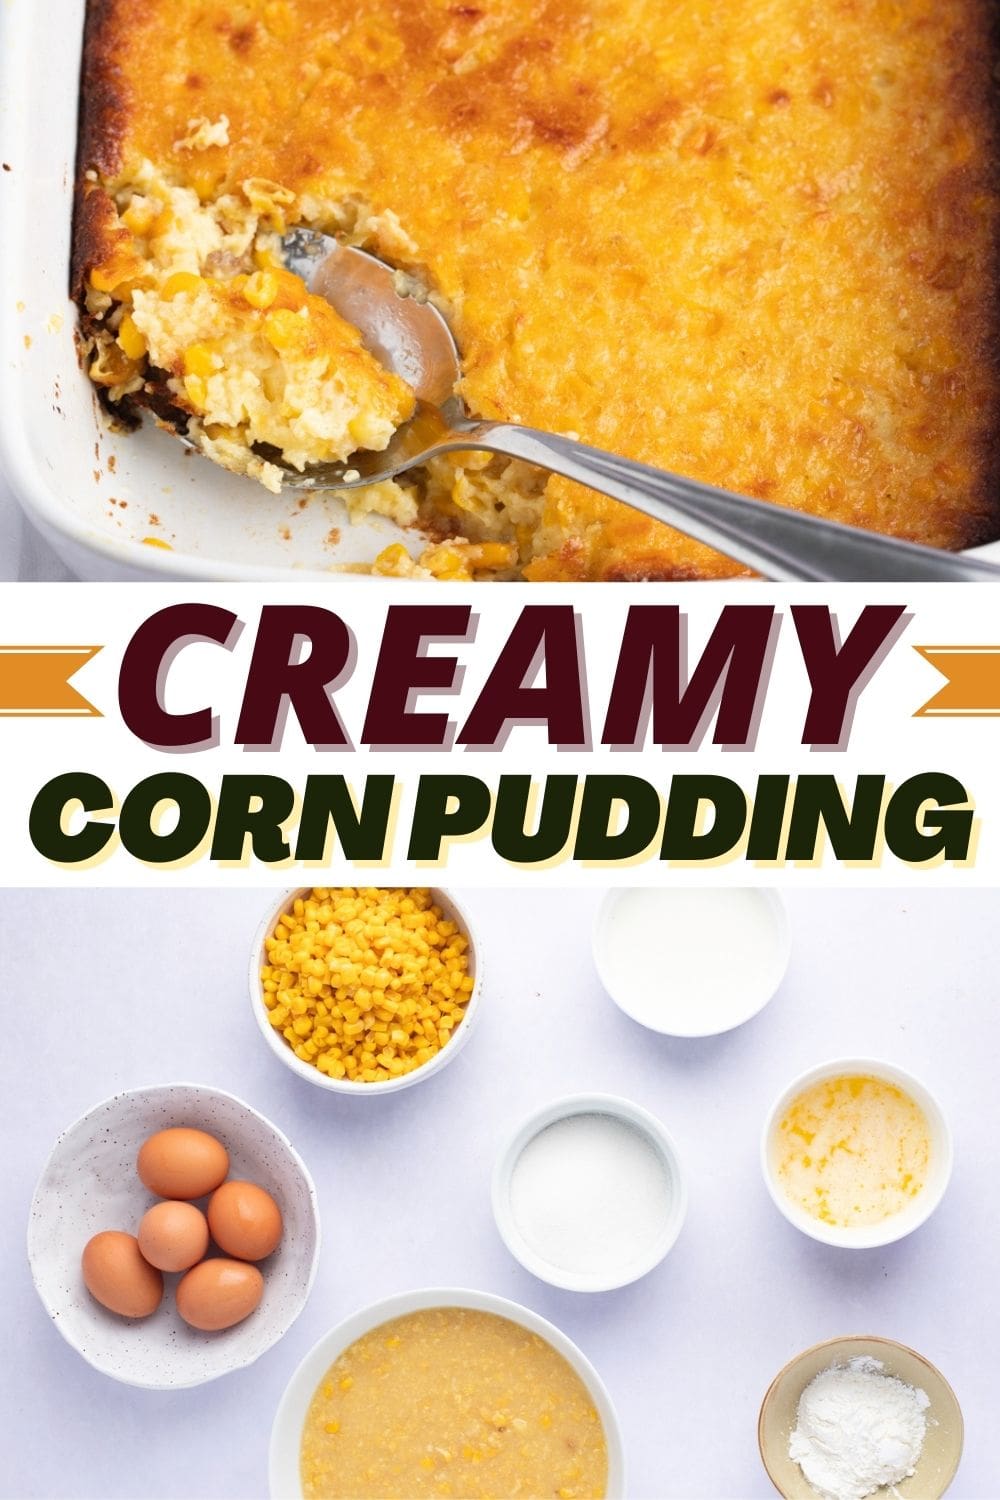
Ditch that box of Jiffy corn muffin mix and make your very own creamy corn pudding recipe! With 10 minutes of prep and 3 simple steps, this delectable homemade corn pudding is as easy as can be.
This creamy corn pudding is classic comfort food just like grandma used to make. Sweet and custard-like, it pairs perfectly with BBQ, chicken wings, turkey, glazed ham, and more.
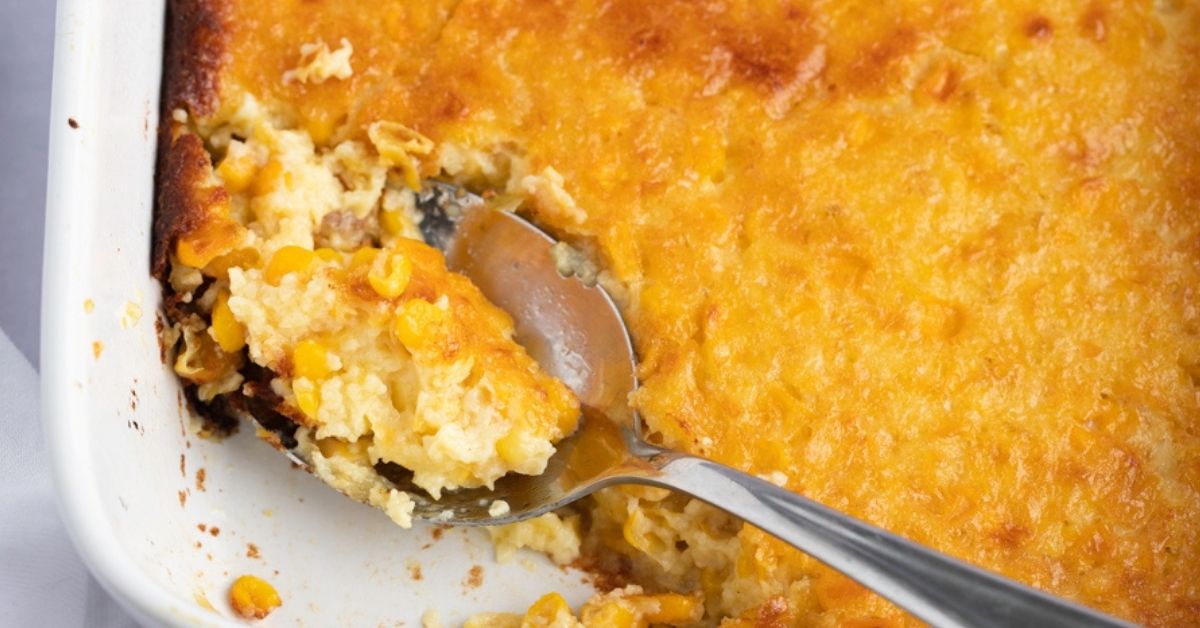
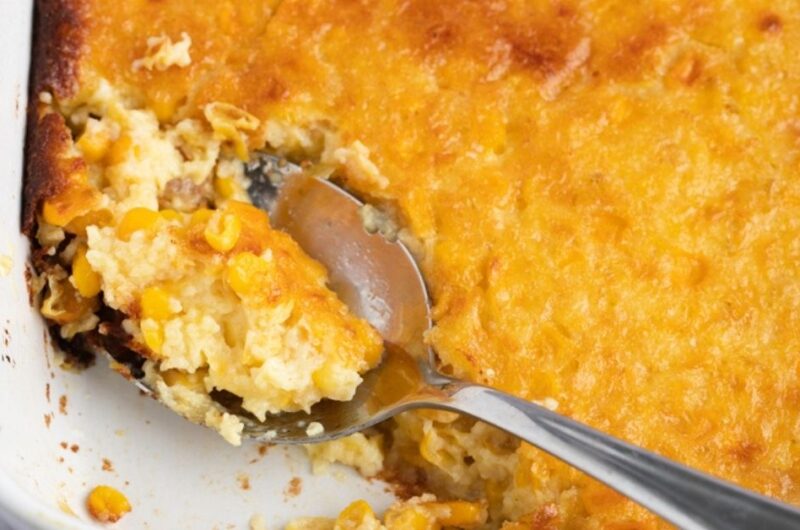
It’s slightly crispy on the outside and light & fluffy on the inside. It’s so creamy and addictive, no one can say no to it.
Serve this at your next get-together and don’t be surprised when people beg you for the recipe!
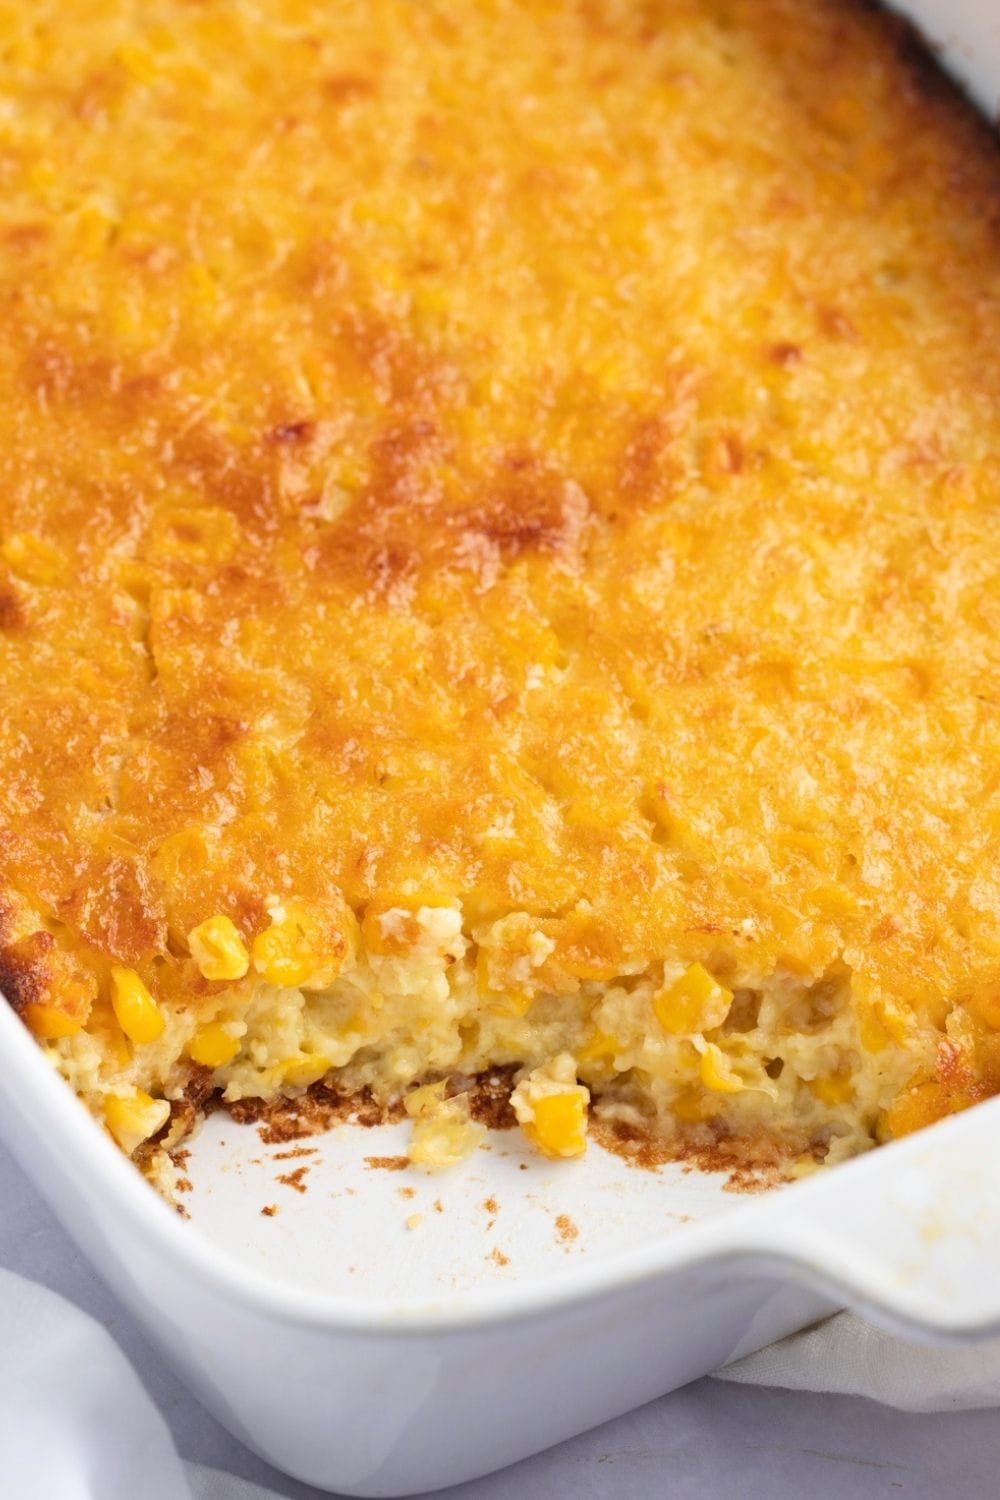
Easy Corn Pudding
This easy corn pudding is rich, creamy, and bursting with sweet juicy corn kernels with every bite. Whether it’s Thanksgiving or Christmas, it’s a must-add to your holiday menu.
This isn’t your usual shortcut recipe that call for Jiffy corn muffin mix. It’ll teach you how to make corn pudding from scratch.
The result is a far superior corn pudding, but it’s not as hard to make as you think.
Even without Jiffy mix, this pudding comes together almost effortlessly, with just 10 minutes of prep and 3 easy steps.
So don’t be afraid to ditch the Jiffy and make your own homemade corn pudding! I’ve got you covered.
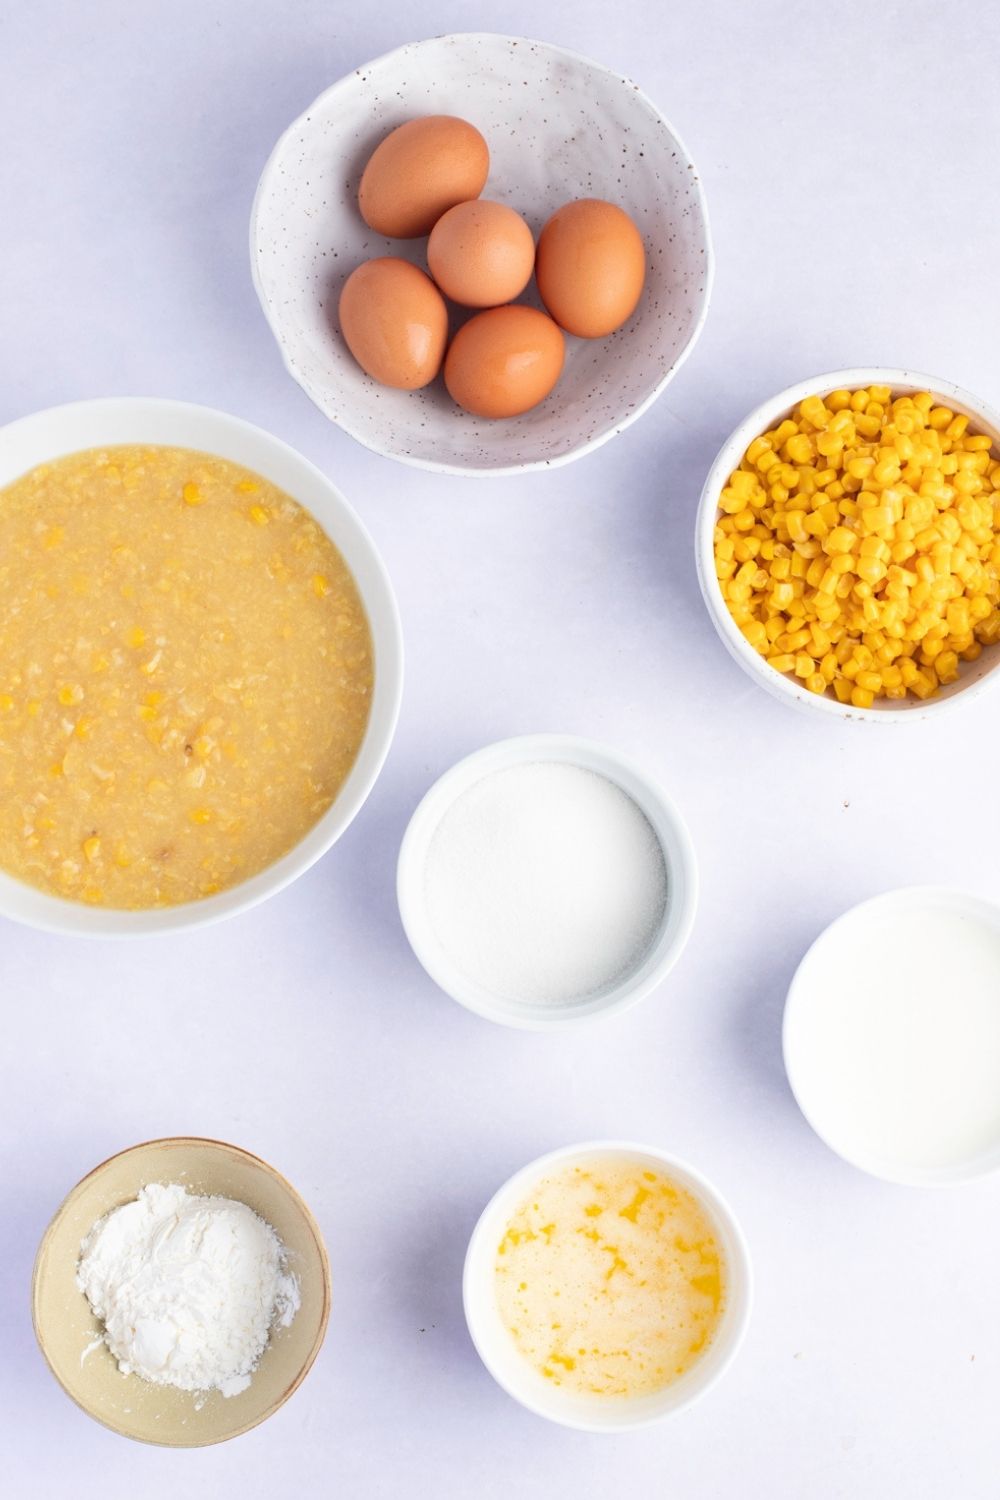
Ingredients
This recipe is made with just 7 simple ingredients. Many of them are probably already in your kitchen!
- Eggs. Take them out of the fridge at least 30 minutes before making the dish. Room temperature eggs will make the dish light and fluffy.
- Melted butter. Gives the dish that rich flavor. Margarine works fine as well.
- White sugar. This recipe calls for a quarter cup, but if you don’t want the dish to be too sweet, feel free to use less.
- Milk. You can use either whole, 1%, or 2% milk.
- Cornstarch. It’s the thickening agent that will give the dish that custard-like texture.
- Canned whole kernel corn. You can also use fresh or frozen corn if you prefer.
- Canned cream-style corn. The “secret” ingredient that makes this recipe so deliciously creamy.
How to Make Corn Pudding
This creamy corn pudding is so good, people will think you’re an expert who knows your way around the kitchen. But really, the recipe is so simple, even the kids can help make it! Here’s how:
- Lightly beat eggs in a bowl.
- Add sugar, milk, and melted butter.
- Add the cornstarch and whisk until fully incorporated.
- Add corn and creamed corn. Mix well.
- Pour mixture into a greased casserole dish.
- Pop it in the oven for one hour at 400 Degrees Fahrenheit.
- Serve either hot or cold.
And there you have it, a rich and creamy holiday dish that your guests will devour in a matter of minutes.
Tips & Tricks
- No cornstarch? No problem! You can use half a cup of flour instead.
- Use frozen corn instead of canned corn. Just remember to add a teaspoon of salt to the mixture.
- Here’s a neat trick to incorporate cornstarch easily into the dish. Combine it with cold milk, whisk the lumps away, and then add it to the mixture.
- Want your corn pudding to contain a little less liquid? Simply drain the liquid out of the canned kernel corn. Don’t drain the creamed corn, though!
- Double the ingredients to make more. This works well if you’re serving a large crowd. Bake it in two dishes to ensure it cooks all the way through.
- Cut back on the cholesterol. Use a liquid egg substitute instead of eggs.
- You can use either a 2-quart casserole dish, a glass baking dish, or an aluminum pan to bake the dish. Whatever you use, don’t forget to grease it with cooking spray. Use fat-free to minimize the guilt!
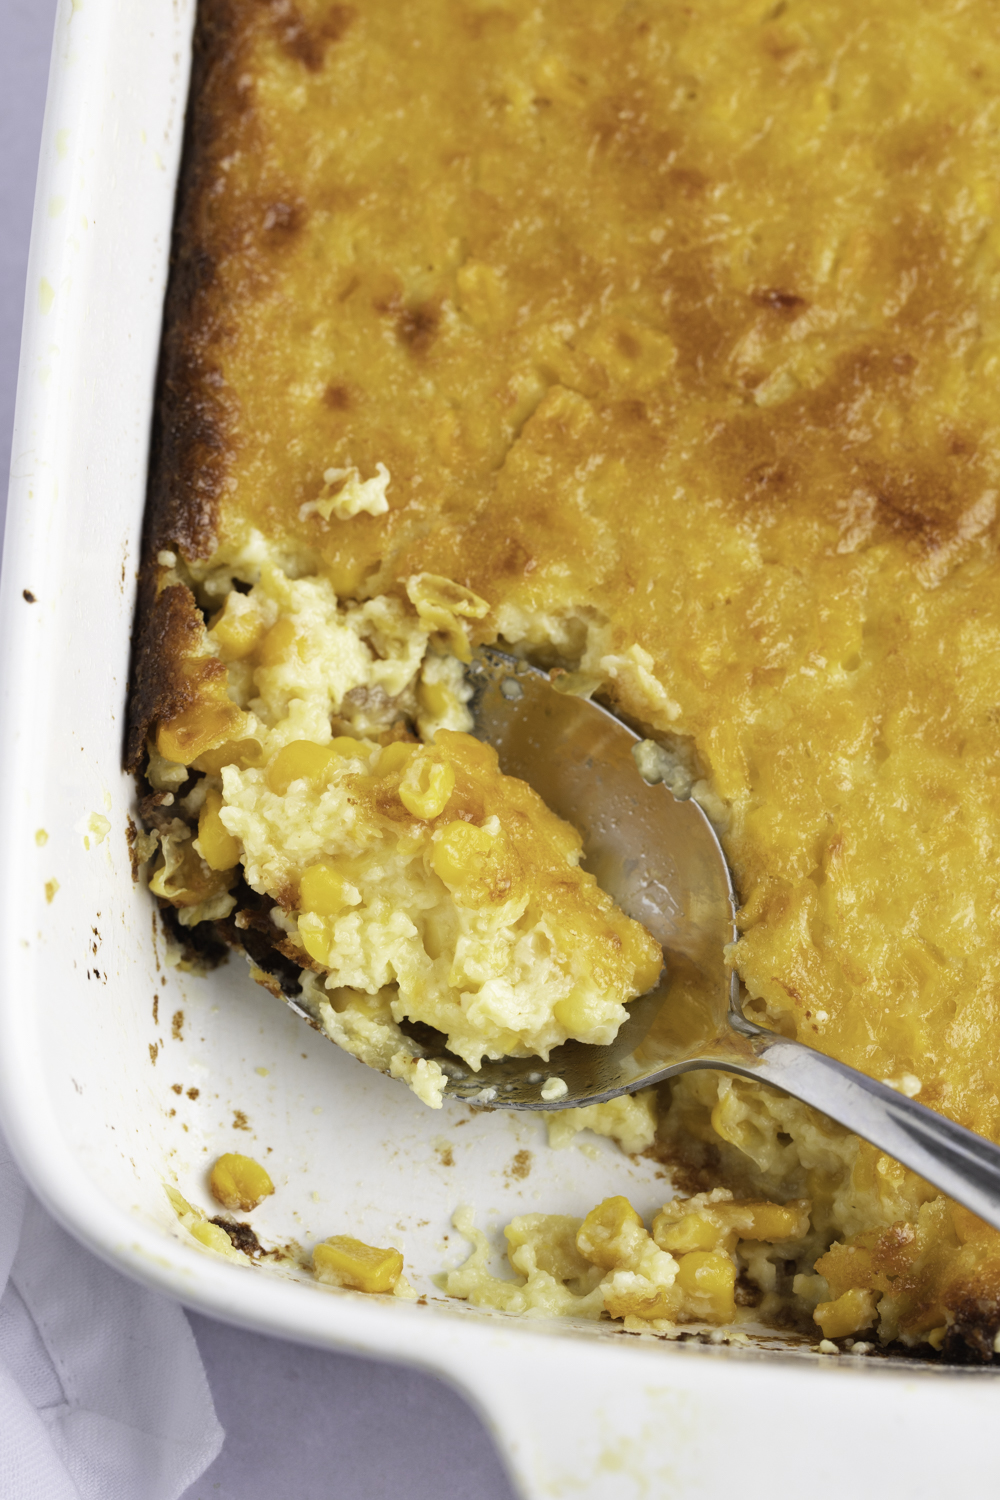
Variations
- Want a more savory corn pudding? Easy – just skip the sugar!
- Want to add some Tex-Mex flair to the dish? Add some green chili and loads of shredded cheese to the mixture before baking.
- Give the dish a smoky flavor. Top it with crunchy bacon bits.
- Spice it up! Add some jalapenos and pepper jack cheese.
Do You Eat Corn Pudding Hot or Cold?
Fortunately, you can eat creamy corn pudding however you like! I like it best when it’s fresh from the oven and still piping hot.
However, it also tastes incredible at room temperature or even cold.
Make Ahead of Time
Since you can serve corn pudding either hot or cold, you can either make it on the day of your party or a few days in advance.
Just assemble the mixture ahead of time and refrigerate for 3-4 days. You can also freeze it for up to two months. And when you’re ready to serve the dish, either let it set to room temperature first or bake right away. If you do the latter, just add 30 to 45 minutes to the original cooking time.
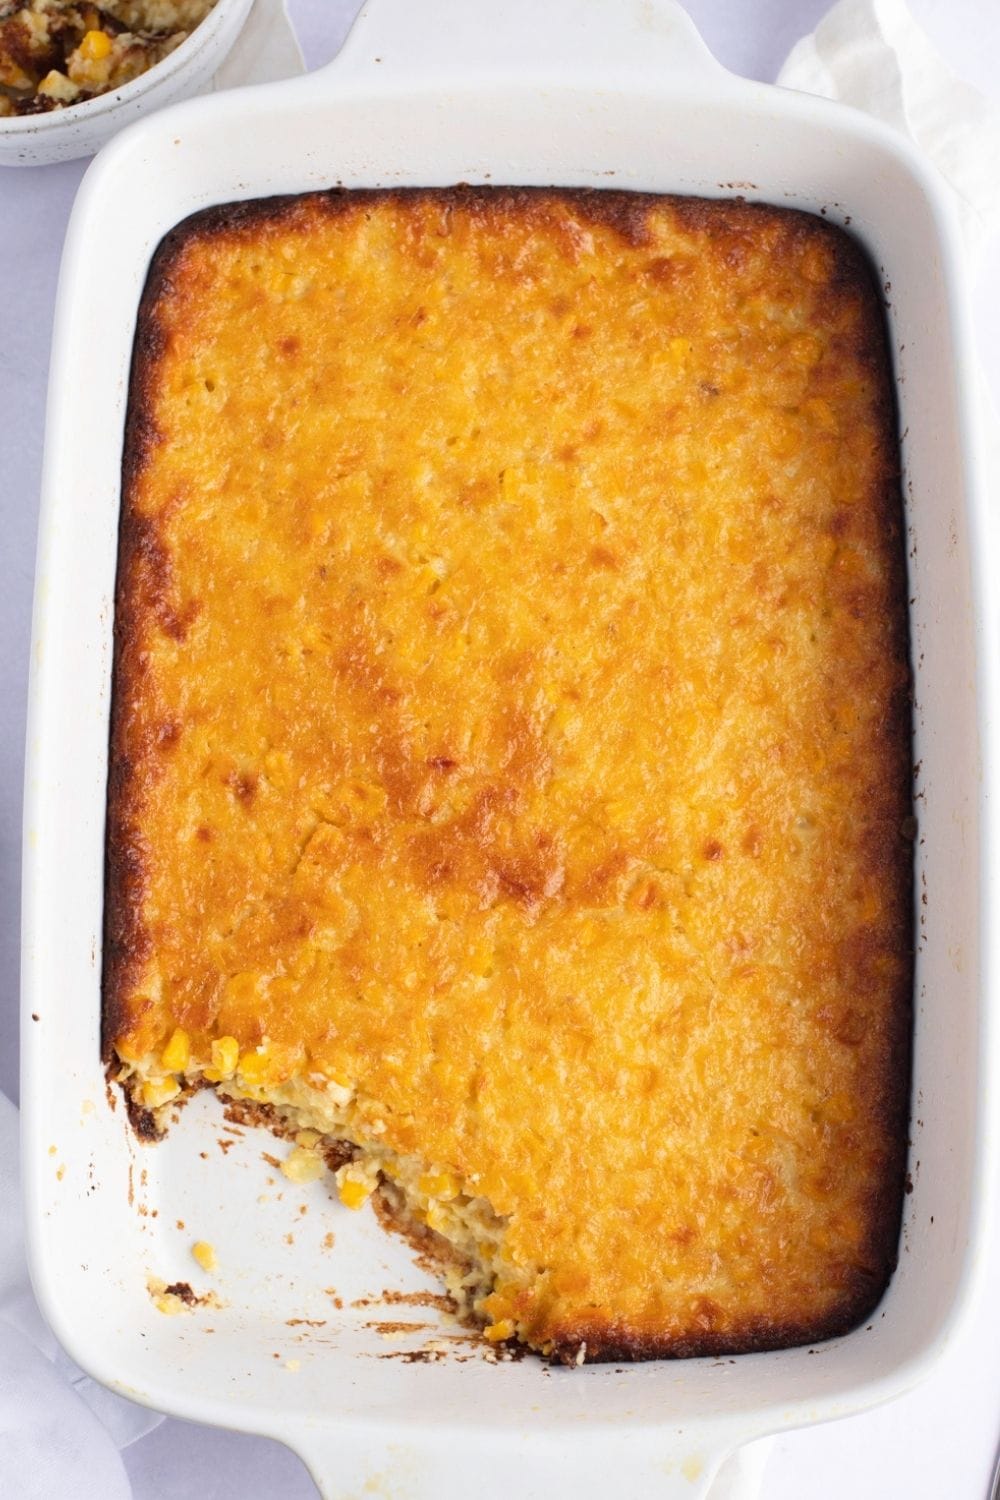
What to Serve with Corn Pudding
Creamy corn pudding is the perfect side dish to complement the star of your dinner table. Whether it’s turkey, beef, ham, or chicken, this traditional sweet and savory dish will elevate any meal to the next level.
Whether you’re celebrating a special holiday or having a simple dinner with the family, corn pudding will surely be a wonderful addition to your meal. Here are several amazing dishes that taste great with corn pudding:
- BBQ. For the perfect combination of savory and sweet.
- Turkey. For a traditional Thanksgiving party.
- Glazed Ham. For that simple Easter celebration.
- Pork Chops. For a fun lunch with friends.
- Corned Beef. For the St. Patty’s festivities.
- Roast Chicken. For that special weekend dinner with the whole family.
- Meatloaf. For the perfect winter comfort food.
- Chili. For absolutely any occasion!
How to Store
Stored properly, creamy corn pudding will keep well for up to 3 to 4 days.
Cover the casserole dish tightly with plastic wrap or transfer the dish into an airtight container.
Reheat the corn pudding in the microwave until warmed through.
Can You Freeze Corn Pudding?
As this recipe uses dairy, I don’t recommend freezing it. While technically safe, the custard will have an undesirable, grainy texture after thawing.
If you don’t mind the texture changes, though, you can freeze it for up to 3 months.
Wrap the leftovers in a double layer of aluminum foil. Then, add the date and pop the container into the freezer.
When you’re ready to serve it, let it thaw in the fridge overnight. Reheat it the next day in the microwave or oven.
Still, I suggest freezing corn pudding before baking it instead of freezing leftovers. The texture won’t degrade as much that way.









Want to raise it up ten notches? Ten minutes before removing it add a mixture of brown sugar and cinnamon. It forms a nice crunchy glaze on the top.
Took me quite awhile to find amounts, but I did!!! I’m still looking for Jiffy Muffin mix corn Pudding. If u have it may I please see it. Thanks so much!! I’m taking this one to friends Barbeque!!! Wish me luck!!!
Hi Suzanne, I hope you liked this version of corn pudding! Here’s another version used with Jiffy mix you can try:
https://www.backtomysouthernroots.com/jiffy-corn-pudding/
1 box Jiffy cornbread mix.
1 stick melted butter
1 eight oz container sour cream
2 eggs
2 to 4 ears of raw corn kernels, making sure to scrape the milk out of the cob, OR use 1 can of creamed corn.
Mix well all ingredients except Jiffy mix.
Then fold in Jiffy mix, put in a buttered casserole, and bake at 350 degrees for about 45 to 55 minutes.
Hi, I live in Ireland, and I can’t get cans of cream style corn. is there something else I can use? Thank you from Eleanor
I am sorry that this reply came so late, Eleanor. But since other people might have the same question, I wanted to answer you.
You can easily make homemade cream-style corn. Simply drain, then blend 1 can of whole kernel corn in a food processor or blender until it reaches a creamy consistency. Use this puree to replace the 2 cans of cream-style corn in the recipe. 🙂
This recipe was very easy to assemble and a great compliment for the meatloaf I served. Because of dietary constraints, I melted coconut oil instead of butter and oat milk instead of dairy milk. I also used prepared chia as a replacement for the eggs. I drained the liquid from the canned corn and didn’t deleted the sugar. It turned out great and our guests loved it too!
Definitely will make it again. Thanks for sharing!
Thanks for sharing your tweaks, Lisa! These are excellent for people who may have similar dietary restrictions!
thanks for the recipe, it was delicious
So glad you enjoyed it, Sandy!
It’s one of my faves, too 🙂
This is a awesome recipe! Used it for Thanksgiving last year and will do so again this year.
Hi Joe! So happy you like it.
It’s one of my go-to sides for the holidays 🙂
Hello! If I am making a double batch in a 9×13 pan how long should I bake it?
Hi Julie, you can start by putting it in for 1 hour. If the casserole isn’t fully set at the hour mark, continue baking, checking every 5-10 minutes. Due to the increased volume, it might need an additional 10-15 minutes, but this can vary based on your oven. Hope this helps!
Thank goodness NO Jiffy mix involved!
Okay, do you drain the can of whole corn, or not? Seems a reasonable question since the mixture is very loose.
Hi, Gary!
Yes, you can drain the whole kernel corn if you want a bit less liquid in the pudding. I typically DO drain it because it just seems too watery to me otherwise. But when my mom makes it, she just dumps the whole can in — liquid and all. They both taste great to me, though mine is always a bit firmer than hers. (She says “drier” instead of firmer, but I don’t think it’s dry. Just less wiggly. Haha.)
I loved the recipe. used Ripple half and half due to my allergy to milk. no one knew. they were scrapping the casserole dish. Also, i used two cans of cream style corn and two cans of drained whole kernel.
Thanks for the recipe