Looking for a dessert that combines nostalgia with pure indulgence? This cherry poke cake brings back memories of potlucks and family gatherings.
There’s something so satisfying about poking holes in the cake and watching the cherry gelatin seep into every nook and cranny.
The recipe feels fancy but is ridiculously easy to throw together.
Plus, it’s served chilled, which makes it the ultimate refreshing treat for any gathering.
Why You’ll Love This Cherry Poke Cake
Time-Saver: It uses convenient store-bought ingredients and can be made a day ahead, reducing day-of party stress.
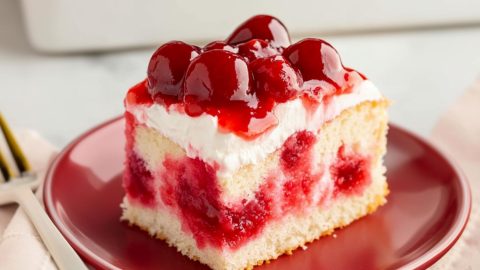
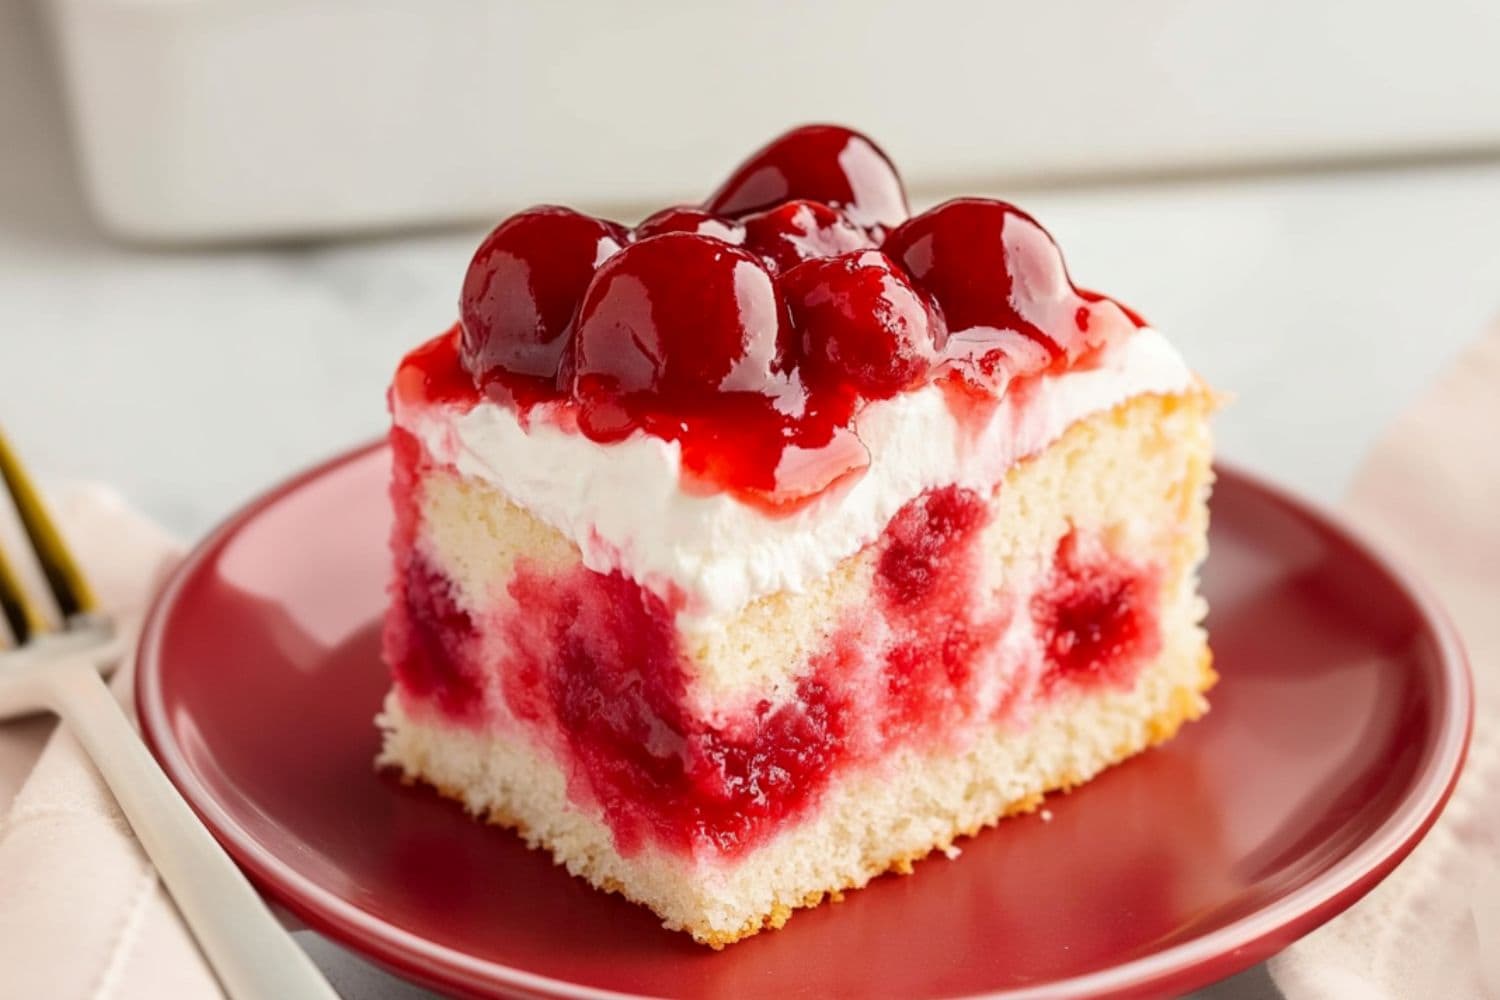
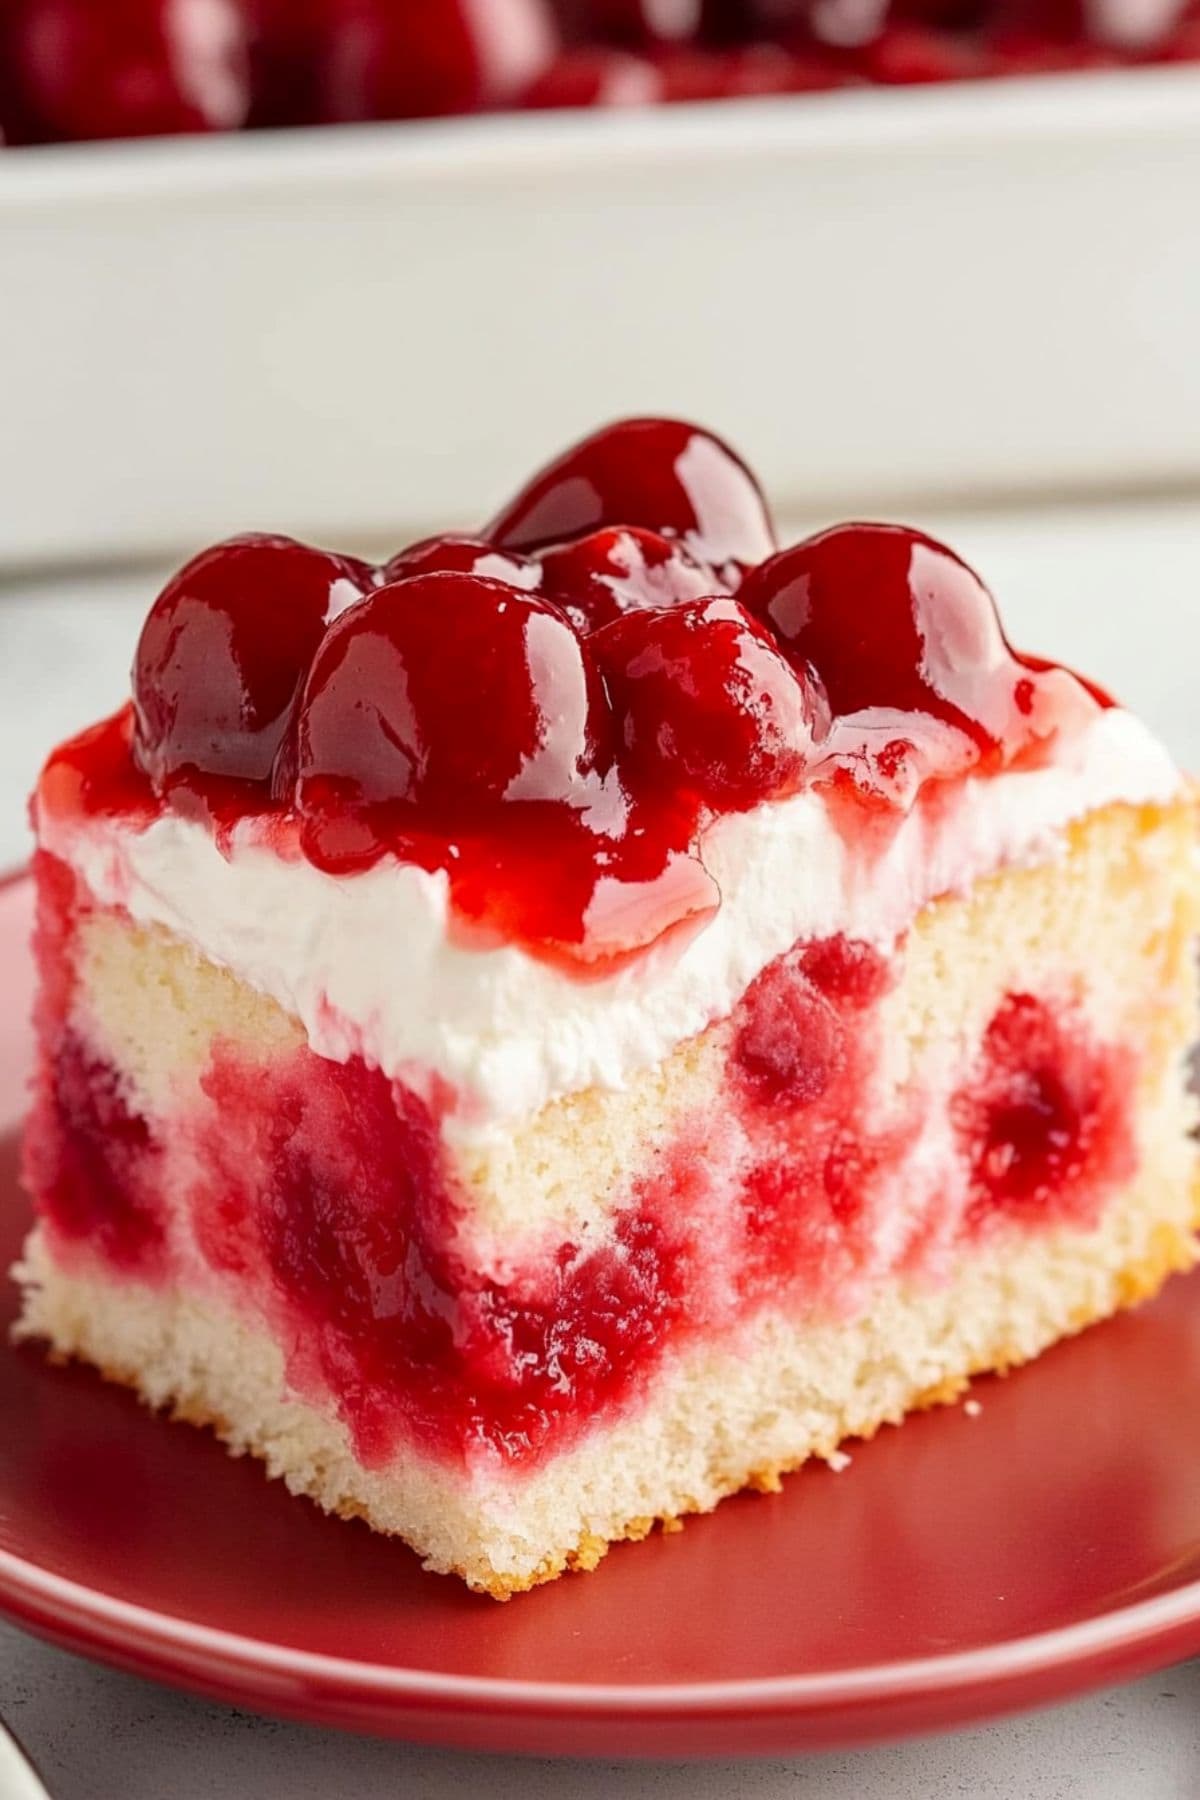
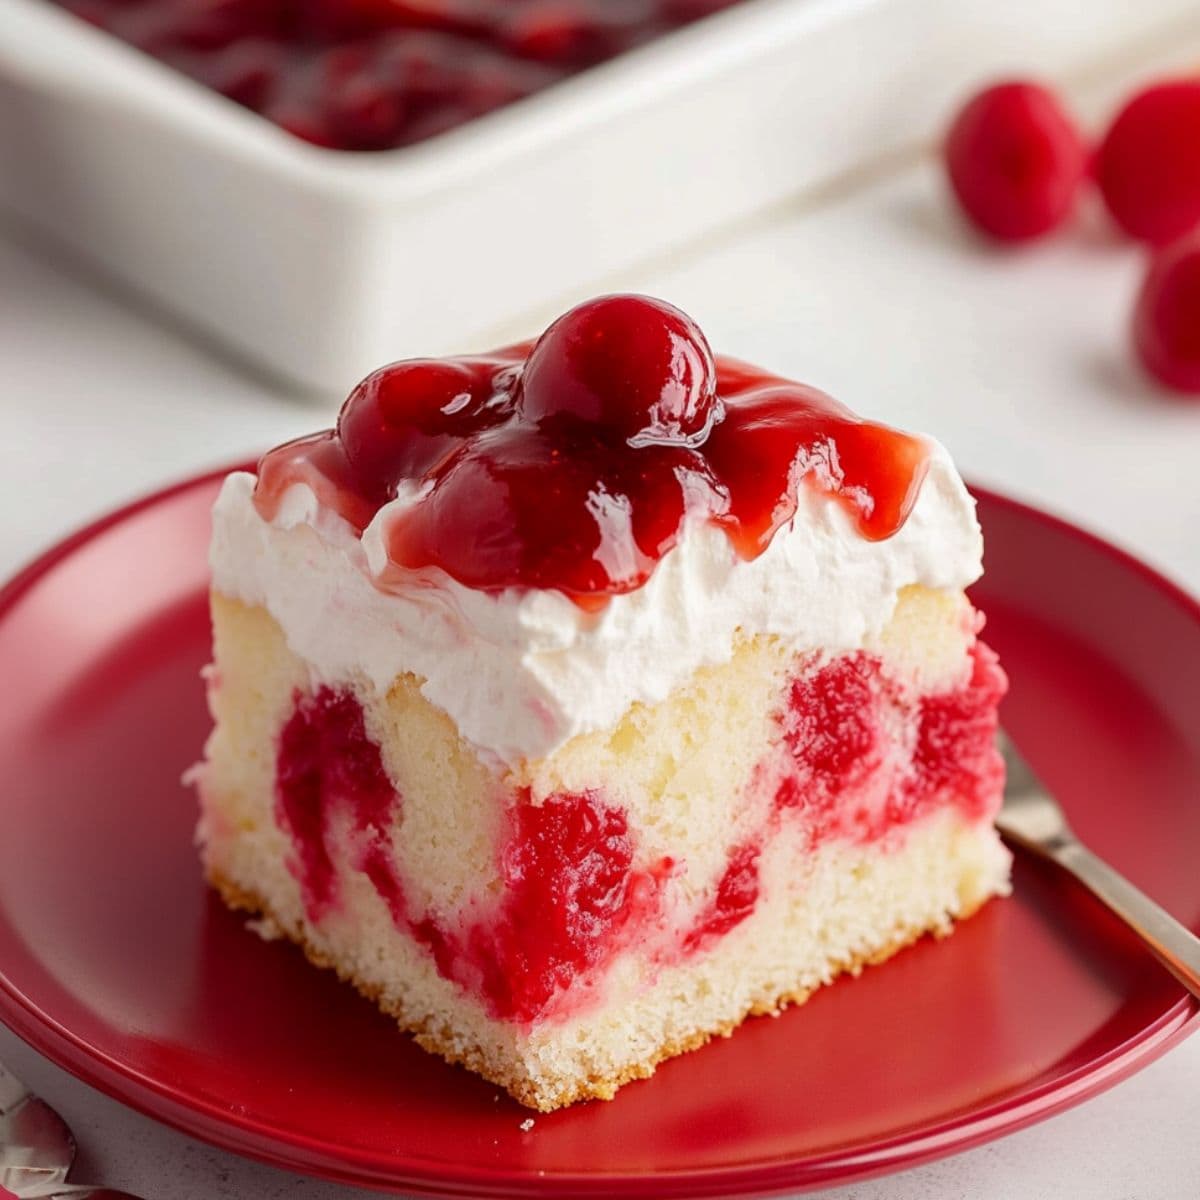
Visual Appeal: The striking red cherry filling creates beautiful polka-dot patterns when sliced. It’s an Instagram-worthy dessert centerpiece.
Crowd-Pleaser: The combination of moist cake, cherry-infused pockets, and creamy topping consistently receives rave reviews.
Moist Texture: The gelatin seeps into the cake through the poked holes. It creates a moist and flavorful bite in every slice without being overly rich.
Ingredients
- White or Vanilla Cake Mix: It serves as the foundation of this poke cake.
- Eggs, Water, and Oil: They provide structure, moisture, and richness to create a tender, moist cake texture.
- Cherry-Flavored Gelatin: It creates a bright red, sweet cherry-flavored filling and soaks into the cake through the poked holes.
- Whipped Topping: It creates a creamy layer between the cake and cherry topping, adding a smooth, cloud-like texture.
- Cherry Pie Filling: A ready-made mixture of whole cherries in a thick, sweet sauce adds fresh fruit flavor.
How to Make Cherry Poke Cake
This cake couldn’t be easier to whip up!
1. Bake the cake. Prepare and bake the cake according to the instructions on the box. Let cool completely.
2. Poke the cake. Once the cake is cool, use the handle of a wooden spoon or a skewer to poke holes all over the surface of the cake (spaced about 1 inch apart).
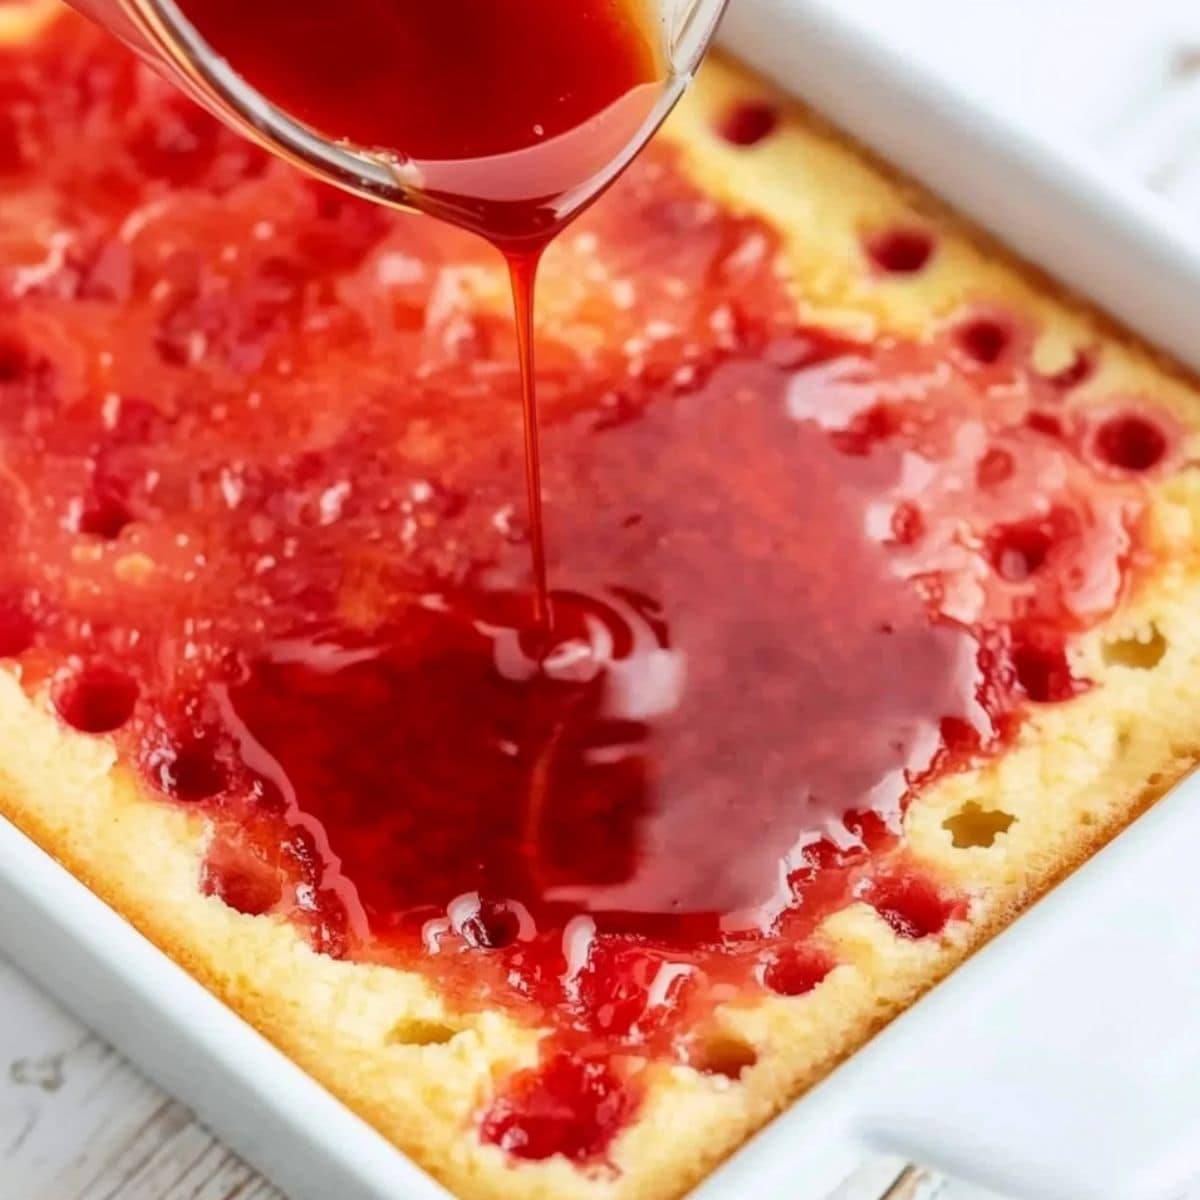
3. Prepare the gelatin. In a bowl, dissolve the cherry-flavored gelatin in 1 cup of boiling water. Stir until completely dissolved. Add 1/2 cup cold water and stir. Pour the gelatin mixture evenly over the cake, letting it seep into the holes.
4. Chill. Cover the cake and refrigerate for at least 2 hours to let the gelatin set.
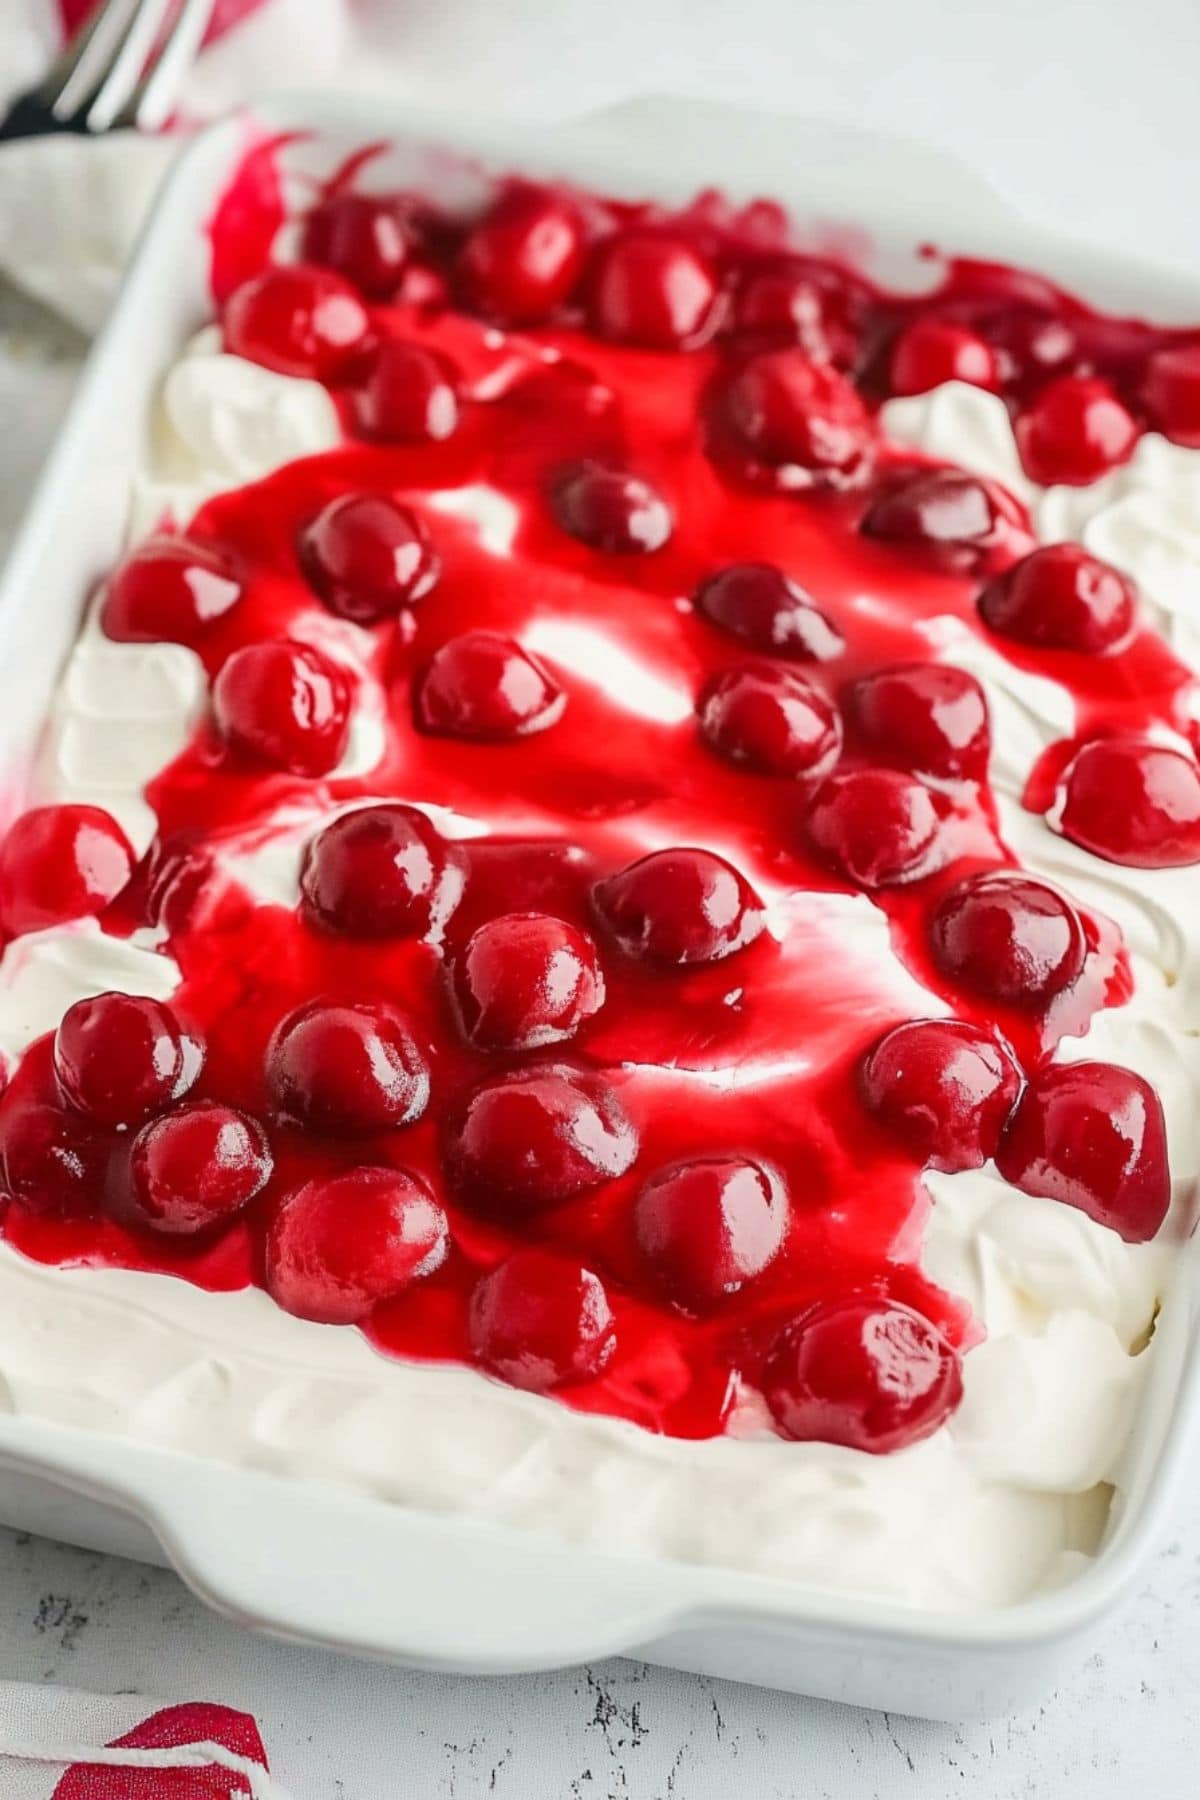
5. Add the toppings. Spread the whipped topping evenly over the chilled cake. Spoon the cherry pie filling on top, creating an even layer, or swirl it for a decorative effect.
6. Serve. Slice and serve chilled. Enjoy your cherry poke cake!
Tips for the Best Cherry Poke Cake
These tried-and-true tips will make your poke cake perfect.
- The sturdier, the better. Opt for white or vanilla cake mix as it provides a neutral base that complements the cherry flavor well.
- Keep things even. Use the handle of a wooden spoon or a skewer to poke holes about 1 inch apart. This ensures the gelatin seeps into every part of the cake.
- Go easy on the gelatin! Pour the gelatin mixture gradually over the cake to allow it to seep into all the holes without pooling on top.
- Go the homemade route. Use thawed whipped topping like Cool Whip for ease, but you can also make homemade whipped cream for a richer topping.
- Try tasty variations. Experiment with different Jell-O flavors (like strawberry or raspberry) or pie fillings (like blueberry or peach) for new flavor combinations.
How to Store
If you have leftover cake, keep it fresh with these steps.
To Store: Store the cake covered tightly with plastic wrap or in an air-tight container in the refrigerator for up to 5 days. The cake tastes better as it chills in the fridge, though for best texture, serve within 24 hours of preparation.
To Freeze: Wrap the unfrosted cake tightly in plastic wrap followed by aluminum foil, and freeze for up to 3 months.
More Poke Cakes You Have to Try
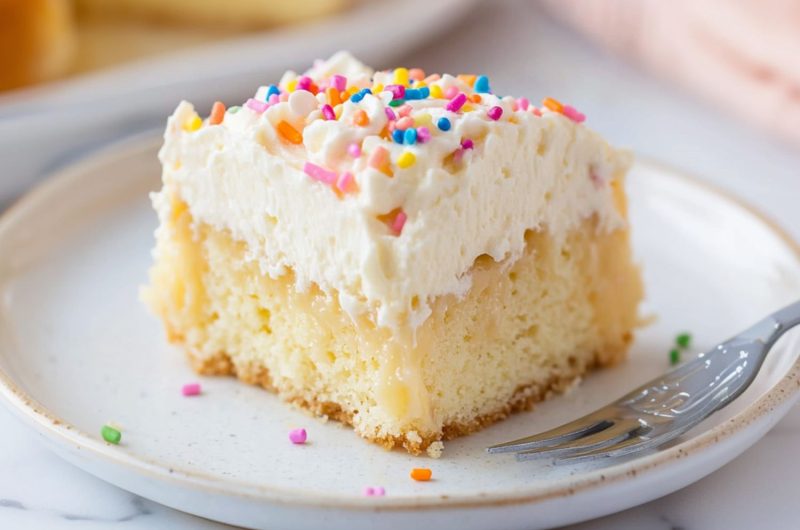
Funfetti Poke Cake
Peanut Butter Chocolate Poke Cake
Cherry Poke Cake
White Chocolate Raspberry Poke Cake
Cherry Poke Cake
12
servings25
minutes25
minutes285
kcalThis irresistible cherry poke cake transforms a simple vanilla cake into a show-stopping dessert. It’s sweetened with cherry gelatin and topped with whipped cream.
Ingredients
- For the Cake:
1 (15.25 ounce) box white or vanilla cake mix (plus ingredients listed on the box)
- For the Filling:
1 (3 ounce) box cherry jello
1 cup boiling water
1/2 cup cold water
- For the Topping:
1 (8 ounce) tub whipped topping, thawed
1 (21 ounce) can cherry pie filling
Instructions
- Preheat the oven to the temperature specified on the cake mix box. Prepare the cake batter according to the instructions on the box. Pour the batter into a greased 9×13-inch baking dish. Bake as directed on the box. Let the cake cool completely.
- Once the cake is cool, use the handle of a wooden spoon or a skewer to poke holes all over the surface of the cake (spaced about 1 inch apart).
- In a bowl, dissolve the cherry-flavored gelatin in 1 cup of boiling water. Stir until completely dissolved. Add 1/2 cup cold water and stir. Pour the gelatin mixture evenly over the cake, letting it seep into the holes.
- Cover the cake and refrigerate for at least 2 hours to let the gelatin set.
- Spread the whipped topping evenly over the chilled cake. Spoon the cherry pie filling on top, creating an even layer, or swirl it for a decorative effect.
- Slice and serve chilled. Enjoy your cherry poke cake!
Notes
- Pour the gelatin mixture gradually over the cake to allow it to seep into all the holes without pooling on top.
Did you like the recipe?
Click on a star to rate it!
Average rating 5 / 5. Vote count: 2
No votes so far! Be the first to rate this post.
We are sorry that this post was not useful for you!
Let us improve this post!
Tell us how we can improve this post?

