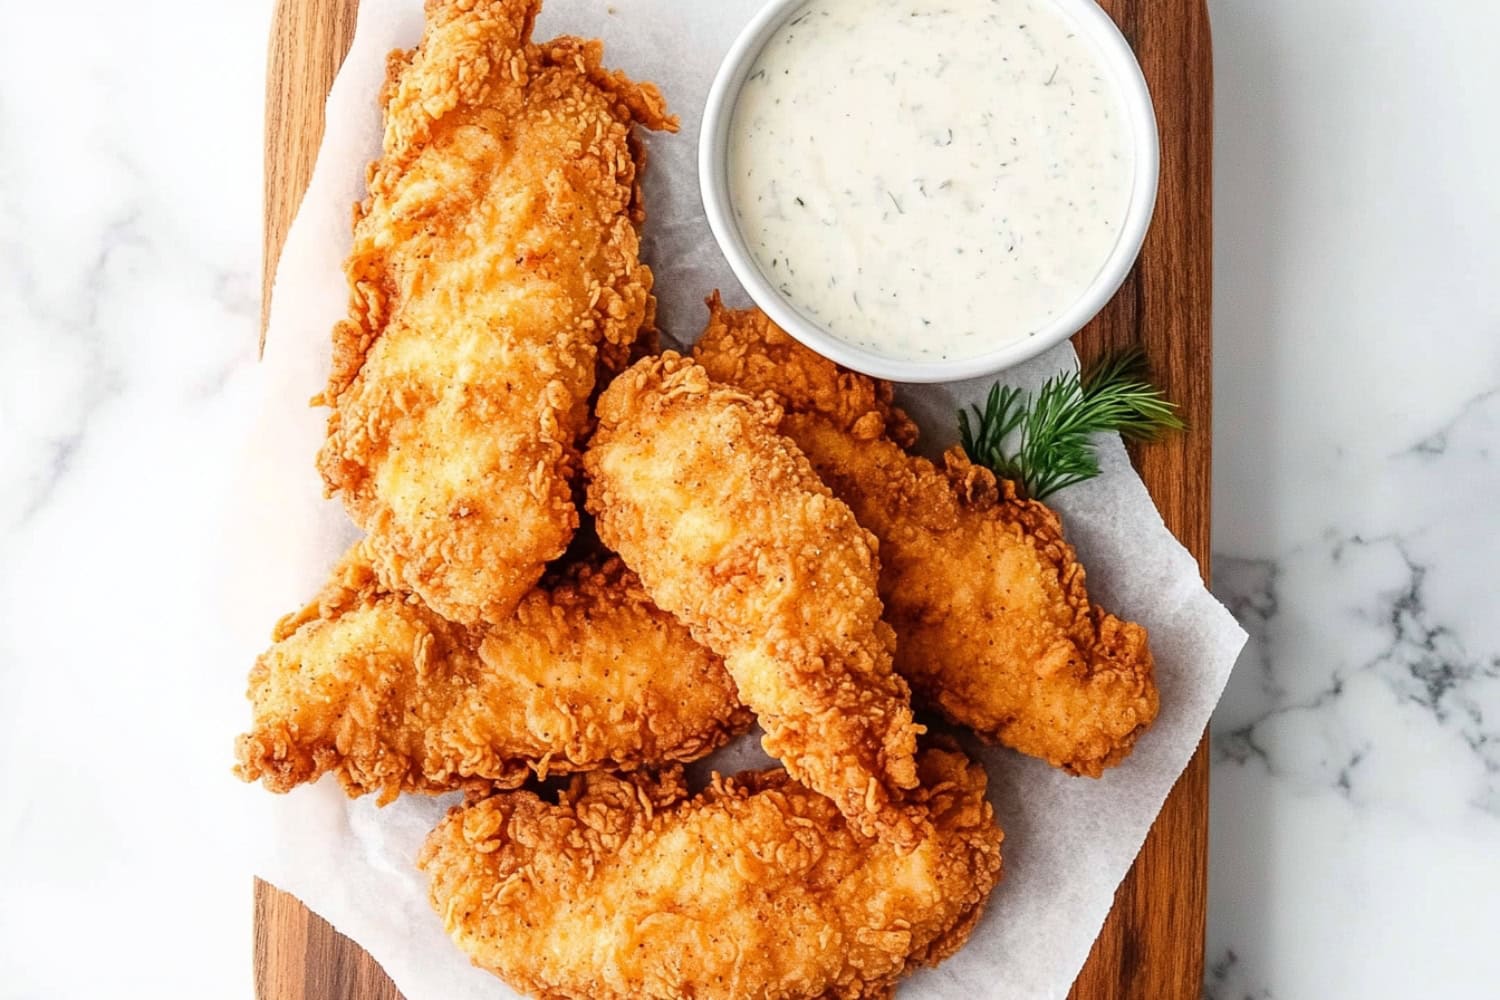
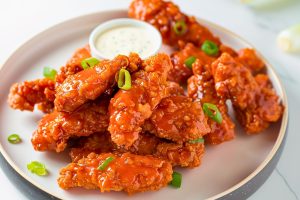
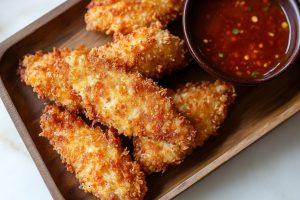
Are you craving some down-home Southern comfort cooking? Look no further than these irresistible buttermilk fried chicken tenders. They’re about as delicious and Southern as it gets!
Each tender is marinated in tangy buttermilk and coated with perfectly seasoned batter.

They’re juicy, flavorful, and have the most amazingly crisp skin.
These do more than just taste great. They’ll satisfy your very soul. Now, let’s get cooking!
Why You’ll Love These Buttermilk Fried Chicken Tenders
Full of Flavor: They’re savory, tangy, and slightly spicy. The combo of smoked paprika, garlic, and onion powder makes them absolutely irresistible.
Crispy Texture: Adding flour and cornstarch to the dredge ensures an incredibly crispy exterior. Every bite is as satisfyingly crunchy as it is delicious.
Customizable Heat: Both the dredge and the marinade include optional ingredients for heat. (Hot sauce in the marinade, cayenne in the dredge.) This makes it easy to adjust the spice level to suit your or your guests’ preferences.
Delightfully Dippable: Serving these tenders with various dipping sauces opens up a world of flavor combos. Try them with BBQ sauce, ranch, honey mustard, and more.

Ingredients
- Chicken Tenders: Use fresh tenders or boneless, skinless breasts sliced into strips. They’re tender, juicy, and perfectly sized for dipping in the marinade.
- Buttermilk: The not-so-secret secret ingredient to achieving super-succulent chicken. It’s tangy and creamy and will help the chicken retain its moisture.
- All-Purpose Flour & Cornstarch: The key ingredients for a crispy, golden-brown crust.
- Baking Powder: Add just a pinch to ensure the coating is crisp yet also light and airy.
- Seasonings: Add garlic and onion powder for savory notes and smoked paprika for a smoky depth. Finish with salt and pepper, and add a little cayenne if you want them spicy.
- Hot Sauce: Another optional heat ingredient. Add a little to the marinade for spicy tenders.
- Vegetable Oil: For frying.

How to Make Buttermilk Fried Chicken Tenders
Though not quite as simple as Bisquick fried chicken, these buttermilk chicken tenders aren’t difficult to make, either. Just follow these steps.
1. Marinate. Combine the buttermilk, (optional) hot sauce, and marinade seasonings in a large bowl. Then, submerge the chicken tenders fully in the marinade and refrigerate for at least 2 hours.
2. Prepare the dredge. Whisk the flour, cornstarch, dredge seasonings, and baking powder in a shallow dish.
3. Heat the oil. Fill a large skillet or Dutch oven 2 to 3 inches full with vegetable oil. Heat over medium heat until it reaches 350 degrees. (Use a thermometer for accuracy.)
4. Coat. Remove the chicken from the marinade, allowing the excess liquid to drip off. Dredge each tender in the dredge mixture, pressing gently to coat evenly. Transfer the tenders to a baking sheet and rest for 10 minutes before frying.
5. Fry. Fry the tenders in batches for 4 to 5 minutes per side. (Or until golden brown and cooked through.)
6. Drain. Remove the tenders with a slotted spoon or tongs. Place them on a wire rack over a baking sheet to catch excess oil. Continue frying and draining until you’ve cooked all the tenders.
7. Serve. Serve the tenders by themselves, with sides, or with dipping sauces. Enjoy!

Tips for the Best Buttermilk Fried Chicken Tenders
Want to be extra sure your tenders turn out right every time? Check out these tips and tricks:
- The meat matters. Chicken tenderloins will give you the best results. However, you can also make boneless, skinless breasts work. Just be sure to cut them properly into 1-inch strips.
- Let them soak. Ensure each tender is fully submerged in the marinade. And while the recipe calls for at least 2 hours, longer is better. Let them soak in it overnight for the best taste and optimal moisture.
- Drip the marinade in the dredge. This tip may seem odd, but it works. Drip a bit of the buttermilk marinade into the flour dredge. This will cause the mixture to clump slightly. And the craggier the breading, the crispier the tenders will be.
- Double your pleasure. For extra crunch, dredge the chicken twice. Follow the recipe. Then, dip the tenders back into the buttermilk after the first flour coating. Finally, dredge them through the flour again for a thicker, crispier coating.
- Don’t overcrowd the pan! Cook only a few pieces at a time to ensure even cooking. Cooking in batches also helps keep the temperature at a steady 350 degrees. Use a thermometer to ensure the temperature remains constant.
- Don’t hesitate. Let them drip off any excess oil, then serve right away. The tenders have the best taste and texture shortly after coming out of the oil.
- Get dipping. Experiment with different dipping sauces, such as honey mustard, ranch, BBQ sauce, or spicy ketchup. A tangy aioli sauce is another excellent option.

How to Store
Although the tenders may not be quite as crispy once reheated, they’ll still taste delicious. Just store them properly within 2 hours of cooking for safety reasons.
To Store: Place the cooled tenders in a paper towel-lined, air-tight container. Refrigerate for up to 4 days. (The paper towels will help absorb excess grease, keeping them as crispy as possible.)
To Freeze: Arrange the chicken tenders on a baking sheet and freeze until solid. Then, freeze in a freezer-safe bag for up to 3 months. Thaw in the fridge overnight before reheating.
To Reheat: Preheat the oven to 375 degrees. Place the tenders on a wire rack over a baking sheet. Bake for 10 to 15 minutes until warmed through.

