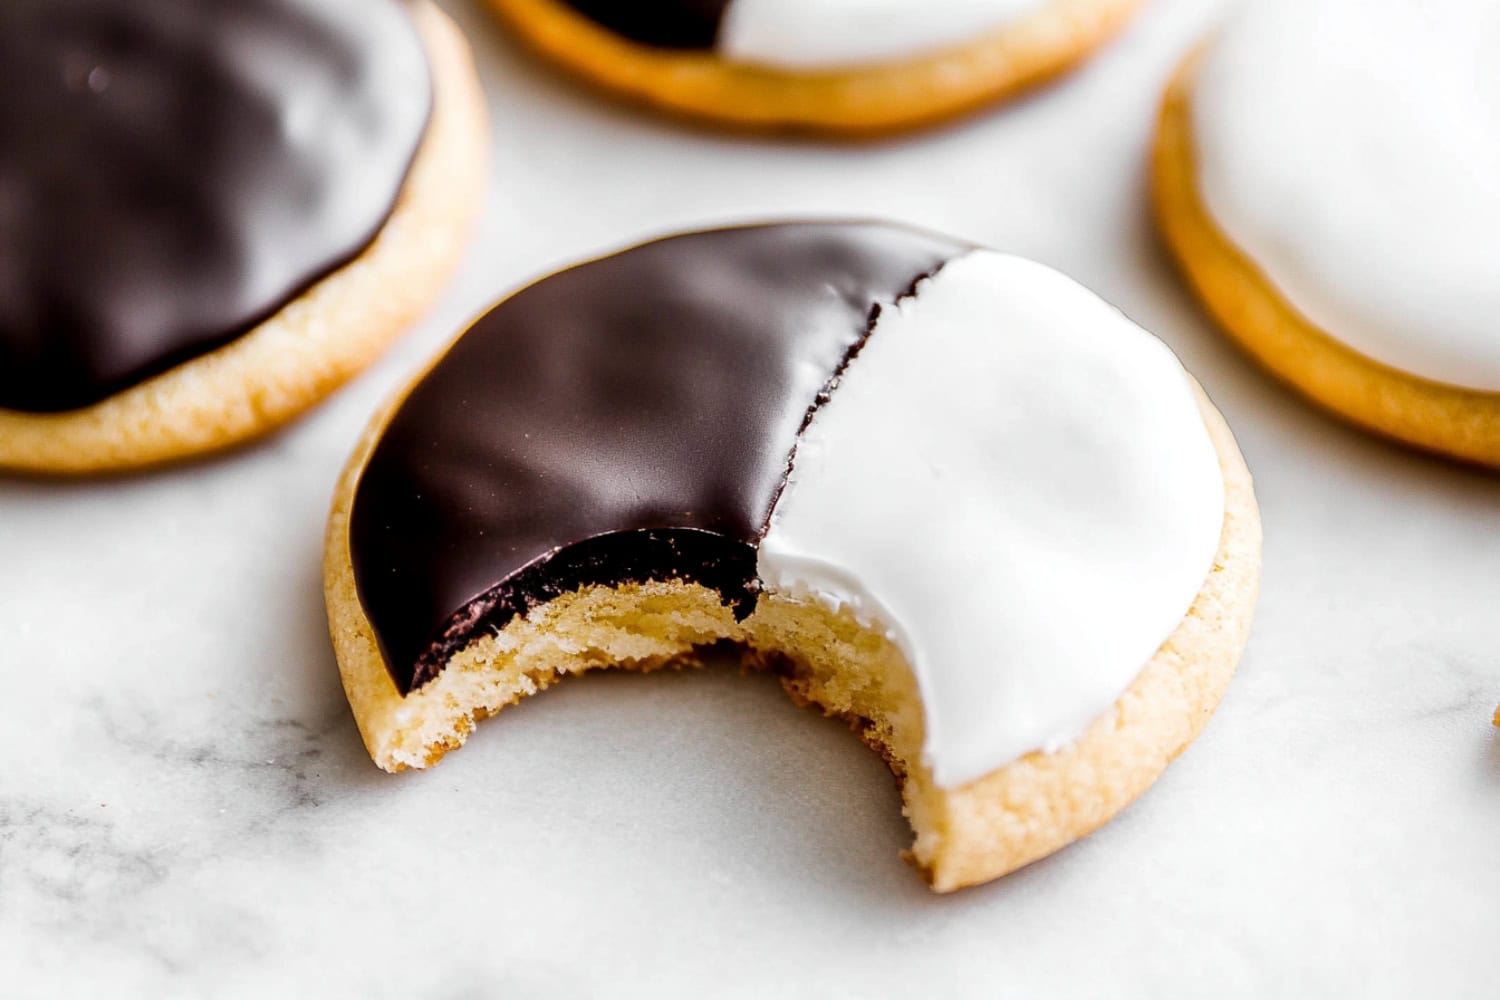
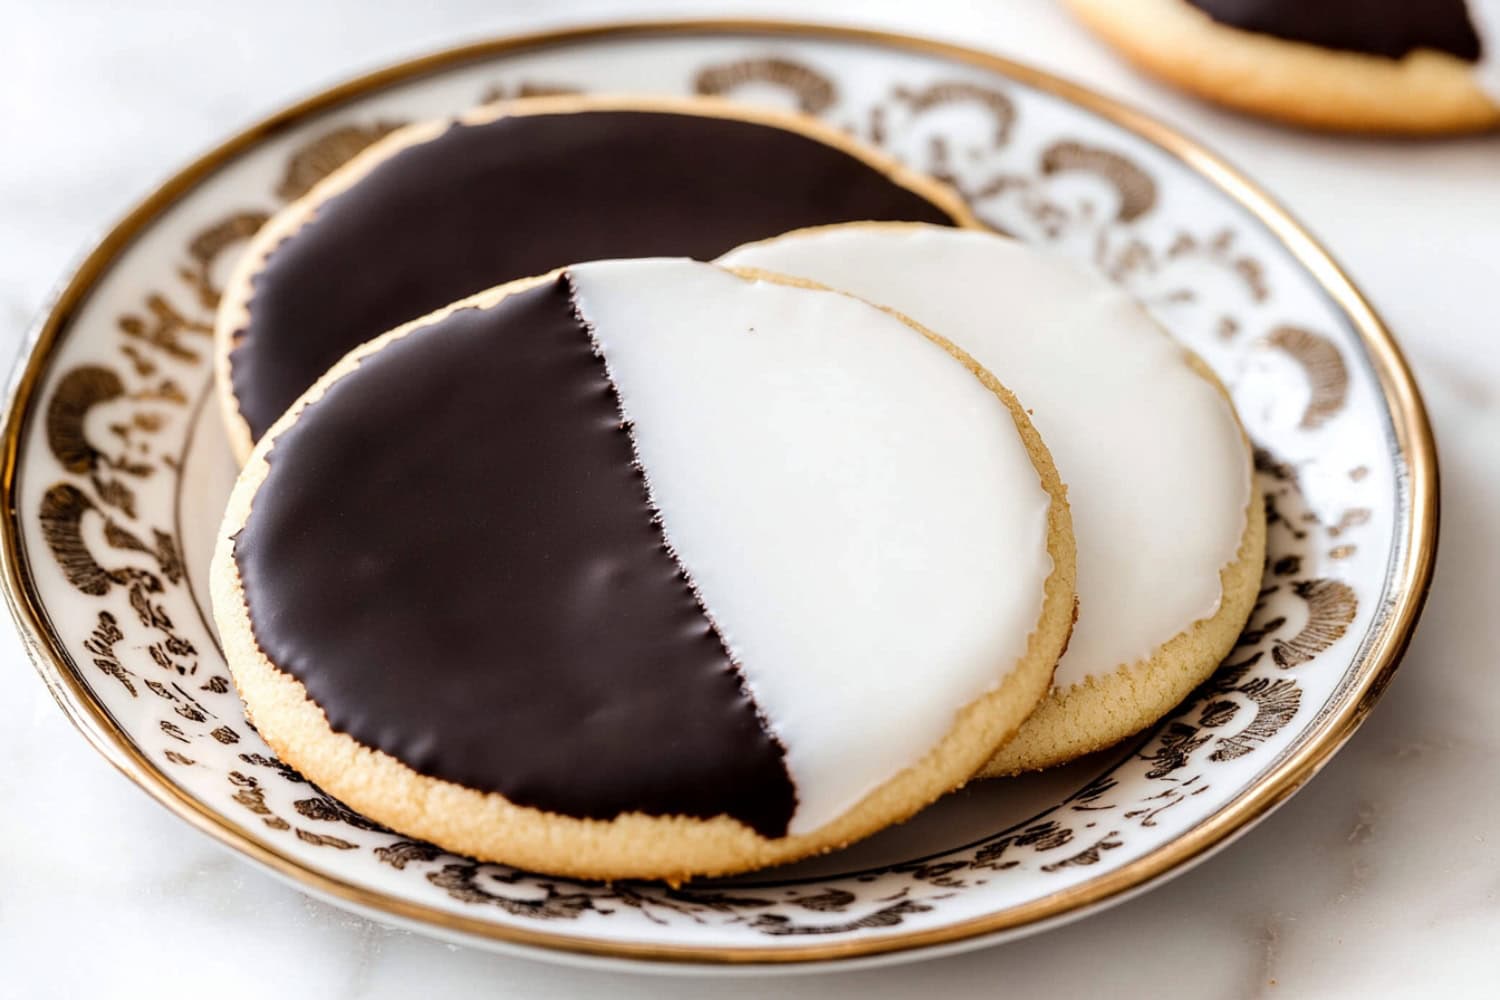
These iconic black and white cookies will make you feel like a true New Yorker, no matter where you’re from!
Originating in the early 20th century, these soft, cake-like cookies have been a beloved staple in NYC bakeries for generations.
They have a perfectly balanced chocolate/vanilla flavor and a tender, melt-in-your-mouth texture.
Try them for your next potluck or event to celebrate in style.
Why You’ll Love These Black and White Cookies
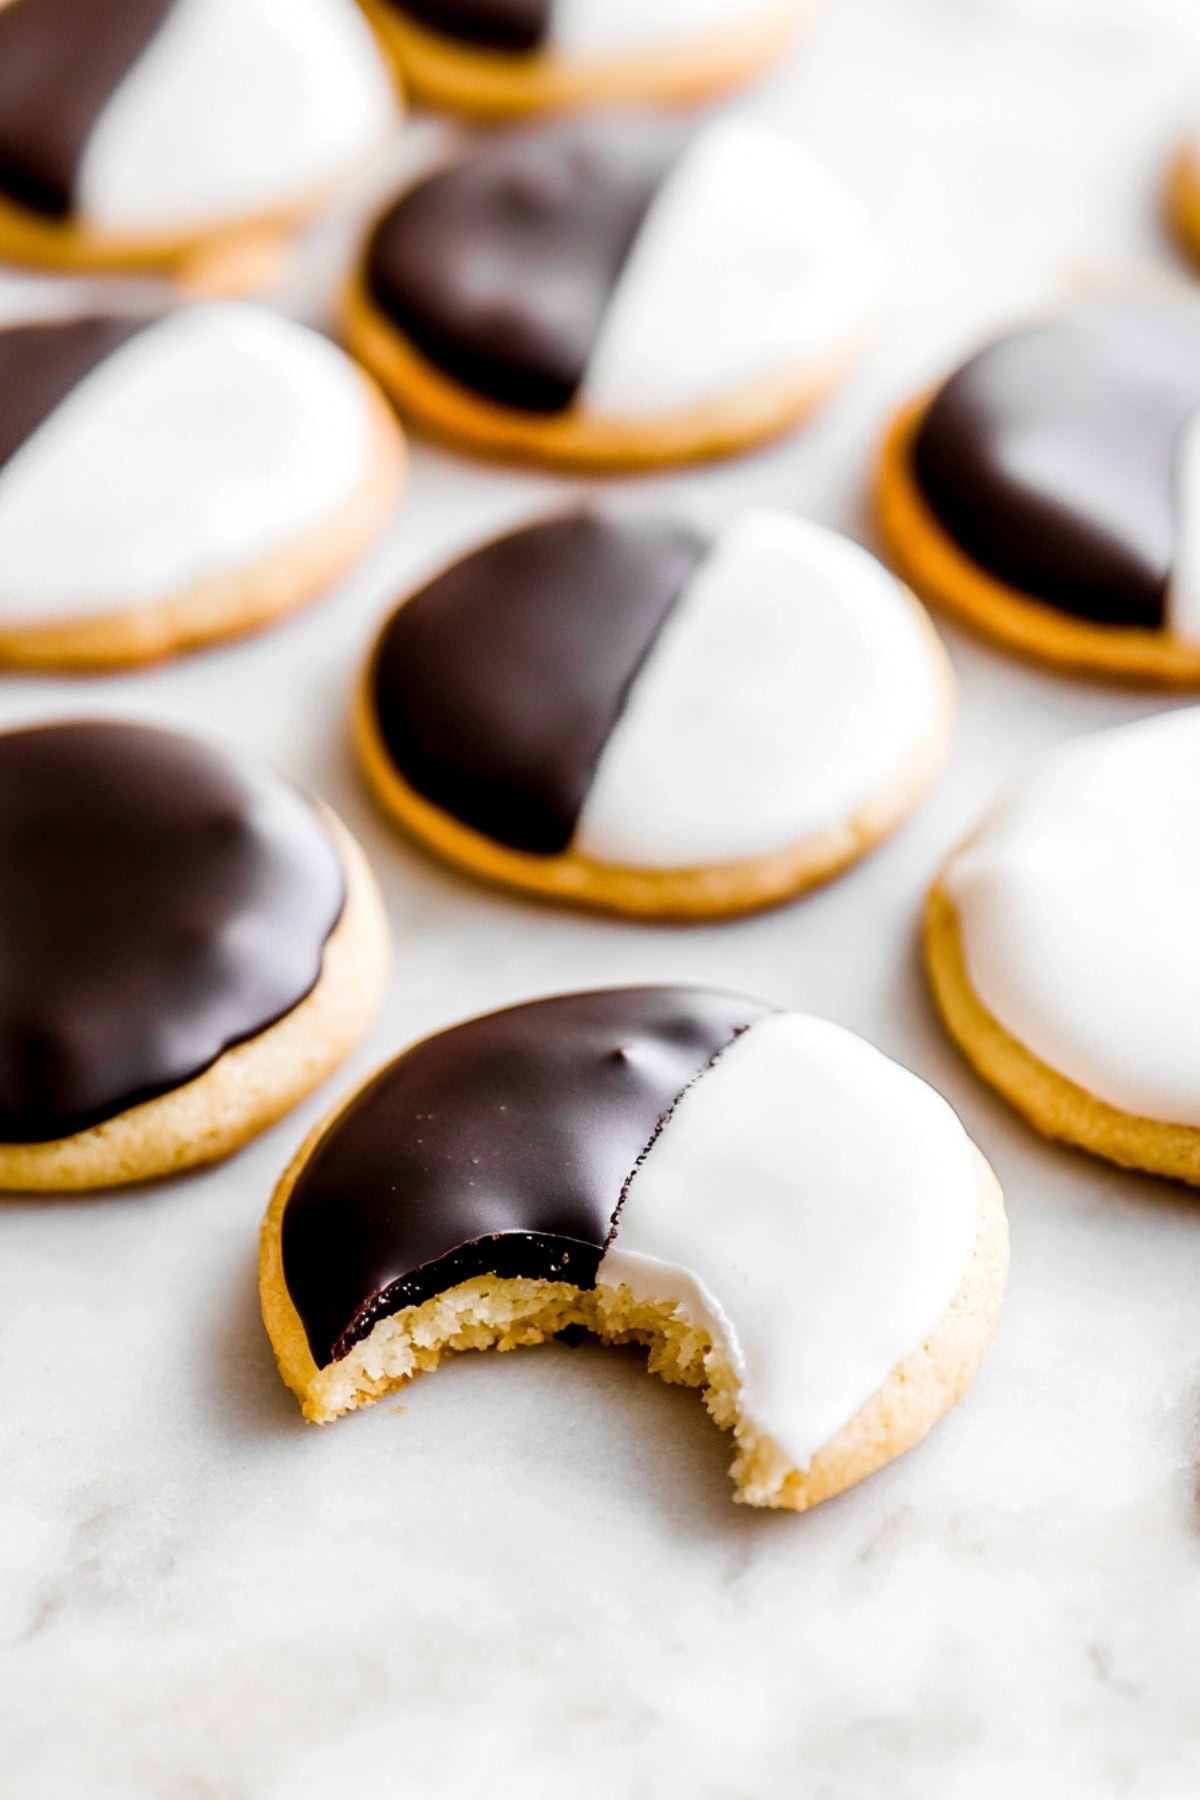
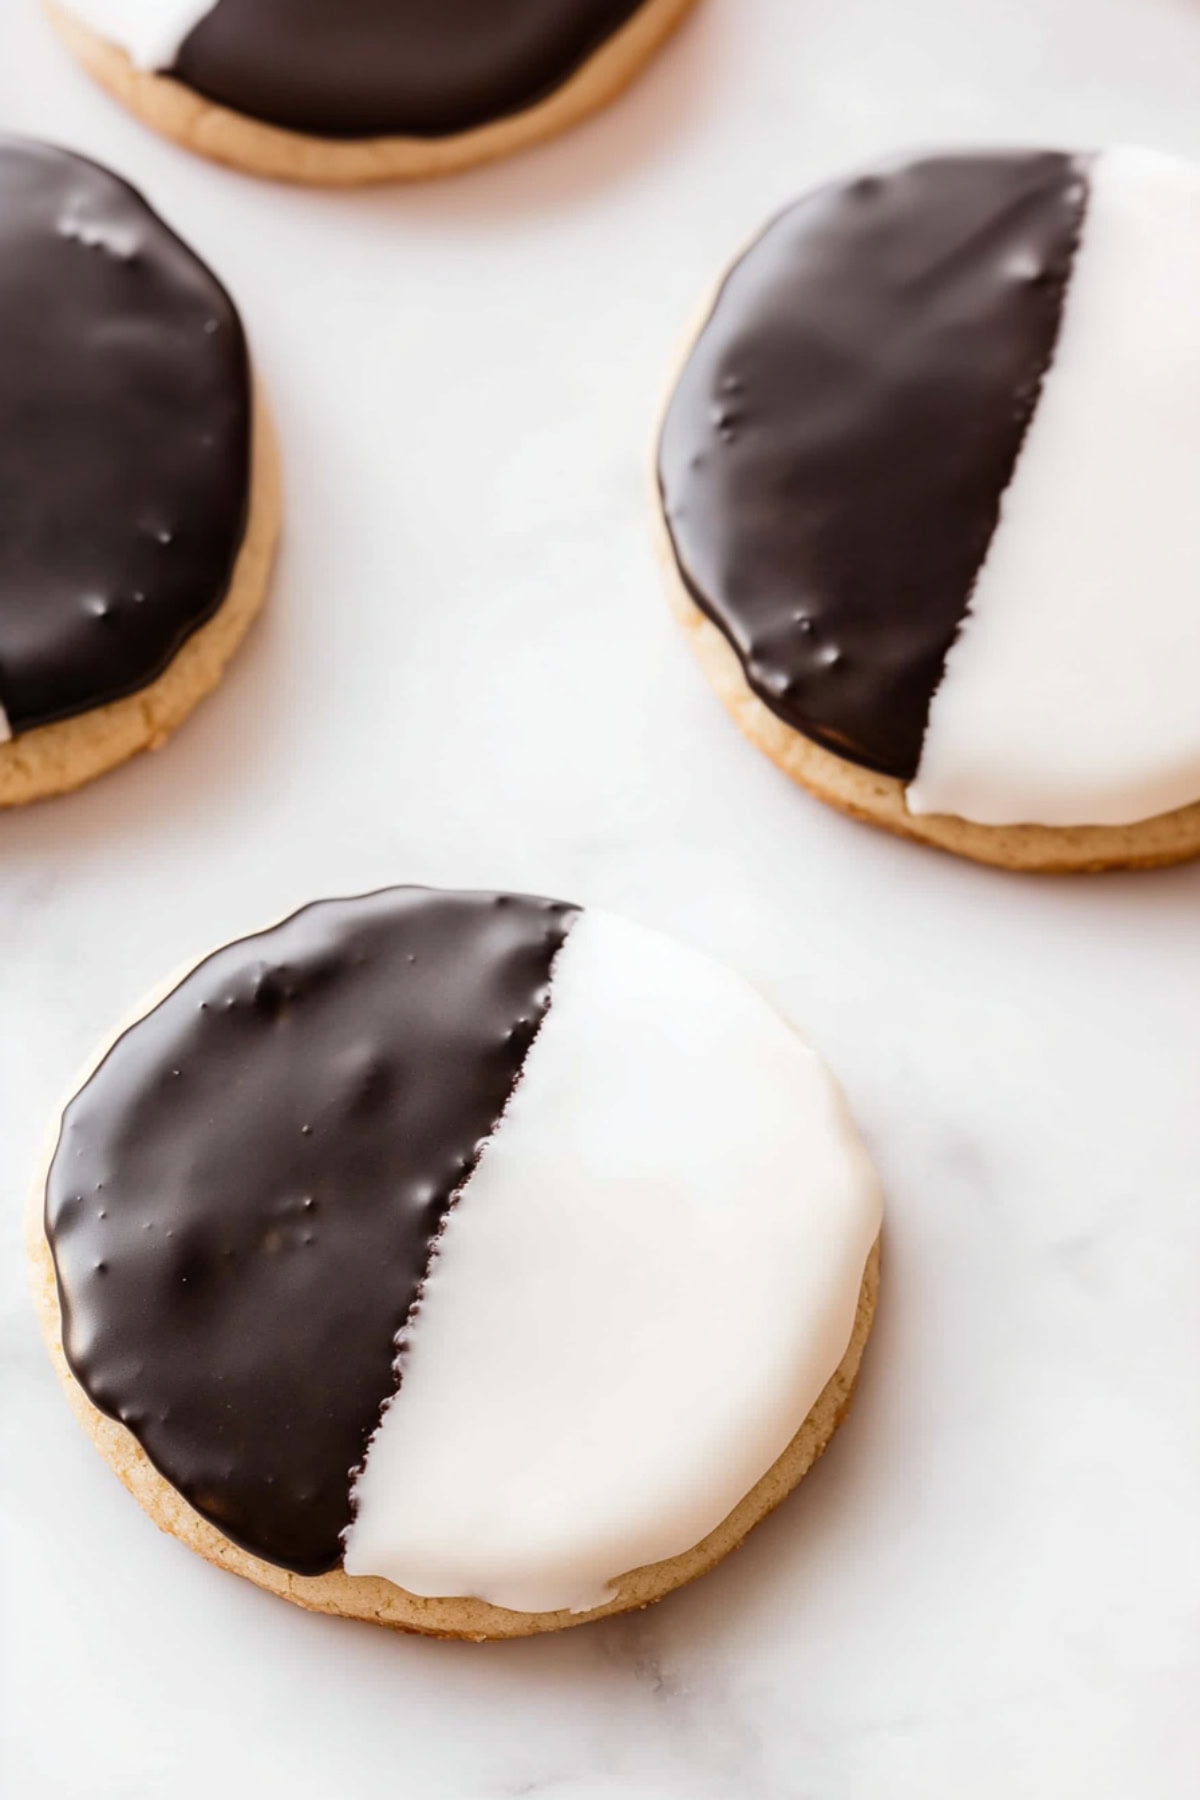
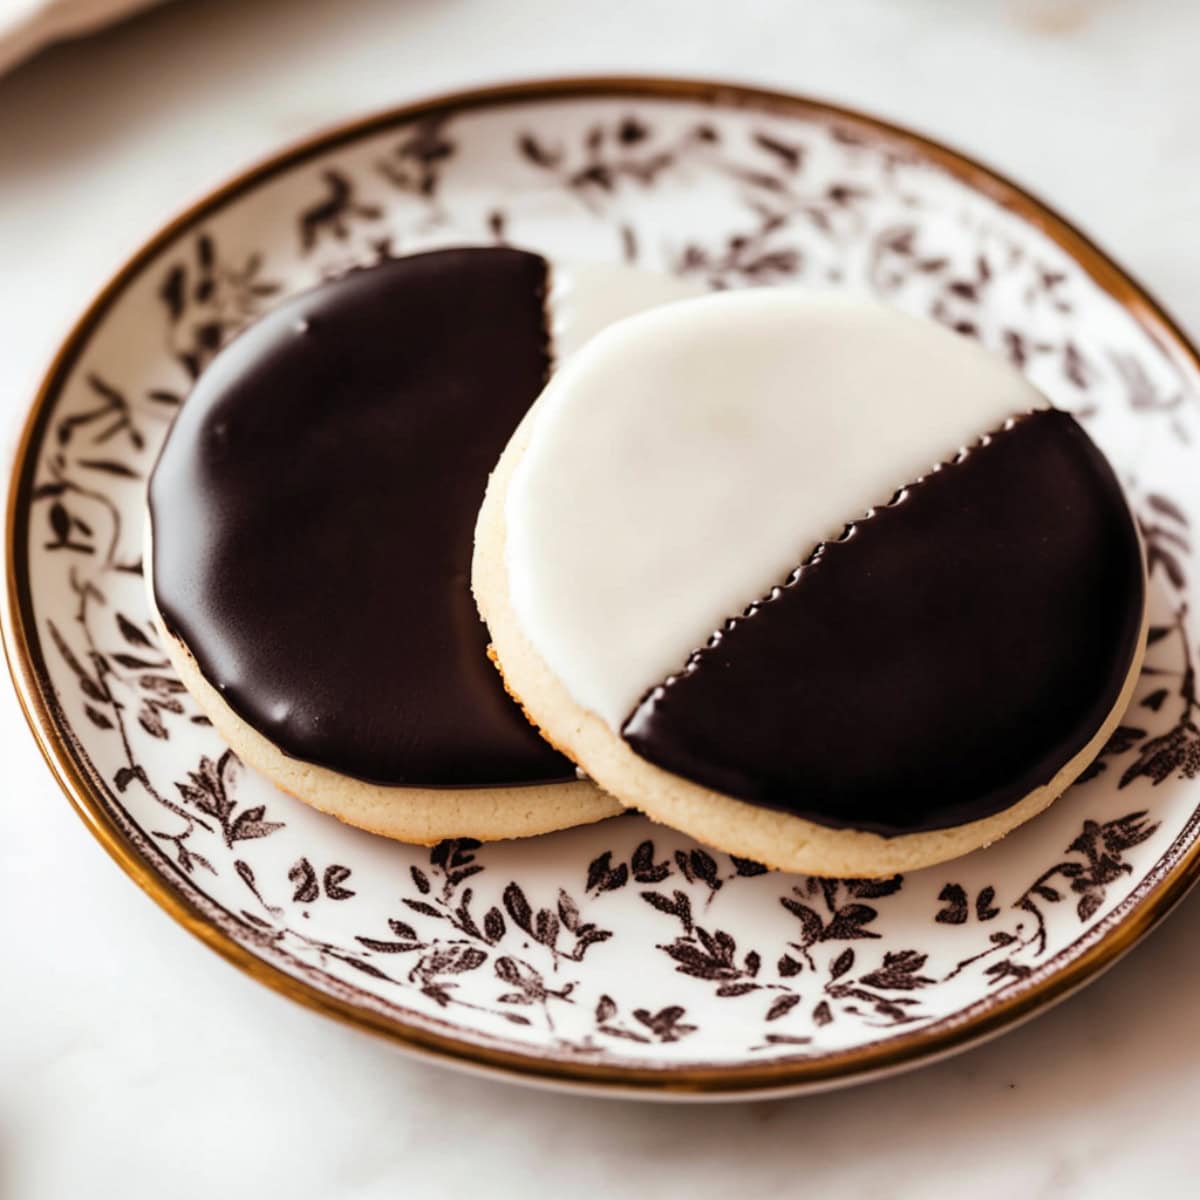
Stunningly Beautiful: The striking contrast between the black and white halves makes these cookies 100% social media-worthy. They’re elegant, gorgeous, and totally eye-catching.
Buttery Taste: Each bite offers a delightful combo of soft, cake-like texture and two distinct glazes. One chocolate, the other vanilla. So, no matter which side of that debate you’re on, these cookies have something for you.
Cultural Appeal: Baking these cookies provides an opportunity to master one of New York’s most famous recipes. It’s also just a lot of fun.
Ingredients
- All-Purpose Flour: The easy-to-use foundation for the cookies.
- Baking Powder & Baking Soda: For the perfect amount of rise.
- Salt: Just a pinch to balance the cookies’ sweetness.
- Unsalted Butter: For a rich, buttery, almost shortbread-like flavor.
- Granulated Sugar: To add sweetness and lightness.
- Eggs: The binding ingredient.
- Extracts: Use both vanilla and almond extracts for an irresistible depth of flavor.
- Sour Cream: For ultra-moist, totally tender, and surprisingly soft cookies.
- Powdered Sugar: The best choice for sweetening the glaze. It melts into the milk beautifully.
- Light Corn Syrup: Serves a dual purpose. It helps the glaze set. But perhaps more importantly, it also gives it an attractive, glossy shine.
- Whole Milk: To make the glaze liquid and spreadable.
- Unsweetened Cocoa Powder: For the chocolate half of the glaze. Use Dutch-processed cocoa for the best taste.
How to Make Black and White Cookies
Black and white cookies have a few more steps than some cookie recipes.
Don’t let that deter you from making them, though. They’re actually quite simple once you get started.
1. PREHEAT the oven to 350°F and line two baking sheets with parchment or silicone mats.
2. WHISK the flour, baking powder, baking soda, and salt in a medium bowl.
3. BEAT the butter and sugar until light and fluffy. Scrape the bowl and beat in the egg, yolk, vanilla, almond extract, and sour cream one by one until well combined.
4. STIR in the dry ingredients by hand until just combined; the batter will be thick.
5. SCOOP 1/4 cup portions of dough onto baking sheets, leaving 4 inches between each.
6. BAKE for 15 minutes until the edges are golden and the tops are firm. Cool for 5 minutes on trays, then transfer to a wire rack.
7. WHISK the powdered sugar, 1/4 cup milk, corn syrup, vanilla, and salt for the icing. Add more milk if needed.
8. MIX 1 cup icing with cocoa powder and remaining milk for the chocolate icing.
9. SPREAD the vanilla icing on half of each cookie’s flat side and refrigerate for 15-20 minutes. Spread the chocolate icing on the other half and let the cookies set for about an hour. Enjoy!
Tips for the Best Black and White Cookies
These cookies aren’t difficult to make, but you should be very precise when frosting them.
I’ve included some tips that should make that process simpler. And a few general recipe tips, as well.
- Use room-temperature ingredients. Measure and set the butter, eggs, sour cream, and milk out early. Allow them to come to room temperature for the best taste and texture.
- Use a cookie scoop. The more evenly sized the cookies are, the more evenly they’ll bake. Use a cookie or ice cream scoop to ensure each mound of dough is the same.
- Rotate the baking sheets. Do this once about halfway through the baking time. Turn each pan and swap their positions in the oven to ensure the cookies bake evenly.
- Cool the cookies completely. If they’re still hot or even warm, the icing may melt.
- Ensure both glazes have the same consistency. If one is runnier than the other, it won’t set as well, and they might bleed together. They should be thick but spreadable.
- Frost the bottoms & use wax paper. Remember to flip the cookies over and only frost the flat bottoms. To get a neat line, place a piece of wax paper over half of the cookies when icing.
- Use black cocoa powder. I prefer the taste of Dutch-processed cocoa powder. However, black cocoa powder will give the chocolate side a black finish.
How to Store
Honestly, I never have leftovers when I make these cookies for any type of event. I only OCCASIONALLY have them when I make them for my family.
But just in case you do have a few left over…
To Store: Chill the cookies to set the icing, then store them in an airtight container, separating layers with parchment paper. To keep the icing from bleeding/smudging, store them in the fridge for up to a week.
To Freeze: Flash freeze the cookies, then wrap them individually in plastic wrap. Freeze in a freezer bag for up to 3 months. Thaw at room temperature before serving.
More Delicious Cookies You’ll Love
Gingersnap Cookies
Oatmeal Raisin Cookies
Rocky Road Cookies
Maple Cookies with Maple Icing
Red Velvet White Chocolate Chip Cookies

