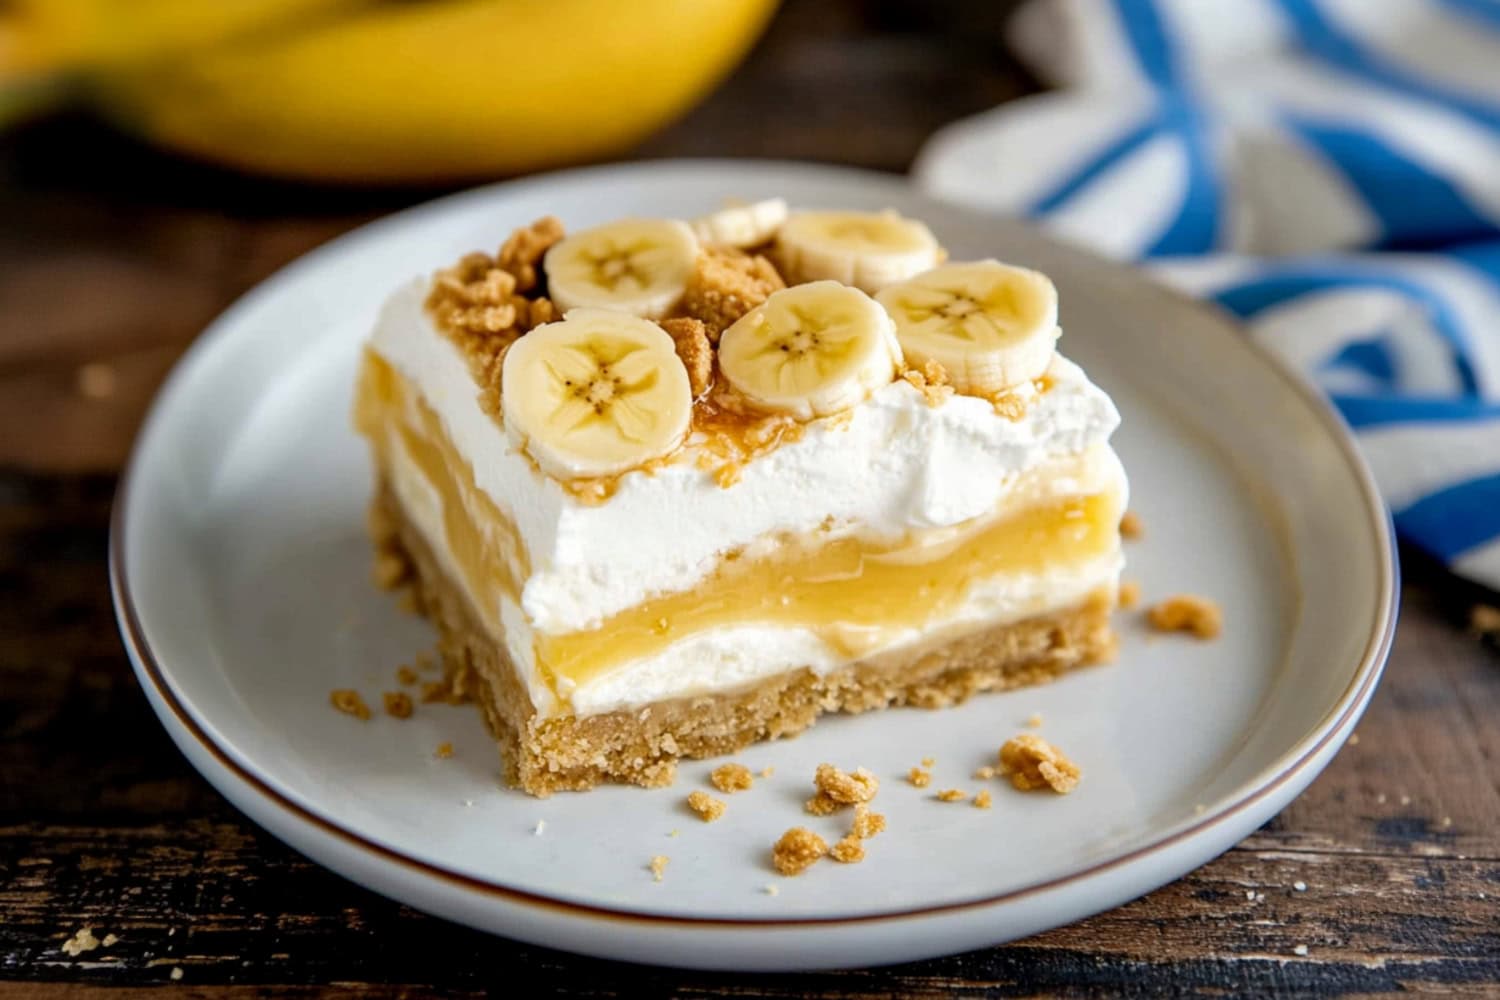
Dive into dessert heaven with these banana cream pie bars. They transform the classic Southern dessert into a convenient, party-ready treat.
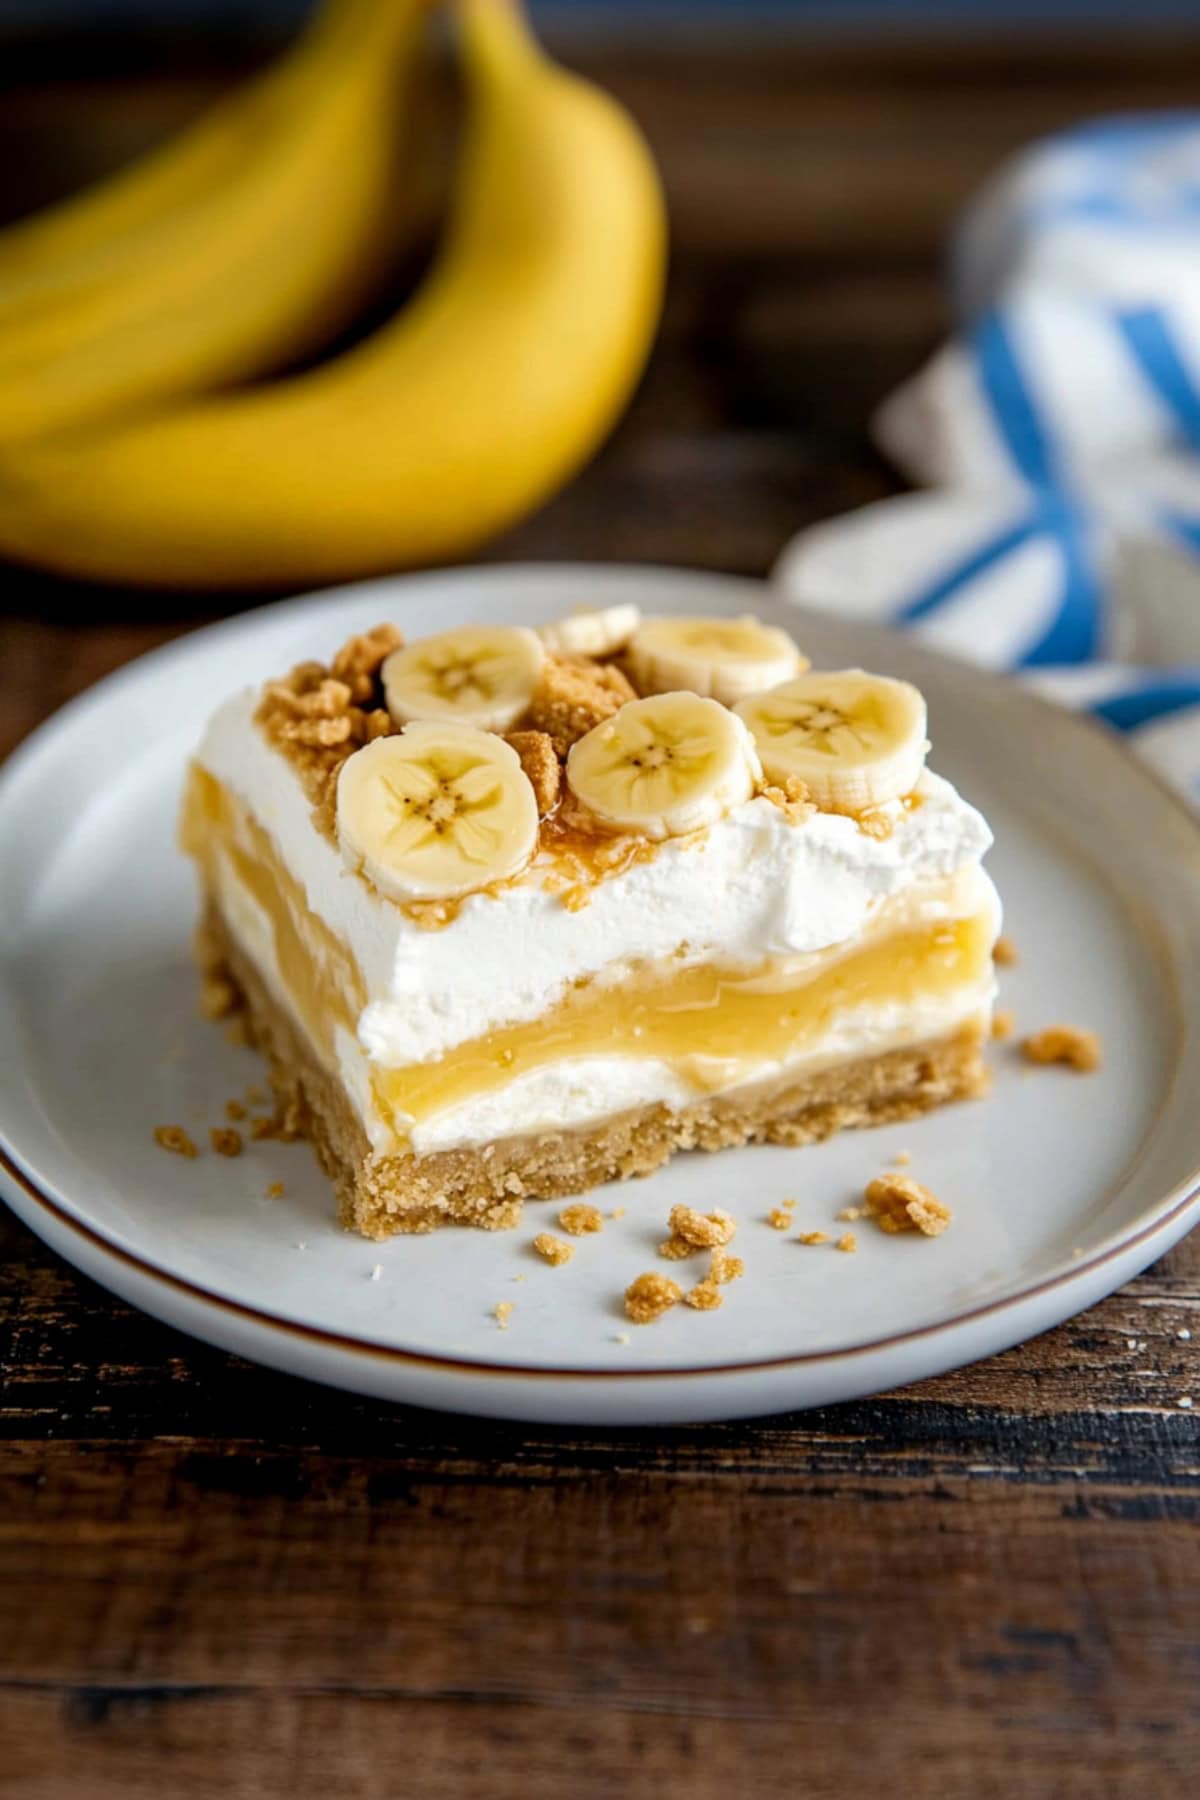
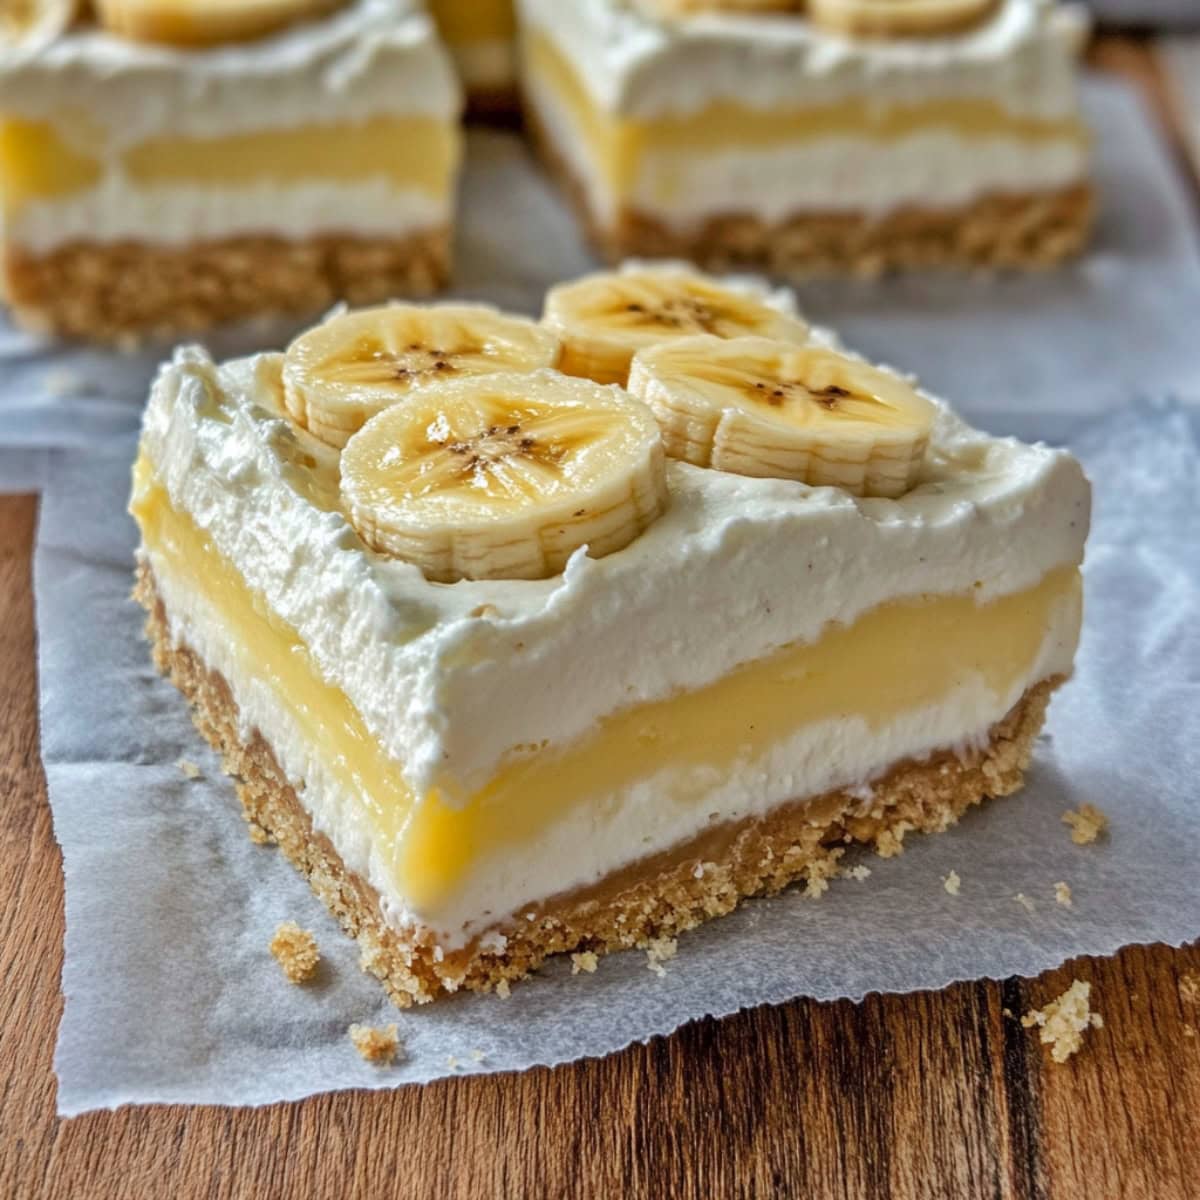
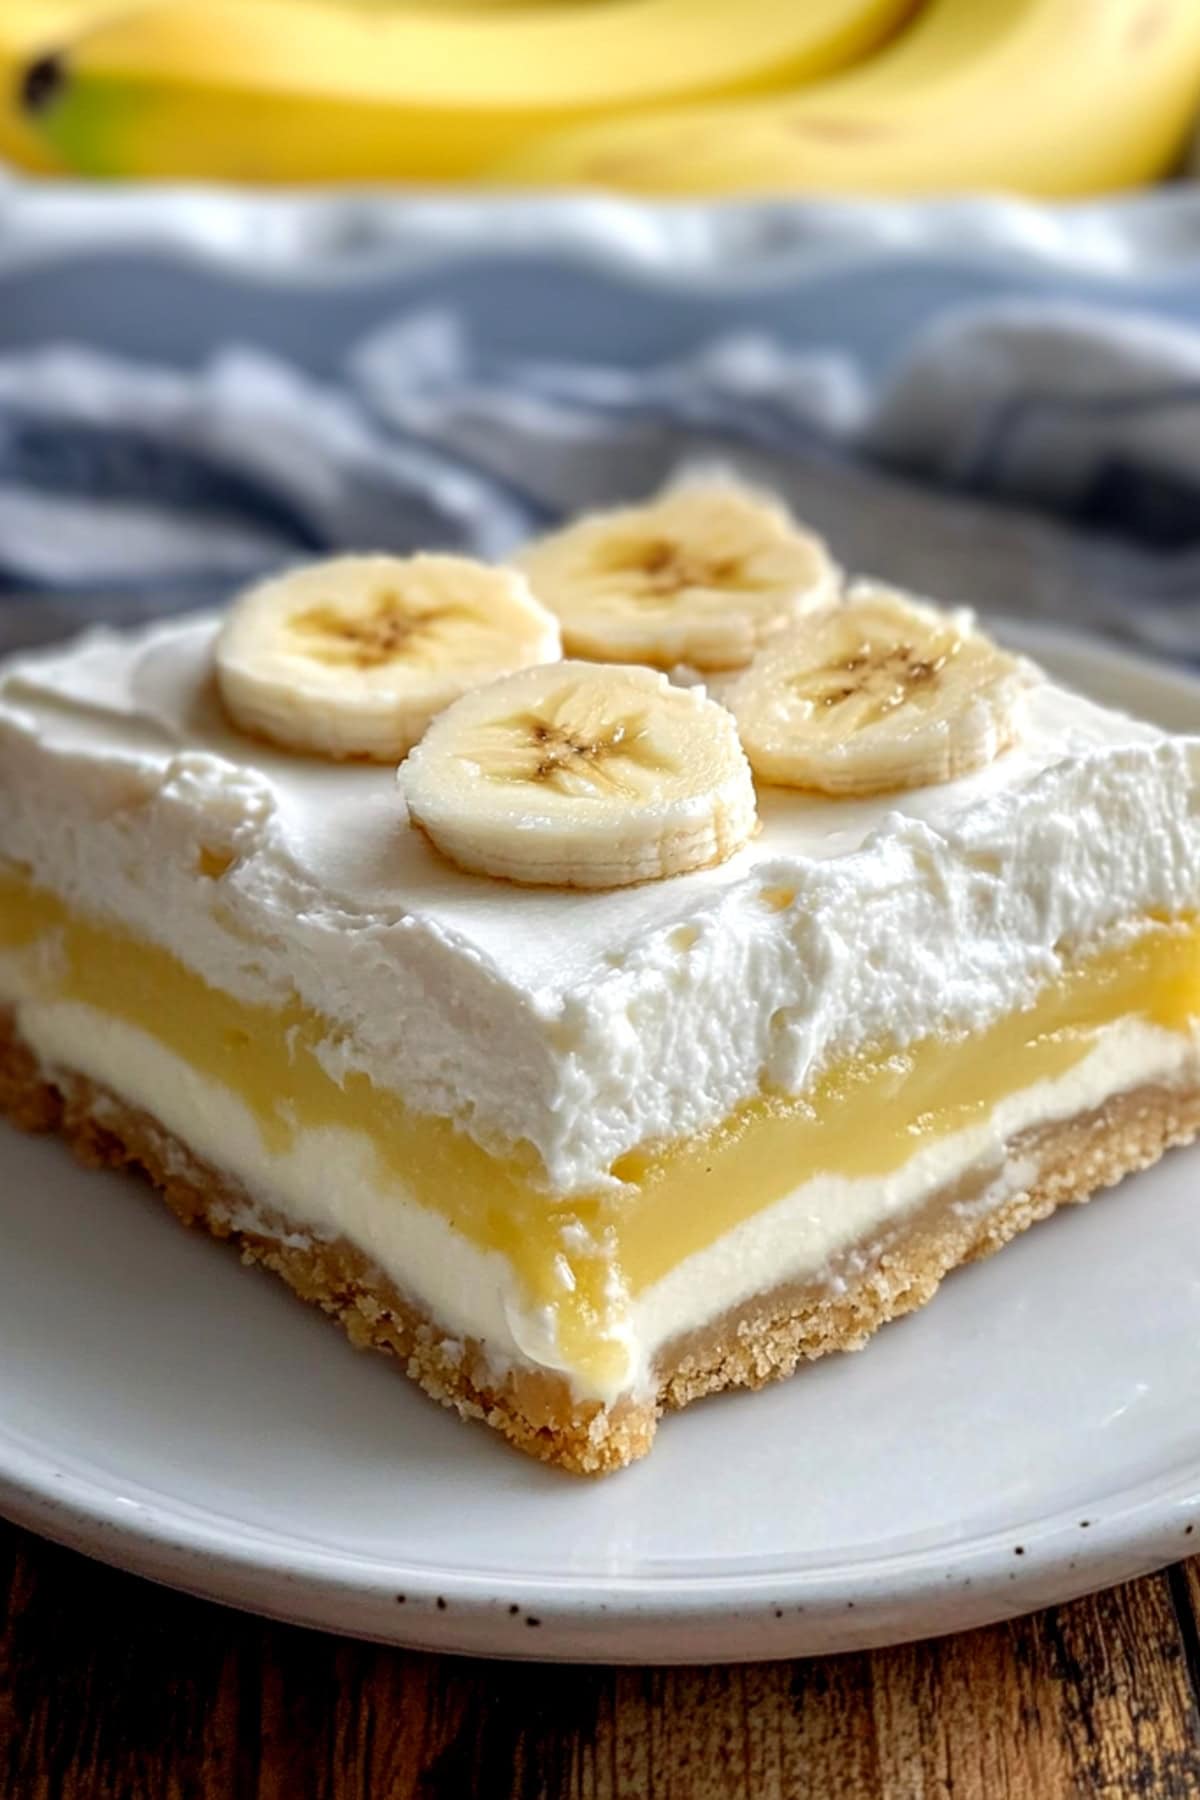
Each dreamy slice features vanilla cookie crumbs, creamy cheesecake, and plenty of incredible banana flavor.
Topped with whipped cream, they’re pretty hard to beat.
Better yet, you can easily make them ahead for any party or holiday gathering. That’ll save you some time when hosting!
Why You’ll Love These Banana Cream Pie Bars
No-Bake Bliss: Forget the oven! These no-bake bars are a stress-free recipe when you want a quick, impressive dessert without breaking a sweat.
Party-Perfect: The clean-cut squares are beautiful on a dessert table. And their sturdy texture makes them easy to serve and transport without losing their shape or appeal.
Rich, Creamy Taste: The combination of sweet bananas, buttery Nilla wafer crust, and creamy layers creates a luscious dessert.
Make Ahead Friendly: The bars taste better when made a day in advance. So, they’re ideal for stress-free entertaining.
Ingredients
- Crushed Nilla Wafers: These buttery, vanilla-flavored crumbs create a sweet and crunchy foundation for the crust.
- Melted Butter: To binds the Nilla Wafer crumbs, forming a firm and flavorful crust.
- Cream Cheese Layer: A sweet, fluffy, cheesecake like blend of cream cheese, powdered sugar, whipped cream, and vanilla extract.
- Banana Curd: A yummy, super flavorful filling of egg yolks, butter, bananas, and sugar.
- Whipped Cream: For the billowy topping.
How to Make Banana Cream Pie Bars
Growing up, banana cream pie was a magical dessert that made family gatherings feel extra special.
This recipe transforms that classic comfort into incredible dessert bars that are way easier to serve and just as irresistible.
Here are the steps:
1. BLEND the egg yolks, cornstarch, butter, lemon juice, sugar, and bananas in a blender or food processor until smooth.
2. COOK the mixture over medium heat, stirring constantly, until thickened. Then, strain through a fine mesh sieve into a shallow bowl. Press plastic wrap directly onto the surface and cool completely.
3. MIX the Nilla Wafer crumbs and melted butter in a medium bowl until moistened.
4. PRESS the mixture firmly into a parchment-lined 9×9 pan using a measuring cup. Chill for 30 minutes.
5. BEAT the cream cheese and powdered sugar in a large bowl until smooth and thick.
6. WHIP the cream and vanilla in a separate bowl until stiff peaks form. Fold into the cream cheese mixture.
7. SPREAD the cream cheese mixture over the chilled crust. Chill for 20–30 minutes.
8. LAYER the cooled banana filling evenly over the cream cheese layer.
9. WHIP the heavy cream, powdered sugar, and vanilla in a cold bowl until stiff peaks form. Spread the whipped cream evenly over the banana layer. Cover and refrigerate for at least 4 hours or overnight.
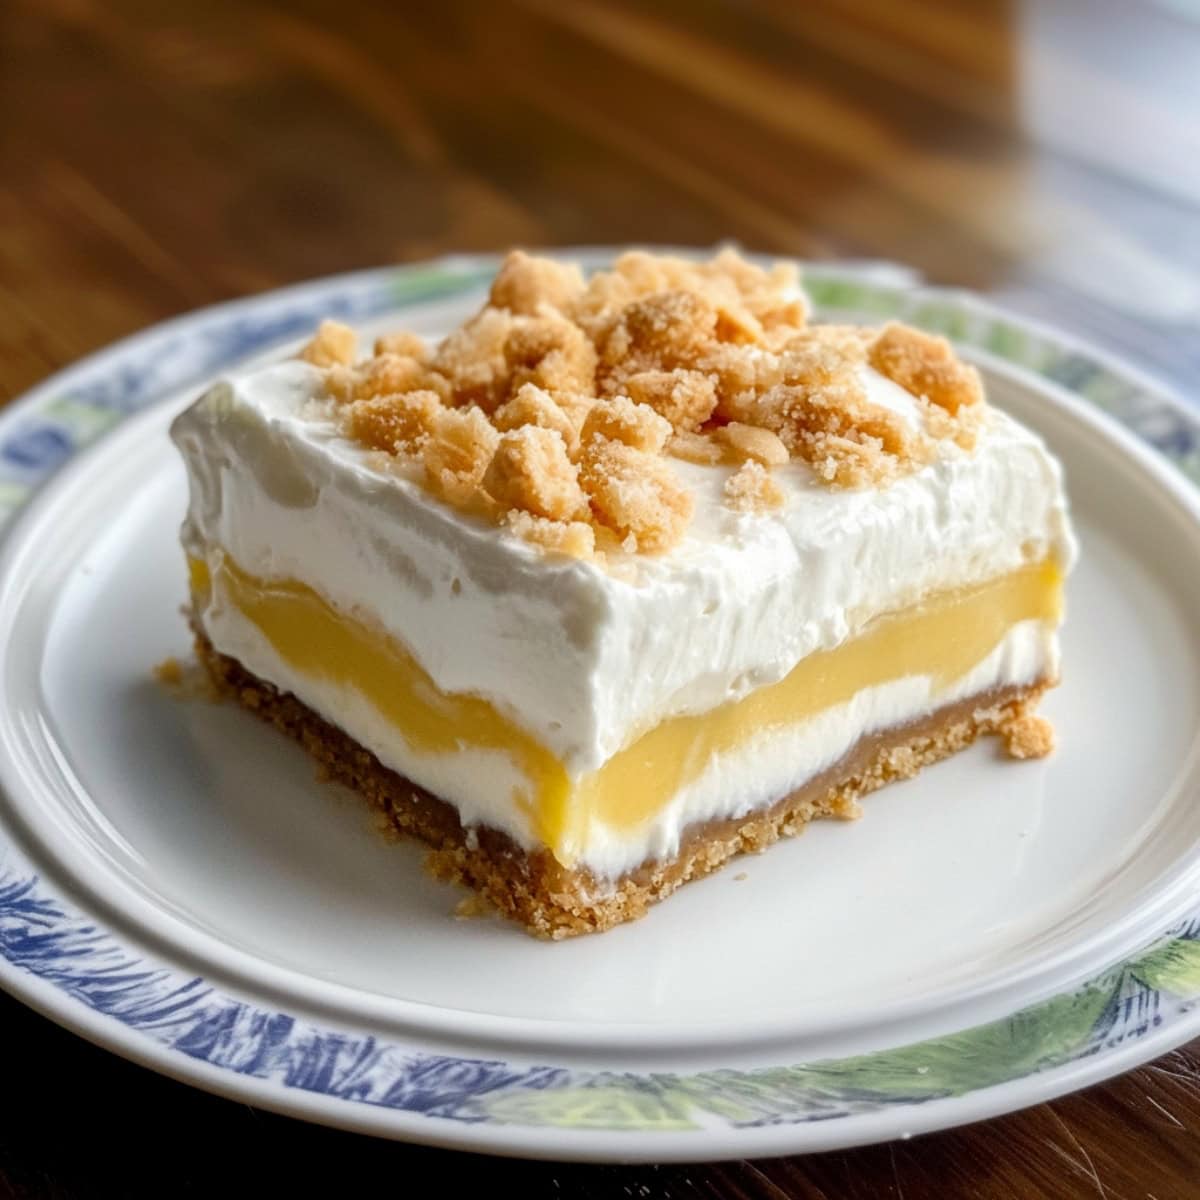
10. GARNISH with sliced bananas, crushed Nilla Wafers, and caramel drizzle, if desired. Slice into bars and enjoy!
I’ve used a punchy banana curd for the filling, but you can easily swap that out for a couple of boxes of banana pudding and fresh banana slices!
Tips For the Best Banana Cream Pie Bars
Pro tip: Make these the day before your event. They get even more delicious as they sit and let all those incredible flavors mingle.
Other than that, I only have a few other quick things to keep in mind.
- Use room-temperature cream cheese. This helps avoid lumps and makes mixing easier.
- Fold, don’t mix. Fold the whipped cream into the cream cheese by hand with a spatula. Be gentle so you don’t deflate it.
- Banana filling. Make the curd ahead so it has time to cool fully. Otherwise, it’ll melt into the surrounding layers.
- Alternative banana filling: Don’t fancy making curd? No worries! Mix two boxes of banana pudding (using the box instructions) and spread it over the cream cheese. For added flavor, add a layer of sliced bananas, too.
- Portion control. Use a hot knife (run under warm water, then dry) to cut the bars cleanly into servings.
- Banana freshness. Add fresh banana slices just before serving as a garnish to avoid browning.
Substitutions and Variations
Want to jazz these bars up? Here are a few fun variations:
- Cool Whip shortcut. Substitute homemade whipped cream with Cool Whip to save time. It simplifies the process without sacrificing flavor or texture.
- Boost the banana flavor. Use banana-flavored milk if making the pudding layer.
- Flavor variations. Customize your bars with a chocolate layer, peanut butter, or a gluten-free cookie crust. Or add a tropical twist with crushed pineapple and toasted coconut.
How to Store
As mentioned, these bars taste better after a night in the fridge.
But keep in mind, any fresh fruit in the mix will start to brown if you leave it any longer. So enjoy leftovers asap!
To Store: Wrap the dish tightly with plastic and store leftovers in the fridge for 2-3 days. Before storing, remove any banana slices from the top.
More Tasty Banana Desserts You Have to Try
Banana Pudding Parfaits
Monkey Butter
Banana Chocolate Chip Cupcakes with Cream Cheese Frosting
Banana Cream Pie

