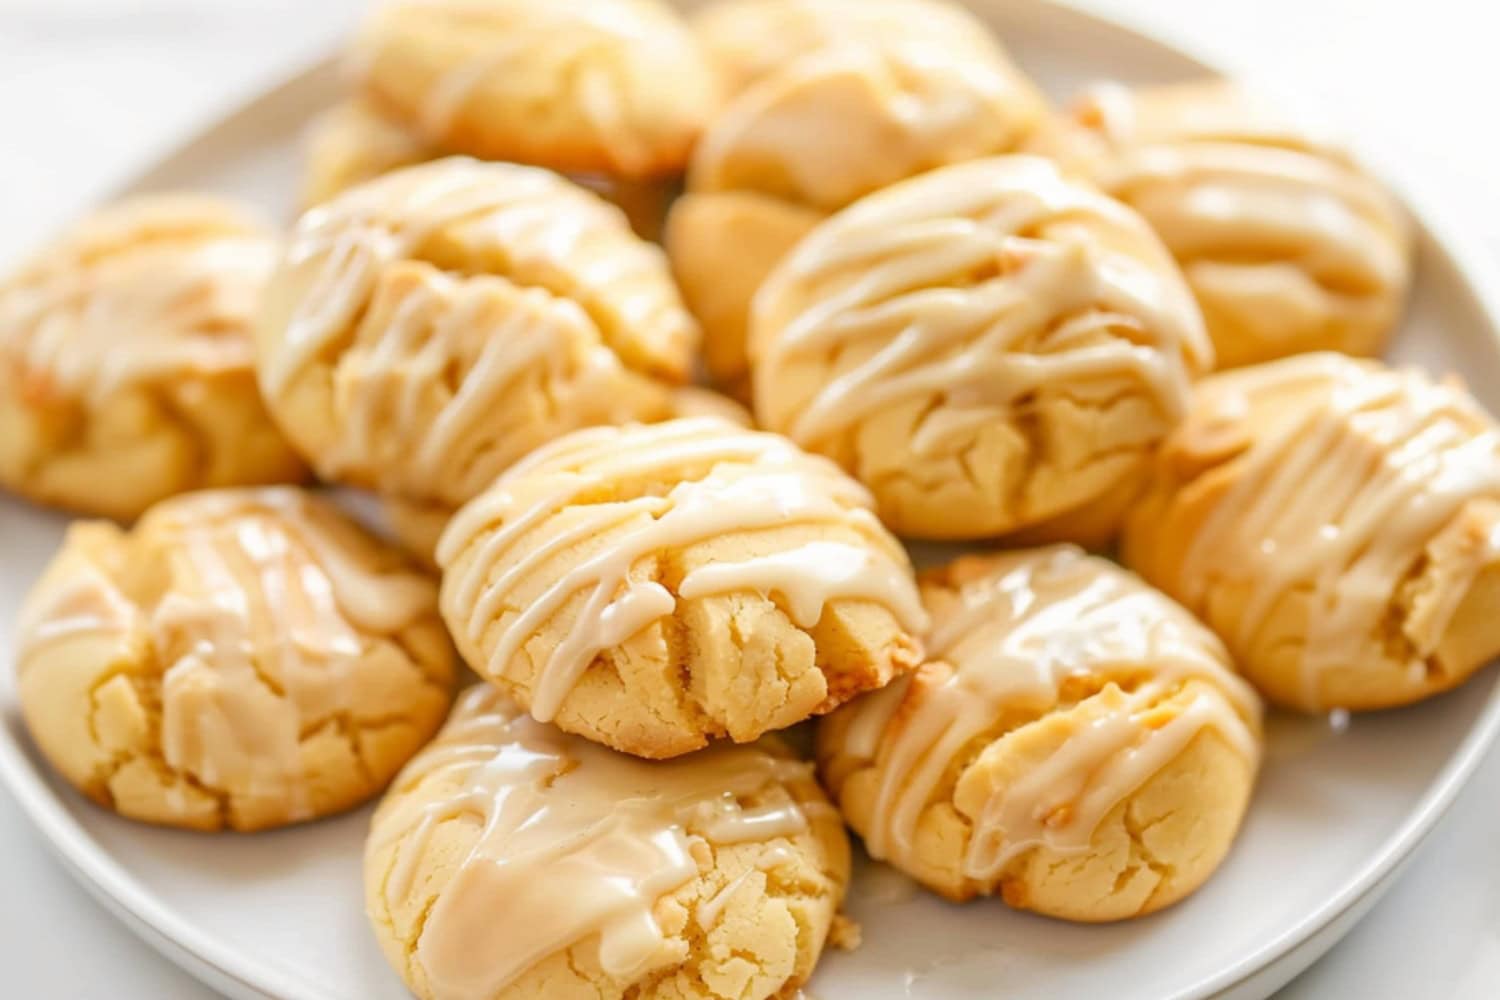
Rediscover an old-fashioned treat with these irresistible Amish buttermilk cookies.
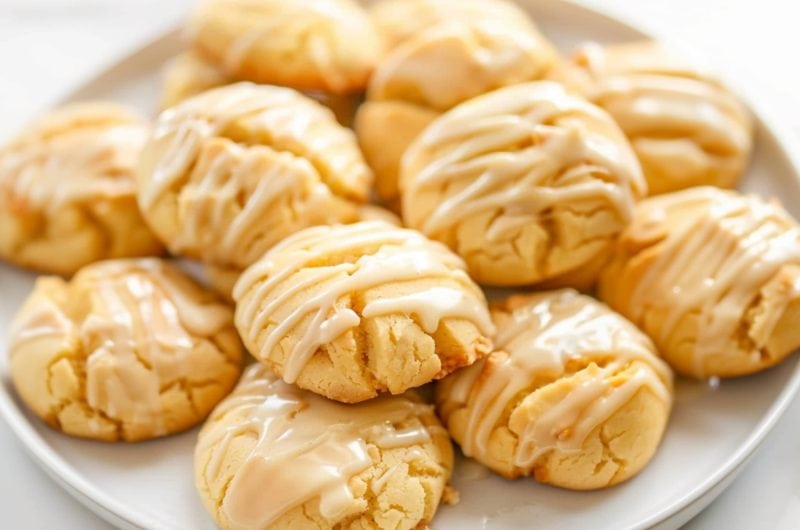
They’re melt-in-your-mouth buttery, and the homemade buttermilk glaze takes them to the next level with its caramel-like flavor.
This recipe has been passed down for generations among the Amish, and you can really taste the love and tradition in every bite.
My family adores them, and I know yours will, too!
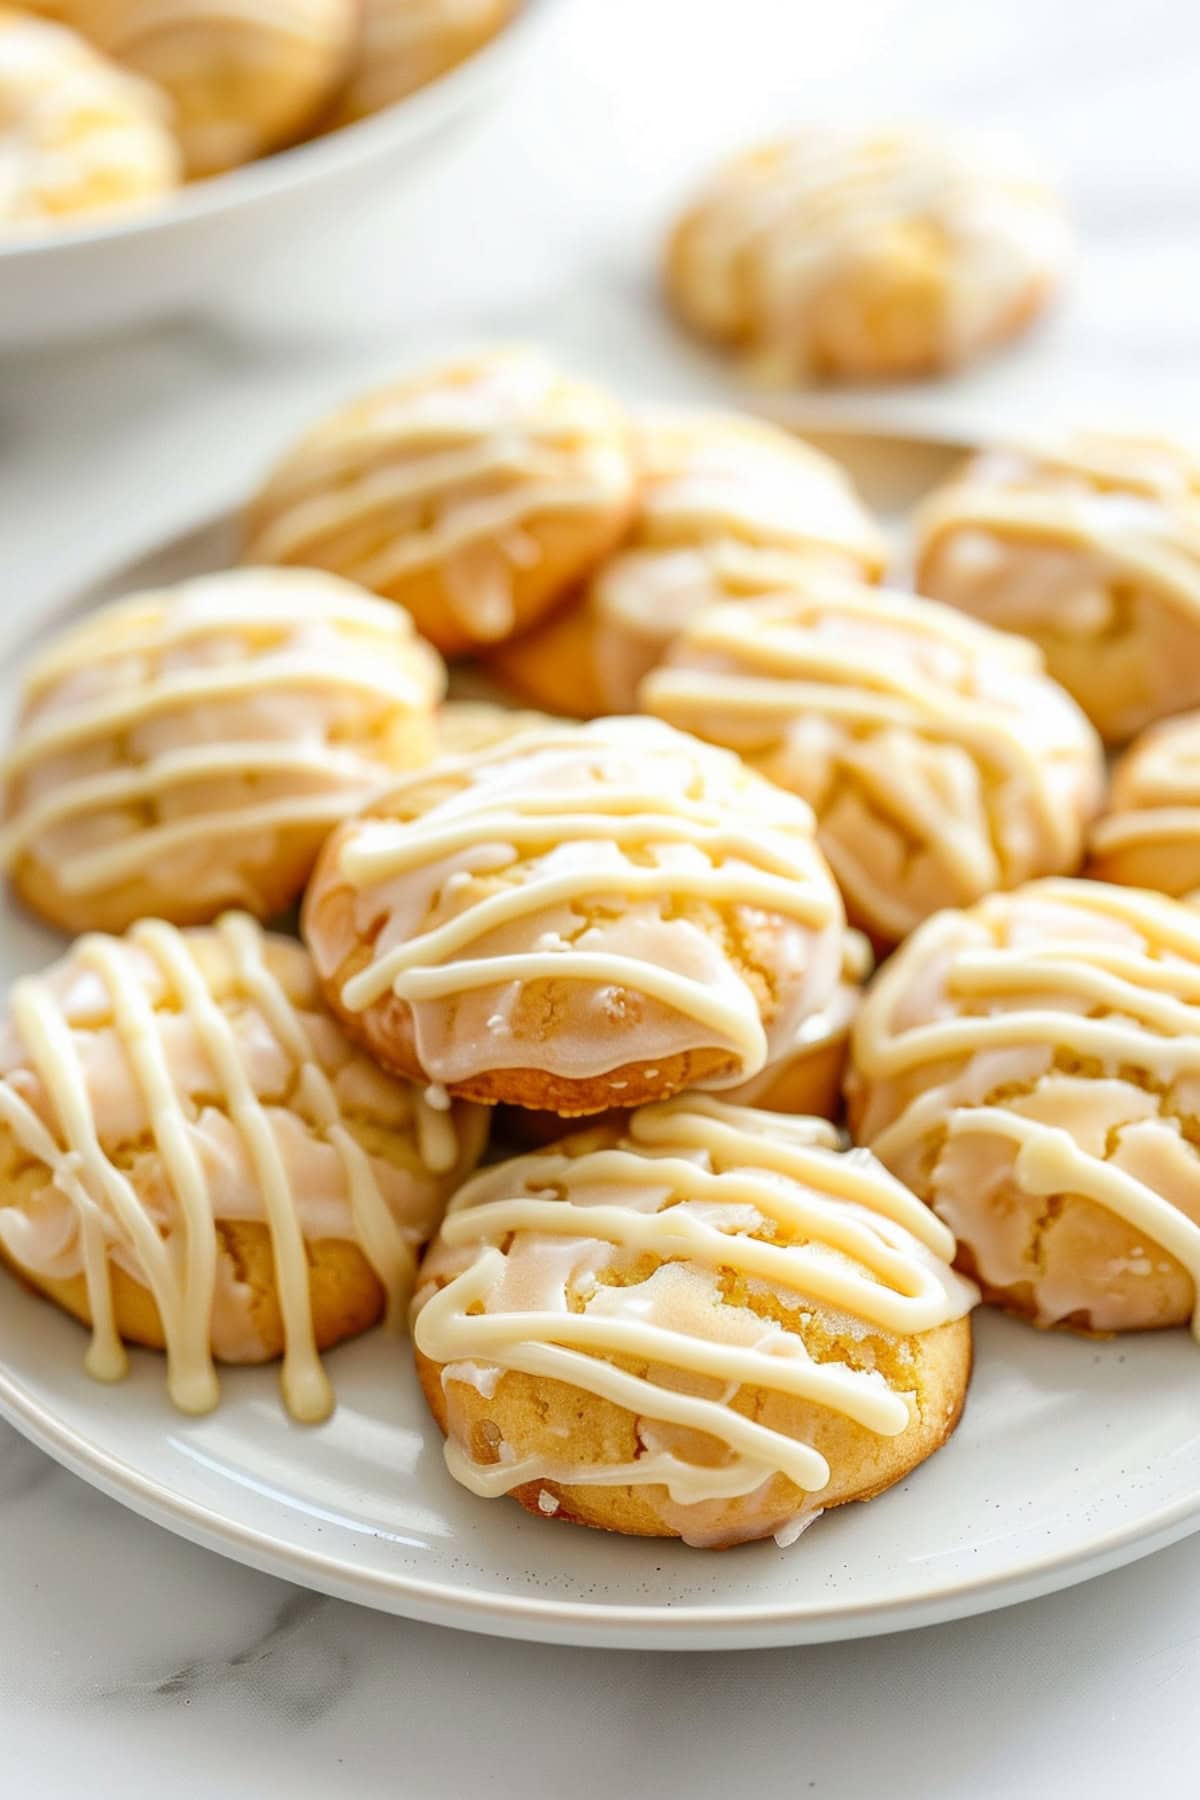
Why You’ll Love These Amish Buttermilk Cookies
Nostalgic Appeal: This recipe brings a touch of nostalgia to every bite. They’re just like grandma used to make!
Soft and Chewy Texture: These cookies are known for their soft and chewy texture, making them a delightful treat any time of day.
Delicious Gifting Option: Bake a batch of these buttermilk cookies and package them with a bow. Your friends and family will love you!
Ingredients
- Buttermilk: Adds a subtle tang and helps create an incredibly tender texture. It’s in the glaze, too!
- All-Purpose Flour: The foundation of the cookie, providing structure and a delicate crumb.
- Baking Powder and Baking Soda: Leavening powerhouses that work together to create a soft, fluffy cookie.
- Unsalted Butter: Creamed with a blend of sugars to make a rich, flavorful base for the cookies.
- Granulated Sugar and Brown Sugar: Granulated sugar gives sweetness and crisp edges, while brown sugar adds moisture and hints of molasses.
- Large Eggs: Binding agents that hold everything together while adding moisture and richness.
- Vanilla Extract: Infuses the dough with a warm, comforting aroma and enhances the overall flavor.
- Salt: A flavor enhancer that balances the sweetness.
- Powdered Sugar: A key glaze component, offering a smooth, sweet topping that complements the buttermilk tang.
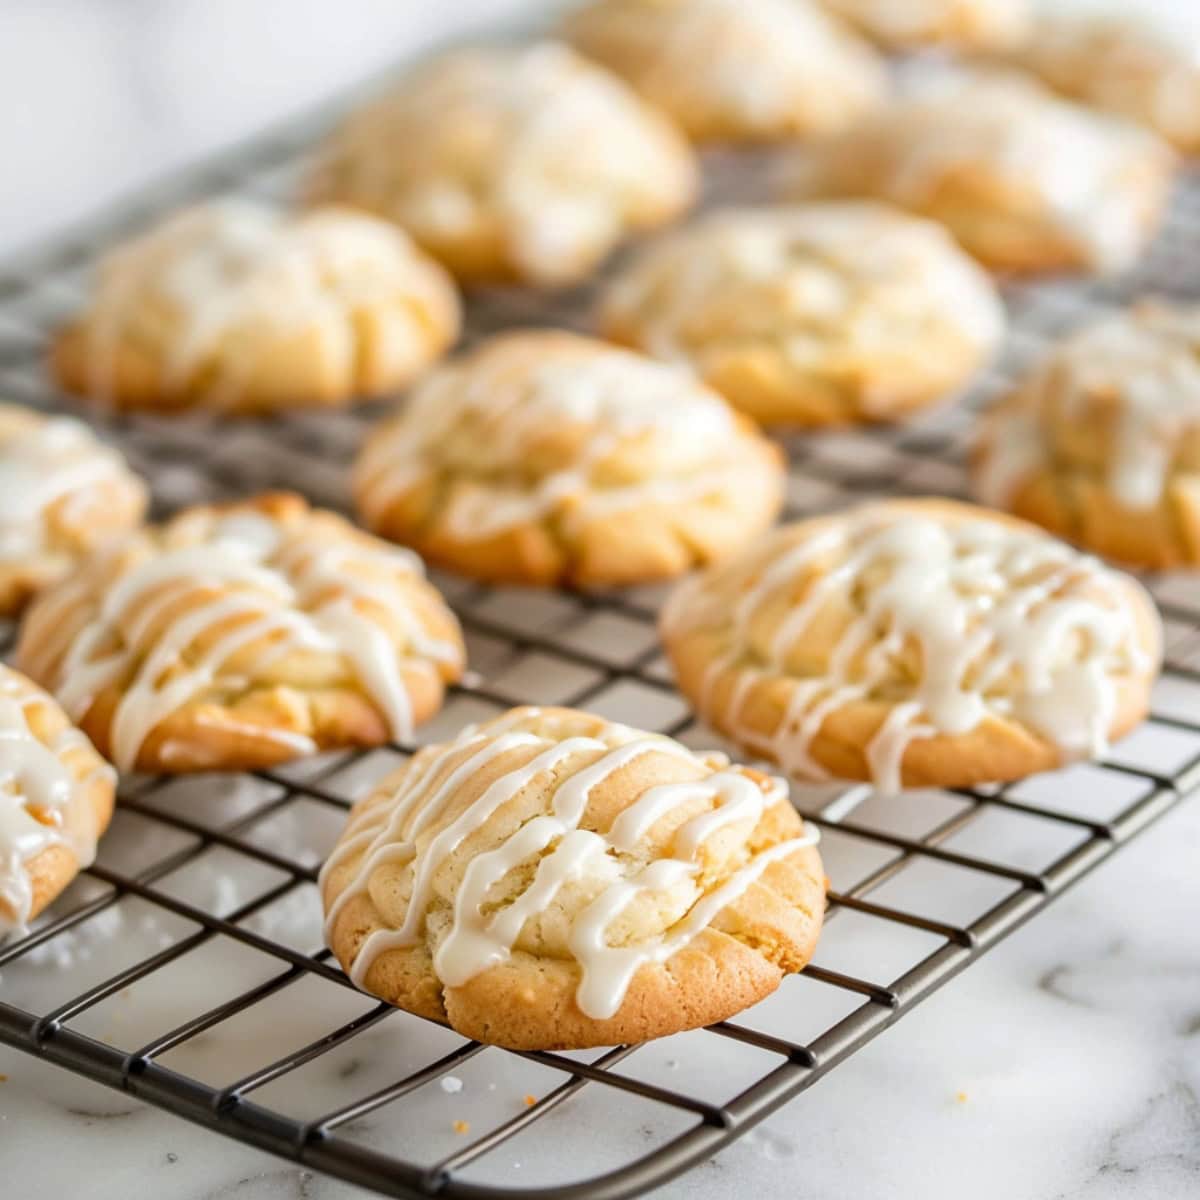
How to Make Amish Buttermilk Cookies
Biting into one of these cookies is like taking a step back in time to a simpler way of life.
And since it’s an Amish recipe, you don’t even need a mixer – just a bit of elbow grease.
1. PREP. Preheat the oven and line two baking sheets with parchment paper.
2. BEAT the butter and sugars, then blend in the eggs, vanilla, and buttermilk.
3. ADD the dry ingredients and mix by hand to combine. Do not over-mix.
4. DROP spoonfuls of dough on the baking sheet, leaving a 2-inch gap between each cookie.
5. BAKE for 10-12 minutes, then cool on wire racks.
6. MIX the glaze ingredients in a saucepan, stirring well until thick and smooth. Drizzle over the cooled cookies, then enjoy!
I use a mixer to blend the butter and sugars because it’s so much easier than doing it by hand. I won’t tell if you don’t!
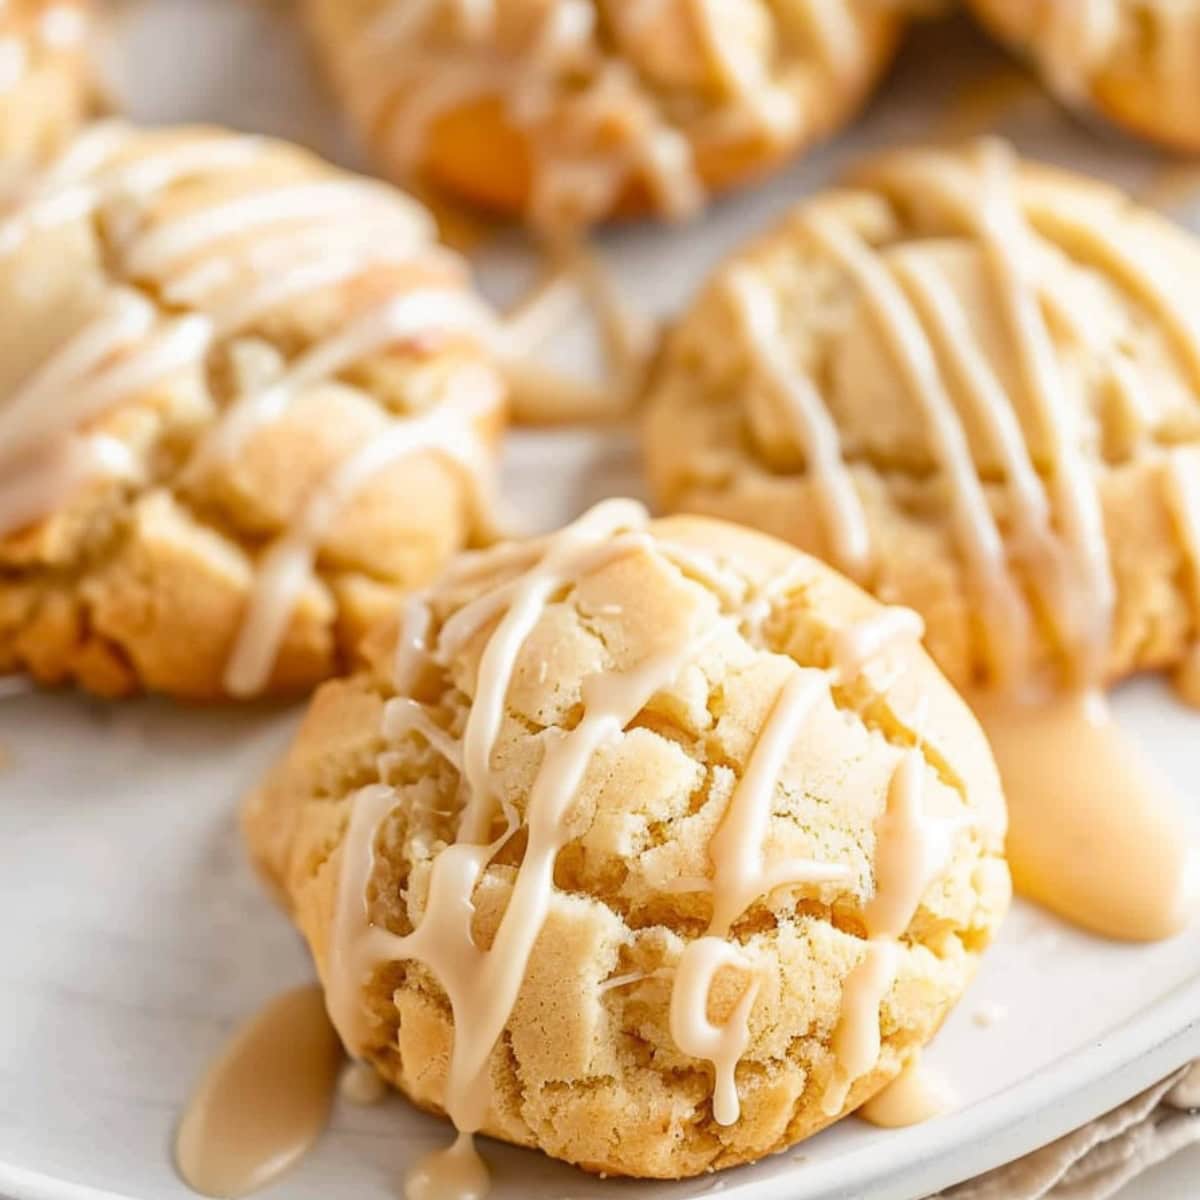
Tips For the Best Amish Buttermilk Cookies
I love that this recipe doesn’t require any fancy ingredients or equipment – just humble pantry staples like flour, sugar, butter, and buttermilk.
It’s proof that sometimes the best things in life are the simplest.
That said, I still have a few tips up my sleeve!
- Soften the butter. Ensure the butter is softened to room temperature for easier creaming with the sugars.
- Cream well. Beat the butter and sugars until light and fluffy to create a tender texture. This will take a few minutes, so be patient and remember to scrape the bottom and sides of the bowl, as needed.
- Chill the dough. It’s not vital, but chilling the dough for 30-60 minutes before baking will keep them from spreading too much in the oven.
- Avoid overbaking. Bake until the edges are very lightly browned. They’re like shortbread – they should be very pale on top.
- Cool before glazing. Let the cookies cool completely on wire racks before spreading or drizzling with the glaze. Otherwise, it’ll melt off.
- Buttermilk substitutes. If you don’t have buttermilk, you can make a substitute by adding 1 tablespoon of lemon juice or white vinegar to a scant cup of whole milk. Let sit for 5 minutes before using.
- Variations. Add spices like cinnamon or nutmeg to the dough, sprinkle the tops with cinnamon sugar before baking, or add lemon zest and juice to the glaze instead of buttermilk.
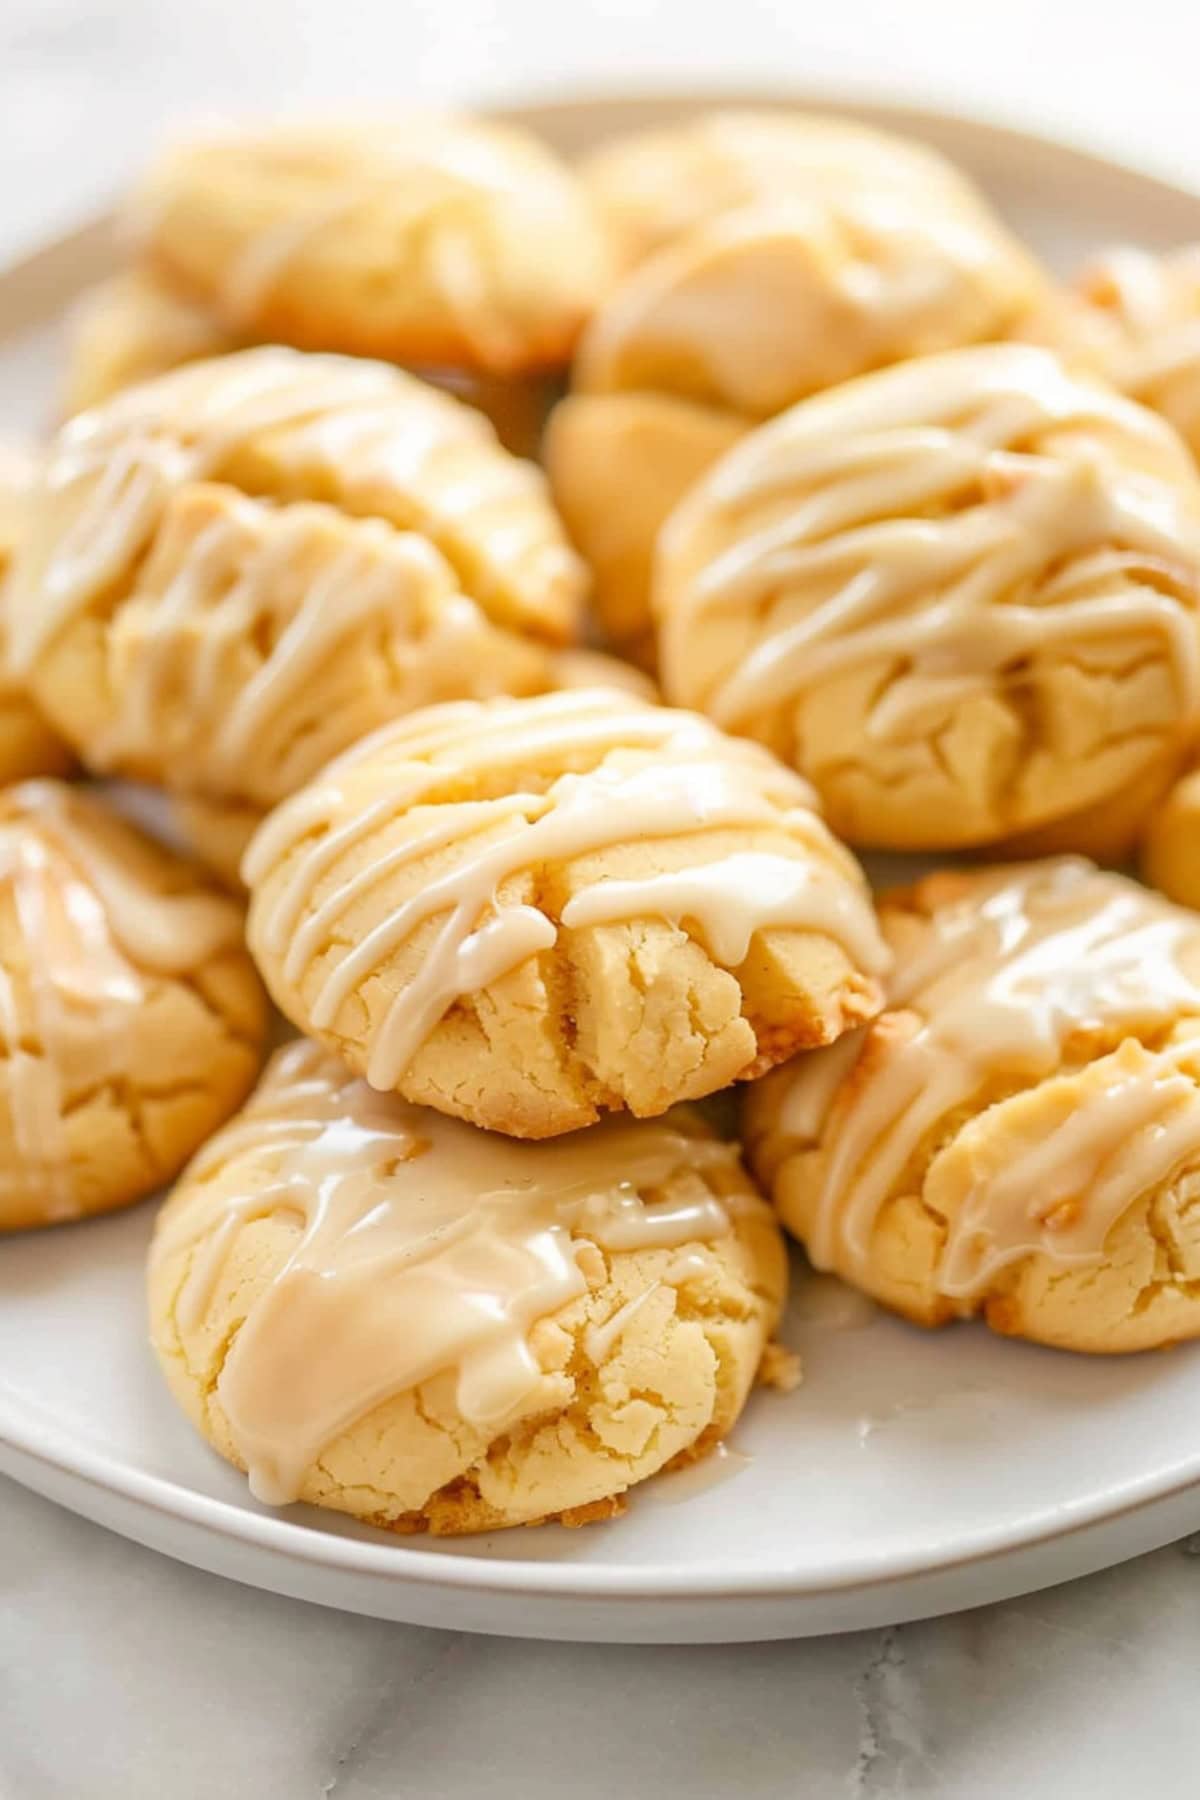
How to Store
You can make these ahead and bake them or store the dough for later. And they hold well once baked, too.
Here’s what you need to know:
To Make Ahead: Prepare the cookie dough and portion it close together on a tray. Then, cover and keep in the fridge for 1-2 days, or freeze until solid and transfer to a freezer bag for up to 3 months.
Bake from frozen, adding a few minutes to the baking time.
To Store: Keep glazed cookies in an airtight container at room temperature for up to 3 days. For longer storage, refrigerate for up to 1 week.
To Freeze: Freeze unglazed, cooled cookies in a single layer on a baking sheet. Once frozen, transfer to an airtight container or ziplock bag, separating layers with parchment paper. Freeze for up to 3 months.
Note: I don’t recommend freezing glazed cookies as the glaze may split after thawing.
More Soft and Chewy Cookies You’ll Love
Chocolate Mint Chip Cookies
Orange Cranberry Cookies
Brownie Cookies
Brown Sugar Cookies




The recipe shows 4 1/2 cups of flour weighing 270 grams when it should be closer to 560 grams. Using 270 grams will make crepes, not cookies. 🙂
Hi Paul!
Thanks for catching that!
I’ve amended the recipe with the correct amount 🙂
I am going to make these. A little confused by the recent comment. Do I use 4 1/2 cups flour??
Hi, Linda!
Yes – 4 1/2 cups flour is accurate. It was the gram conversion that was off. It originally said 270 (I think) grams, when it should have been what’s there now. 🙂 But the 4 1/2 cups is 100% accurate. 🙂