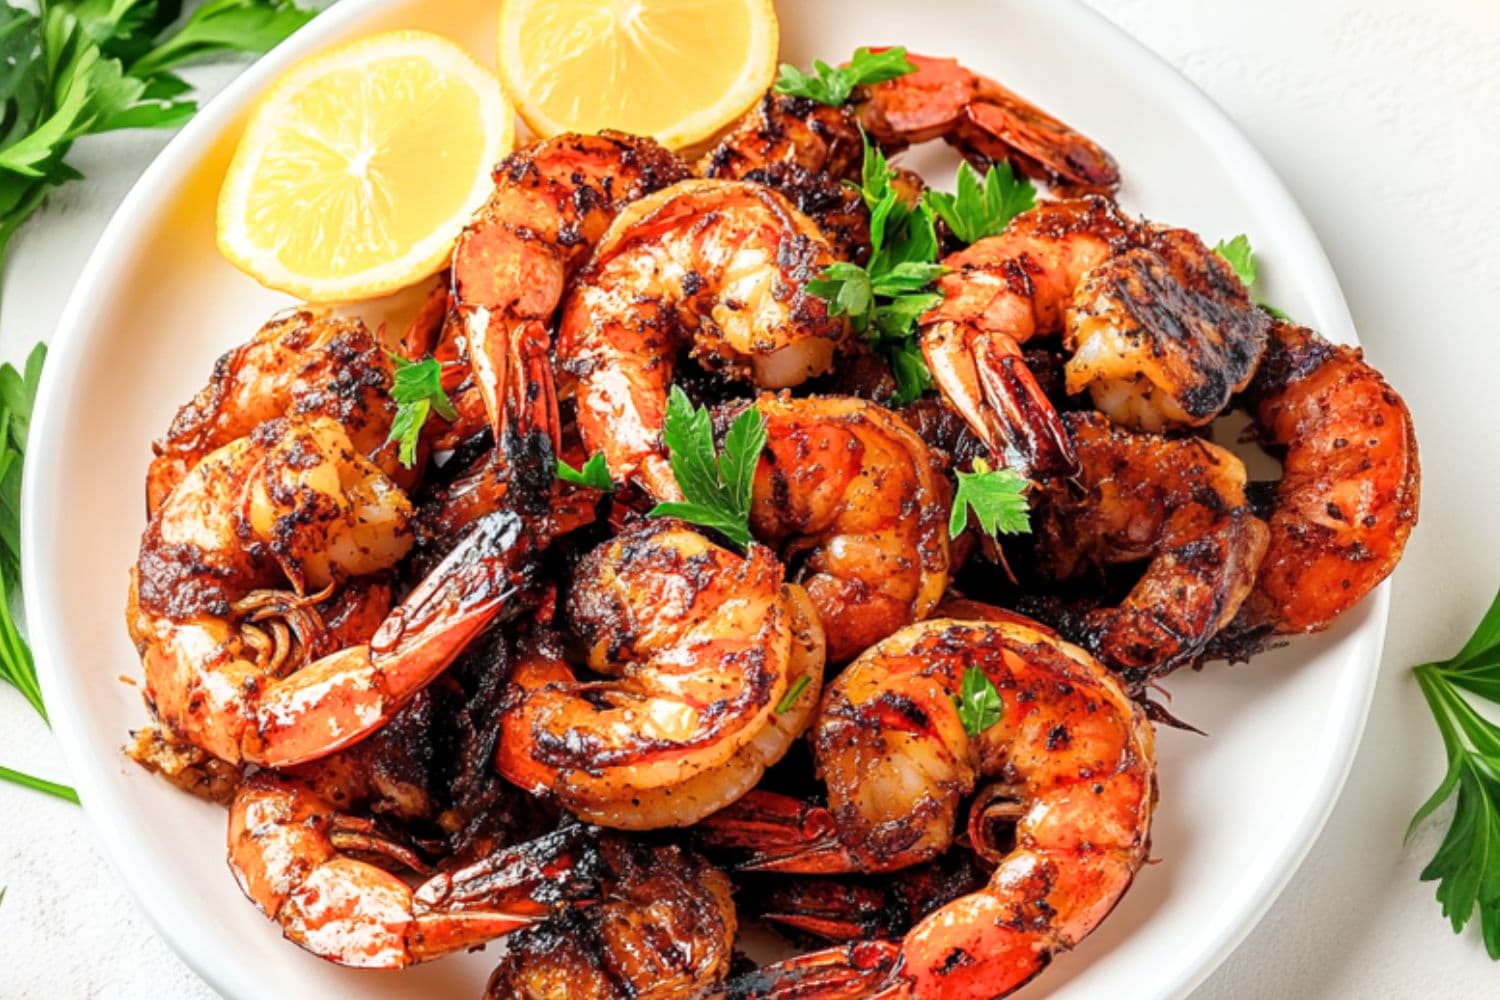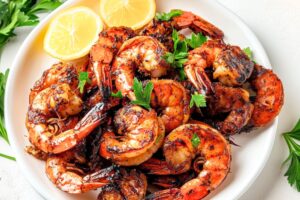
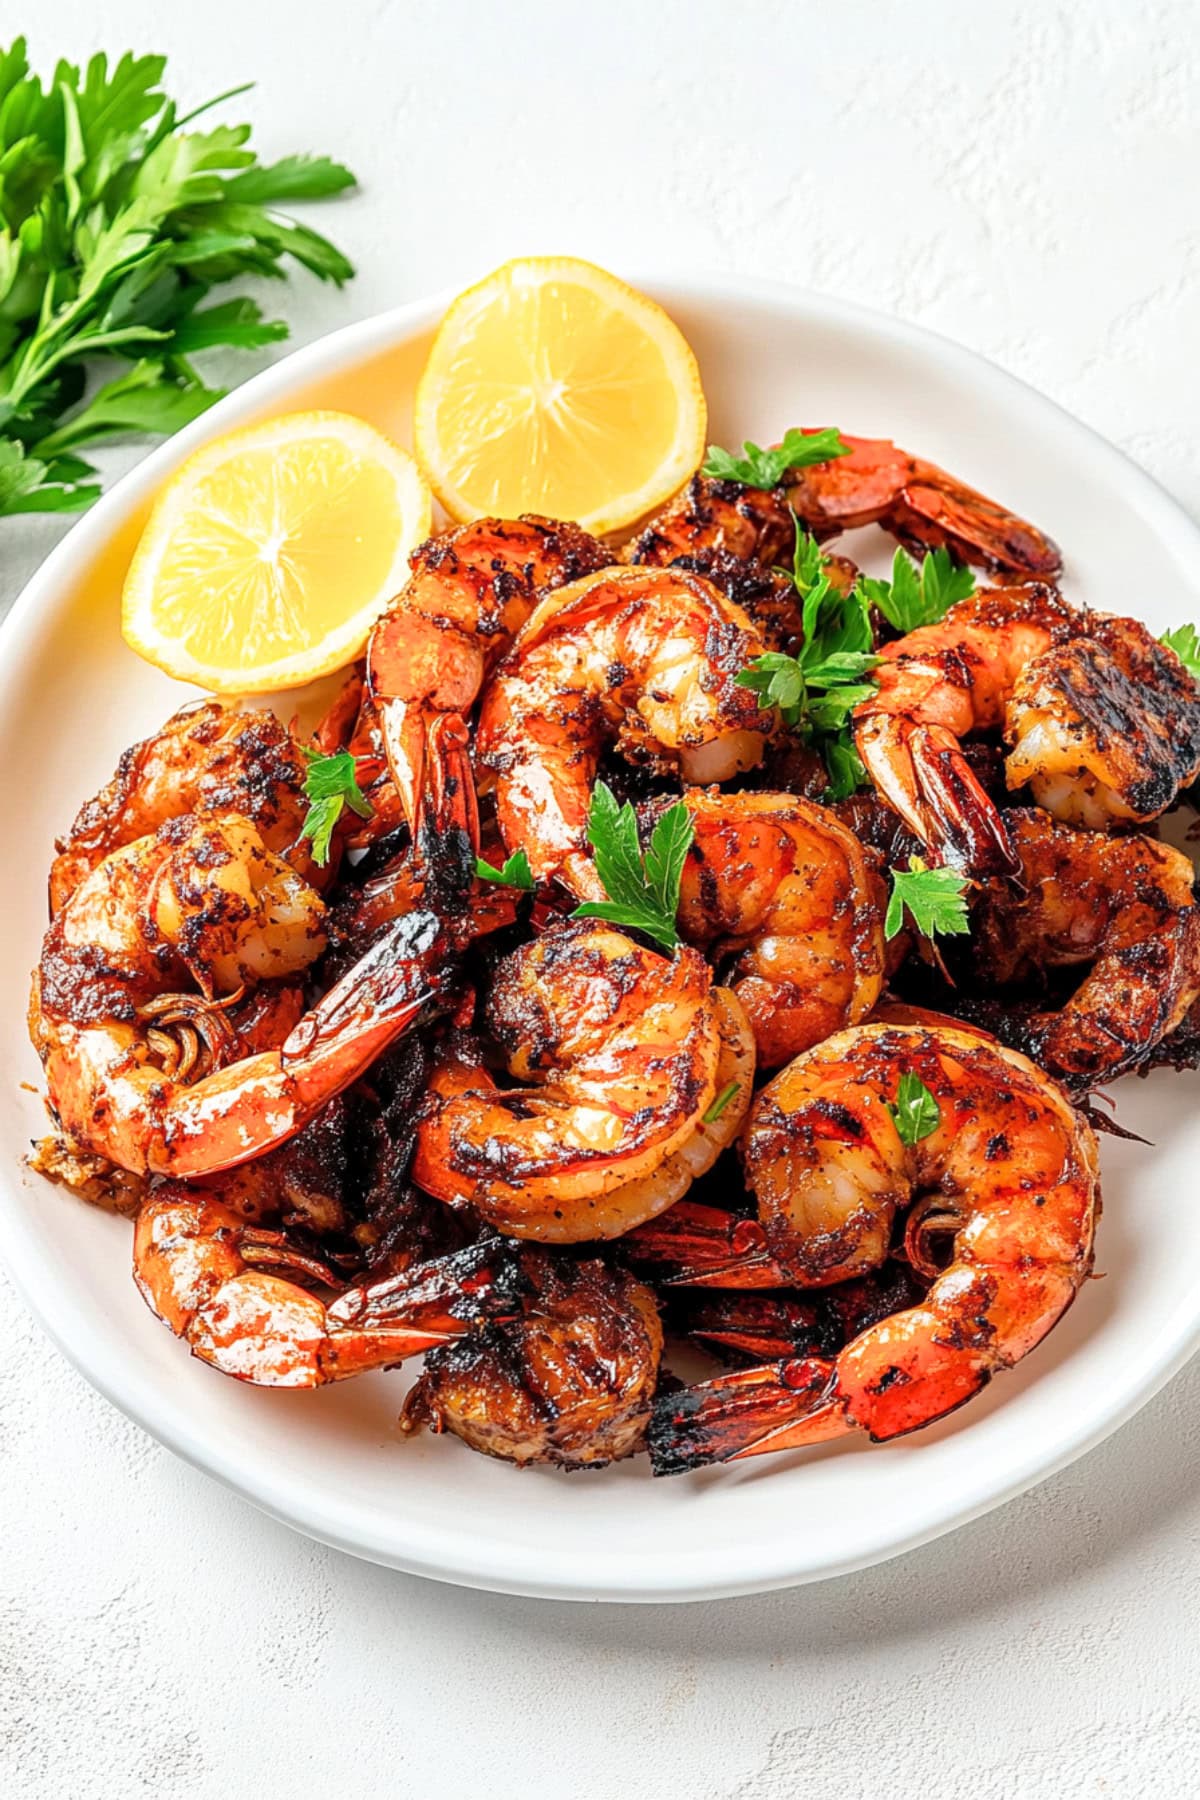
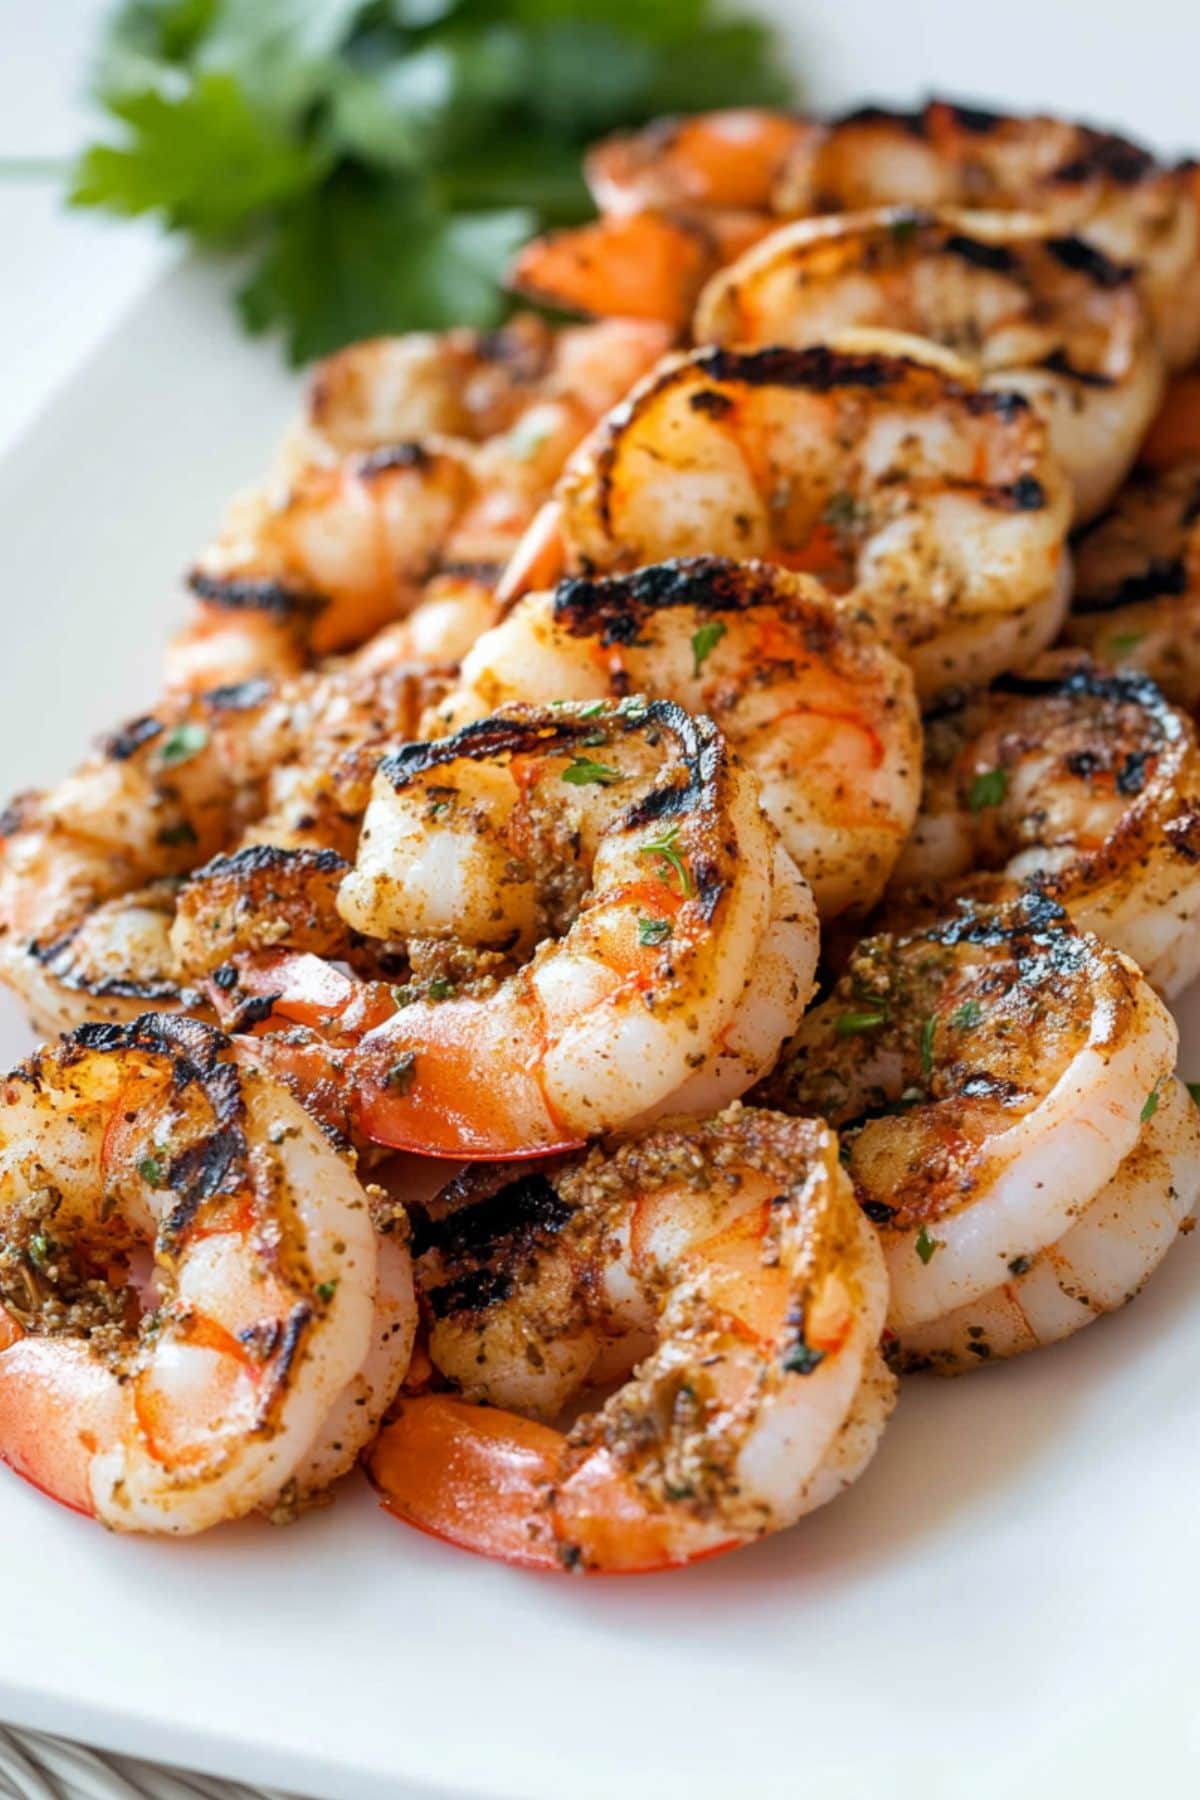
These juicy grilled shrimp are coated in a zesty marinade of garlic, lemon, and spices.
Cooked to smoky perfection, they’re an easy summer favorite you’ll crave all year round!
It only takes a few minutes to prep them, and they cook just as quickly. What more could you ask for?
Why You’ll Love This Grilled Shrimp
Incredible Taste: Smoky paprika, zesty lemon, and garlic create an irresistible Mediterranean-inspired dish. It transforms simple shrimp into a gourmet experience without overwhelming the natural sweetness of the seafood.
Quick Crowd-Pleaser: This shrimp dish is a showstopper for any gathering, and it takes just 15 minutes to prepare and cook.
Minimal Cleanup: Thanks to the simple marinade and grilling process, you’ll spend less time scrubbing and more time enjoying your meal.
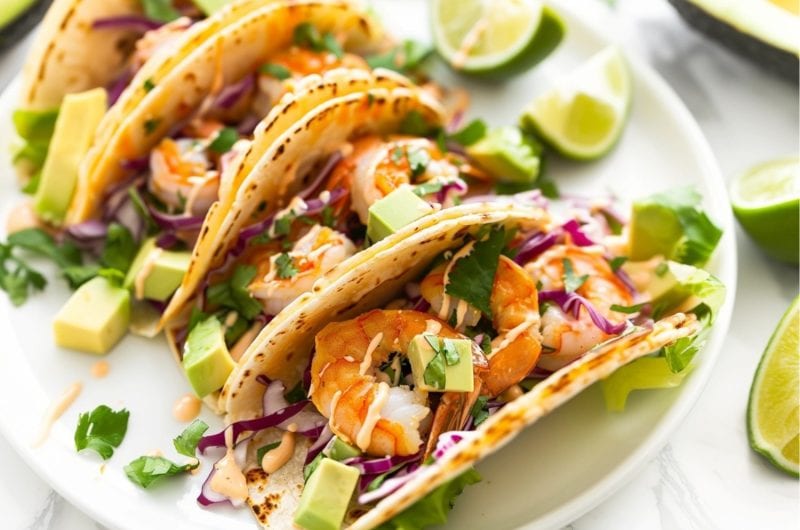
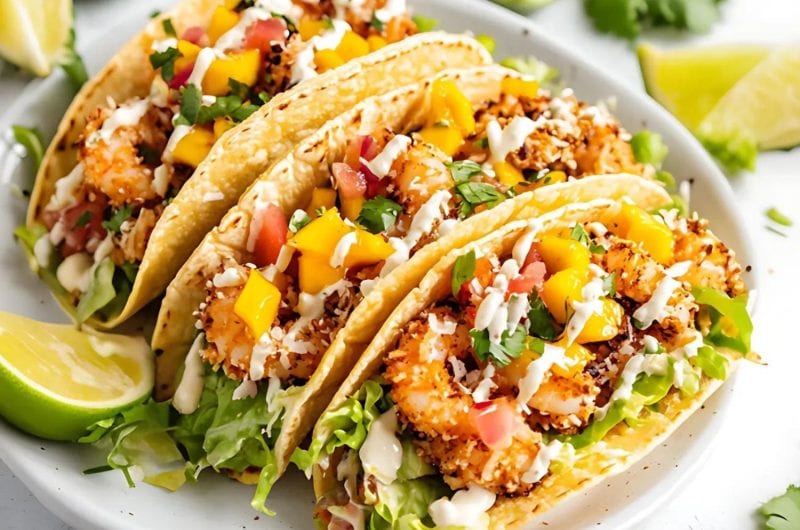
Versatile Serving: Serve them as an appetizer, with pasta, or alongside salad. They also go well in tacos!
Ingredients
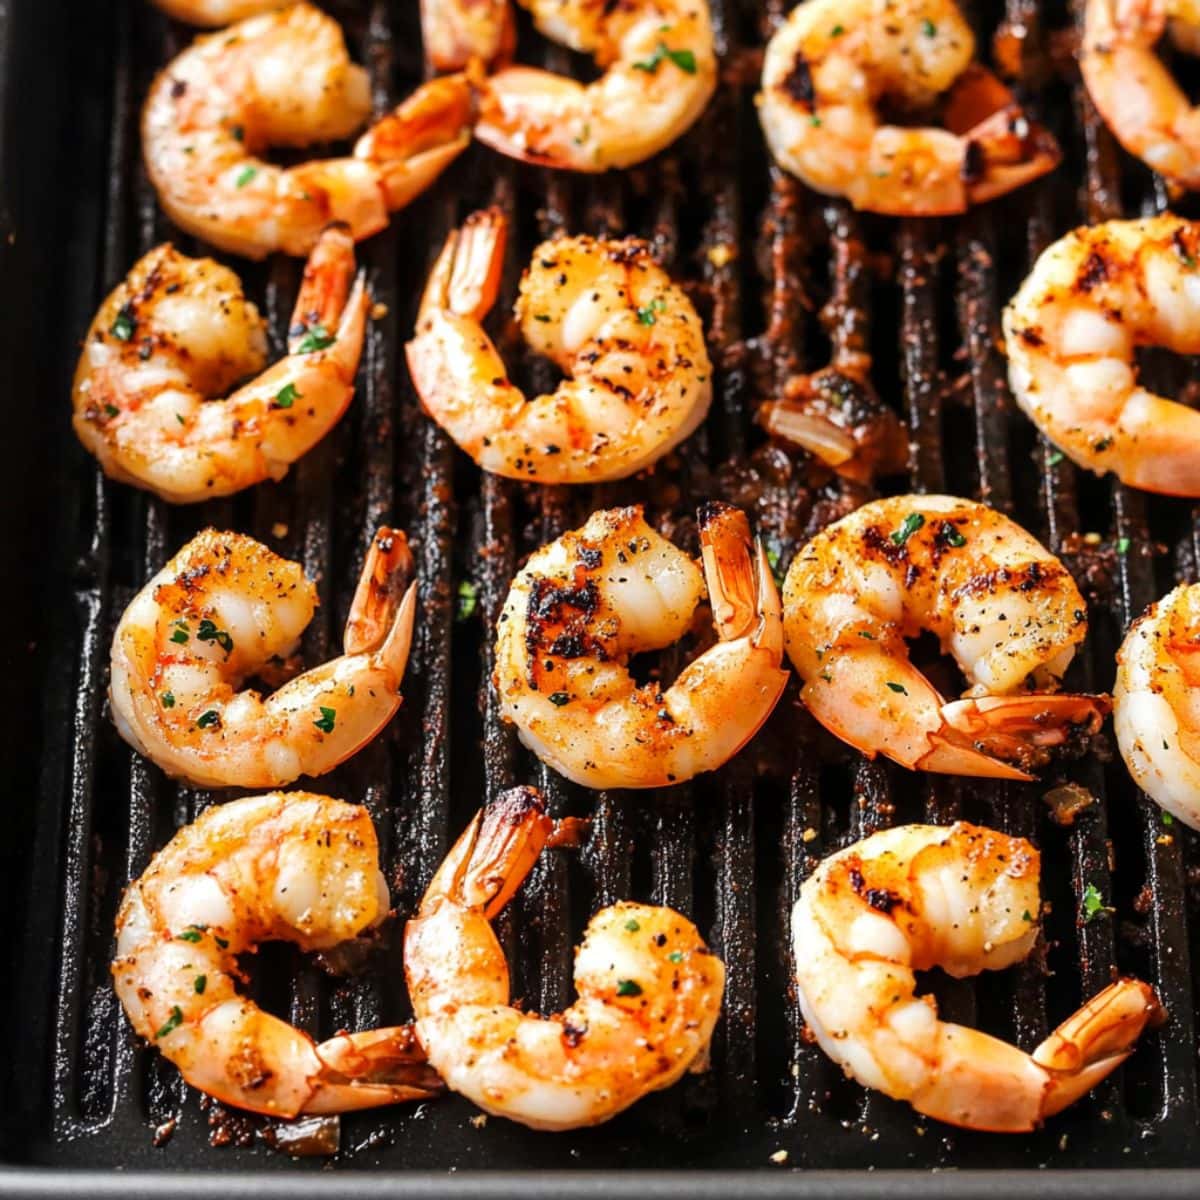
- Large Shrimp: Provide a succulent texture and a mild, sweet flavor that pairs beautifully with spices and citrus.
- Olive Oil: Adds rich flavor, helps the spices adhere to the shrimp, and keeps them moist during grilling.
- Fresh Lemon: Brings a bright, tangy zest that cuts through the richness.
- Garlic: Mince it finely to infuse the shrimp with its distinctive, delicious flavor.
- Old Bay: The quintessential seafood seasoning.
- Smoked Paprika: Adds a smoky, earthy depth to the dish.
- Red Pepper Flakes (optional): If you like a touch of warmth.
- Salt & Black Pepper: Essential for enhancing all the other flavors in the dish.
- Fresh Parsley: Add freshness, a pop of color, and a light, herbal note to the finished dish.
How to Make Grilled Shrimp
This grilled shrimp dish is everything I love about cooking—quick, flavorful, and absolutely stunning to serve.
There’s something about the smoky paprika, fresh citrus, and just the right amount of garlic that makes these shrimp so irresistible.
And let’s not forget the little kick of spice that keeps things interesting.
Here’s how to make it:
1. RINSE the shrimp under cold water, pat dry, and remove tails if desired.
2. MIX the olive oil, garlic, lemon juice, Old Bay, paprika, salt, and pepper in a large bowl.
3. MARINATE the shrimp in the mixture, tossing to coat. Let rest for 10–15 minutes (no more than 30 minutes).
4. HEAT the grill or grill pan to medium-high. Lightly oil the grates or skillet.
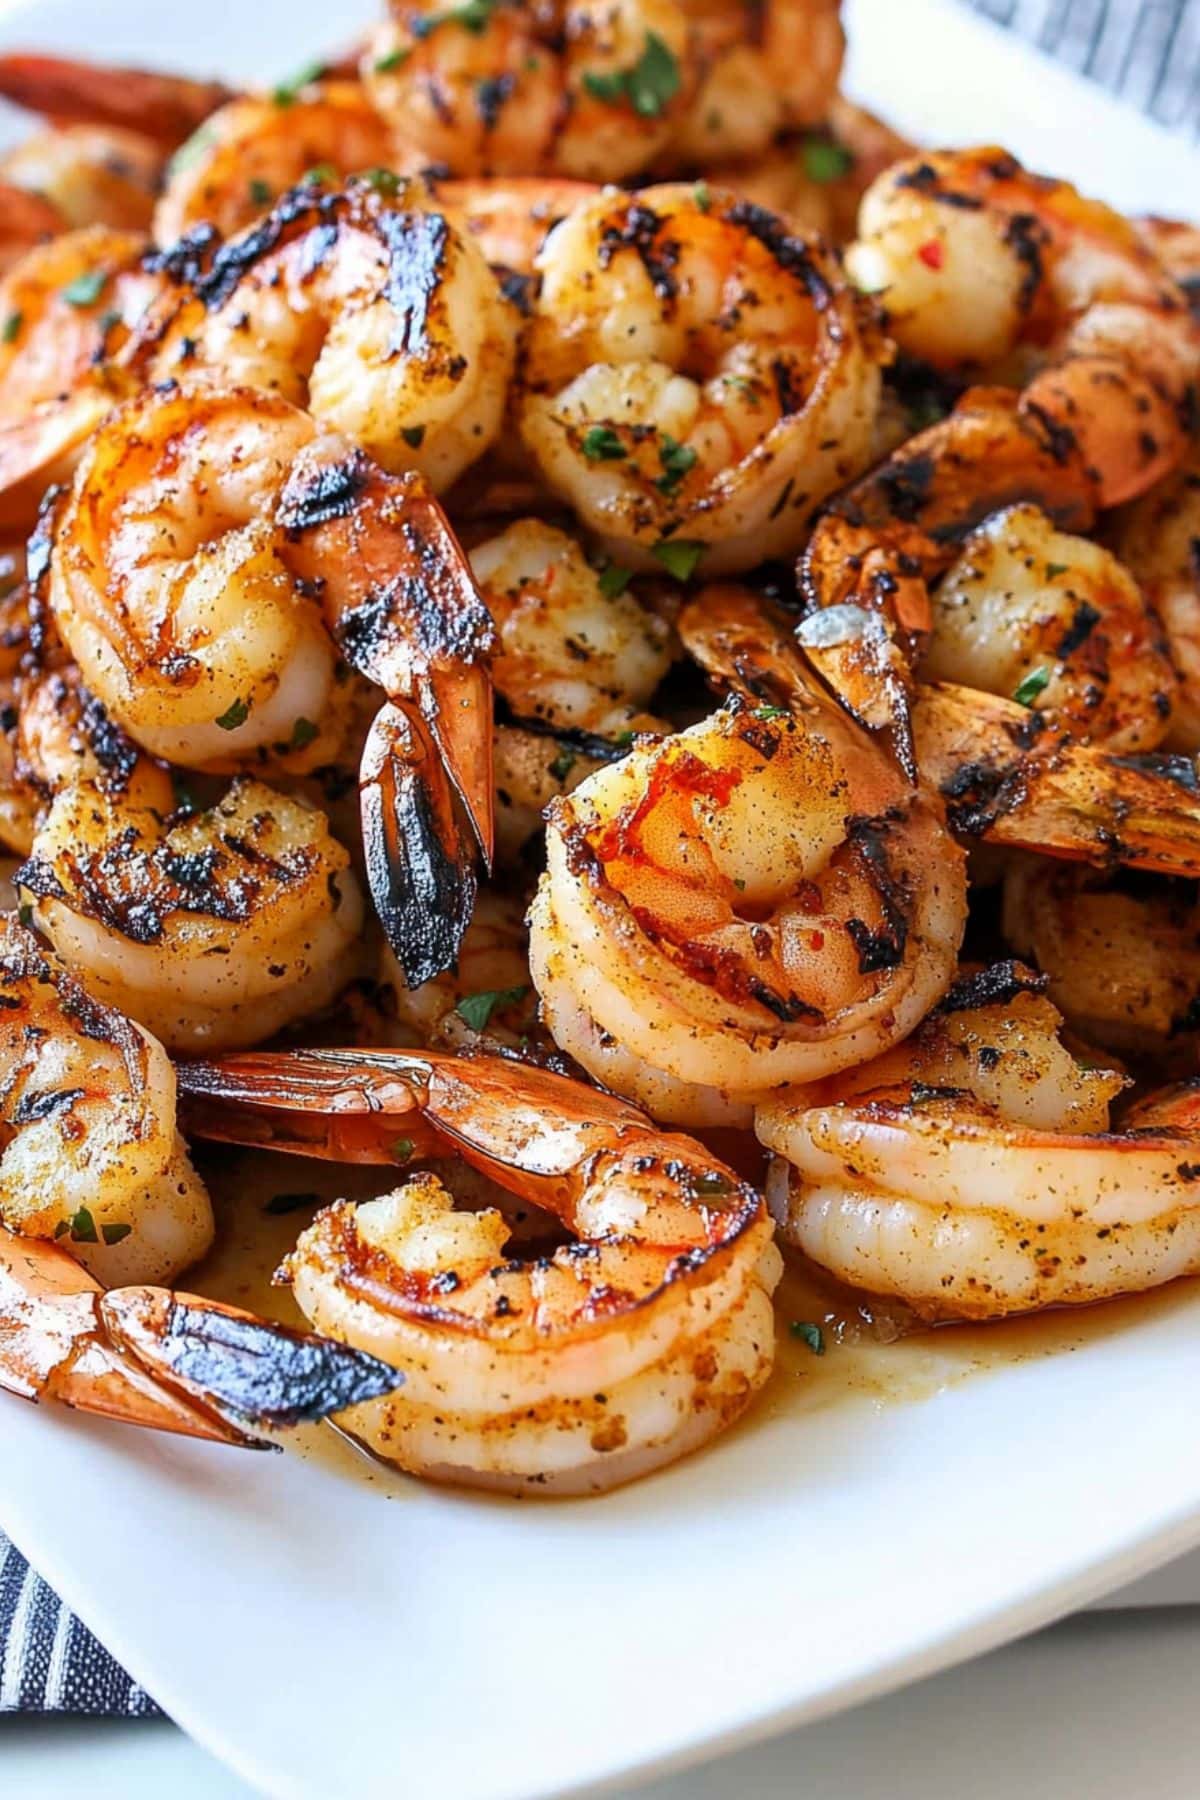
5. GRILL the shrimp for 2–3 minutes per side until pink and opaque.
6. REST for 1–2 minutes, then arrange on a platter. Garnish with fresh herbs and lemon, if desired. Enjoy!
Tips For the Best Grilled Shrimp
What I love most about this dish is how quickly it comes together.
It’s perfect for those warm summer evenings when you want something impressive but don’t want to spend hours in the kitchen.
Just a few minutes on the grill and you’ve got yourself something that looks and tastes like it came from a seaside restaurant.
Still, as always, I have a few handy tips:
- Size matters. Use large or jumbo shrimp (16-20 per pound). They’re easier to handle and less likely to overcook on the grill.
- Marinate quickly. Limit the marinade time to 15-20 minutes. If left too long, the citrus will start “cooking” the shrimp.
- Use skewers. Soak bamboo skewers in water for 30 minutes, then thread a few shrimp onto the wood. Thread through the tail and the main body so they lay flat.
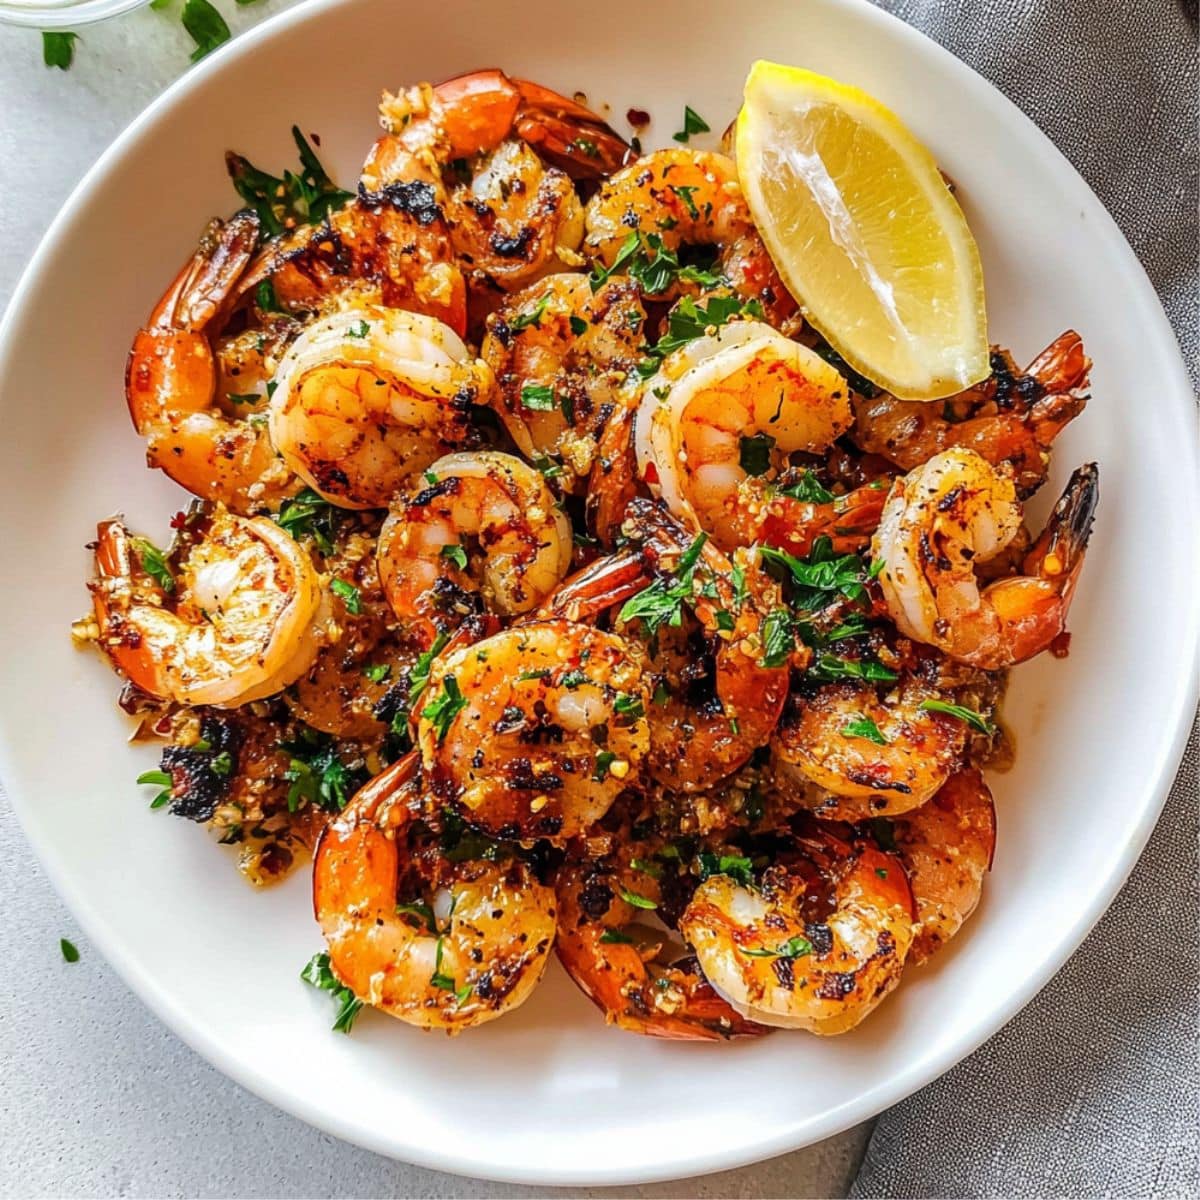
- Watch closely. Shrimp can overcook in a flash. They’re ready when they form a “C” shape and start to curl at the edges.
- Flavor variations. Try cajun seasoning, teriyaki glaze, or garlic butter.
- Serving suggestions. Serve over cilantro-lime rice, alongside grilled vegetables, or as part of a seafood pasta dish. Yum!
How to Store
Whether you’re cooking for guests or just treating yourself (because why not?), this dish makes any meal feel extra special.
The only downside is that they won’t store well for long. So be sure to enjoy them asap!
To Store: Place cooled shrimp in an airtight container and refrigerate within 2 hours of cooking. Properly stored, they will last 3–4 days in the fridge.
To Freeze: Flash freeze fully cooled shrimp in a single layer, then transfer them to a freezer bag. Freeze for 2-3 months. Thaw in the fridge overnight before reheating.
To Reheat: Reheat the shrimp over medium-low heat in a skillet with a splash of oil. Avoid microwaving as it tends to make them rubbery.
More Delicious Shrimp Recipes to Try
Shrimp Fajitas
Creamy Chipotle Shrimp
Hibachi Shrimp
Sweet and Sour Shrimp
Grilled Shrimp
4
servings10
minutes5
minutes215
kcalThese juicy grilled shrimp are coated in a zesty marinade of garlic, lemon, and spices. Cooked to smoky perfection, they’re an easy summer favorite!
Ingredients
1 pound large shrimp, peeled and deveined
3 tablespoons olive oil
2-3 cloves garlic, minced
2 tablespoons fresh lemon juice (about half a lemon)
2 teaspoons Old Bay seasoning
1/2-1 teaspoon red pepper flakes, optional
1/2 teaspoon smoked or sweet paprika
1/2 teaspoon salt
1/4 teaspoon black pepper
chopped fresh parsley, for garnish
lemon wedges, for serving
Instructions
- Clean and rinse the shrimp under cold water and pat them dry with paper towels. If desired, remove the tails.
- In a large bowl, mix the olive oil, garlic, lemon juice, Old Bay, red pepper flakes (if using), paprika, salt, and pepper.
- Add the shrimp to the marinade and toss gently to ensure they are evenly coated. Let the shrimp rest in the marinade for 10–15 minutes (no more than 30 minutes).
- Heat the grill (or grill pan) to medium-high heat and lightly oil the grill grates or skillet to prevent sticking.
- Place the shrimp directly on the grill, spacing them out for even cooking. Grill for 2–3 minutes per side until they turn pink and opaque.
- Rest the cooked shrimp for a minute or two then arrange them on a serving platter. Garnish with fresh herbs and an additional squeeze of lemon if desired. Enjoy!
Notes
- Use large or jumbo shrimp (16-20 per pound). They’re easier to handle and less likely to overcook on the grill.
- Limit the marinade time to 15-20 minutes. If left too long, the citrus will start “cooking” the shrimp.
- Shrimp can overcook in a flash. They’re ready when they form a “C” shape and start to curl at the edges.
Did you like the recipe?
Click on a star to rate it!
Average rating 5 / 5. Vote count: 1
No votes so far! Be the first to rate this post.
We are sorry that this post was not useful for you!
Let us improve this post!
Tell us how we can improve this post?

