‘Tis the season for festive treats, and these Christmas tree brownies are here to steal the show!
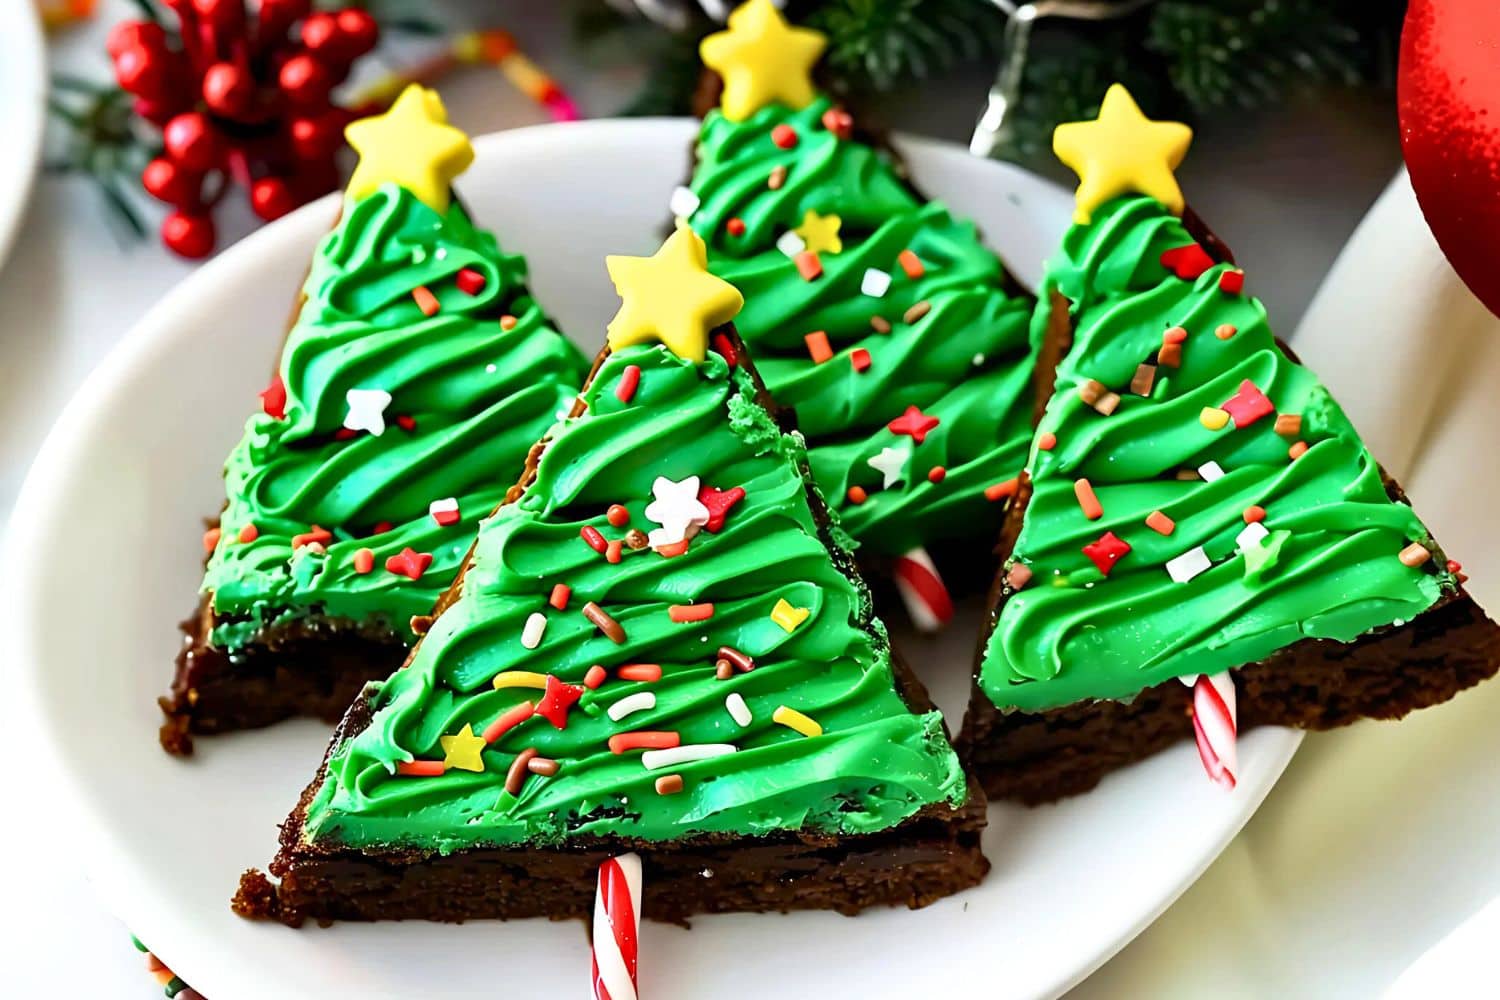
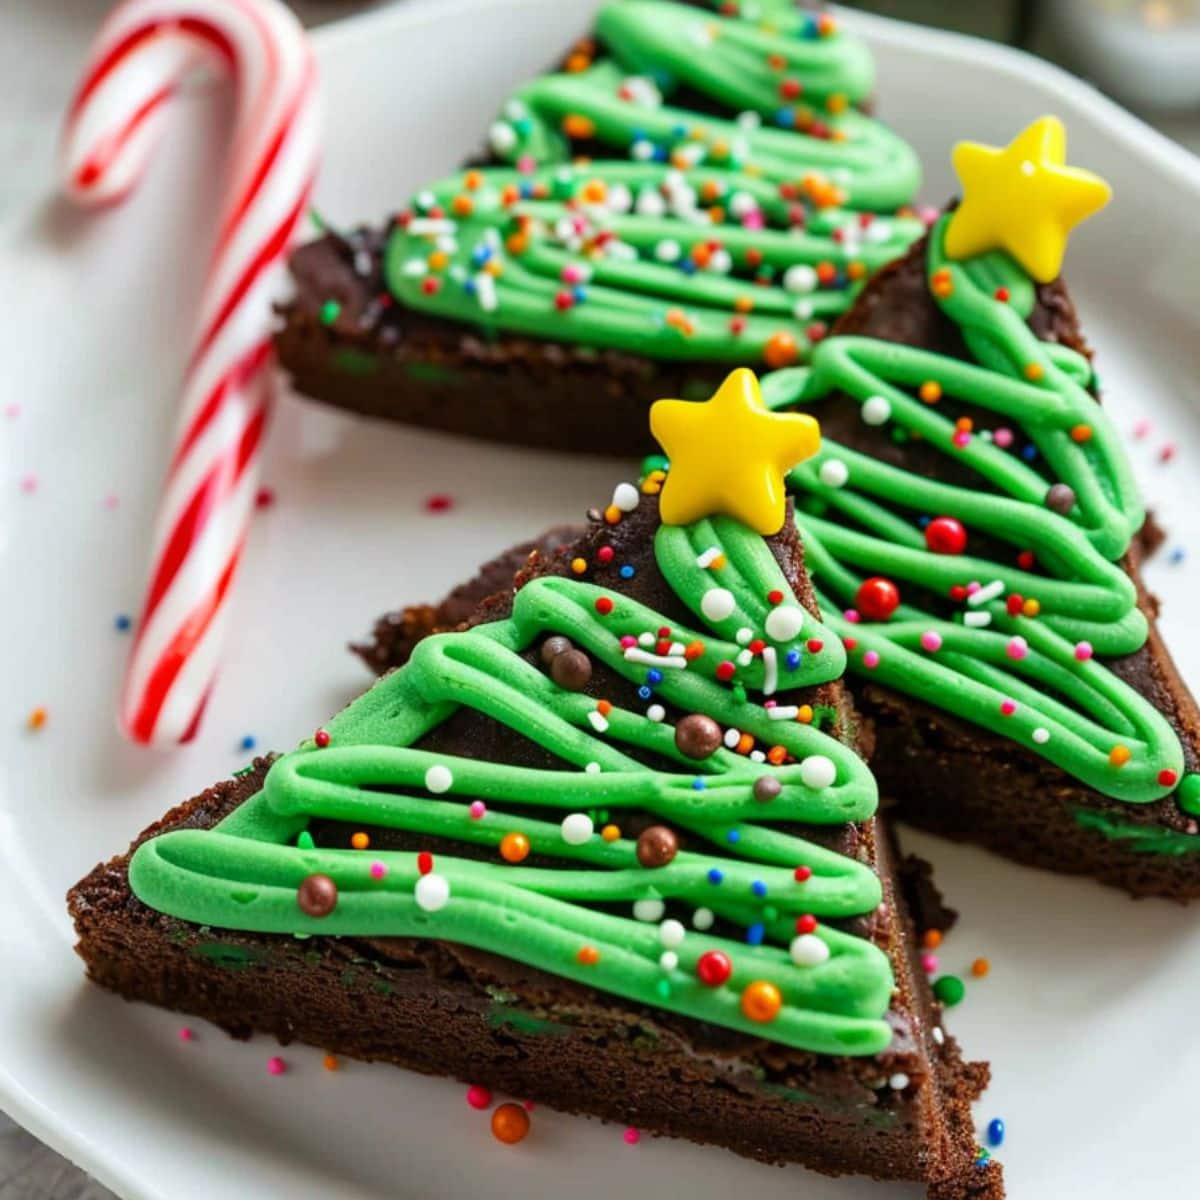
They’re rich, fudgy, and topped with fluffy green vanilla frosting. The sprinkles twinkle like lights, and the candy cane “trunk” adds the perfect touch.
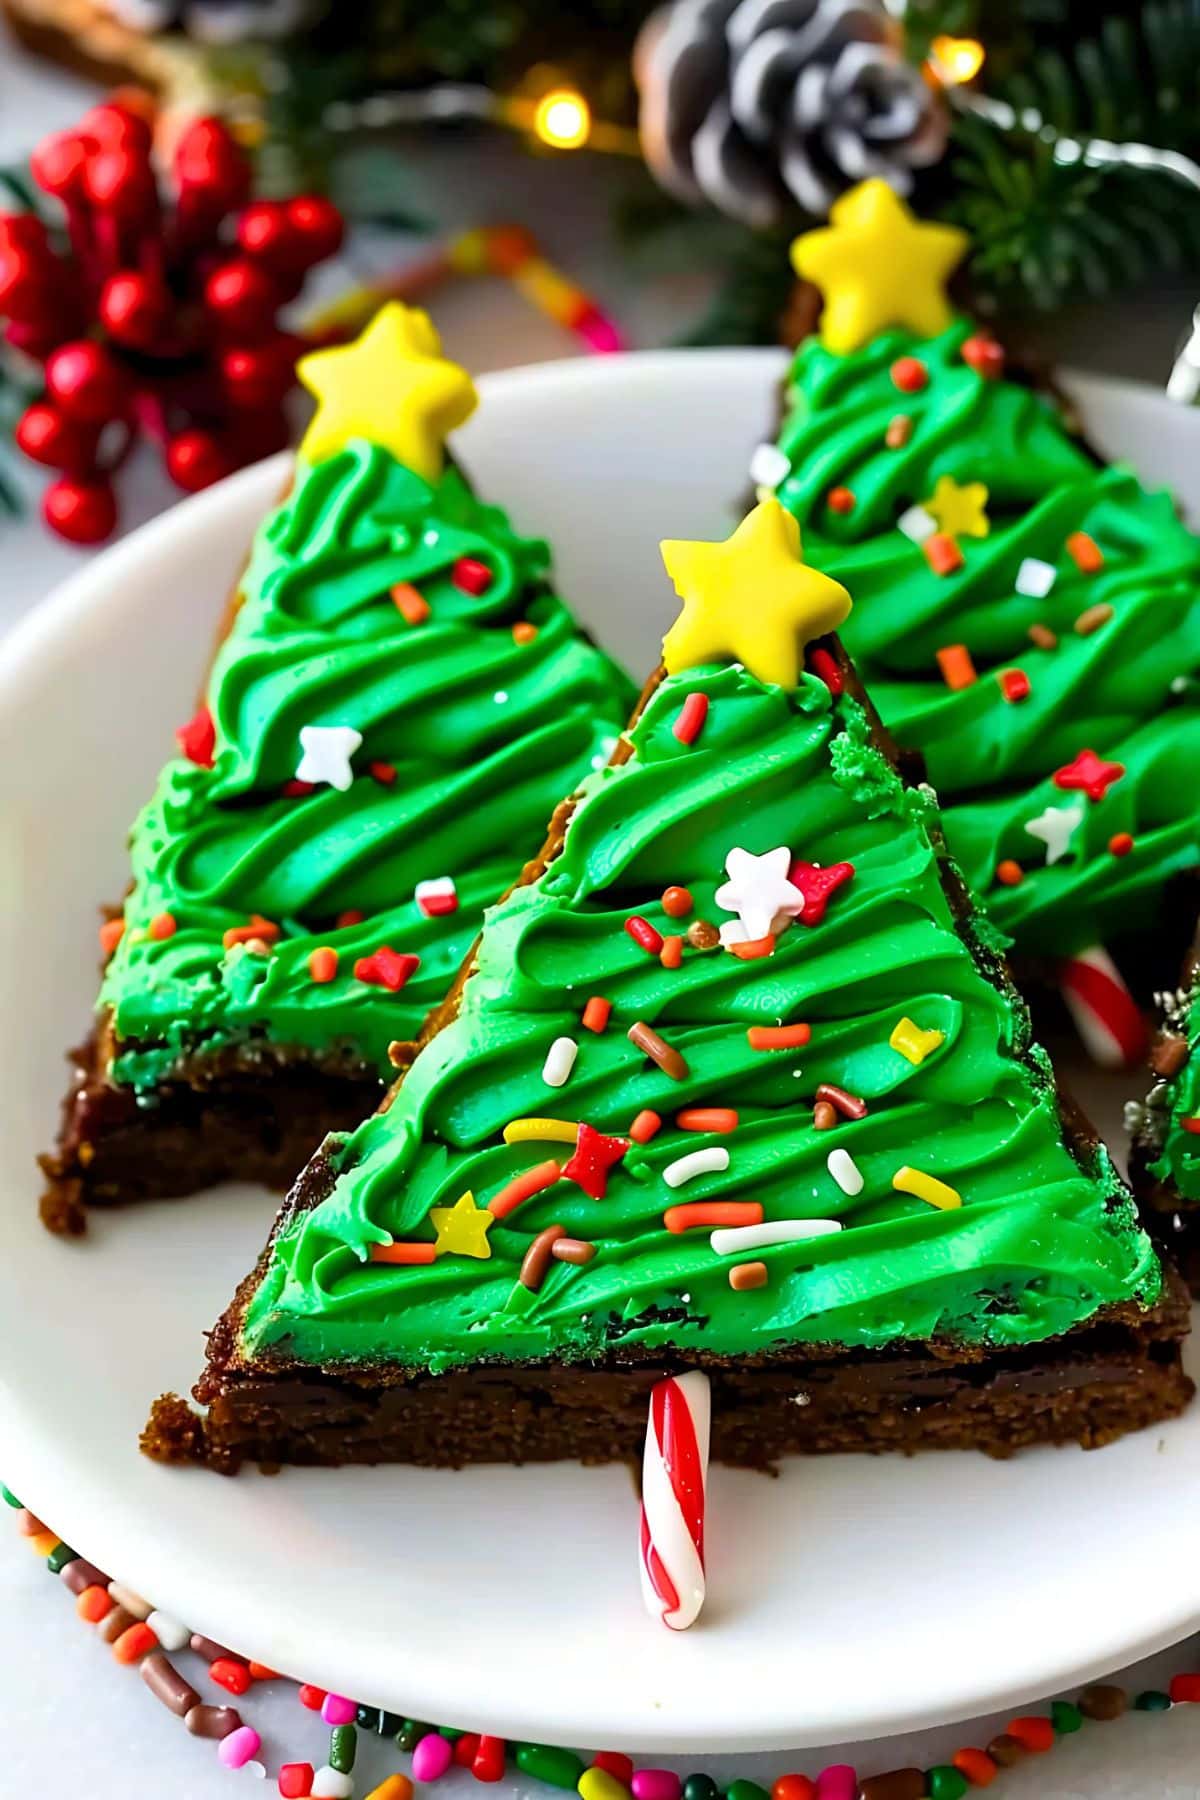
And let’s not forget the shining star on top.
Whether you’re hosting the holidays or treating the kids, these brownies will spread cheer all around!
Why You’ll Love These Christmas Tree Brownies
Festive Treat: These adorable tree-shaped brownies double as edible decorations. They’re almost too cute to devour.
Creative Activity: Create new memories by getting the little ones involved! This recipe is a great kid-friendly activity.
Irresistible Taste: Rich, fudgy brownies, melty mini chocolate chips, and creamy frosting make for one decadent Christmas treat.
Customizable Creation: From edible glitter to colorful candies, you and your family can add a personal touch.
Ingredients
- All-Purpose Flour: It provides structure and creates that irresistible brownie texture.
- Unsweetened Cocoa Powder: It adds a rich, chocolatey flavor.
- Baking Powder: It helps the brownies rise slightly, creating a light yet fudgy crumb.
- Salt: It enhances the sweetness and intensifies the chocolate flavor.
- Unsalted Butter: The base for the brownies and frosting. It imparts moisture, richness, and a creamy texture.
- Granulated and Light Brown Sugar: Granulated sugar adds sweetness, while brown sugar contributes sweetness, a hint of molasses, and a chewy texture.
- Eggs: It binds the ingredients together and provides structure.
- Vanilla Extract: It adds warmth and depth of flavor.
- Mini Chocolate Chips (Optional): To add bursts of melty chocolate for extra indulgence.
- Green Frosting: To create the signature tree shade!
- Decorations: To make the brownies look like Christmas trees! Decorate with sprinkles, edible glitter, star-shaped candies, M&Ms, mini candy canes, icing, or a white chocolate drizzle.
How to Make Christmas Tree Brownies
Looking for a dessert that’s fun to make and full of holiday cheer? These brownies are it!
1. Preheat. Preheat the oven to 350°F. Line a 9×13-inch baking pan with parchment paper. Melt the butter over medium heat. Remove from the heat.
2. Whisk the ingredients. Mix in the granulated sugar, brown sugar, and vanilla until smooth. Let cool slightly. Whisk in eggs, one at a time, until fully combined.
3. Sift the flour, cocoa powder, baking powder, and salt. Gradually fold the dry ingredients into the wet mixture until just combined. Stir in the mini chocolate chips if using.
4. Pour the brownie batter into the prepared pan. Bake for 25–30 minutes or until a toothpick inserted into the center comes out with moist crumbs. Cool the brownies completely in the pan.
5. Beat the butter. Beat the softened butter until smooth and creamy, about 2–3 minutes. Gradually add the powdered sugar, 1 cup at a time, until combined. Add the vanilla extract and 2 tablespoons of milk or cream, beating until the frosting is fluffy and spreadable, about 3 minutes. Mix in the green gel food coloring a little at a time until you achieve the desired shade of green.
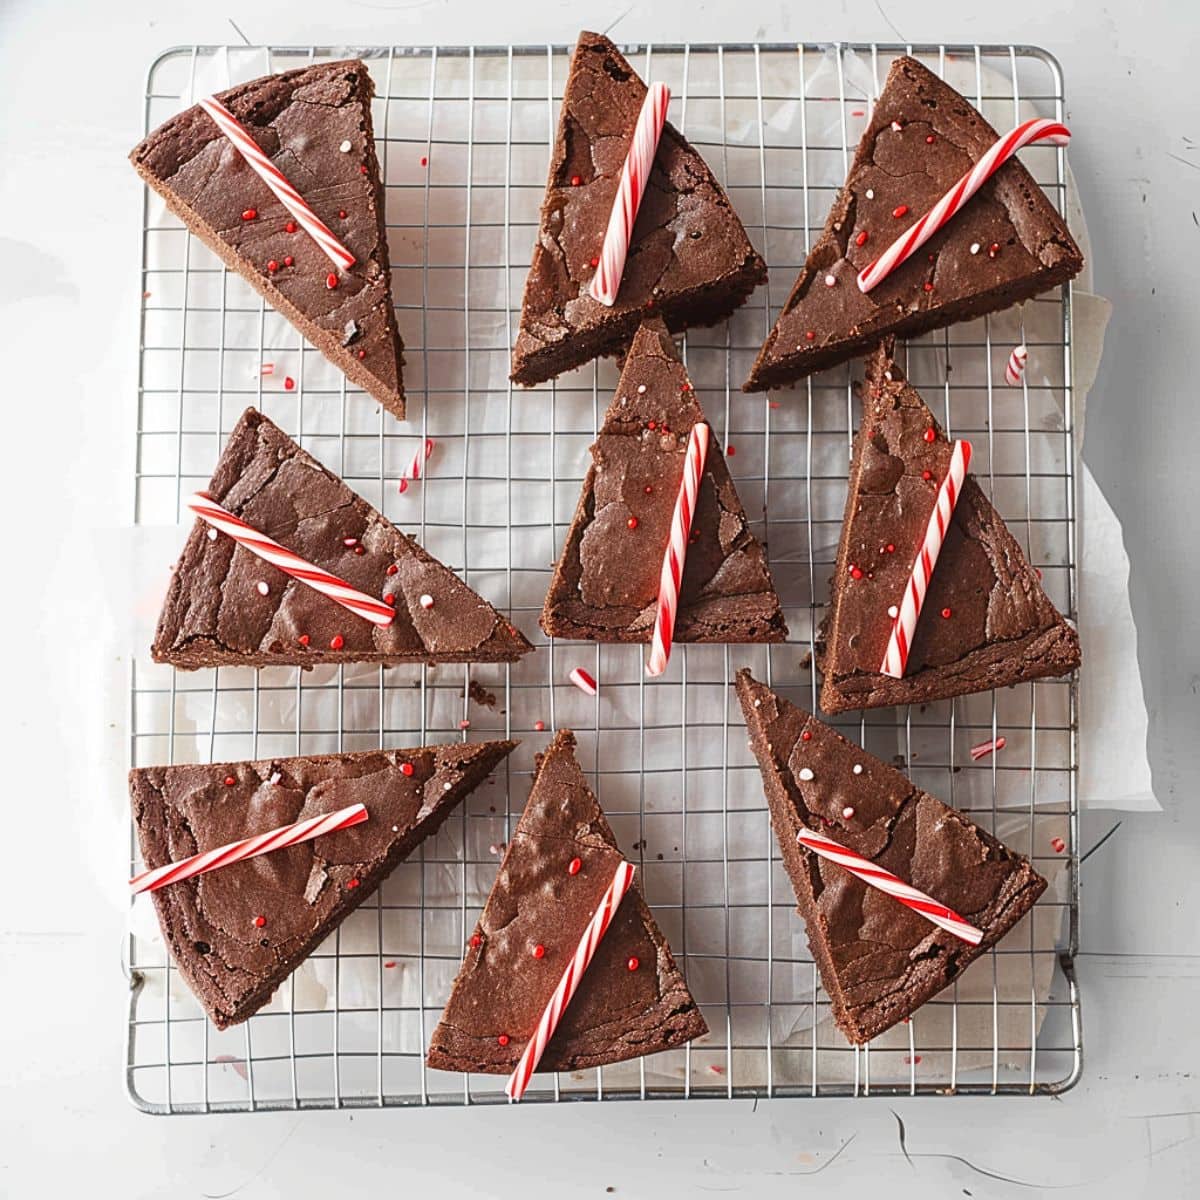
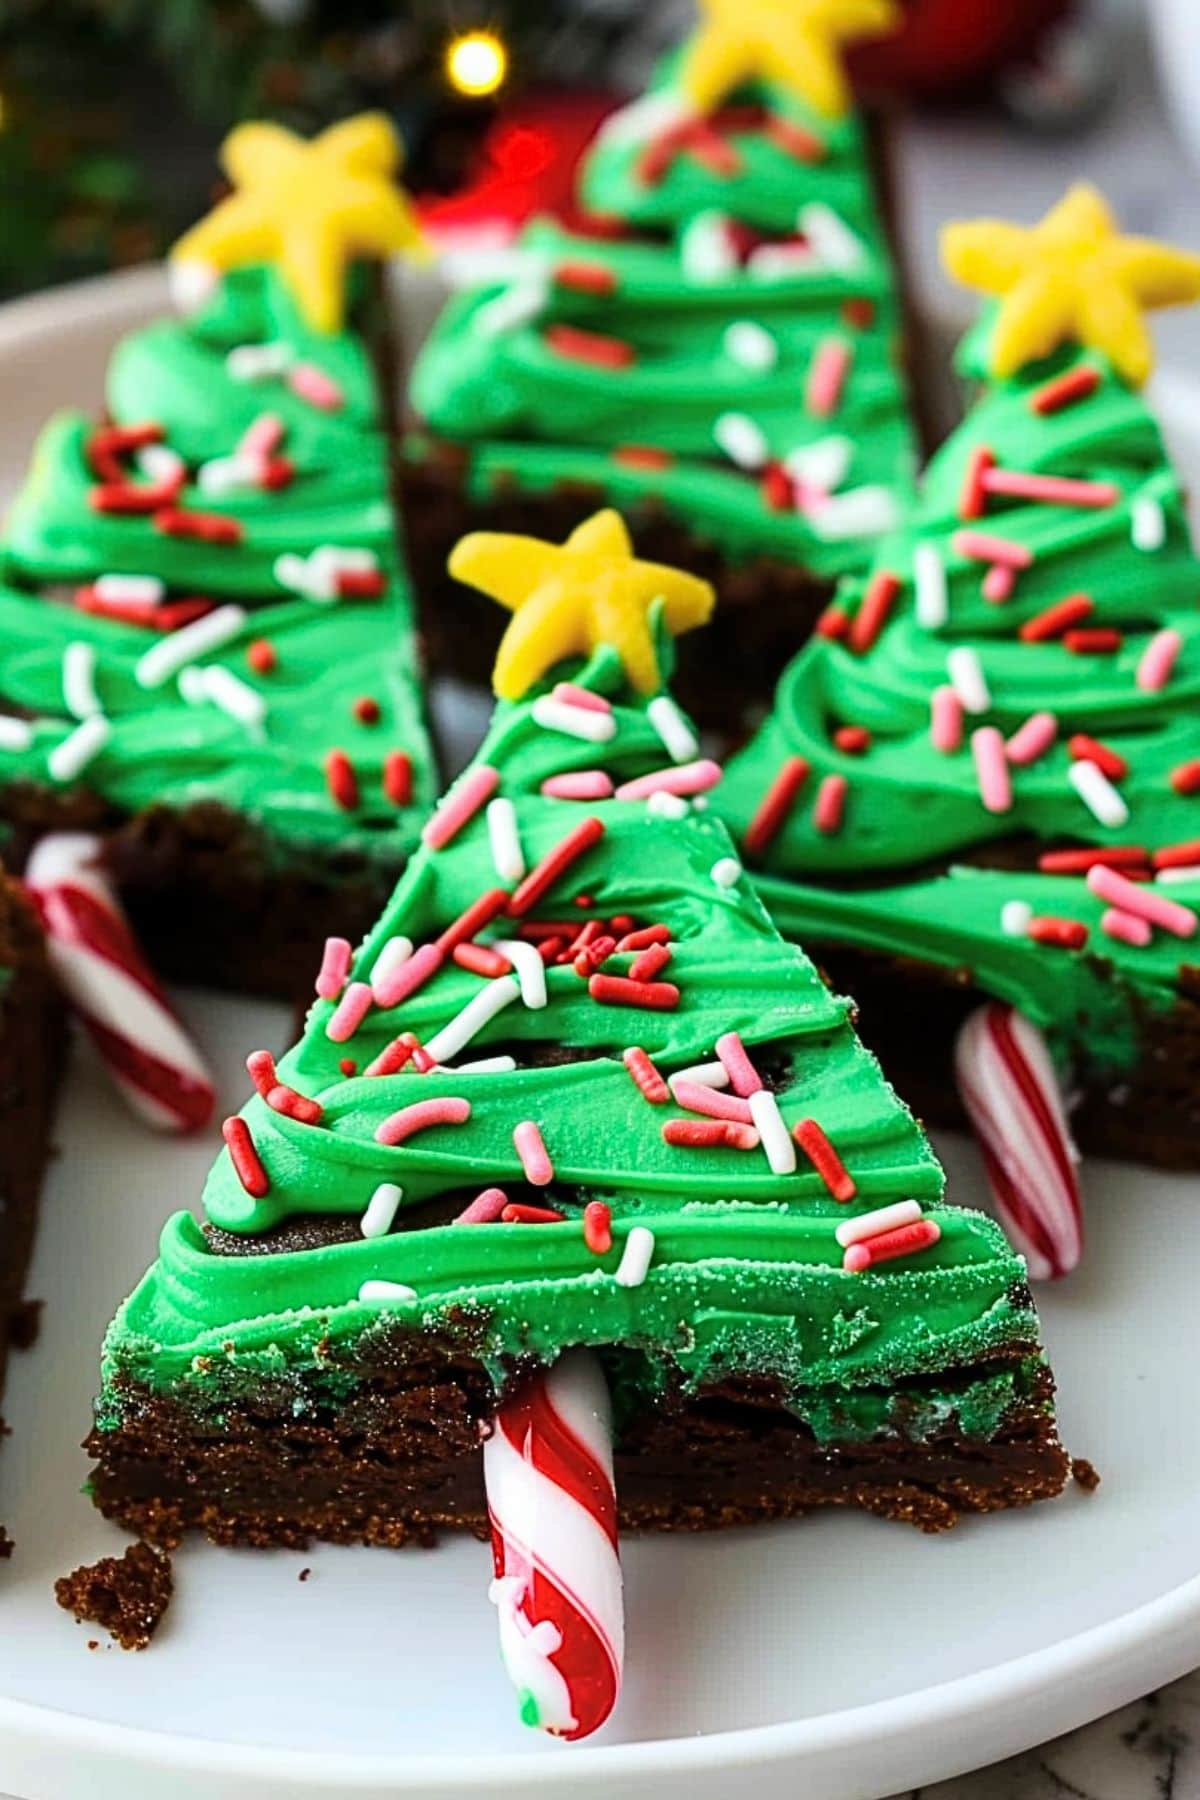
6. Slice the brownies into triangles. Attach a mini candy cane to the base of each triangle with a dab of frosting to create a “tree trunk.” Pipe the frosting over the brownie triangles in a zigzag pattern.
7. Decorate the brownies. Adorn with sprinkles and place a star candy or yellow M&M at the tip of each tree. Drizzle with white chocolate for a snowy effect if desired. Let the decorations set for about 15-20 minutes.
8. Serve. Serve and enjoy!
Tips for the Best Christmas Tree Brownies
These treats are as fun to admire as they are to devour, especially when you follow these tips.
- Quality is key. Select high-quality unsweetened cocoa powder for a richer chocolate flavor.
- Be precise. Use exact measuring cups and level off dry ingredients with a knife to guarantee the best brownie consistency.
- Don’t overmix! Fold dry ingredients into the wet mixture gently until just combined. This helps prevent overworking the batter, resulting in tough brownies.
- Get the perfect cut. Refrigerate the brownies for 30 minutes, then use a hot, clean knife (wiping between cuts) for precise cuts.
- Try a piping trick. Use a piping bag with a star or round tip for professional-looking “garland” frosting on your brownies. Begin from the bottom, working upward in a zigzag pattern.
- Be strategic. Apply larger decorations (like sprinkles) first, then add finer details last for the picture-perfect look.
- Take a shortcut! Use a boxed brownie mix and store-bought green frosting to save time. Just follow the box instructions and decorate.
- Mix it up! Try other decorations like crushed peppermint, chocolate shavings, edible glitter, or different frosting colors.
How to Store
Checking things off your holiday to-do list? Make these brownies in advance and refrigerate to keep them fresh.
To Store: Place the decorated brownies in an air-tight container. Refrigerate for up to 1 week.
To Freeze: Wrap each undecorated brownie triangle tightly in plastic wrap, then place them in a freezer-safe bag or container. Freeze for up to 3 months. Decorate after thawing.

