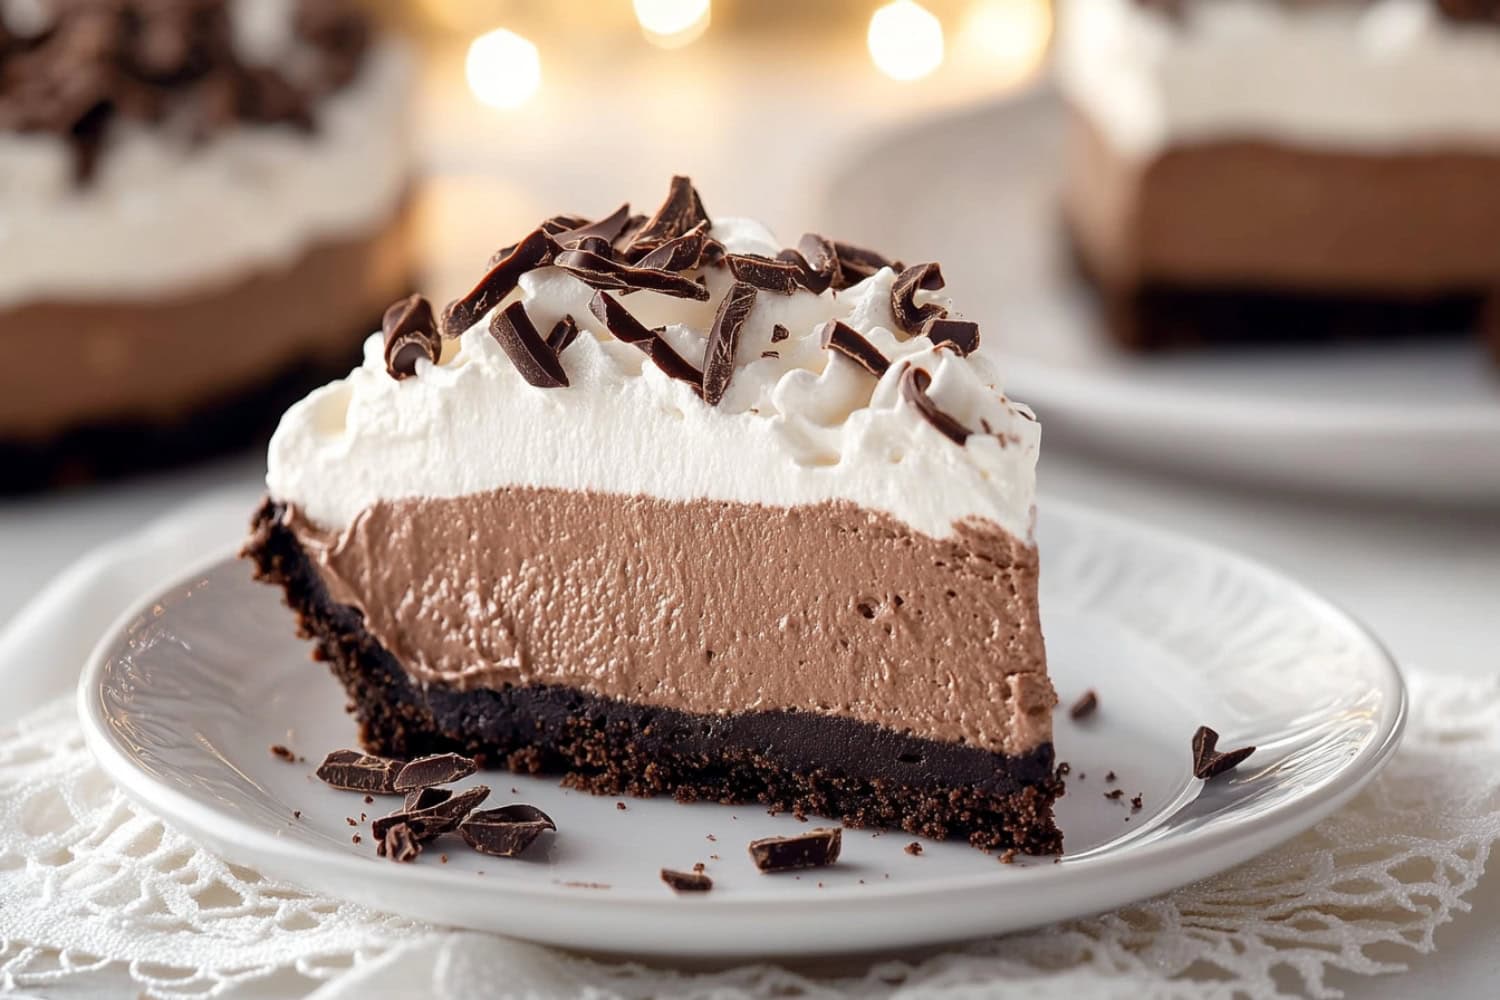
Indulge in pure chocolate bliss with this silky-smooth, no-bake chocolate mousse pie.
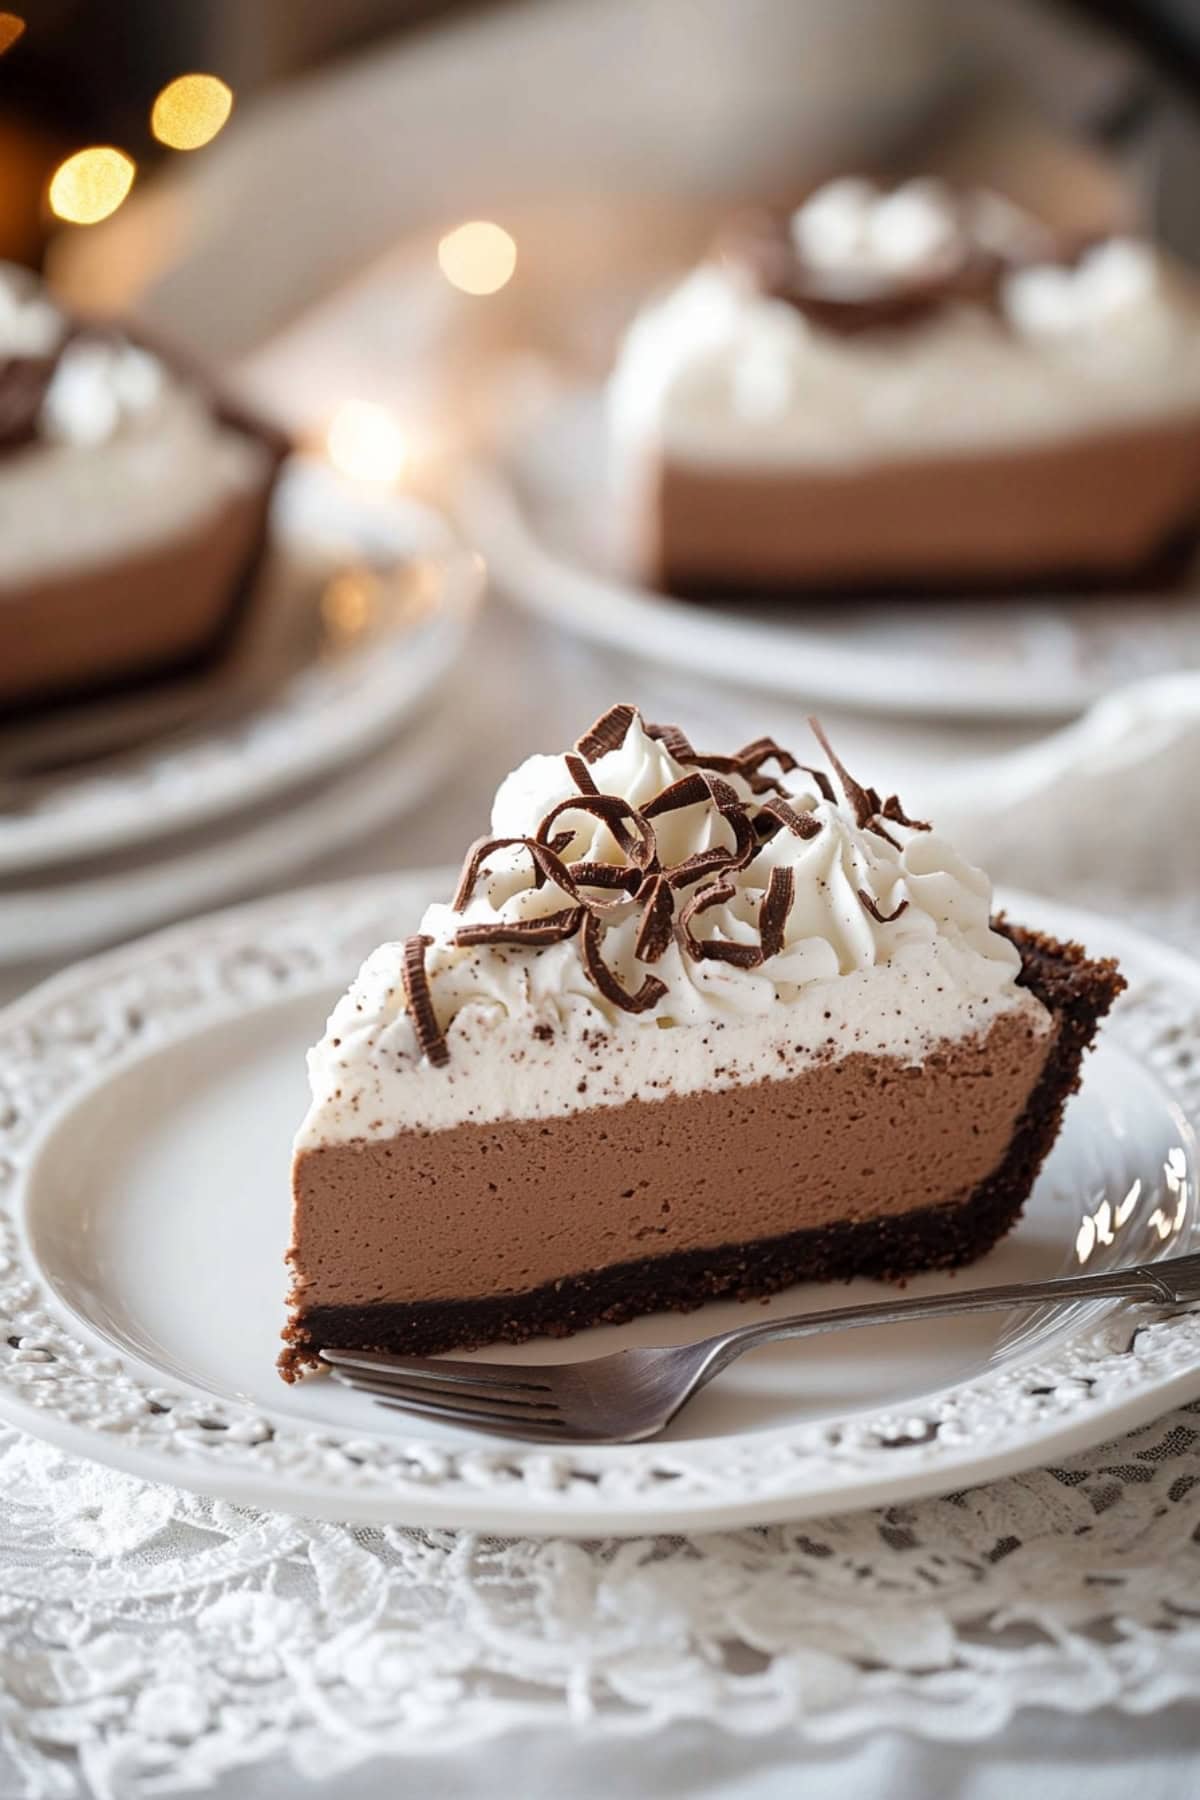
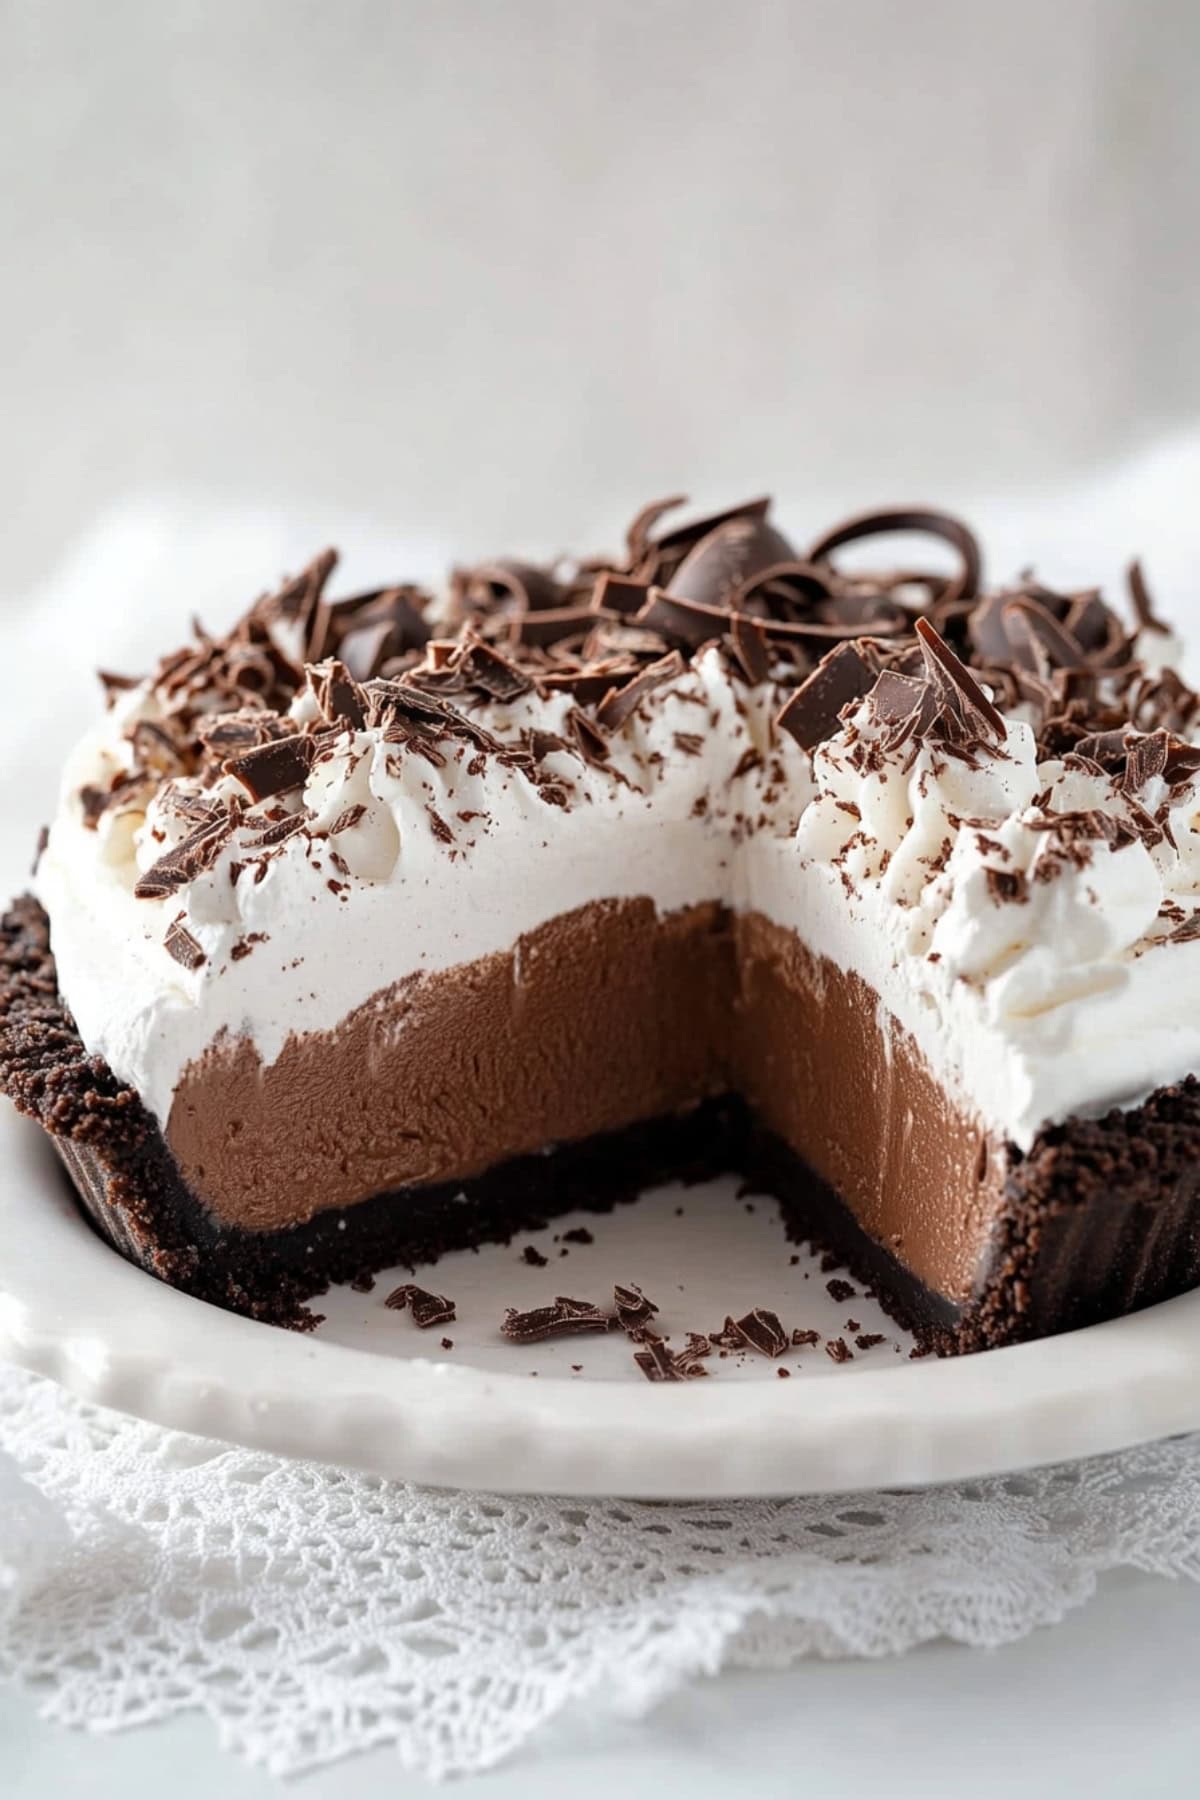
This dreamy dessert features three irresistible layers – a crunchy Oreo crust, a cloud-like chocolate mousse filling, and pillowy whipped cream on top.
The contrast between the deep chocolate flavor and cloud-like texture is absolutely magical.
Garnished with delicate chocolate shavings, it’s as beautiful as it is delicious. Trust me, you’ll want to save this recipe!
Why You’ll Love This Chocolate Mousse Pie
Rich Decadent Flavor: Each spoonful delivers waves of silky chocolate mousse paired with crumbly Oreos, creating an indulgent dessert experience that satisfies the most devoted chocolate lovers.
Crowd-Pleaser: Who can resist chocolate on chocolate with whipped cream?
Make-Ahead Magic: The pie can be prepared up to 24 hours in advance, saving you valuable time before serving.
Perfect Party Pie: This show-stopping dessert requires no baking skills for the filling, making it an ideal choice for entertaining guests or bringing to potlucks.
Ingredients
- Mini Marshmallows: The base for the mousse, adding sweetness and a fluffy texture.
- Semi-Sweet Chocolate Chips: Brings rich chocolate flavor and creamy smoothness to the filling.
- Milk: Helps melt the marshmallows and chocolate into a silky mixture.
- Butter: Adds richness and enhances the mousse’s velvety consistency.
- Vanilla Extract: Infuses the mousse with warm, aromatic flavor.
- Heavy Whipping Cream: This creates a light, airy texture and is used in both the mousse and topping.
- Oreo Pie Crust: A crunchy, chocolatey base that perfectly complements the mousse.
- Powdered Sugar: Sweetens the whipped cream topping for a delicate finish.
- Chocolate Shavings Or Curls: A decorative touch that adds elegance and extra chocolate flavor.
How to Make Chocolate Mousse Pie
There are so many fantastic chocolate mousse recipes, many of which use eggs (yolks or whipped whites).
But I wanted to keep things simple for this pie, which is why I went with marshmallows!
Here are the steps to make it:
1. COMBINE the marshmallows, chocolate chips, milk, and butter in a large saucepan over medium heat. Stir constantly until melted.
2. REMOVE from the heat, stir in the vanilla, and let cool to room temperature, about 1 hour.
3. WHIP 2 cups of heavy cream to stiff peaks. Add a small amount to the chocolate mixture and stir well. Fold in the remaining whipped cream until smooth.
4. POUR the mousse into the Oreo crust and spread evenly. Refrigerate for 2–3 hours.
5. WHIP the remaining 1 cup of heavy cream with powdered sugar to stiff peaks. Spread over the chilled mousse.
6. TOP with chocolate shavings or curls. Slice, serve, and enjoy!

Tips For the Best Chocolate Mousse Pie
Made with high-quality chocolate and fresh cream, this elegant pie strikes the perfect balance between decadent and light.
And there are no special skills required! You don’t even need to turn the oven on.
Still, I have a few tips below to ensure success.
- Cool the chocolate mixture: Let the melted chocolate-marshmallow mixture cool completely to room temperature before folding in the whipped cream to prevent it from melting.
- Use quality chocolate. Brands like Valrhona, Callebaut, or Guittard will ensure a rich and smooth mousse.
- Chop the chocolate finely. This will help it melt evenly and smoothly.
- Chill your bowl and whisk: For the whipped cream, use a chilled bowl and whisk to achieve stiff peaks faster and with less effort.
- Don’t overmix: When folding the whipped cream into the chocolate mixture, use a gentle hand to keep the mousse light and airy.
- DIY Oreo crust. Mix about 22 crushed Oreos with 5 tablespoons melted butter. Press into a 9-inch pie dish and bake for 10 minutes at 350°F.
- Chill thoroughly. Allow at least 3 hours for the mousse to set, or chill overnight for best results.
- Customize the topping: Swap chocolate shavings for crushed Oreos, sprinkles, or a drizzle of chocolate ganache for a unique finish.
How to Store
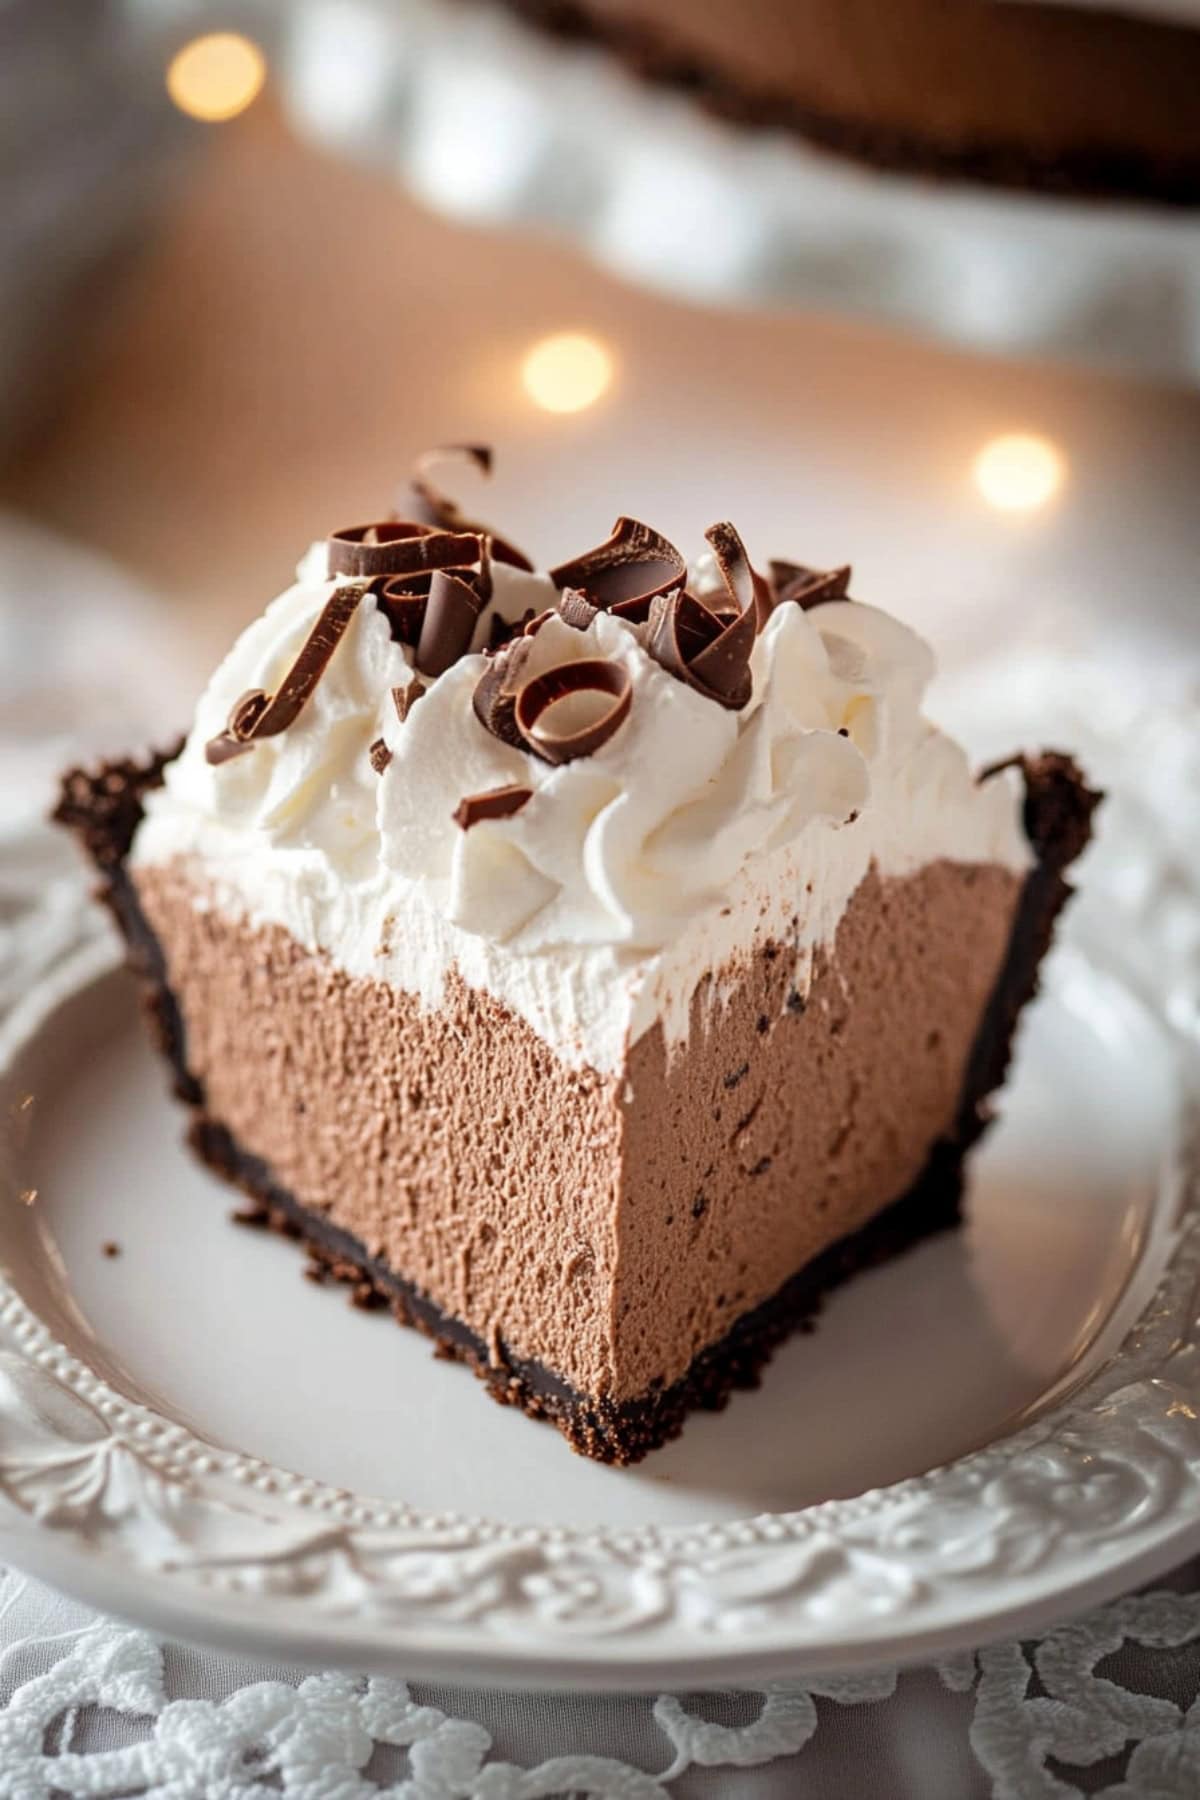
You know those desserts that make you close your eyes and sigh with pure joy? This chocolate mousse pie does exactly that.
It’s so good, I never have leftovers!
If you happen to, here’s how to store them:
To Store: Store the chocolate mousse pie in an airtight container or cover it tightly with plastic wrap. Refrigerate for 2-3 days without the whipped cream topping.
To Freeze: Wrap the pie tightly in plastic wrap (without the whipped cream) followed by a layer of aluminum foil. Freeze for up to 2 months. When ready to serve, thaw the pie in the refrigerator for 24 hours, then add the fresh whipped cream and chocolate garnish.
More No-Bake Desserts You Have to Try
No Bake Marshmallow Pumpkin Pie
Pumpkin Cheesecake Balls
No-Bake Strawberry Tiramisu
Orange Creamsicle Dream Bars

