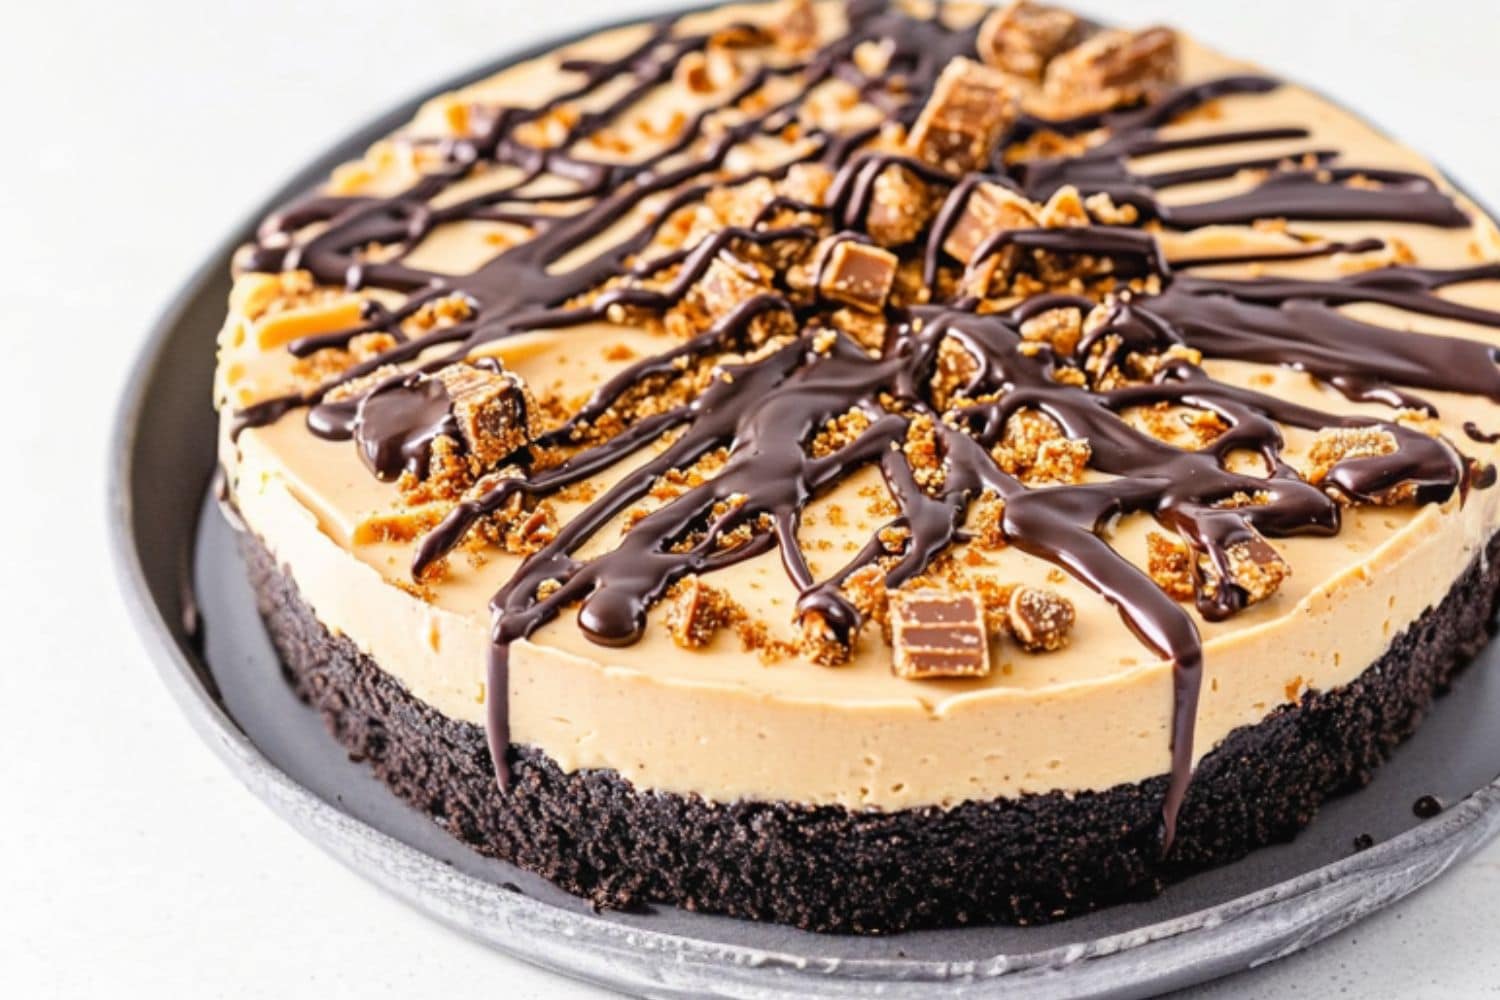
This no-bake Butterfinger pie is impossible to resist! The filling is like silk. Imagine cream cheese and whipped cream packed with crushed Butterfingers, all nestled in an Oreo crust.
It’s my secret weapon when I need to impress guests but don’t want to put in the effort.
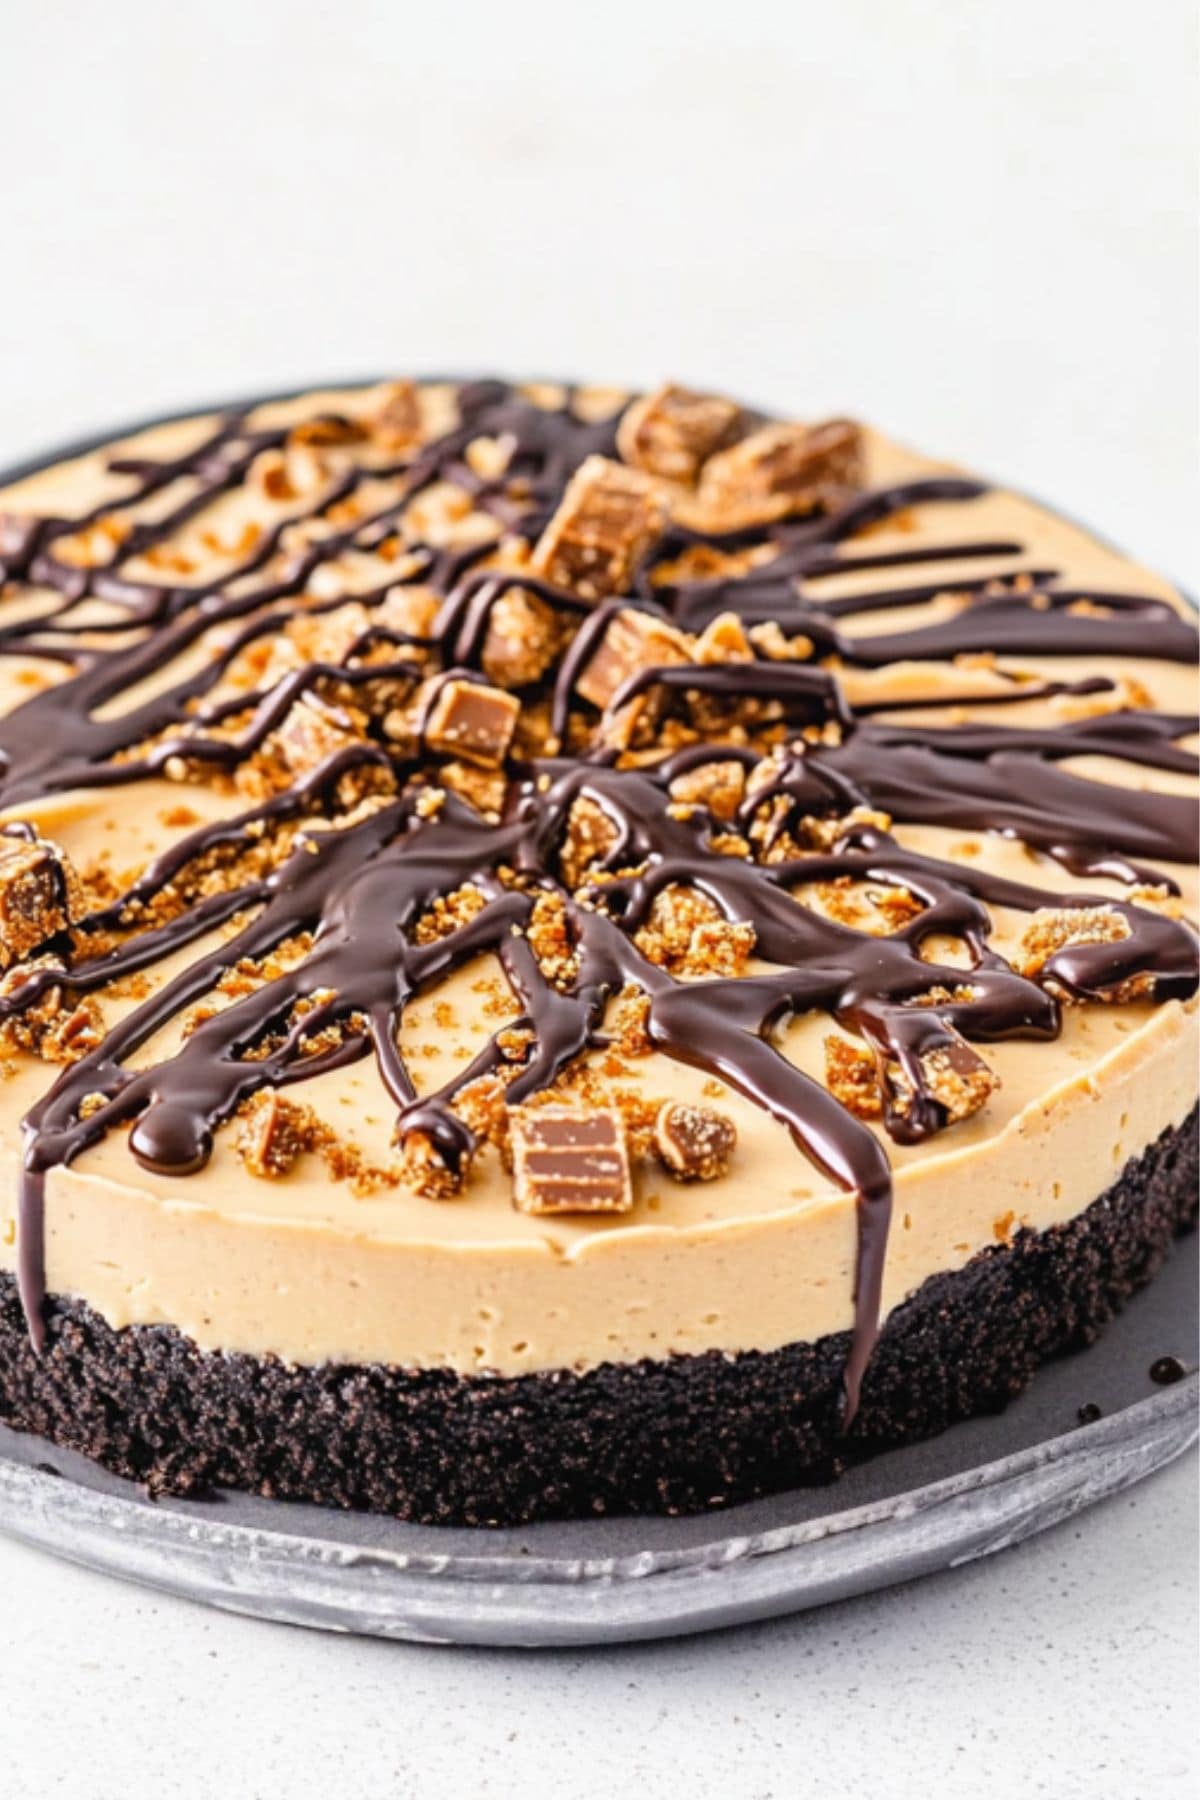
It requires zero oven time and only minimal preparation.
Bonus! It’s as pretty as it is tasty! Everyone will love it.
Why You’ll Love This No-Bake Butterfinger Pie
Effortless Prep: This no-bake pie comes together with only 15 minutes of active preparation time. And since there’s no oven needed, it’s ideal for hot days.
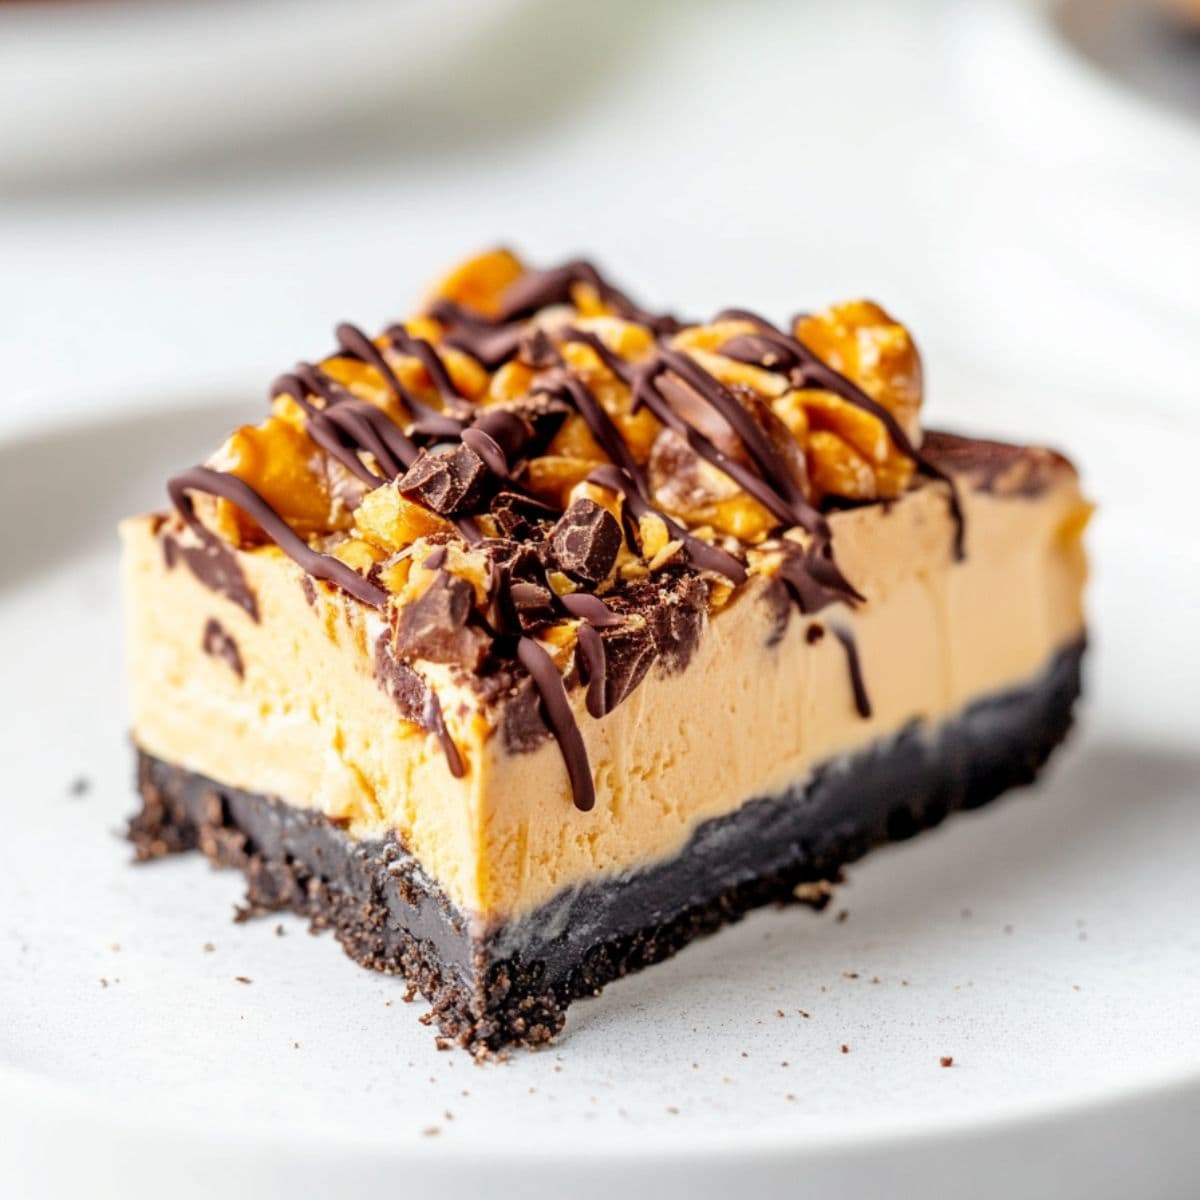
Perfect for Parties: Besides being convenient, this pie is also stunning. You’ll love its dark Oreo crust and Butterfinger-studded topping. It’s an impressive centerpiece for any dessert table.
Decadent Taste: You can never go wrong by combining rich peanut butter, smooth cream cheese, and chocolate candy. This pie is a win-win for chocolate and peanut butter lovers alike.
Customizable: Swap out the Butterfingers for another favorite candy bar. Make it with Reese’s, Snickers, Heath bars, and more.
Ingredients
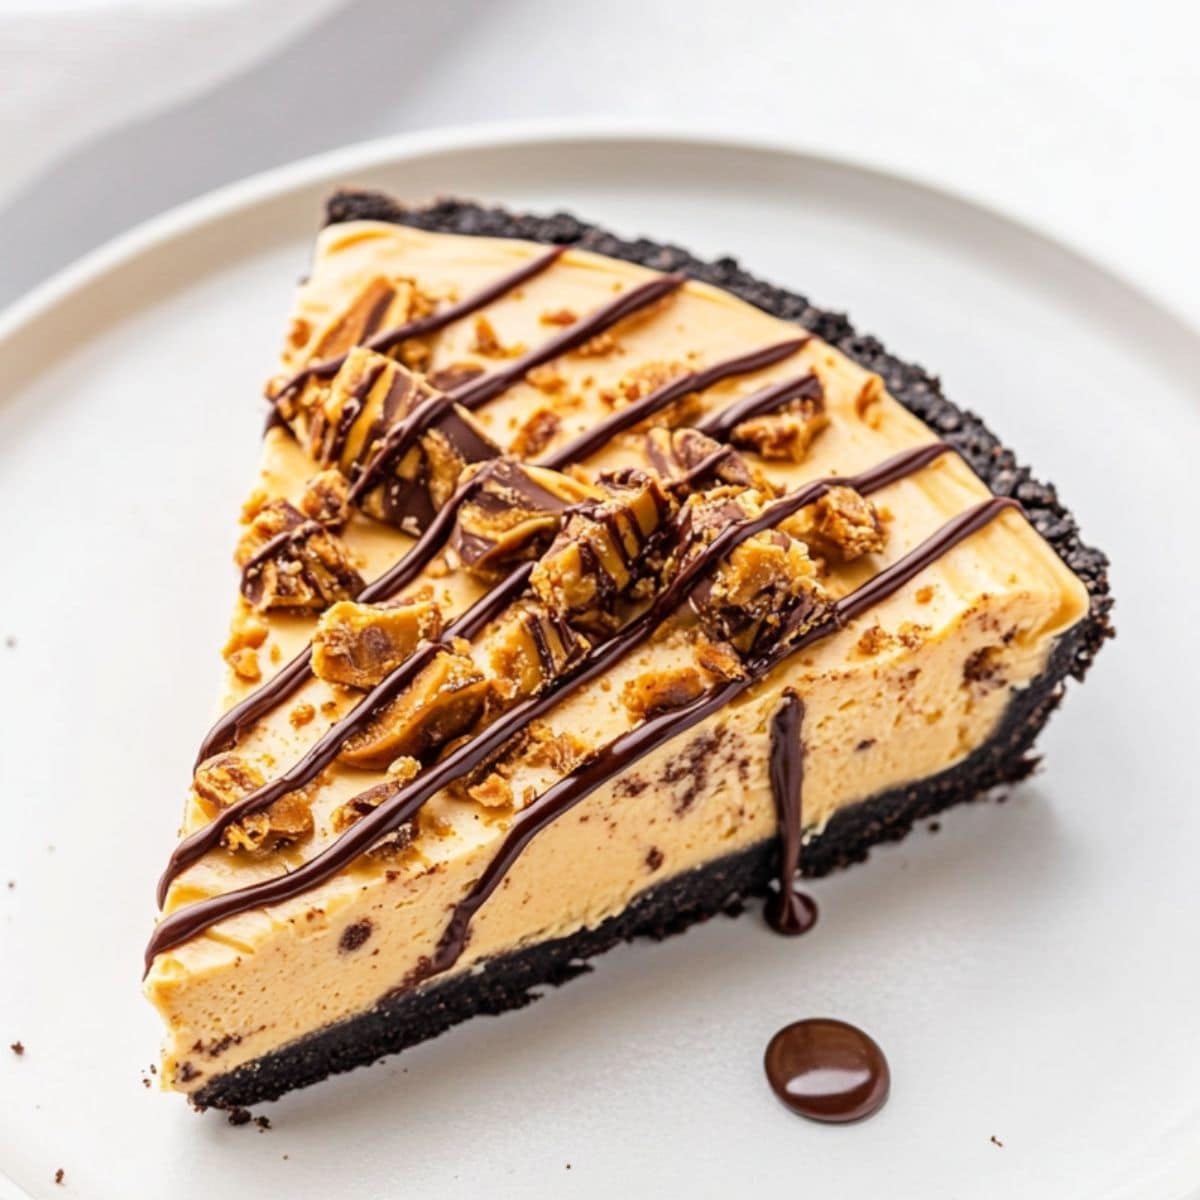
- Butterfinger Candy Bars: They’re crunchy, nutty, and delightfully chocolatey. They add texture and flavor throughout the pie.
- Oreo Cookies & Unsalted Butter: Crush the Oreos whole. Then, mix them with melted butter to make a rich, dark, decadent crust for the pie.
- Cream Cheese: For structure and creaminess in the filling. Use full-fat, block-style cream cheese softened to room temperature for the best results.
- Creamy Peanut Butter: For even more smoothness and nutty flavor in every bite. Avoid natural peanut butter, as it will separate.
- Powdered Sugar: Melts into the filling for sweetness without graininess. Confectioners’ sugar is also fine. Avoid granulated sugar, though, as it won’t be as smooth.
- Vanilla Extract: For coziness, warmth, and depth of flavor.
- Cool Whip: Thaw it fully before adding it. It’ll make the filling extra-light and fluffy, almost like a cloud.
How to Make No-Bake Butterfinger Pie
Like most no-bake dessert recipes, this one is extremely easy to follow.
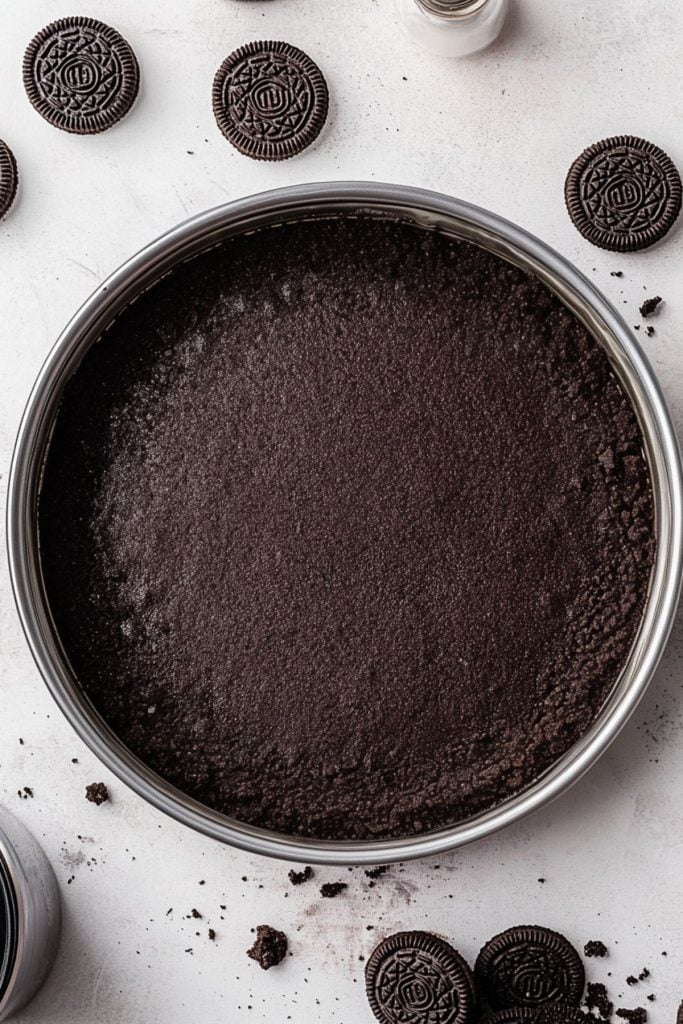
1. Make the crust. Mix the crushed Oreos and melted butter in a medium bowl. Stir well, then press the mixture firmly into the bottom and sides of a 9-inch pie pan. Refrigerate.
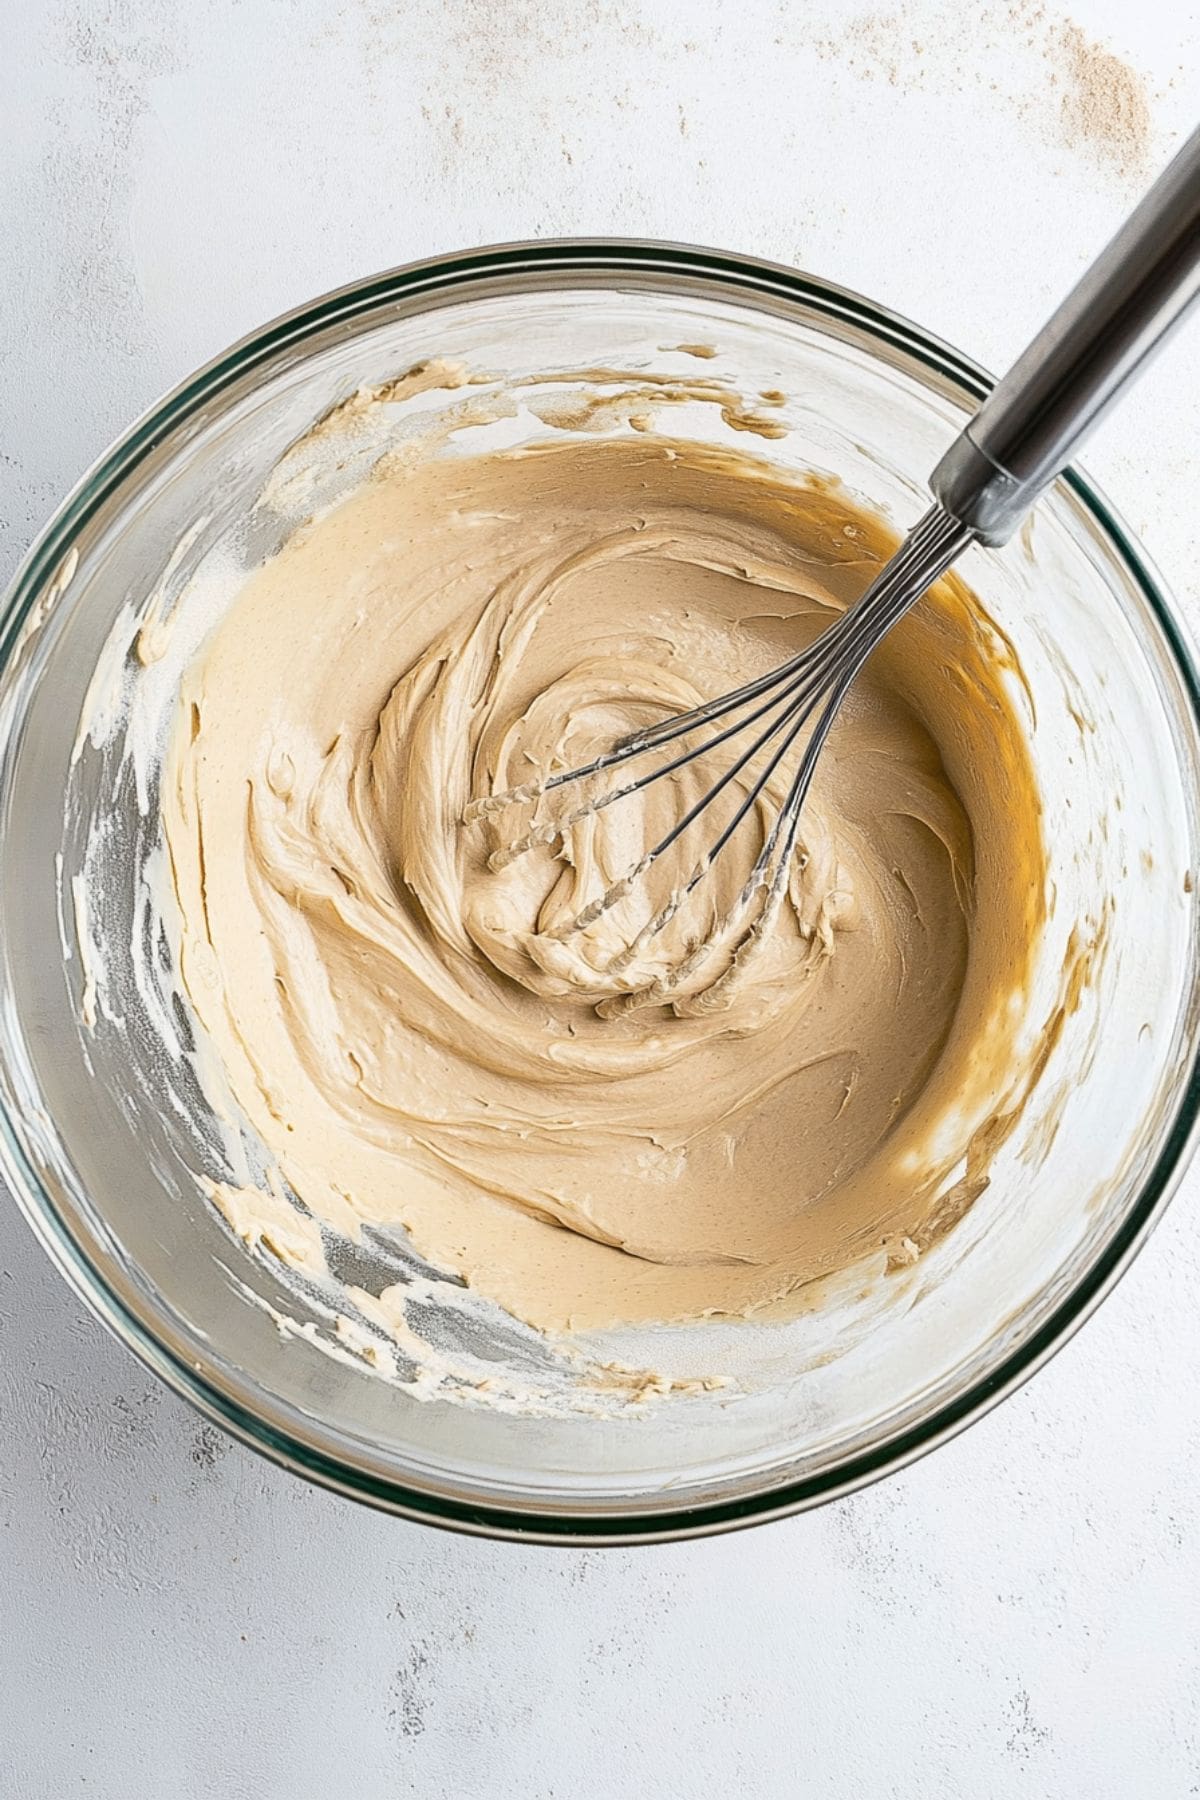
2. Start the filling. Beat the softened cream cheese with an electric mixer at medium speed until fluffy. Then, mix in the peanut butter and vanilla until uniformly smooth.
3. Finish the filling. Add the powdered sugar to the filling slowly, mixing at low speed. Once all the sugar is incorporated, mix at medium speed until smooth. Fold the Cool Whip in last with a spatula. Mix gently until fluffy.
4. Add the candy. Fold all but 1/2 cup of the crushed Butterfingers into the filling. Mix gently but thoroughly until evenly distributed.
5. Assemble. Pour the filling into the crust and smooth it evenly with a spatula. Sprinkle the reserved 1/2 cup of Butterfingers on top. Wrap the pie with plastic wrap and chill for at least 4 hours.
6. Serve. Slice the chilled pie and serve directly from the fridge. Enjoy!
Tips for the Best No-Bake Butterfinger Pie
Want a few more tips before you get started? Try these on for size:
- Choose the right cream cheese. It needs to be full-fat, block-style cream cheese for the richest, most stable filling. Low-fat versions will make the pie too soft and less flavorful. Also, be sure to set it out early. It needs to be completely at room temperature before use.
- Use processed peanut butter. Something like JIF or Skippy works best. While natural peanut butters are healthier, they don’t work as well in this pie. They separate too easily and will cause the filling to not set properly.
- Crush the candy evenly. You want small, evenly sized pieces, not powder. Using a Ziploc bag and rolling pin (or mallet) is the easiest method.
- Don’t skip the chill time! Remember to chill the crust while you’re preparing the filling. Then, chill the entire pie once you’ve assembled it. The recipe requires 4 hours, but overnight is best.
- Swap out the crust. Oreos not your thing? That’s okay! You can use whatever cookies you like best. Or pick up a simple graham cracker crust at the store.
- Try tasty variations. You can use different candy bars or experiment with various toppings. Try drizzling the pie with chocolate or caramel sauce. Or melt some peanut butter or Nutella for an extra decadent treat.
How to Store
This pie should remain refrigerated at all times, which makes storing it a breeze.
To Store: Cover the pie with plastic wrap and refrigerate it for up to 5 days.
To Freeze: Wrap the pie in a double layer of plastic wrap and aluminum foil. Freeze for up to 2 months. For the best results, freeze individual slices on a baking sheet for 30 minutes. Then, wrap them to maintain their shape. Thaw briefly at room temperature before serving.

