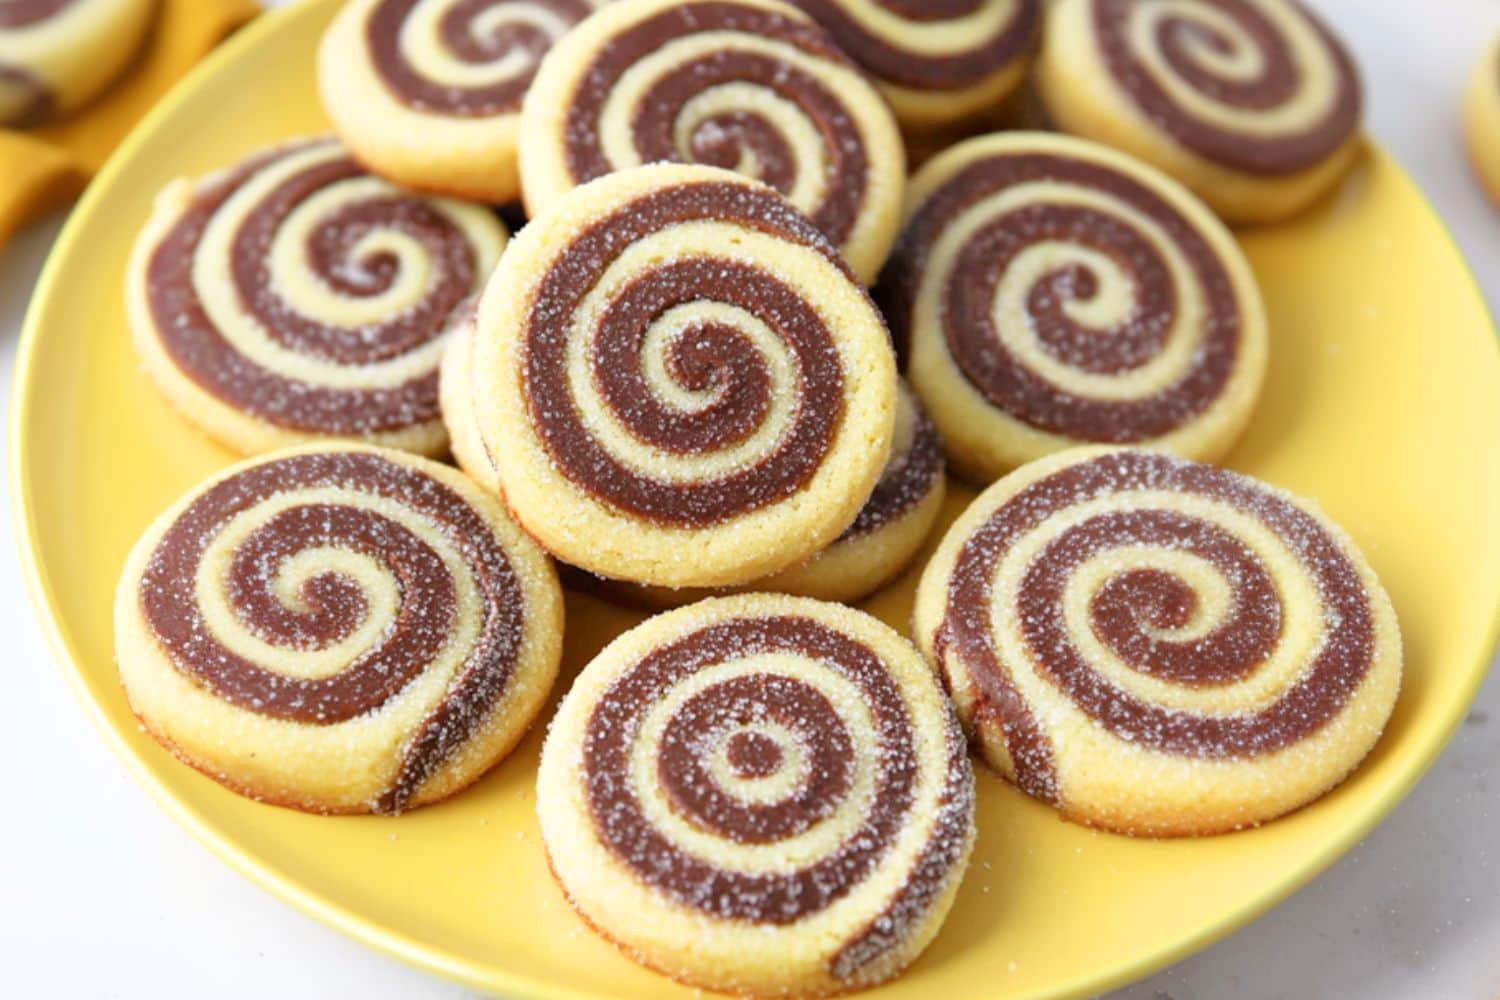
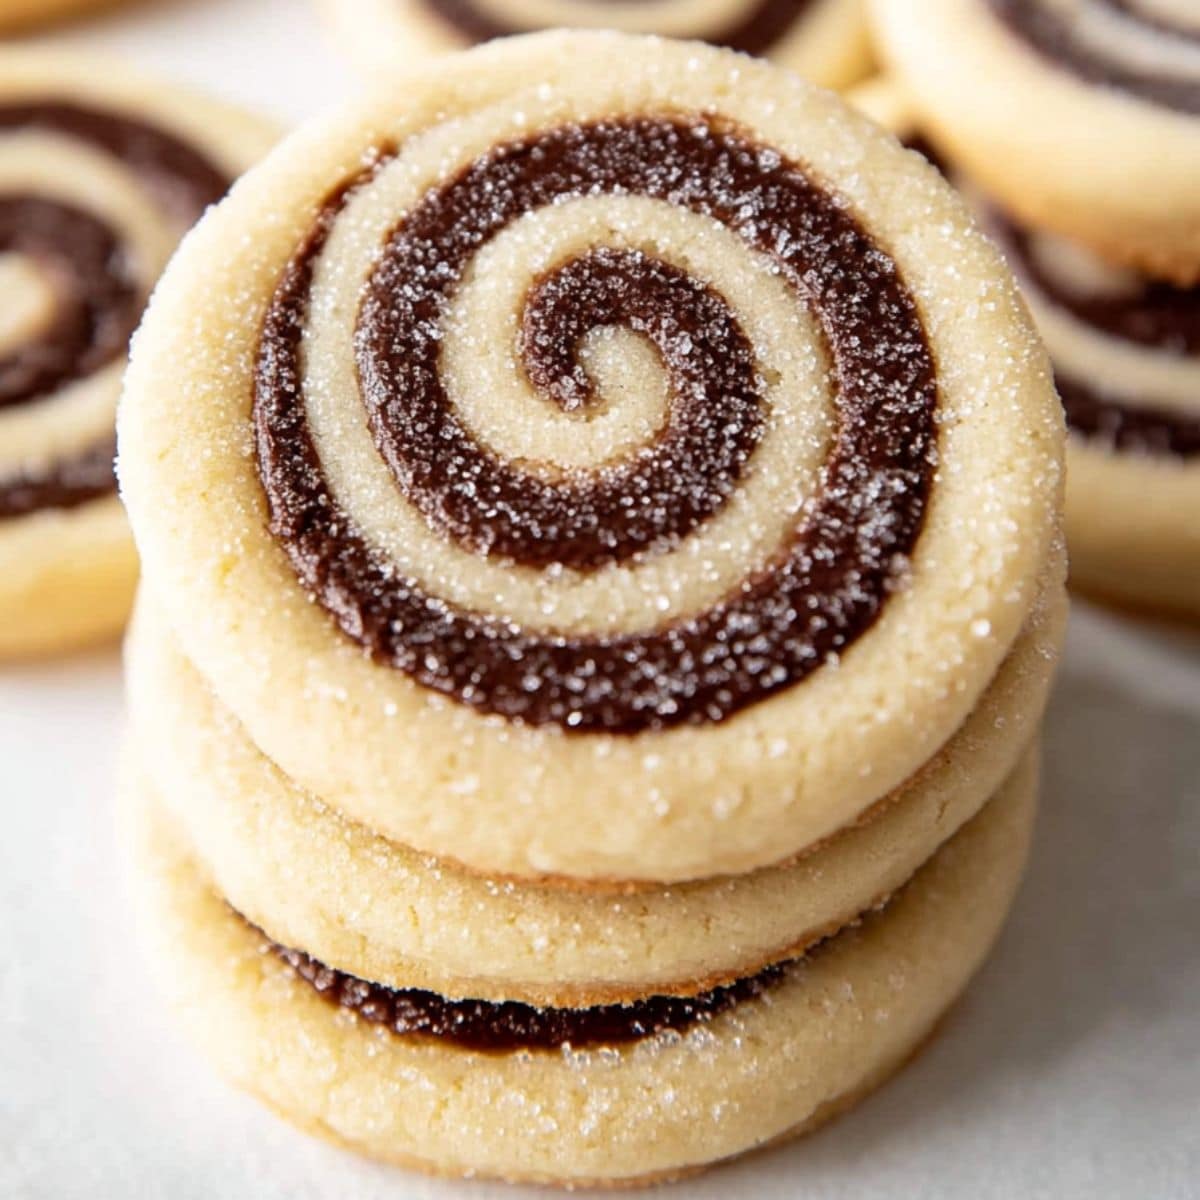
I made these chocolate pinwheel cookies yesterday and am absolutely in love!
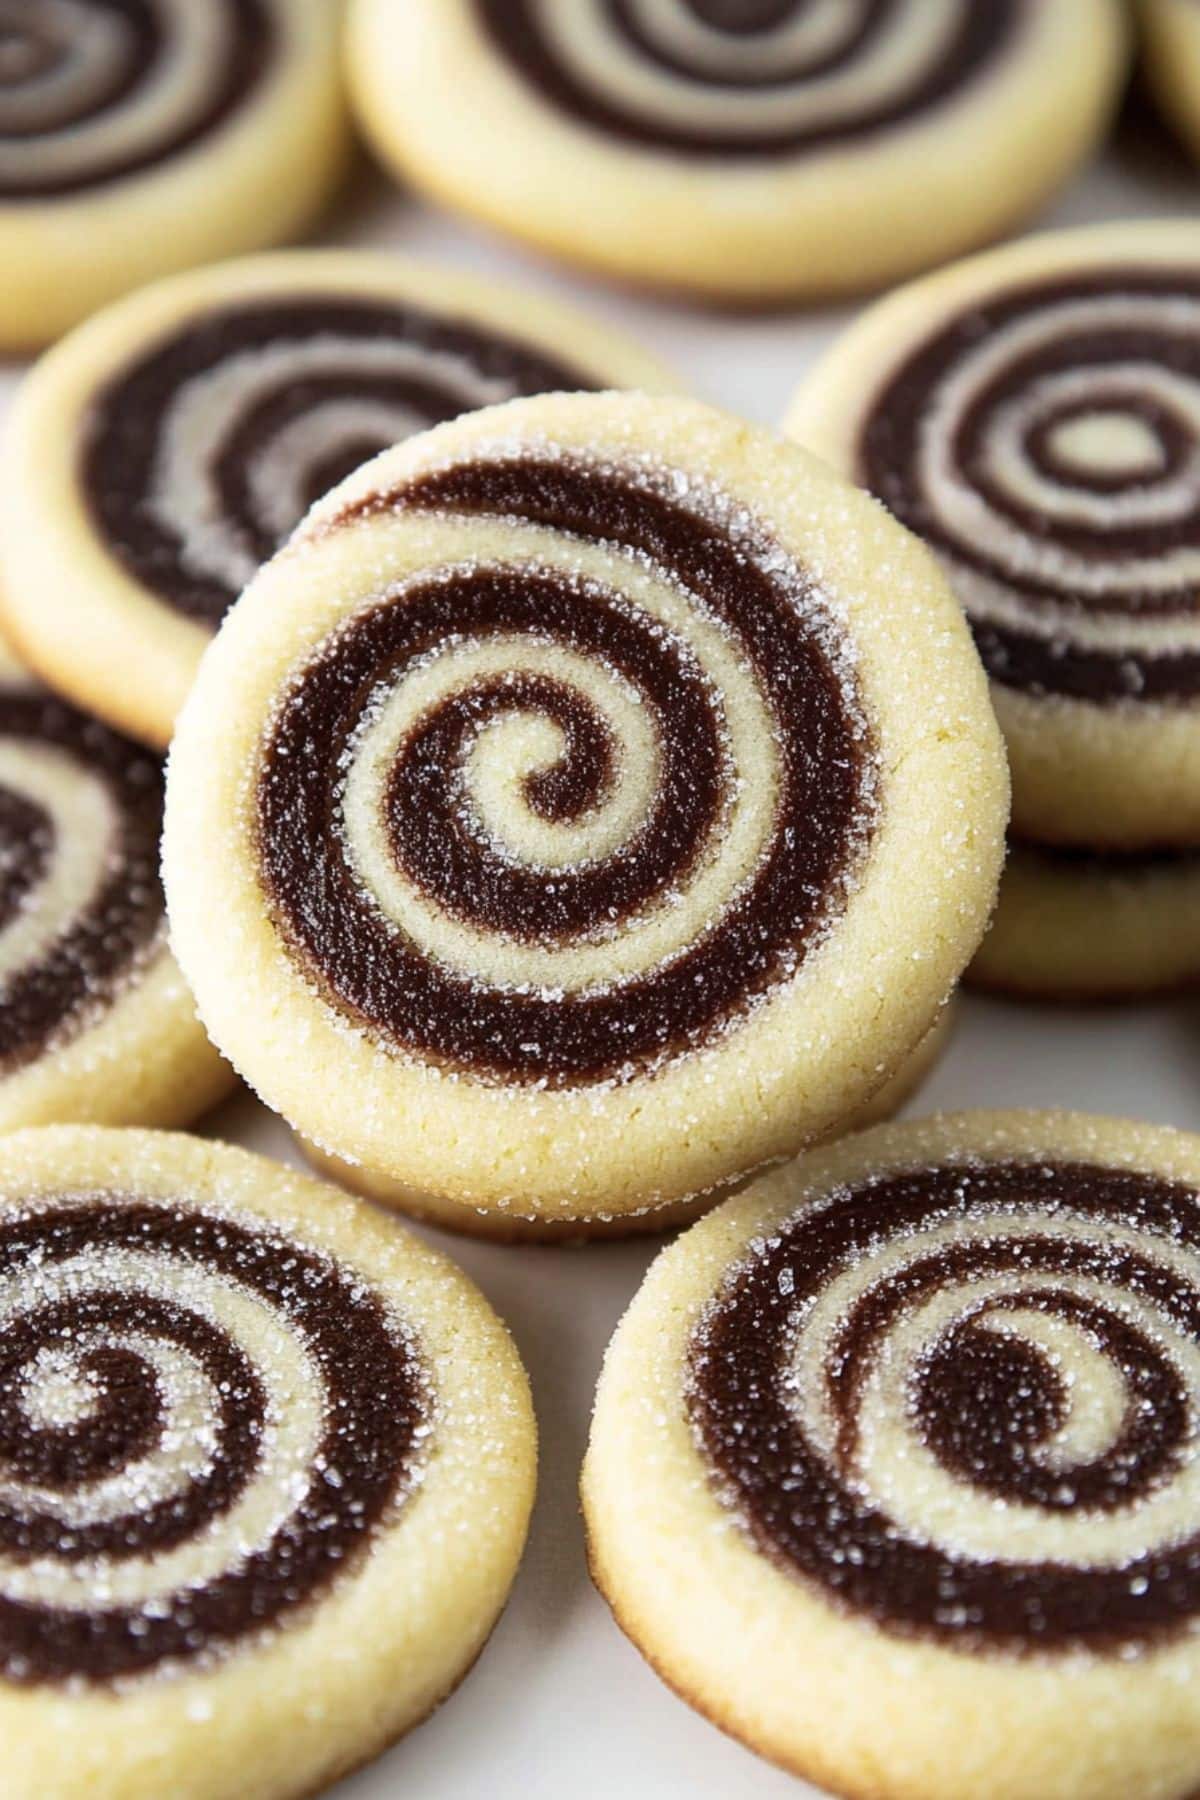
They’re a delightful fusion of vanilla and chocolate, all rolled into an eye-catching spiral design.
With their buttery texture and balanced flavors, they’re both visually appealing and utterly delicious.
They’re also easy to make ahead and slice when needed, making them perfect for the holidays.
Why You’ll Love These Pinwheel Cookies
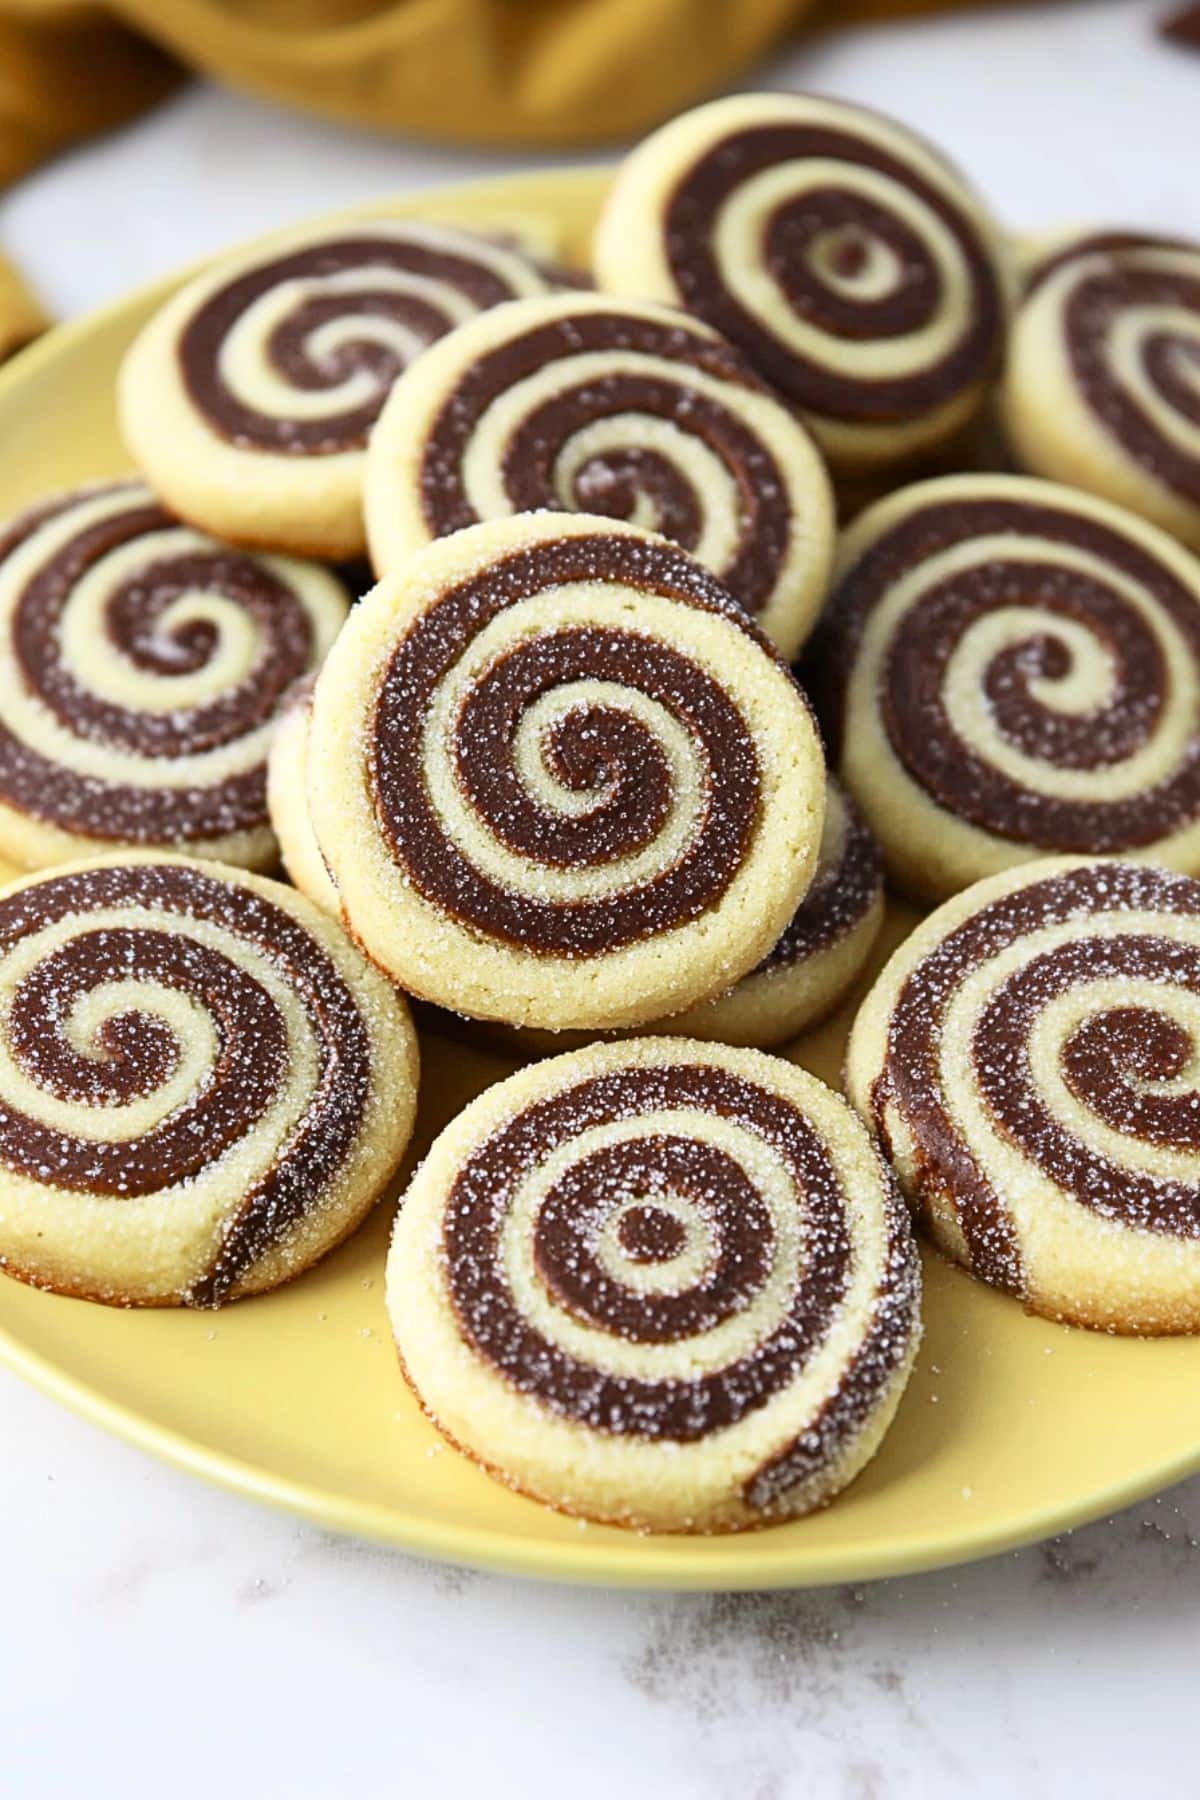
Fun Swirl Design: The dark and light spirals make these cookies visually striking and perfect for any celebration.
Buttery & Rich Flavor: A smooth, buttery base pairs with rich chocolate for a flavor that’s both comforting and indulgent.
Soft & Slightly Crisp Texture: Each bite is soft with a slight crispness, offering a delightful contrast in texture.
Perfect for All Ages: Loved by kids and adults alike, these cookies are a crowd-pleaser at gatherings and family events.
Ingredients
- All-Purpose Flour: The sturdy and reliable backbone for most cookie recipes. Remember to use the spoon and level method or weigh it so you don’t get too much.
- Baking Powder: Helps the cookies rise and keeps them from being overly dense.
- Salt: For balancing the flavors.
- Unsalted Butter: The rich base that keeps things tender.
- Granulated Sugar: Beyond just sweetening the cookies, sugar also provides those crisp golden edges.
- Eggs: For binding everything together. You’ll use a couple of yolks to amp up the chewy texture.
- Vanilla Extract: Adds depth, warmth, and a cozy, comforting aroma.
- Unsweetened Cocoa Powder: Transforms half the dough into deeply rich chocolatey goodness.
- Whole Milk: Adds moisture and helps incorporate the cocoa powder into the dough.
How to Make Pinwheel Cookies
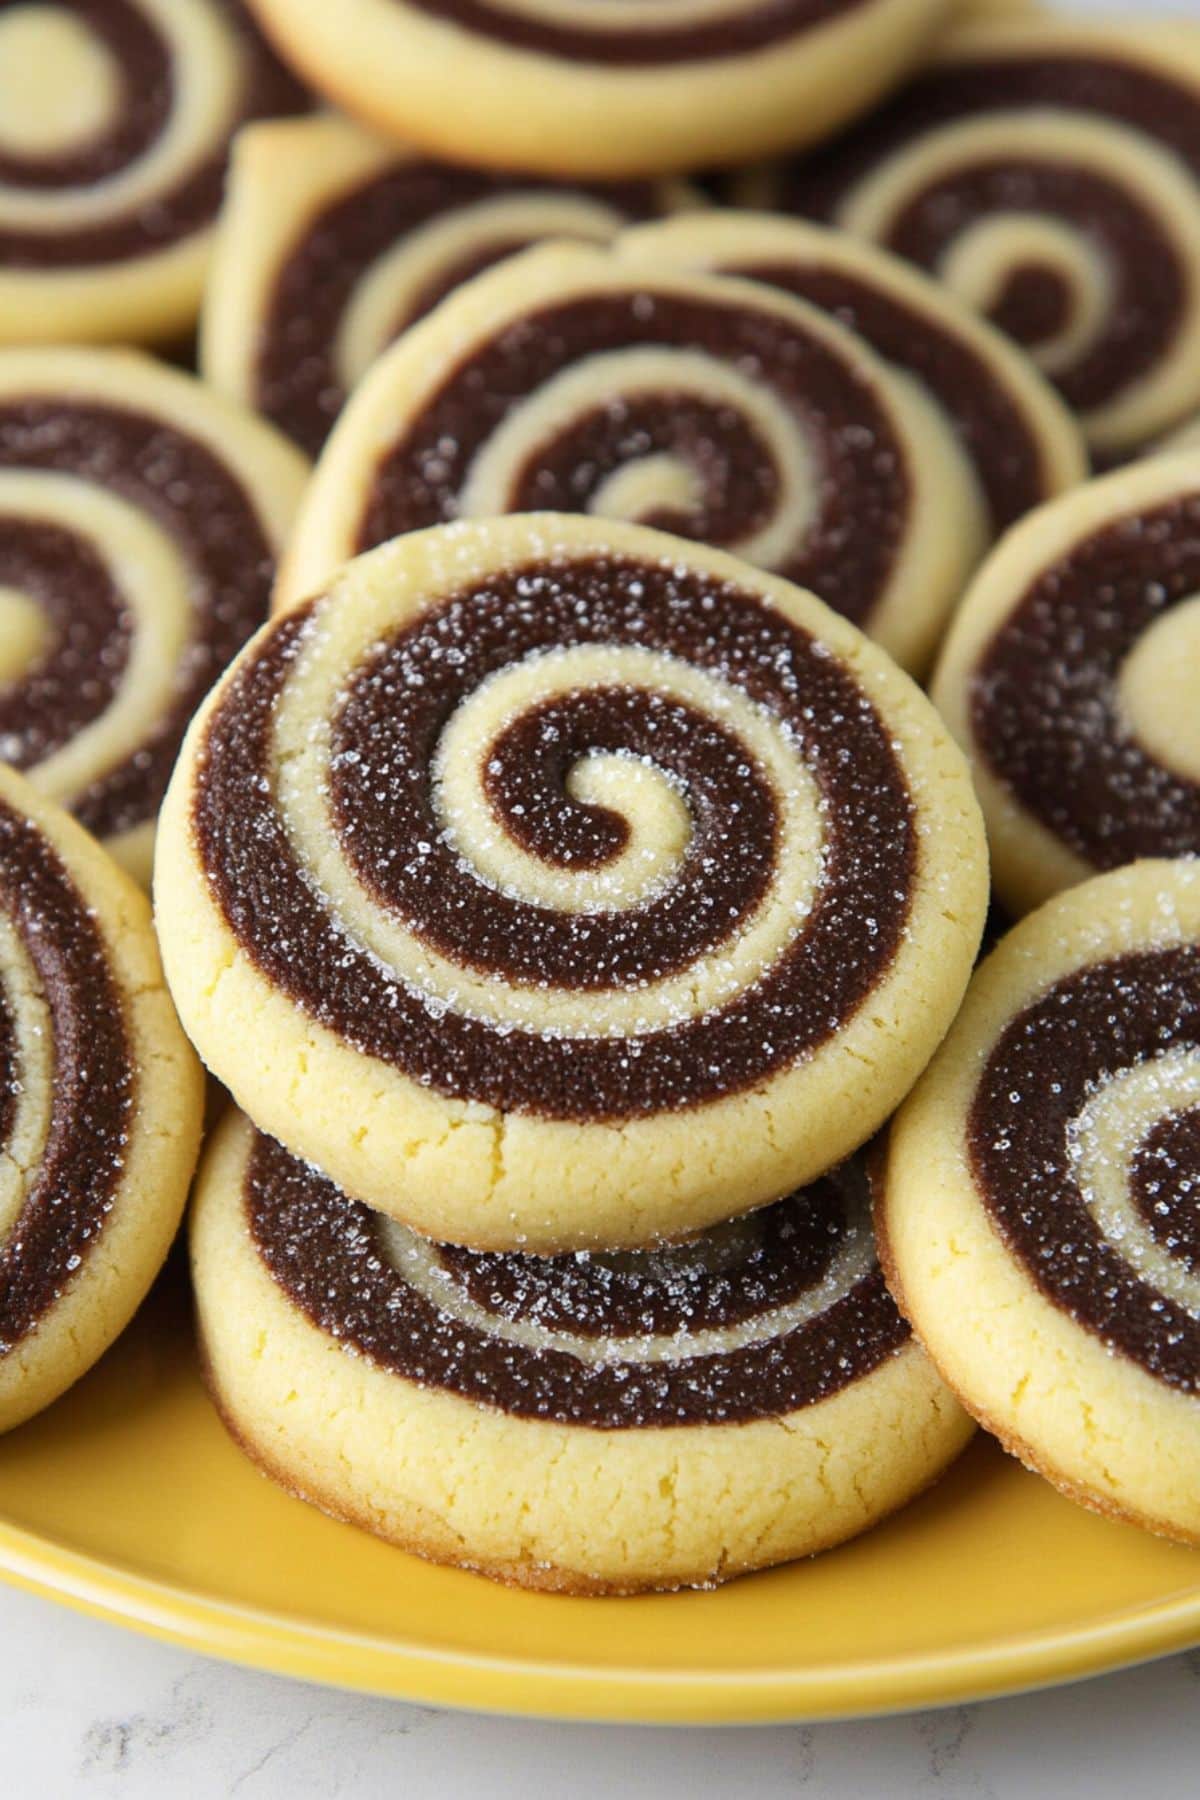
These pinwheel cookies are fun and delicious and will rival even the best Crumbl cookies.
They’re also easy to make! Here are the steps:
1. WHISK the flour, baking powder, and salt in a medium bowl. Set aside.
2. BEAT the butter and sugar until light and fluffy. Blend in the egg, yolks, and vanilla until smooth.
3. COMBINE the dry ingredients with the wet ingredients until just incorporated. The dough will be thick and sticky.
4. DIVIDE the dough in half and mix the cocoa powder and milk into one portion.
5. ROLL each portion of dough between sheets of parchment paper into approximately 9×13-inch rectangles. Chill for 30 minutes, and then remove the top sheets of parchment.
6. FLIP the chocolate dough onto the vanilla dough and roll from the long side into a log. Wrap in plastic and chill for at least 2 hours or overnight.
7. PREHEAT the oven to 350°F (175°C) and line two baking sheets with parchment paper.
8. SLICE the chilled dough into 1/2-inch thick rounds and press into granulated sugar (optional) before placing on the prepared baking sheets about 2 inches apart.
9. BAKE for 10-12 minutes until the edges are lightly golden. Let cool on the baking sheet for 5 minutes before transferring to a wire rack. Enjoy!
Tips for the Best Pinwheel Cookies
Keep these tips in mind when making pinwheel cookies:
- Halve the dough evenly. It doesn’t need to be down to the gram but try to make the dough halves as even as possible. If they aren’t, the pinwheel pattern won’t be balanced.
- Be gentle. It’s important not to overmix the dough, so combine the wet and dry ingredients gently. Also, be careful when pressing the chocolate dough on the vanilla. Don’t press so hard that the dough is squished or loses its shape.
- Make them extra neat. Press each dough half into a 9×13-inch baking dish (lined with parchment), then chill. This will give you the neatest edges. Alternatively, roll the dough, layer, and trim the edges with a pizza cutter.
- Roll tightly. The tighter the log, the more compact and attractive the pinwheel pattern.
- Do you really need parchment paper? You can, of course, roll the dough on a lightly floured surface. However parchment helps not only with sticking but flipping the dough. You can simply lift the paper, which prevents cracks.
- Chill overnight. This will give you the neatest cookies.
- Use a sharp knife. A super-sharp knife will slice more cleanly through the logs without crushing or tearing them. Wipe the knife clean between cuts, as well.
- Chill the sliced rounds. After placing the dough slices on the baking sheets, pop them in the fridge or freezer. A mere 10 minutes will go a long way toward helping the cookies hold their shape.
Variations
You can also tweak the recipe to suit your tastes. Here are some examples:
- Swap out the cocoa powder. Use matcha powder for a more earthy taste and an attractive green swirl. (This is an excellent variation for St. Paddy’s Day!) Or use espresso powder for a stronger, more robust taste.
- Use extracts. Add almond or orange zest to the vanilla half of the dough for uniquely flavored cookies. Mint extract goes well in the chocolate dough, as well.
- Add a little spice. For a spicier flavor, use cinnamon or nutmeg instead of cocoa powder. These won’t change the color much, though, so you might want to add food coloring.
- Incorporate mix-ins. Add crushed nuts, coconut flakes, or crushed cookies between the dough layers.
How to Store
Want to make these chocolate pinwheels for the holidays? Here’s how to make them ahead and store them:
To Make Ahead: Prepare the dough and roll it into a log as directed. Then, wrap the log in plastic wrap and aluminum foil and freeze for up to 3 months. Thaw overnight in the refrigerator before slicing and baking as directed.
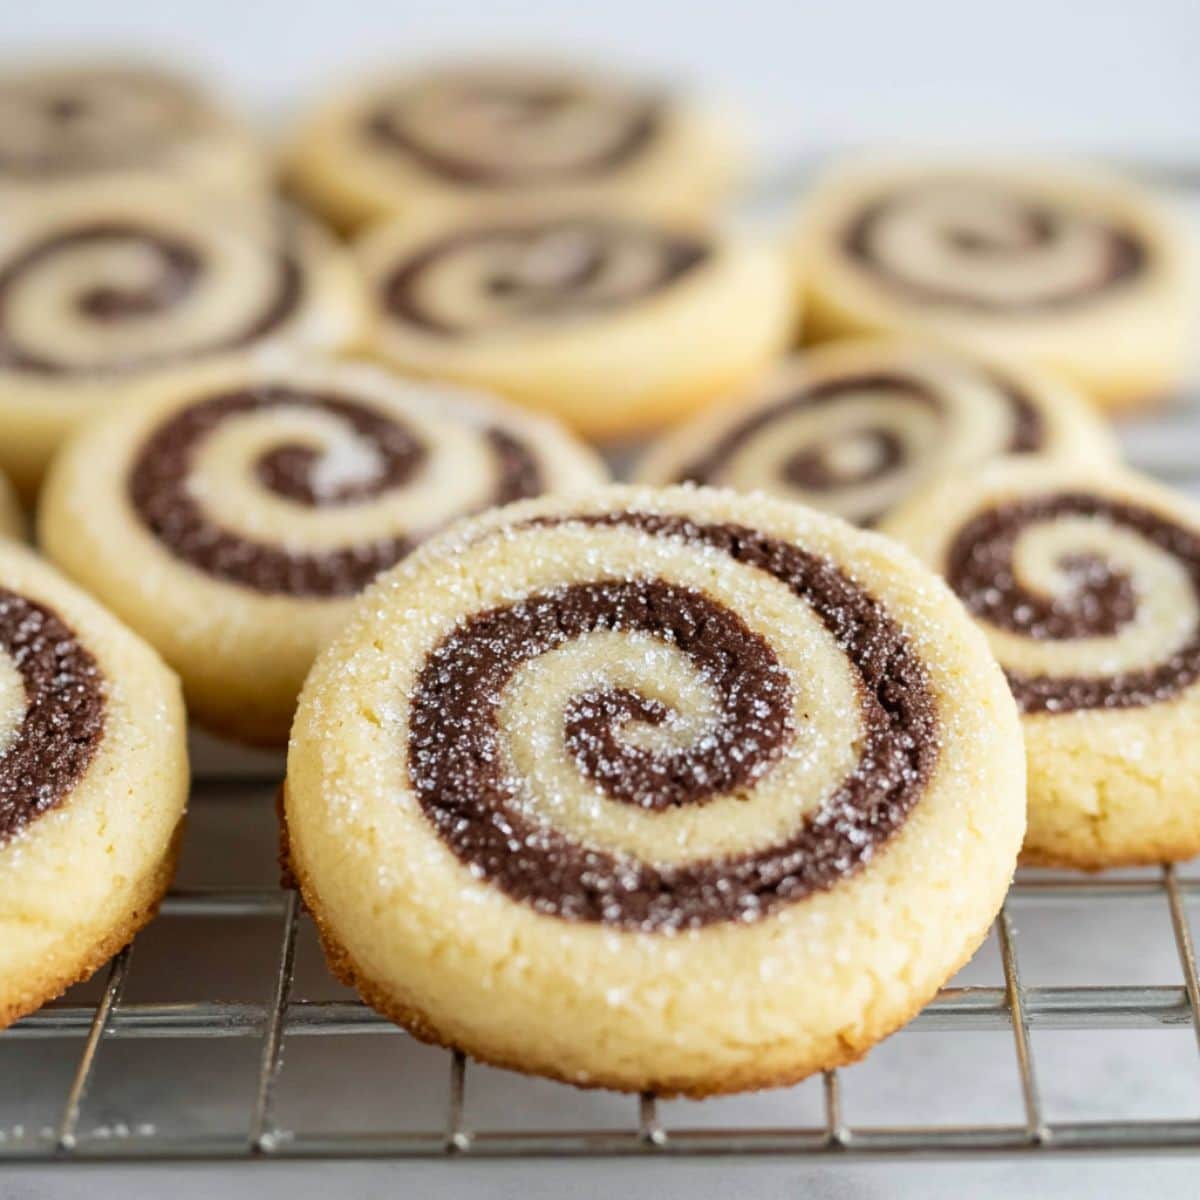
To Store: Keep the cooled cookies in an airtight container at room temperature for up to 1 week or refrigerate them for up to 2 weeks.
To Freeze: Flash freeze cooled cookies until solid, then transfer them to a freezer bag. Freezer for 2-3 months. Thaw at room temperature before enjoying.
More Easy Cookie Recipes You’ll Love
Orange Creamsicle Cookies
Graham Cracker Cookies with Frosting
Salted Caramel Chocolate Chip Cookies
Raspberry Thumbprint Cookies

