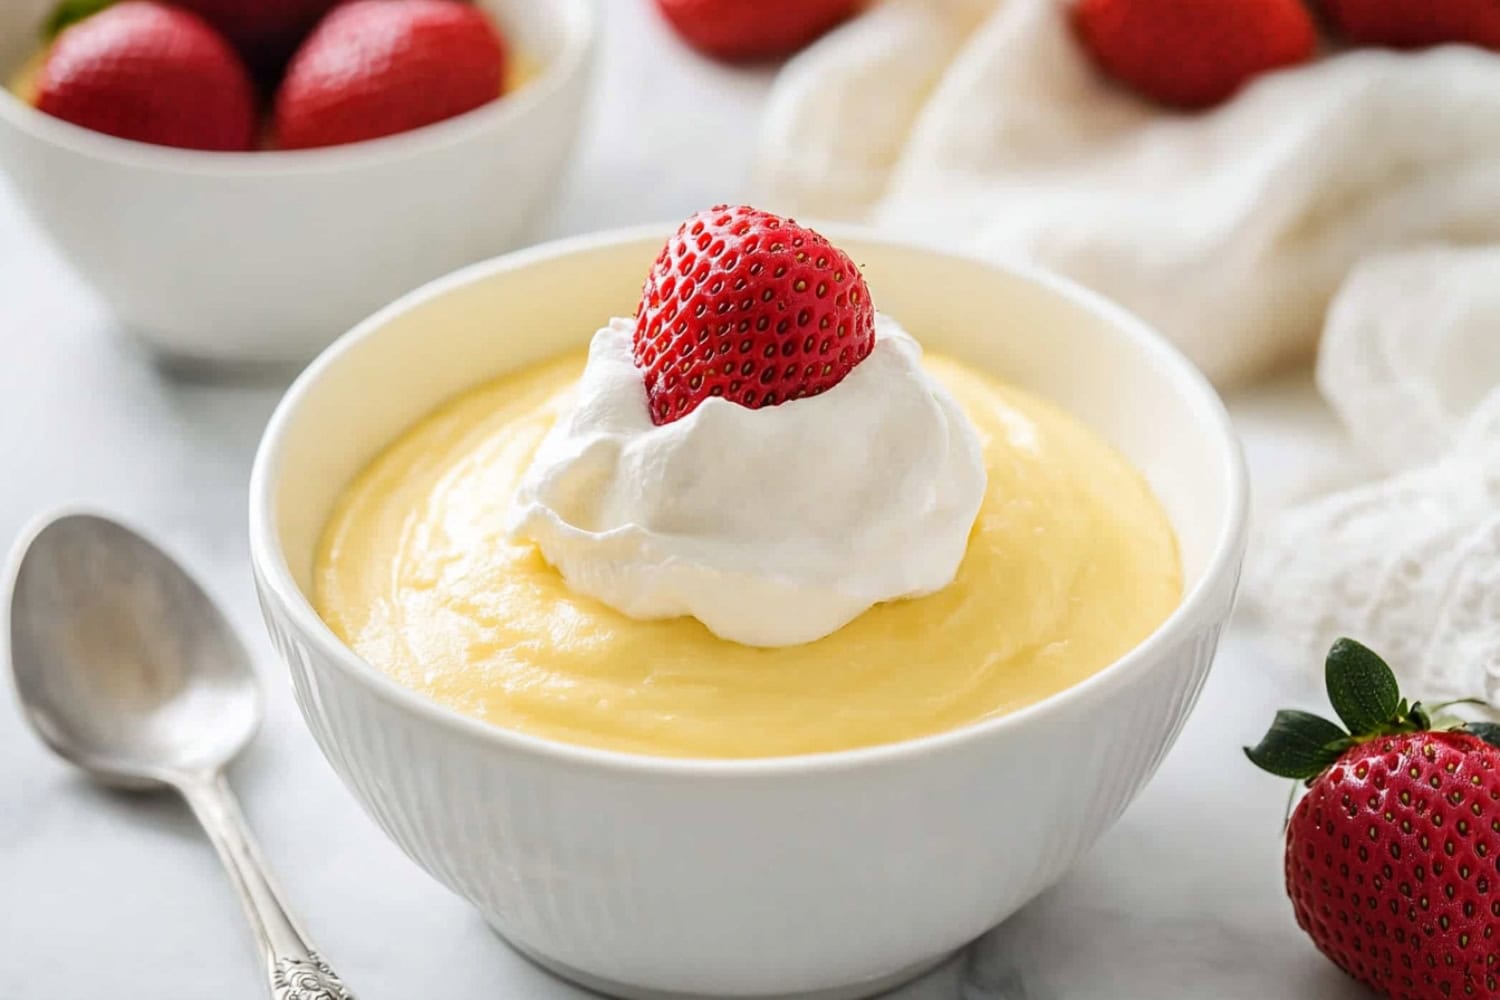
Once you try this homemade vanilla pudding, you’ll say goodbye to the boxed JELL-O stuff for good! This recipe is creamy, dreamy, and oh-so-comforting.
Rich, velvety, and infused with the warm essence of vanilla, it’s perfect for satisfying your sweet tooth.
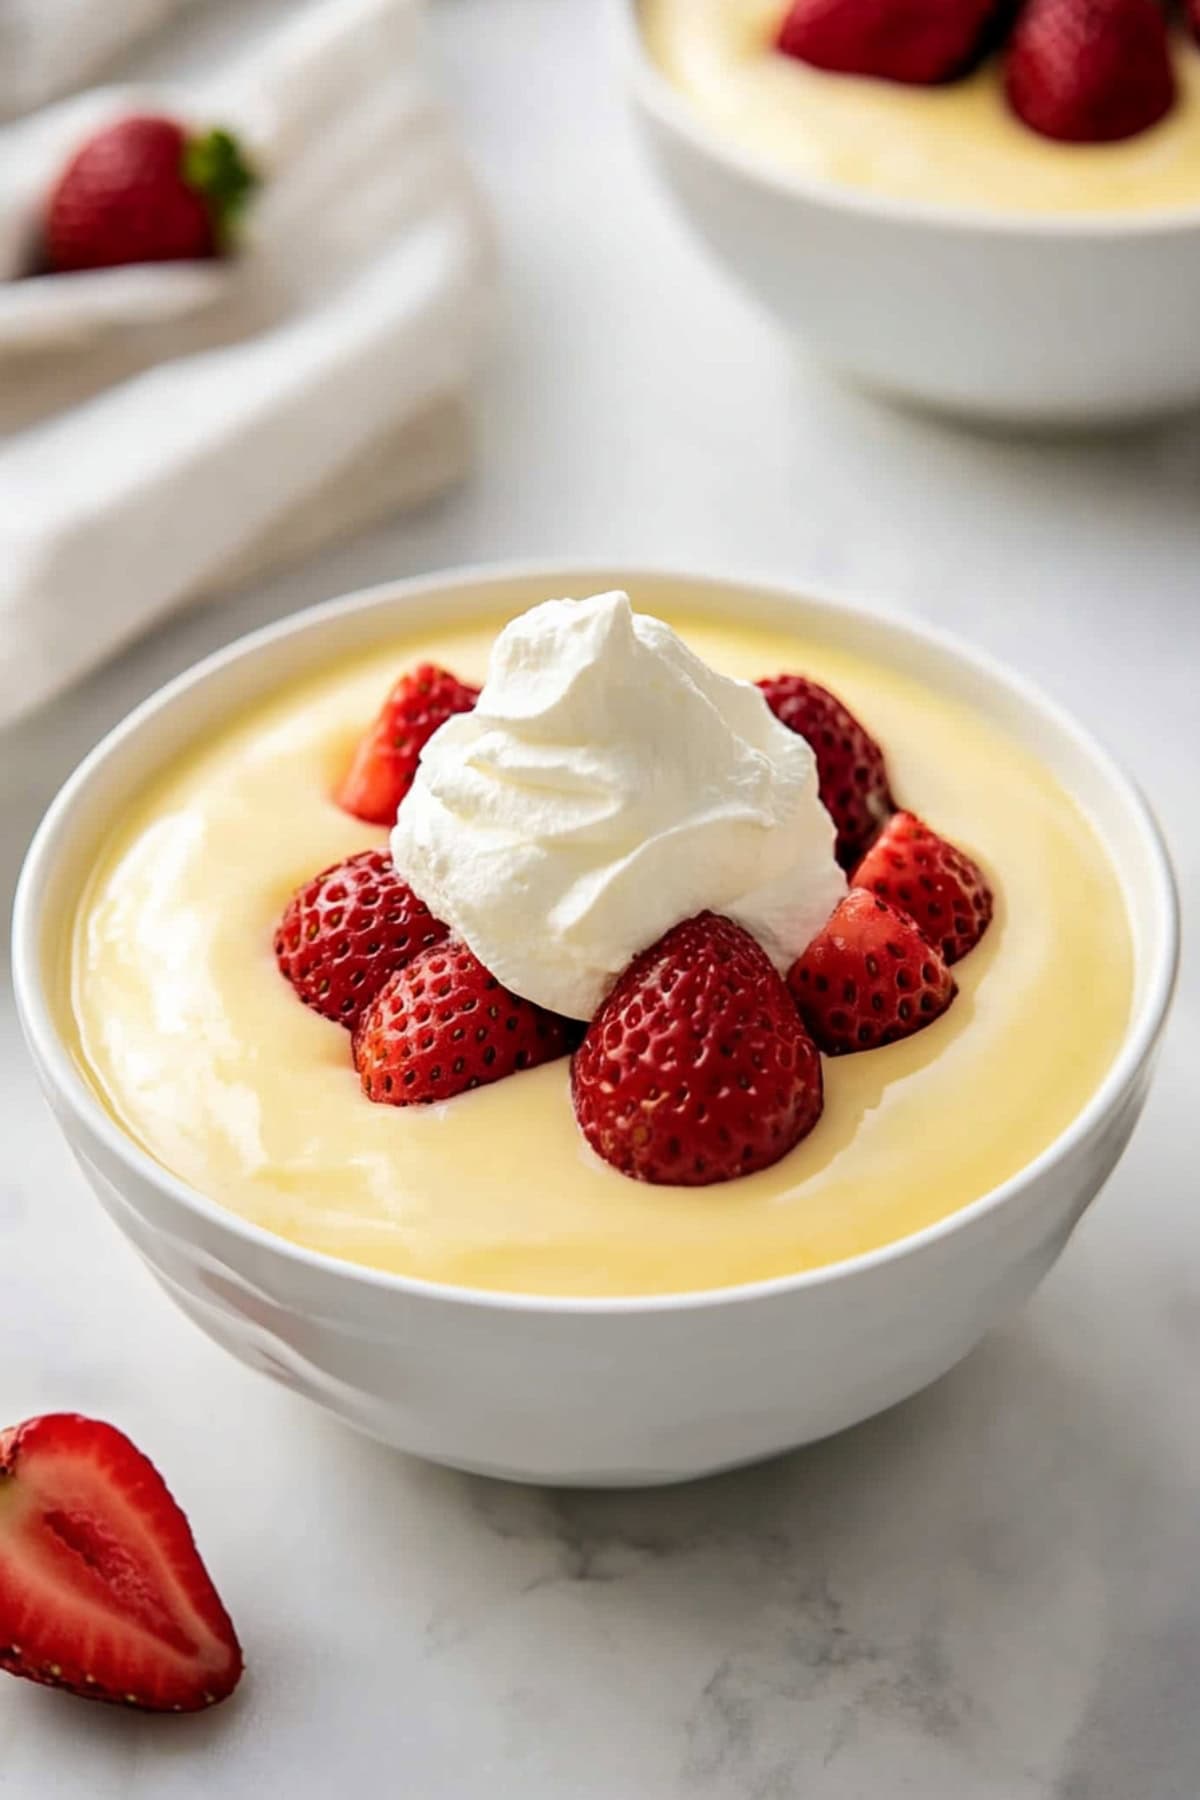
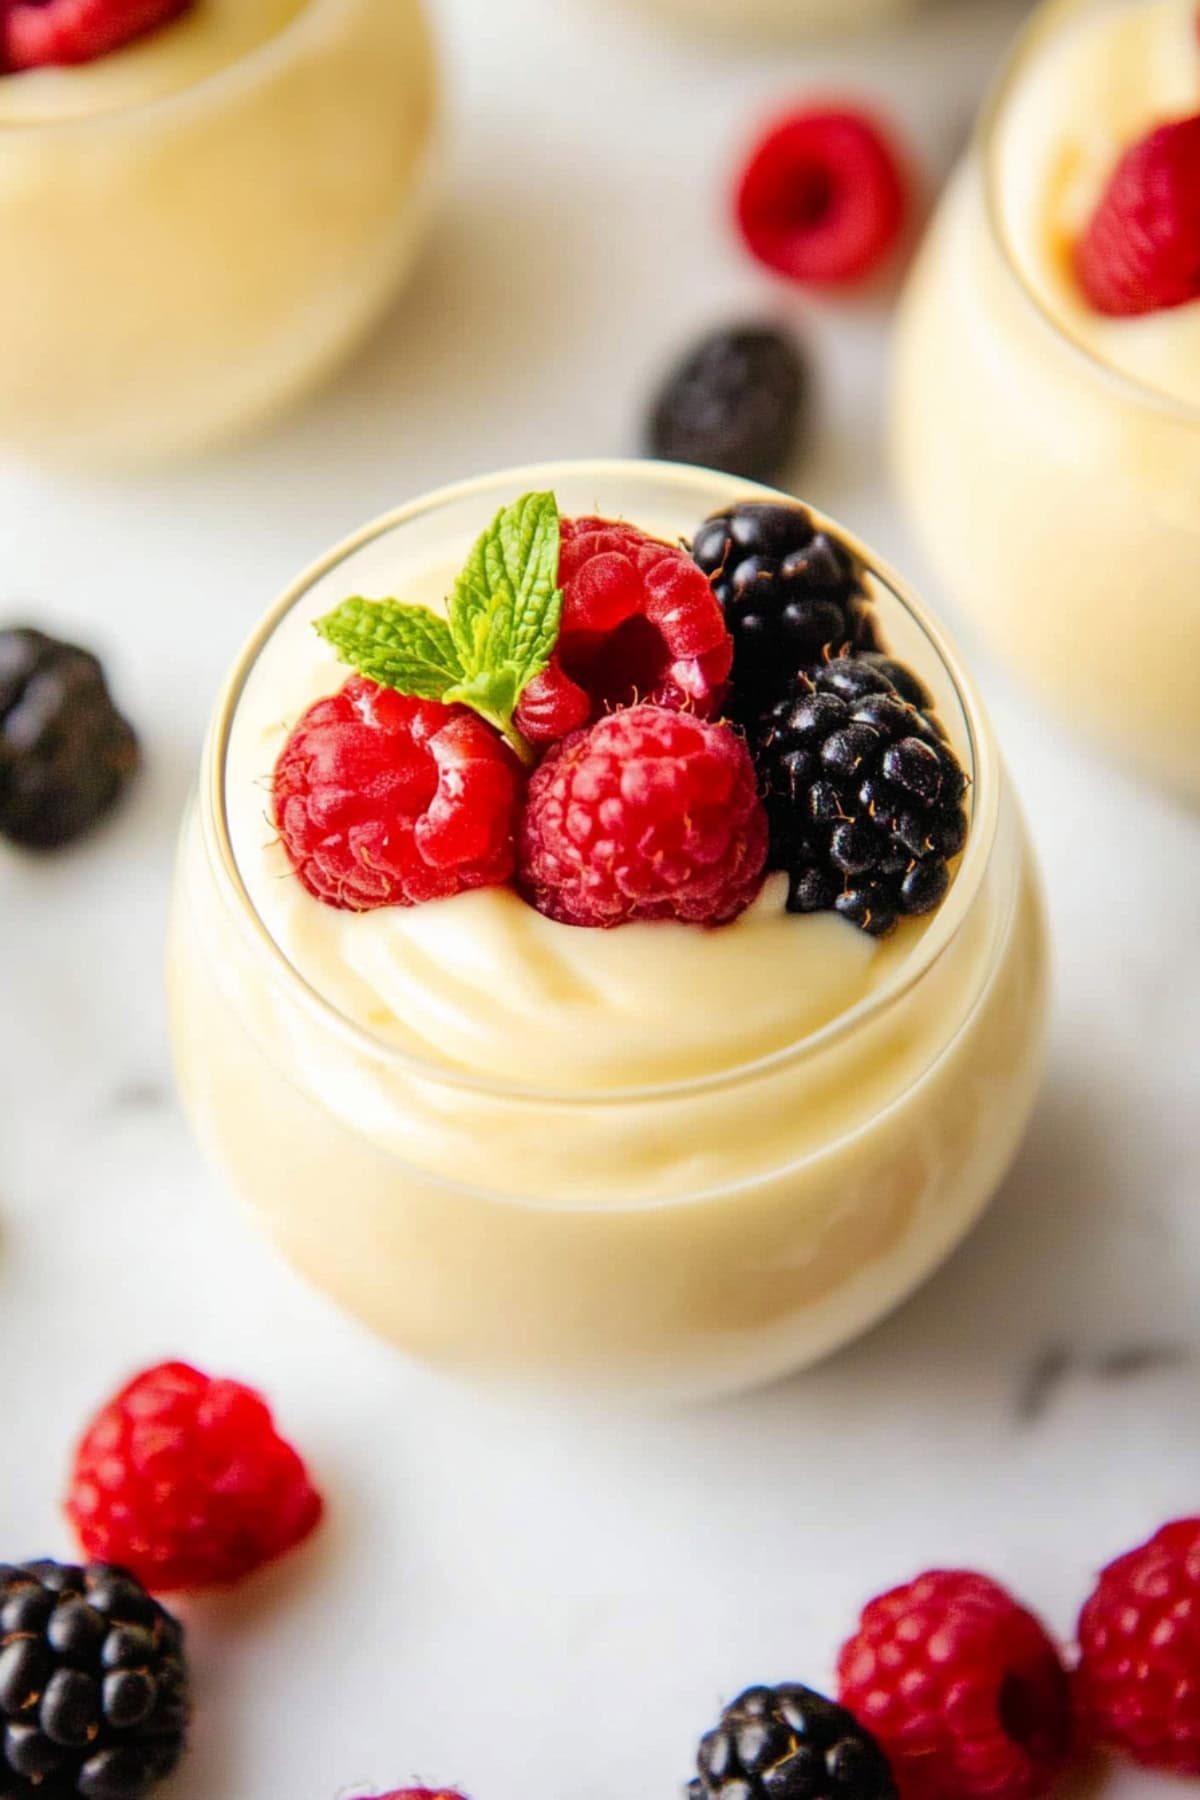
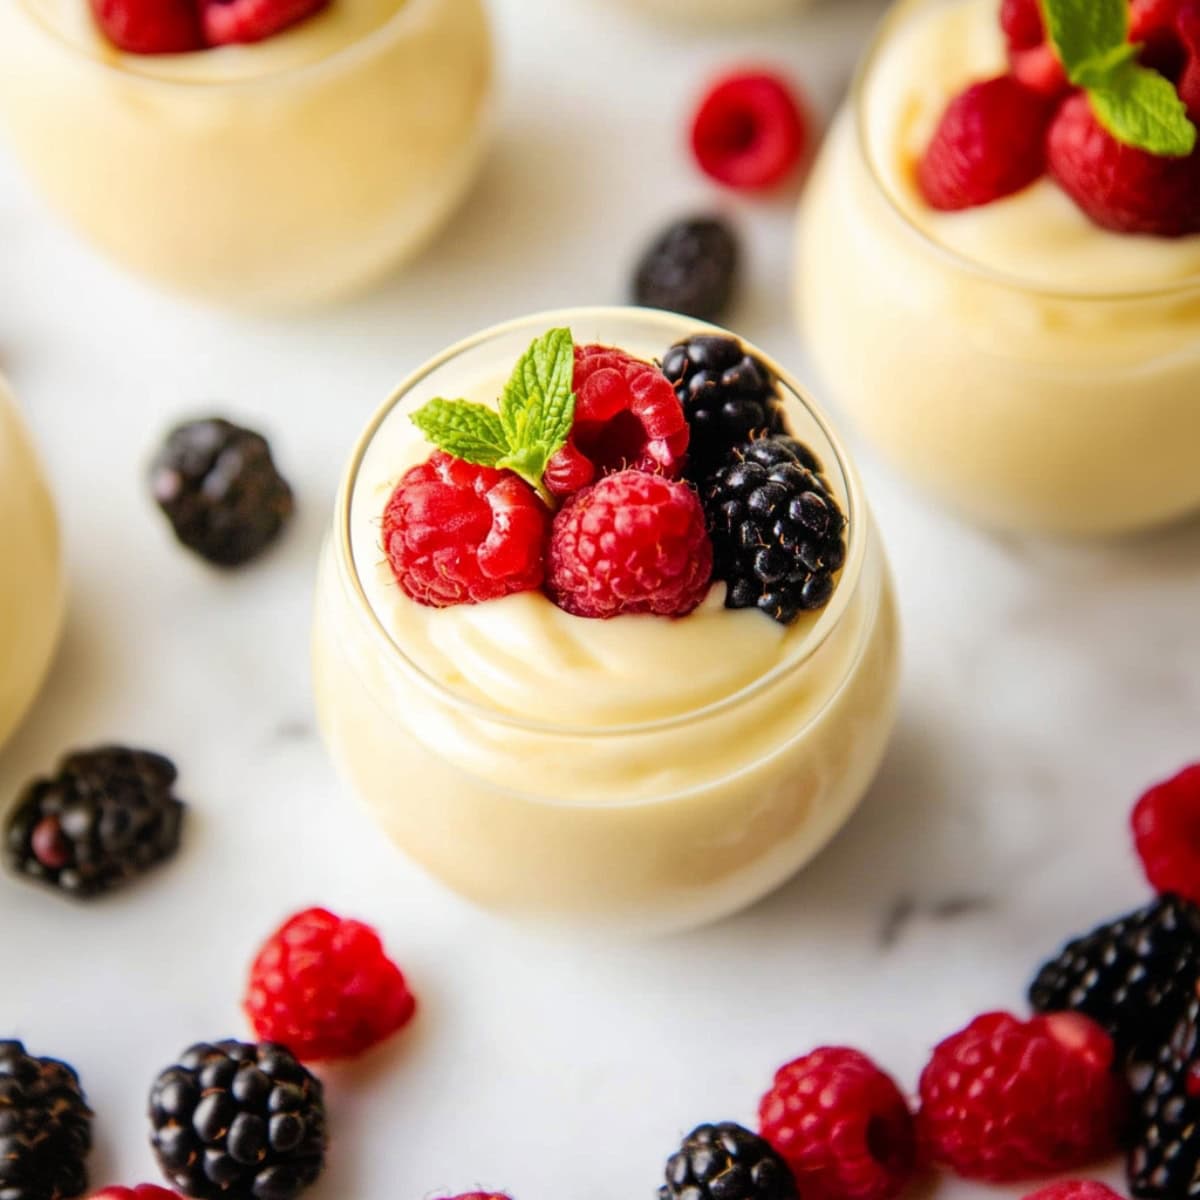
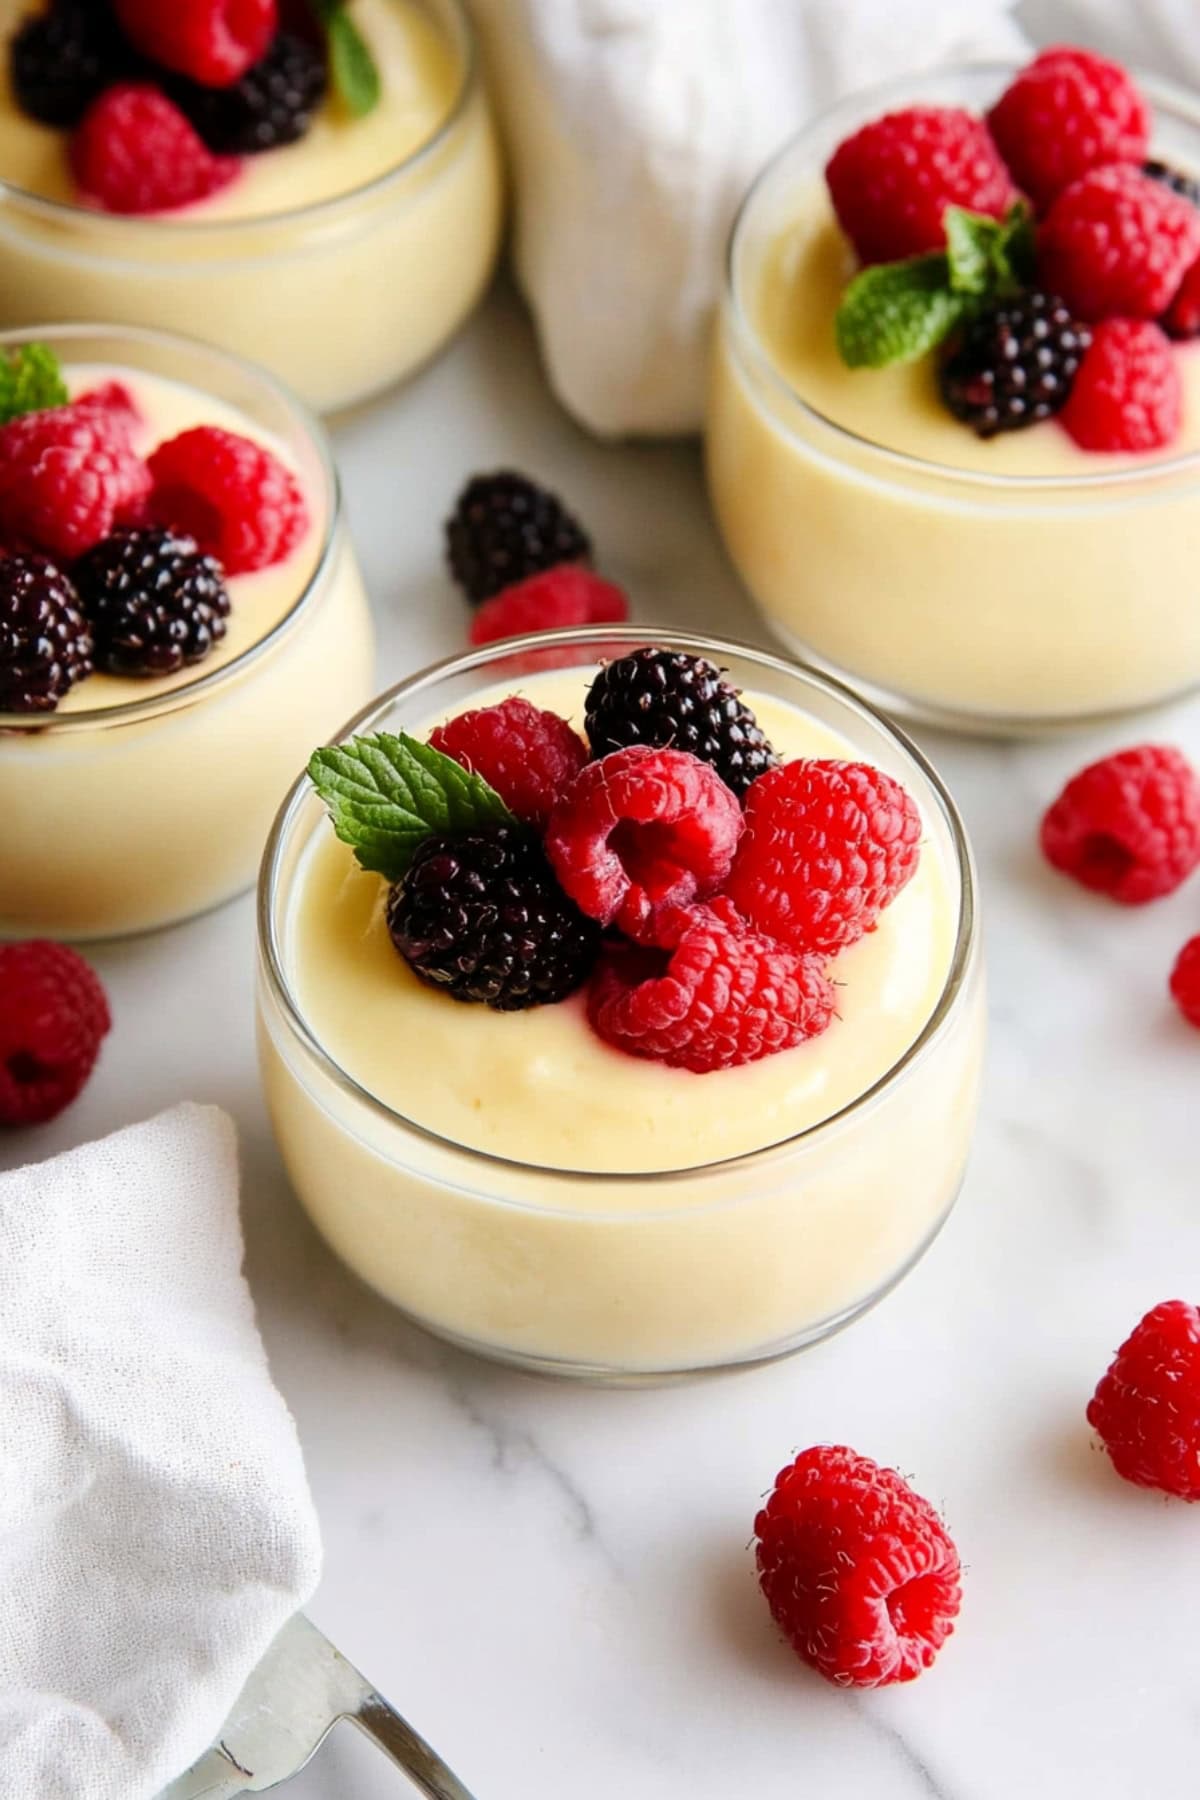
It features a silky smooth texture, and you can jazz it up to include fresh berries and a dollop of whipped cream.
It’s light, sweet, and good till the last bite.
Why You’ll Love This Vanilla Pudding
Nostalgic Comfort: This may not be your mama’s vanilla pudding. But the rich, comforting taste of this classic will still evoke childhood memories.
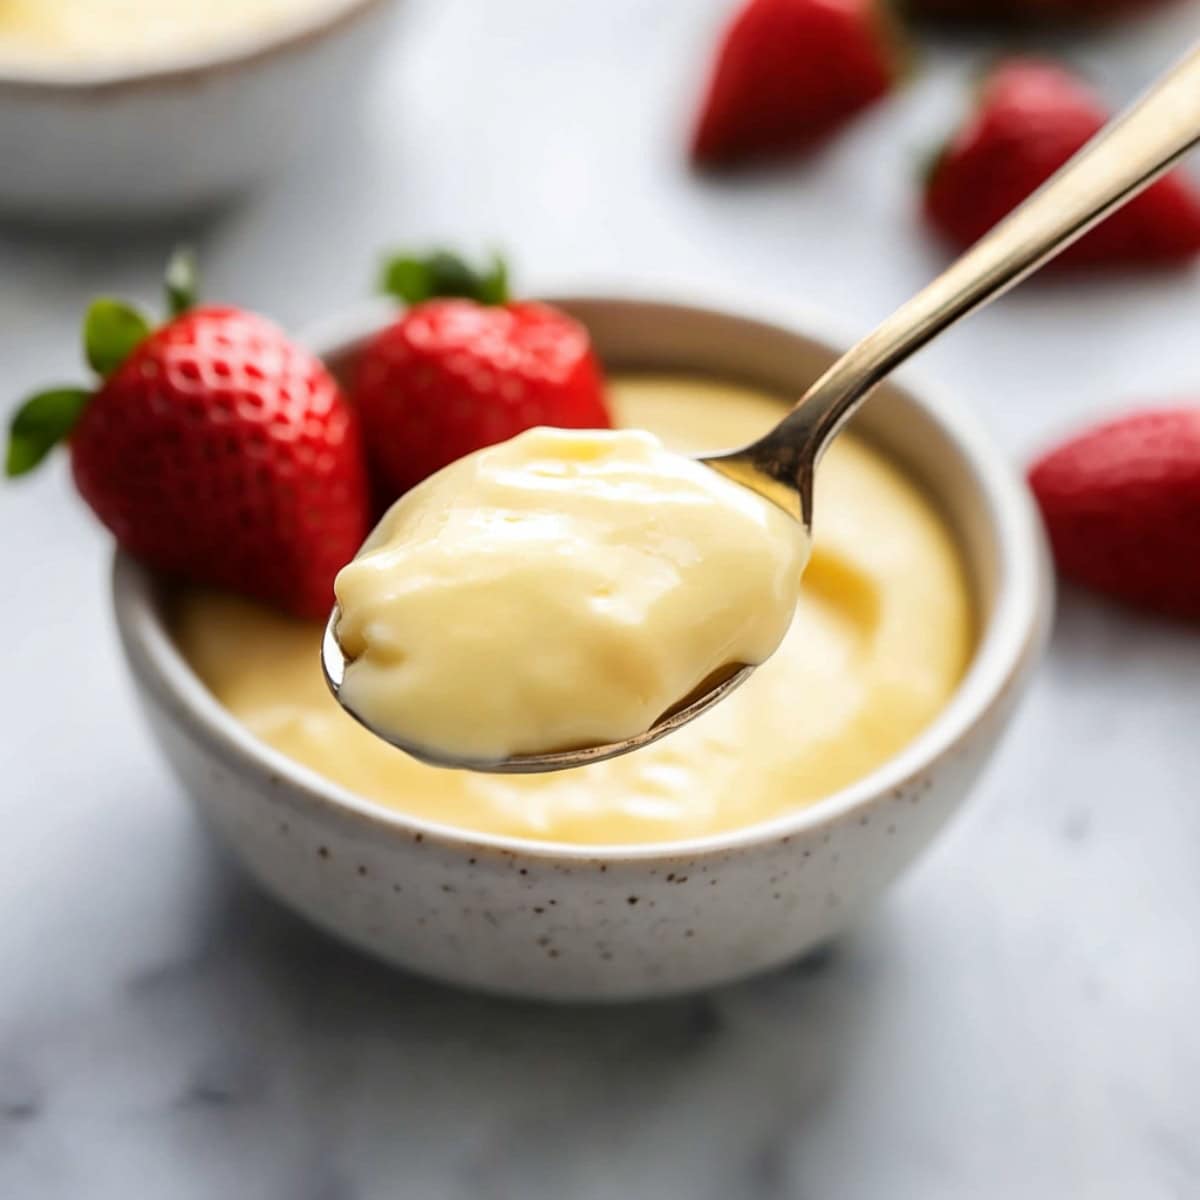
Creamy Texture: One of my favorite things about this pudding isn’t even its taste. It’s how wonderfully velvety smooth its texture is. It’s far superior to store-bought versions.
Convenient & Time-Saving: You can easily make this pudding a day ahead of time and refrigerate it until you’re ready to serve. It allows you to plan ahead for meals or gatherings.
Ingredients
- Granulated Sugar: To sweeten the pudding and balance the flavors. Essential for satisfying your dessert cravings.
- Cornstarch: It thickens the pudding and helps give it a smooth, creamy texture.
- Whole Milk: For richness and creaminess.
- Salt: A depth-providing flavor enhancer.
- Egg Yolks: Eggs play multiple roles in this particular recipe. They add richness, provide a silky texture, and lend their color to the pudding. They also make it custard-like.
- Unsalted Butter: It melts into the pudding for extra flavor and a silky finish.
- Vanilla Extract: For that signature warm vanilla flavor. Use real vanilla extract, not imitation.
- Optional Toppings: These are entirely up to you. Stick with whipped cream and fresh berries. Or add caramel or chocolate sauce, toasted nuts, and more. Customize the toppings to suit your tastes.
How to Make Vanilla Pudding
Though not as easy as making it from a box, this vanilla pudding comes together quickly and without fuss. Just follow these steps:
1. Combine. Whisk the sugar, cornstarch, milk, and salt in a saucepan over medium heat. Whisk continuously to prevent lumps.
2. Temper the eggs. Once the mixture heats up and begins to thicken, remove 1/2 of it and whisk it into the beaten egg yolks. (This keeps the eggs from scrambling when you add them to the hot mixture.)
3. Cook. Pour the egg mixture back into the saucepan. Cook over medium heat, stirring constantly, until the pudding thickens and starts bubbling.
4. Flavor it Remove the saucepan from heat. Stir in the butter and vanilla until well-mixed.
5. Cool and set. Pour the pudding into a large bowl or individual serving dishes. Let it cool to room temperature, then refrigerate for several hours.
6. Garnish and serve. Top the pudding with your desired toppings and enjoy!
Tips for the Best Vanilla Pudding
Want to ensure your pudding is as smooth, sweet, and creamy as possible? Remember these tips:
- Just keep whisking! When heating the sugar, cornstarch, milk, and sauce, whisk constantly! It doesn’t take long for the mixture to heat up, so it shouldn’t tire you out. If you don’t whisk constantly, you run the risk of lumps forming in the pudding.
- Don’t overcook! Cook only until the pudding thickens and starts to bubble. Then, remove it from heat. Overcooking will lead to thick, rubbery pudding, and no one wants that.
- Don’t refrigerate while hot. Be sure the pudding is cooled to room temperature before you pop it in the fridge. Otherwise, condensation will form, making the pudding watery.
- Splurge on the vanilla. I’ve said it once, but I’ll say it again. Do not use imitation vanilla. Real vanilla extract only! If you have vanilla bean or vanilla paste, those will also provide a wonderful flavor.
- Top to your heart’s content. Besides the toppings above, you can try chocolate shavings or sauce, or sprinkles. For a bit of crunch, use crushed pretzels, toasted nuts, or crumbled cookies.
How to Store
Vanilla pudding doesn’t freeze well, but you can make it up to a day ahead of time. You can also store leftovers for up to 5 days.
To Store: Place the pudding in an air-tight container. Before sealing it, press plastic wrap directly onto the pudding’s surface. (This will prevent a skin from forming on top.) Refrigerate for up to 5 days, though it’s best consumed within 2 to 3 days.

