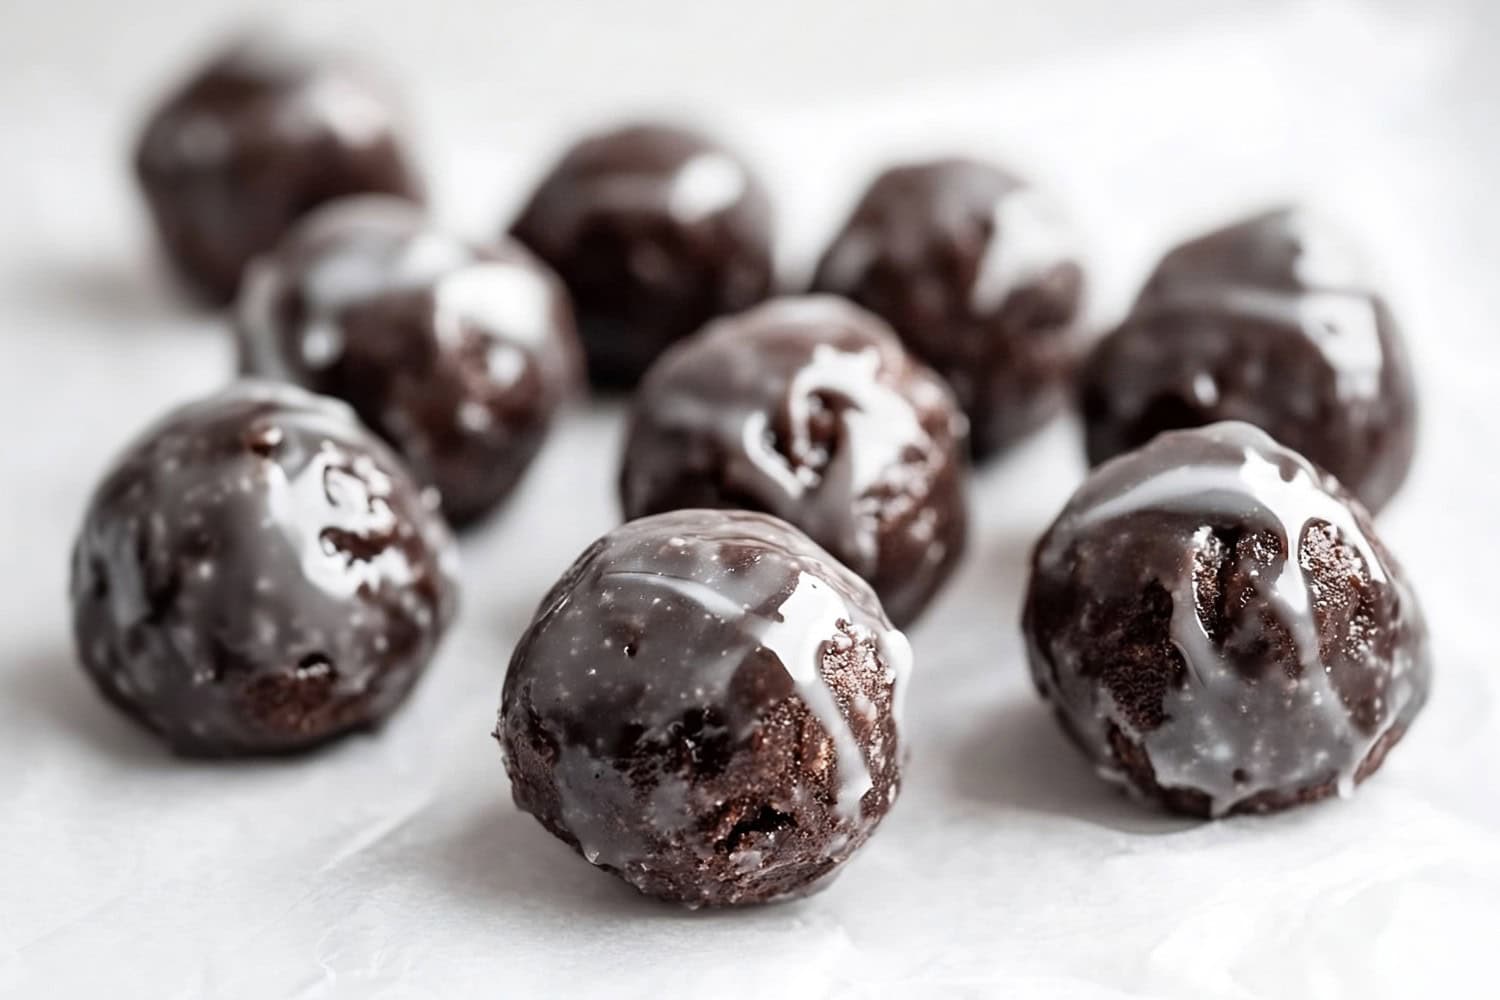
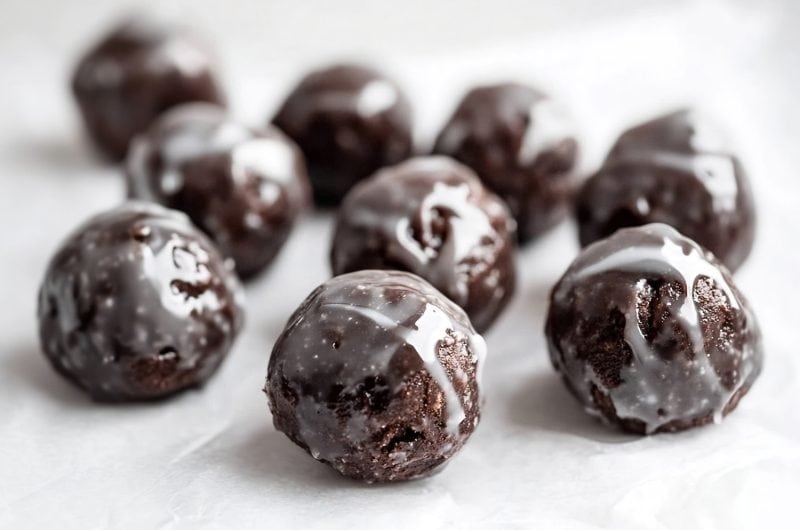
Rich, sweet, and melt in your mouth delicious, these glazed chocolate donut holes are dangerous!
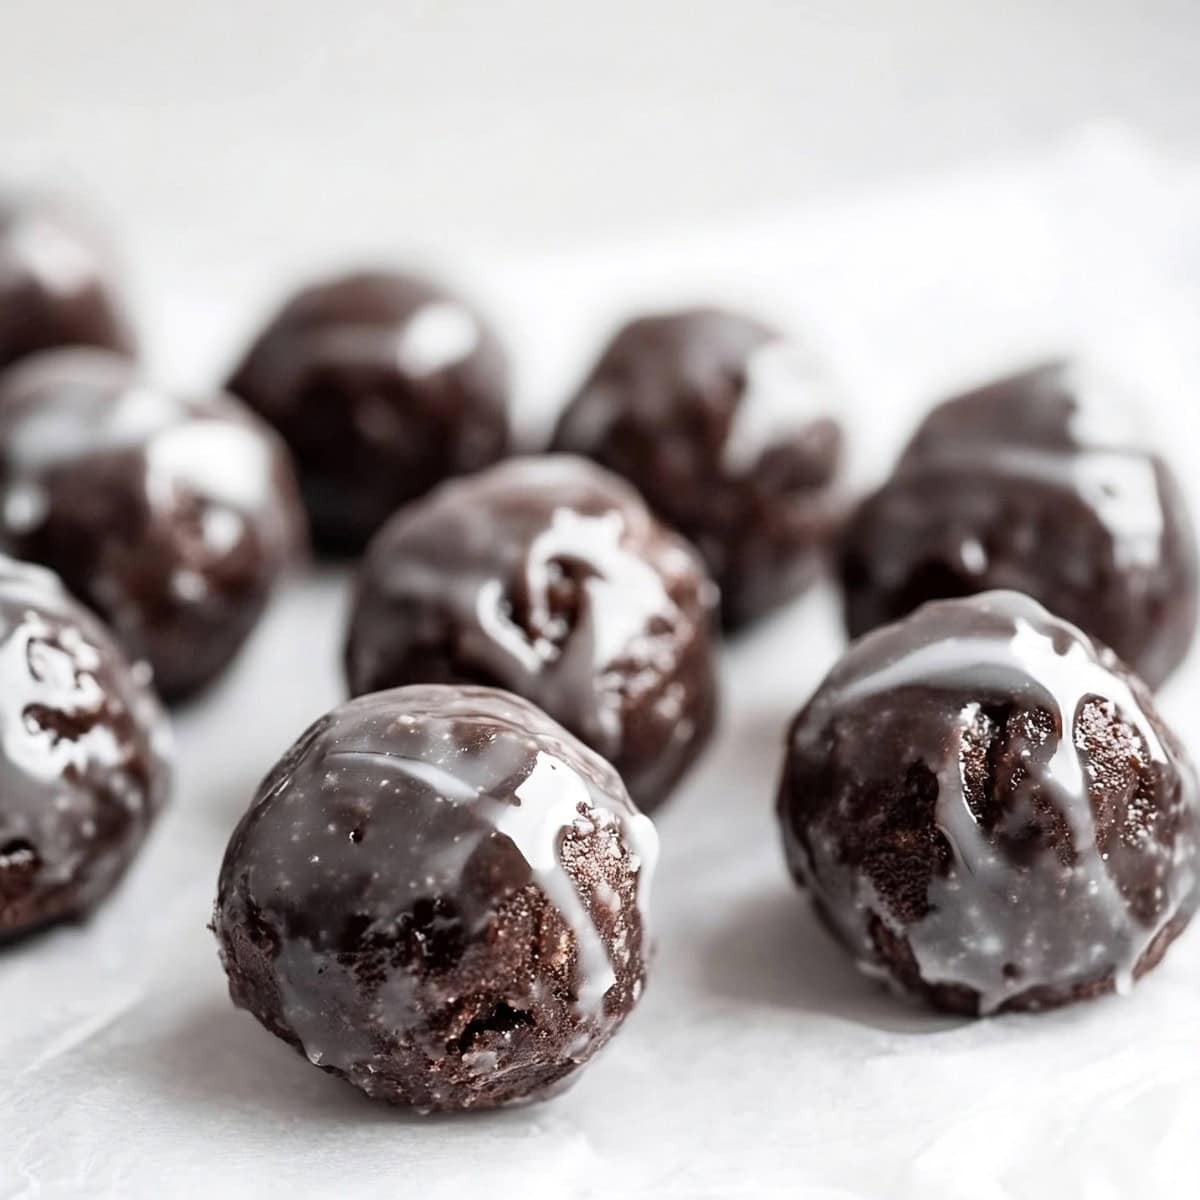
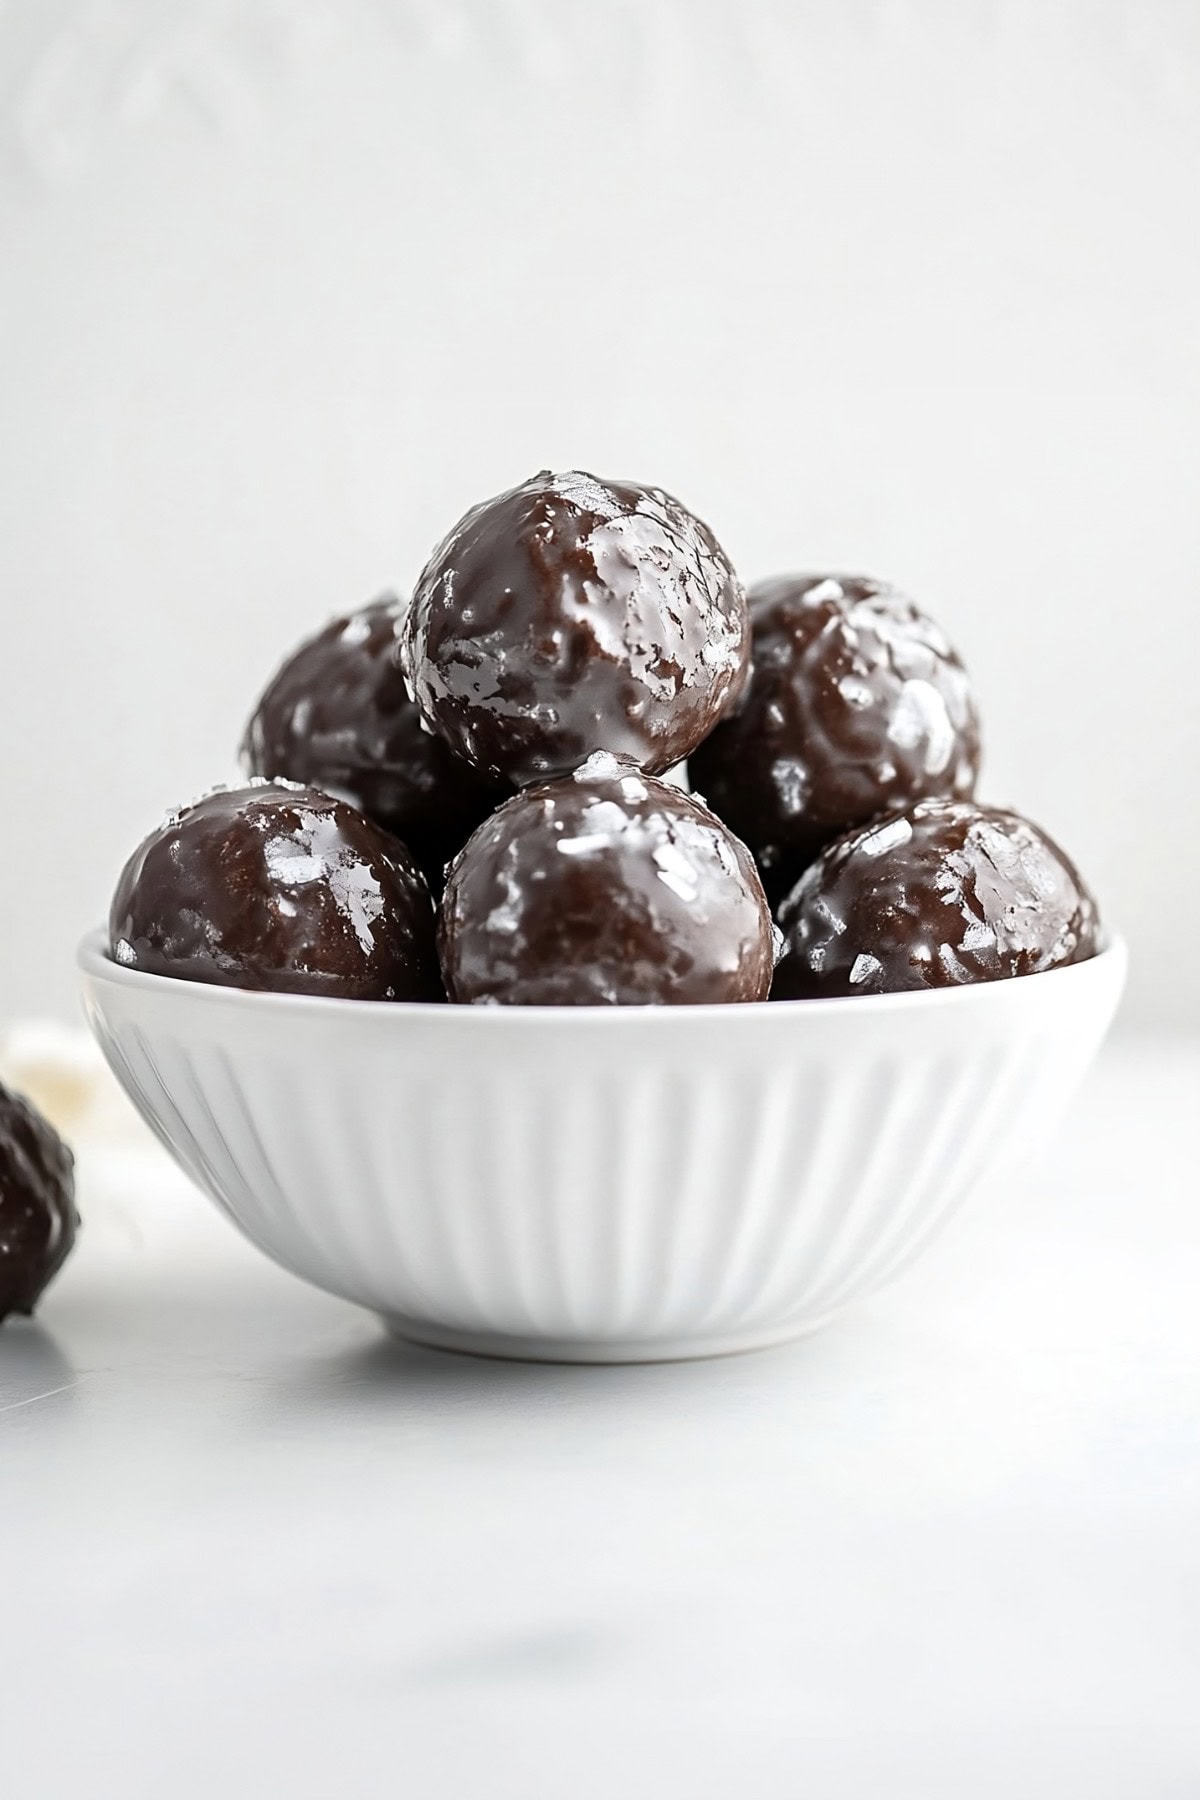
They’re decadent, chocolatey little bites, generously coated with a sweet vanilla glaze.
And the best part? They are so easy to make! Perfect for when you’re craving something sweet but don’t want to spend hours in the kitchen.
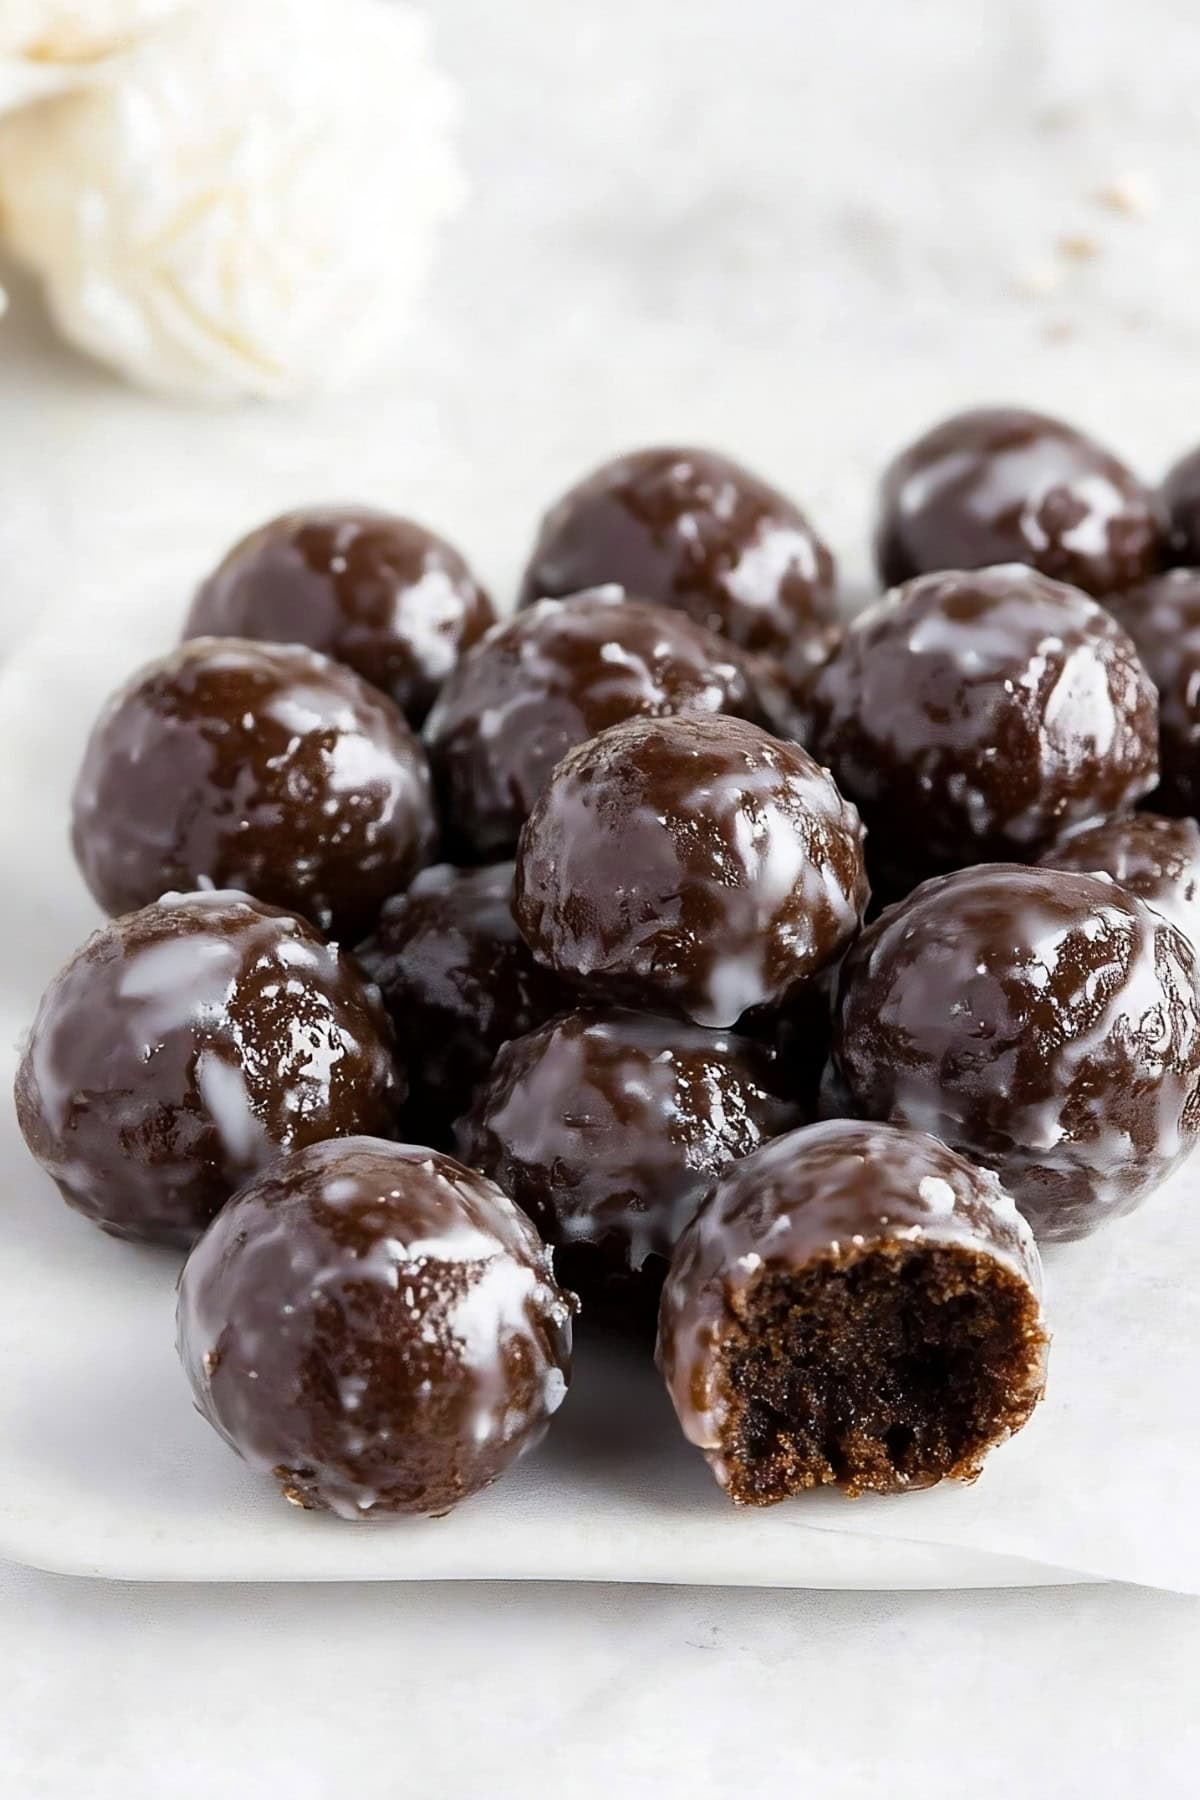
Why You’ll Love These Glazed Chocolate Donut Holes
Crowd-Pleaser: With their bite-sized nature and universal appeal, these donut holes are ideal for any gathering at any time of day.
Chocolate Delight: The combination of unsweetened cocoa powder and a luscious vanilla glaze ensures each bite is an intense, chocolatey delight.
Customization Potential: The basic recipe serves as an excellent canvas for experimentation. Try different flavors for the glaze or incorporate mix-ins like chocolate chips or nuts for endless variety.
Simple Ingredients: The recipe uses pantry staples like flour, cocoa powder, and sugar. So, you likely won’t need an extra trip to the grocery store to whip up these treats.
Ingredients
- All-Purpose Flour: The foundation of your fluffy donut holes. Provides structure and texture.
- Unsweetened Cocoa Powder: Adds rich, deep chocolate flavor without extra sugar.
- Baking Powder & Baking Soda: The dynamic leavening duo, so your donut holes will rise to perfection.
- Salt: A pinch to balance the sweetness.
- Unsalted Butter: Adds moisture and richness.
- Granulated & Brown Sugar: A sweet combination so they’re not too bitter. Brown sugar also adds moisture.
- Vanilla Extract: Rounds out the chocolate flavor.
- Large Eggs: Bind all the ingredients together and contribute to a fluffy, cake-like texture.
- Milk & Sour Cream: The secret to moist, tender donut holes.
- Vanilla Glaze: The dreamy, creamy finishing touch. Mix milk with powdered sugar and a splash of vanilla just until it’s thick enough to coat the donut holes. I usually do a few layers so you get a nice shell.
How to Make Glazed Chocolate Donut Holes
When I pulled these out of the oven, I knew I’d struck gold. The smell, the look, the taste – oh man, they’re so good!
And that was before I added the glaze.
Check out how easily they come together.
1. PREP: Preheat the oven to 350°F (175°C) and lightly grease two 24-cup mini muffin pans.
2. MIX DRY: In a large bowl, whisk the flour, cocoa powder, baking powder, baking soda, and salt until well combined.
3. MIX WET: In a separate bowl, whisk the melted butter and sugar until thick and smooth. Blend in the eggs, yolk, and vanilla.
4. COMBINE: Stir the milk and sour cream in a measuring glass. Alternate adding the dry ingredients and milk mixture to the wet.
5. FILL: Use a mini cookie scoop or spoon to fill each muffin cup about 3/4 full with batter.
6. BAKE: Bake for about 10 minutes, then cool in the pans briefly, before transfering to a wire rack to cool completely.
7. GLAZE: Whisk the powdered sugar, milk, and vanilla in a bowl until smooth. Coat the cooled donut holes in 2-3 layers of the glaze.
8. SET: Allow the glaze to fully set before enjoying your baked chocolate donut holes.
Tips For the Best Glazed Chocolate Donut Holes
I love how these donut holes are baked instead of fried, making them a bit lighter but no less delicious.
And they’re the perfect treat to enjoy with your morning coffee or as an after-dinner indulgence.
Check out these tips before you start, and yours will be just as addictive!
- Use quality cocoa. Use a high-quality, unsweetened cocoa powder like Ghirardelli for the richest chocolate flavor.
- Room temperature ingredients. Let the eggs, milk, and sour cream come to room temperature before mixing to create a more cohesive batter.
- Add coffee. Dissolve 1 teaspoon espresso or instant coffee powder into the milk. It will enhance tan enrich the chocolate flavor!
- Don’t overmix. Gently fold the wet and dry ingredients together until they are just combined. Use a spatula to avoid overmixing.
- Use a scoop. A mini cookie scoop or spoon helps portion the batter evenly into the mini muffin cups.
- Cool before glazing. Let the donut holes cool completely on a wire rack before dipping in the glaze. Otheriwse, it will just melt off.
- Glaze consistency. The glaze should be thick but still pourable. Add more powdered sugar to thicken or more milk to thin it out as needed.
Variations
I can’t wait for you to experience the pure bliss of biting into one of these heavenly morsels.
But as incredible as they are, I do have a few recipe variations up my sleeve…
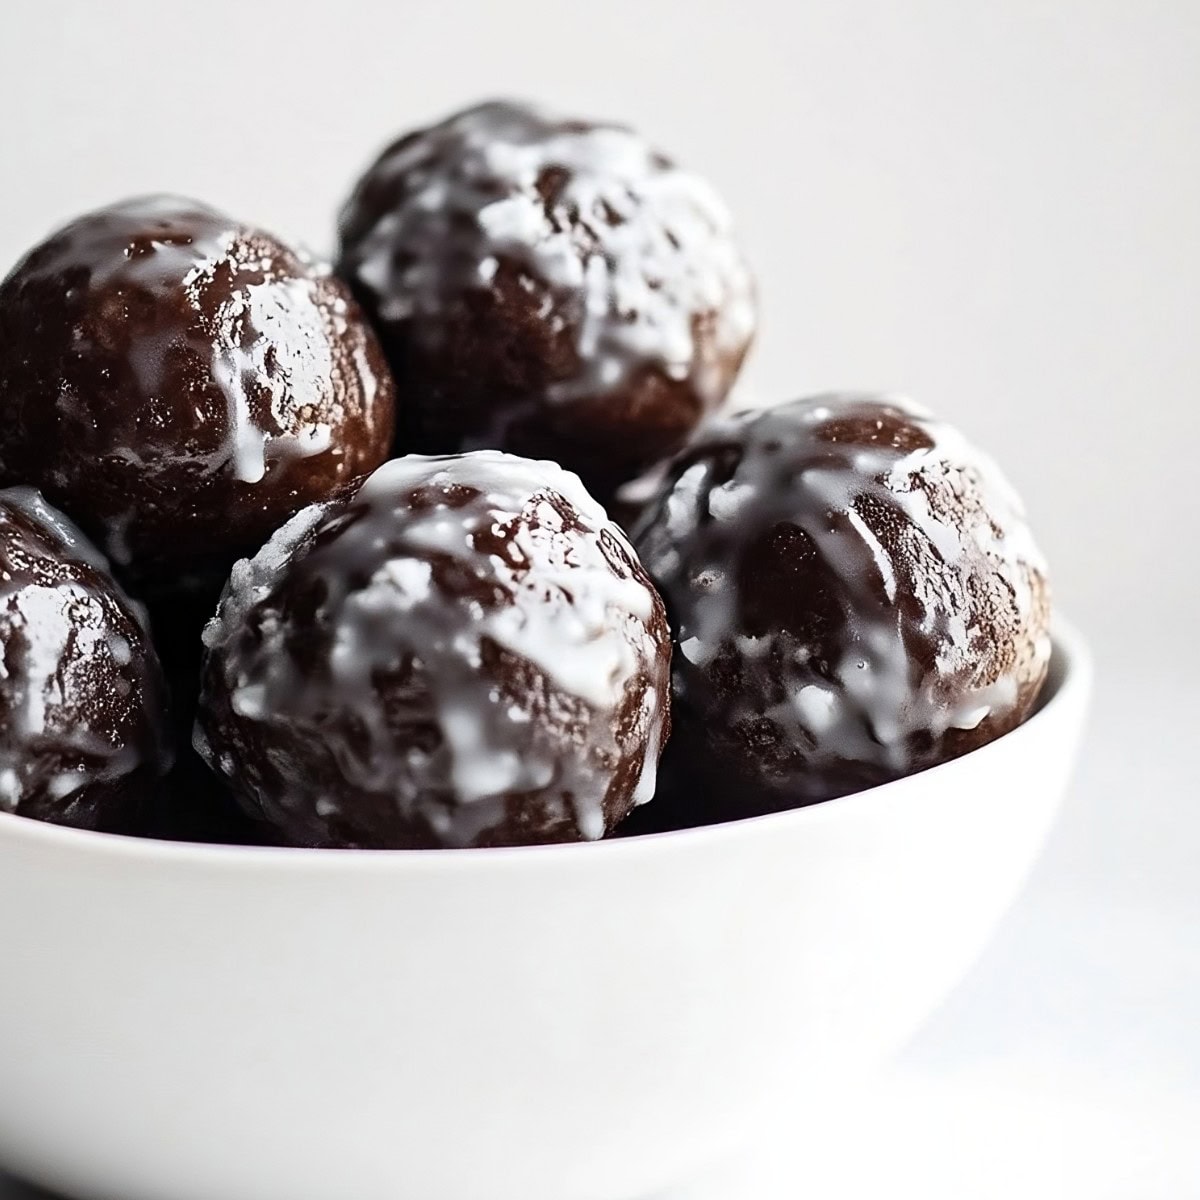
- Double glaze. Dip the donut holes 2-3 times for an extra thick, decadent coating.
- Glaze variations. Add almond, mint, or orange extract, or mix some cocoa powder into the glaze for a double chocolate version. You could even mix in some preserves for a fruity finish.
- Mix-ins. Add 1/2 cup mini chocolate chips or chopped nuts.
- Other coating ideas. After dipping in the glaze, toss them in sprinkles, chopped nuts, or coconut. You could also dip them in melted chocolate instead, or simply drizzle some over the top.
- Serve with dippers. These are too small to pipe fillings in to, but they’re great with some vanilla custard, pistachio paste, jam, Nutella, or peanut butter on the side.
How to Store
Need something for an upcoming book club or potluck? Try these donut holes! You cave have a few dozen ready in a flash, and they store really well!
To Store: Place the glazed* donut holes in an airtight container, separating layers with parchment paper. Store them at room temperature for up to 2 days or in the refrigerator for up to 5 days.
*If making ahead, store without the glaze. Glaze before serving.
To Freeze: Flash freeze unglazed donut holes on a baking sheet, the transfer to a freezer bag for 2-3 months. Thaw at room temperature and glaze before serving.
More Tasty Donut Recipes to Try
Baked Pumpkin Spice Donut Holes
Baked Cinnamon Sugar Donuts
Donut Muffins
Apple Cider Donut Bundt Cake

