Lemon cream cheese bars are the ultimate dessert for anyone who loves a perfect balance of sweet and tangy!
Imagine a buttery, crumbly crust topped with a luscious, velvety cream cheese filling. It’s also infused with the vibrant zest and juice of fresh lemons.
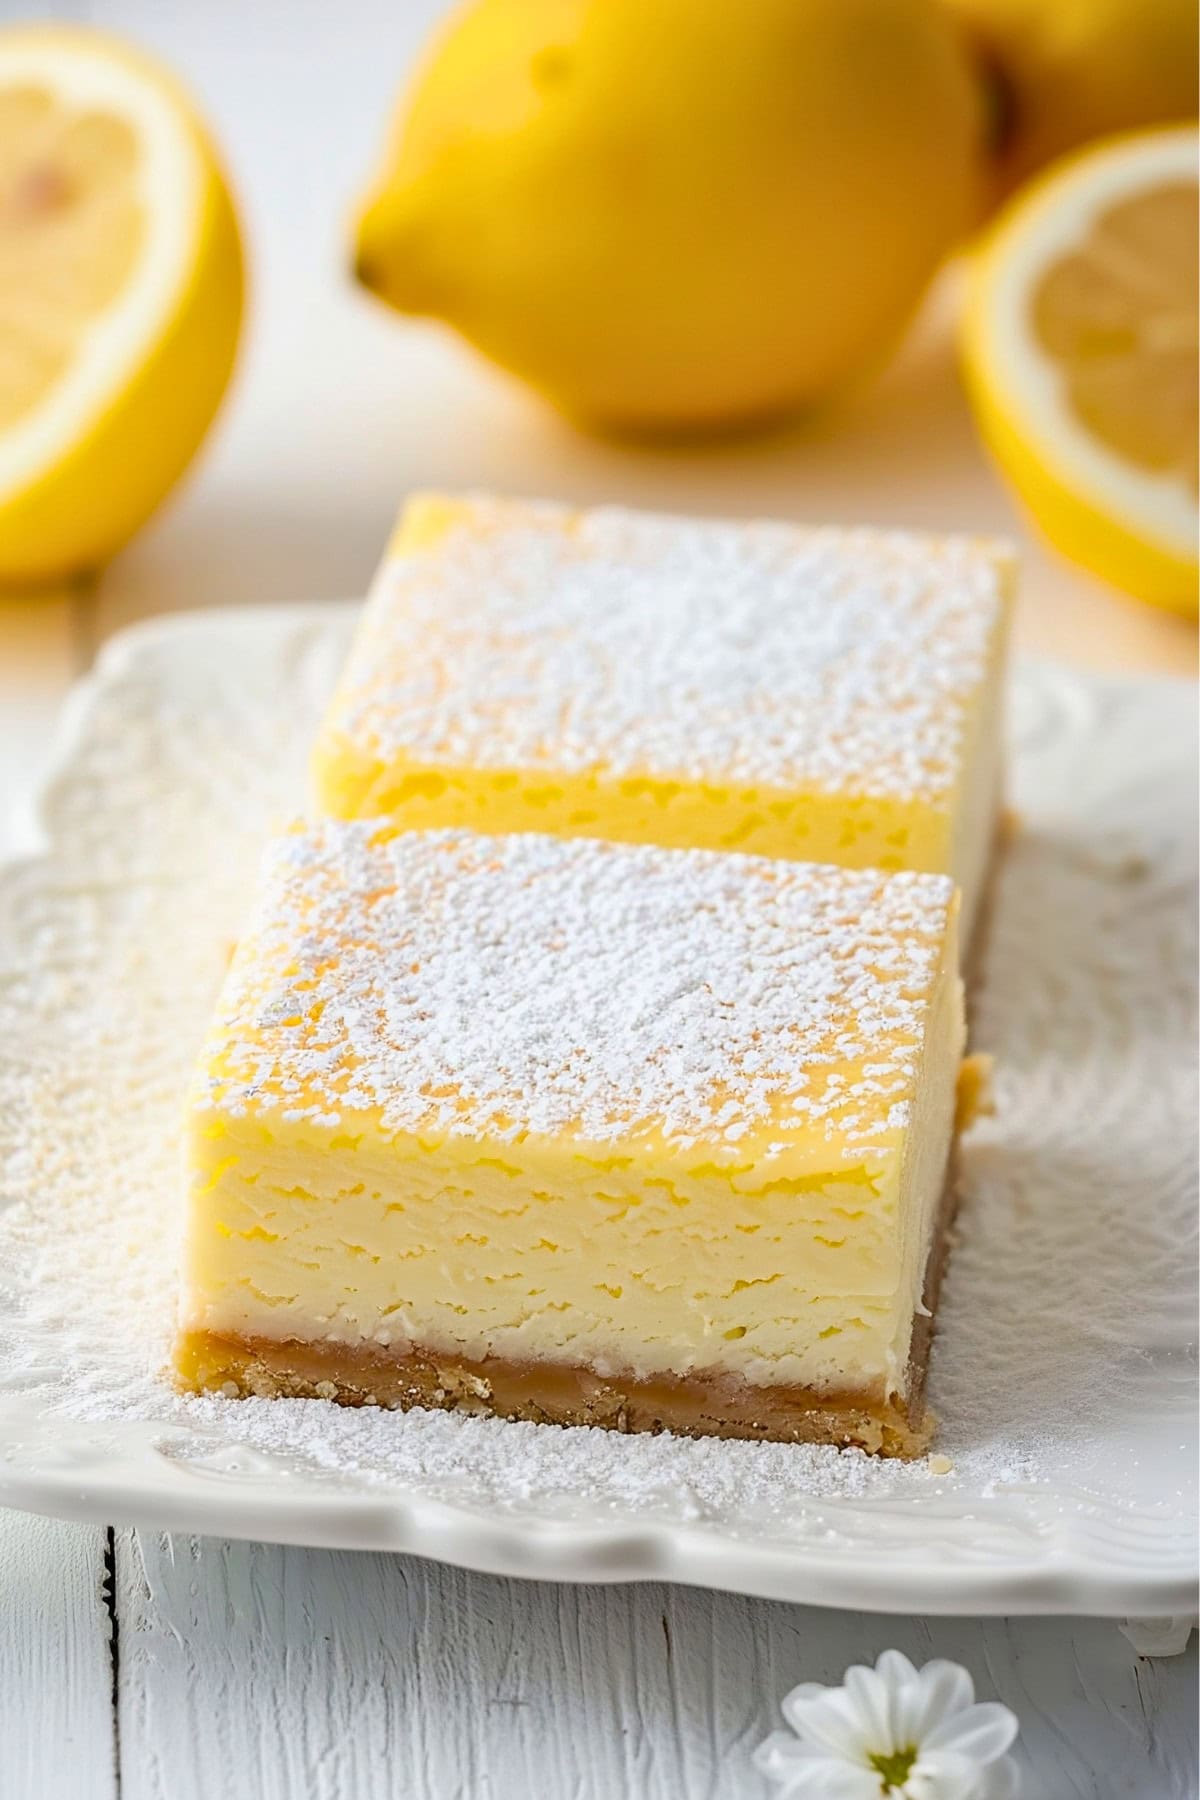
These bars are a delightful treat, offering a burst of sunshine in every bite.
I love how easy these are to make, too. The hardest part is waiting for them to chill so you can dig in! If you’re a lemon lover like me, you’ve got to try this recipe.
Why You’ll Love These Lemon Cream Cheese Bars
Tangy and Sweet: The perfect balance of creamy sweetness and tangy lemon makes every bite irresistibly refreshing.
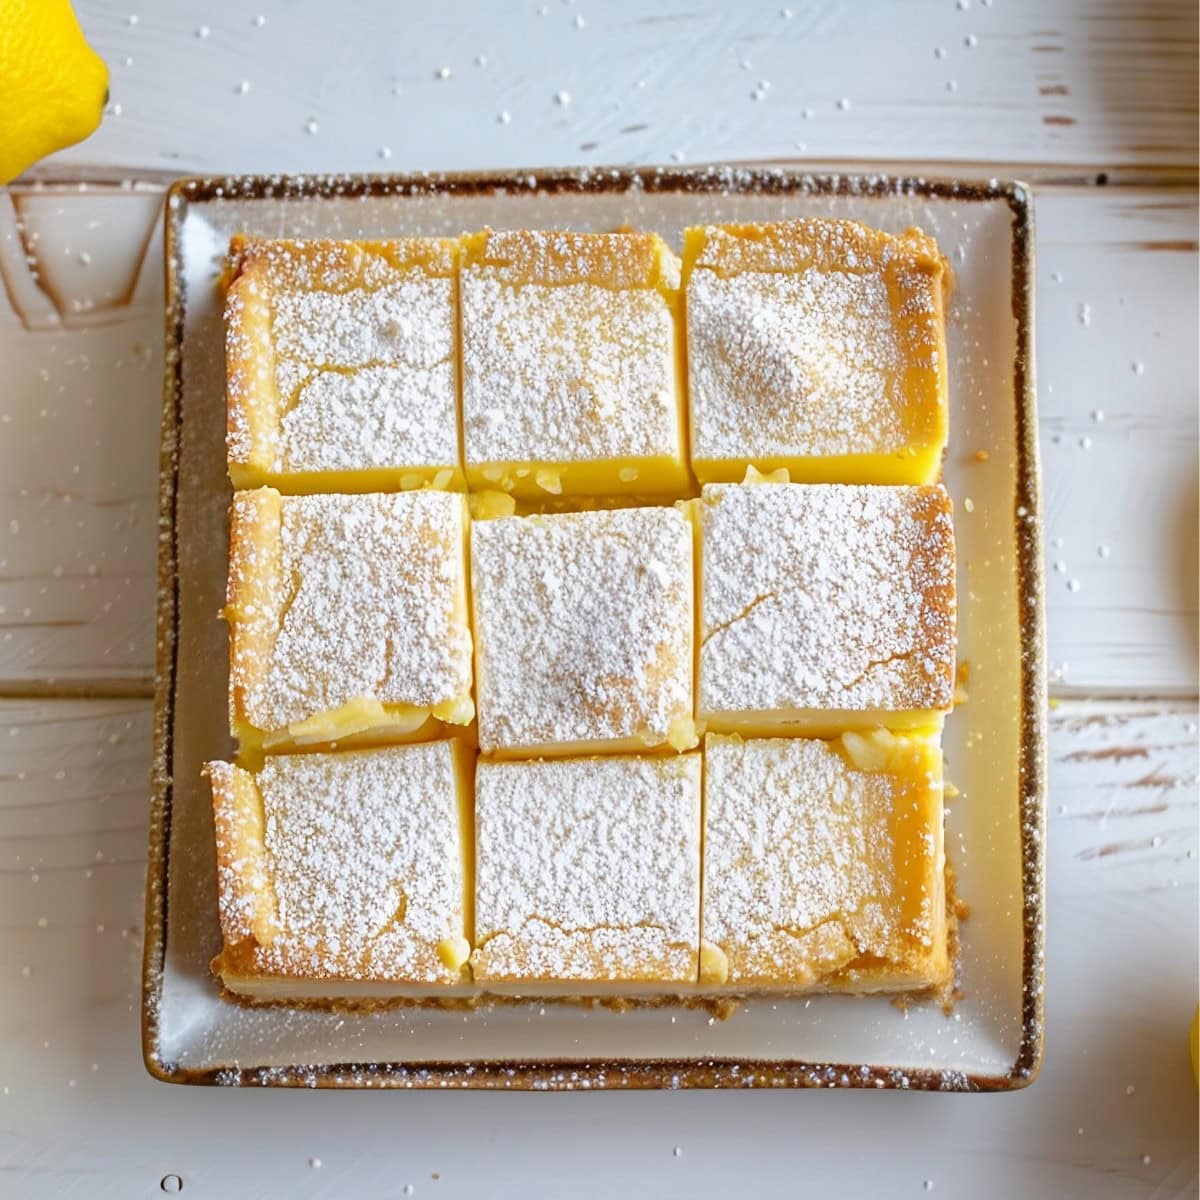
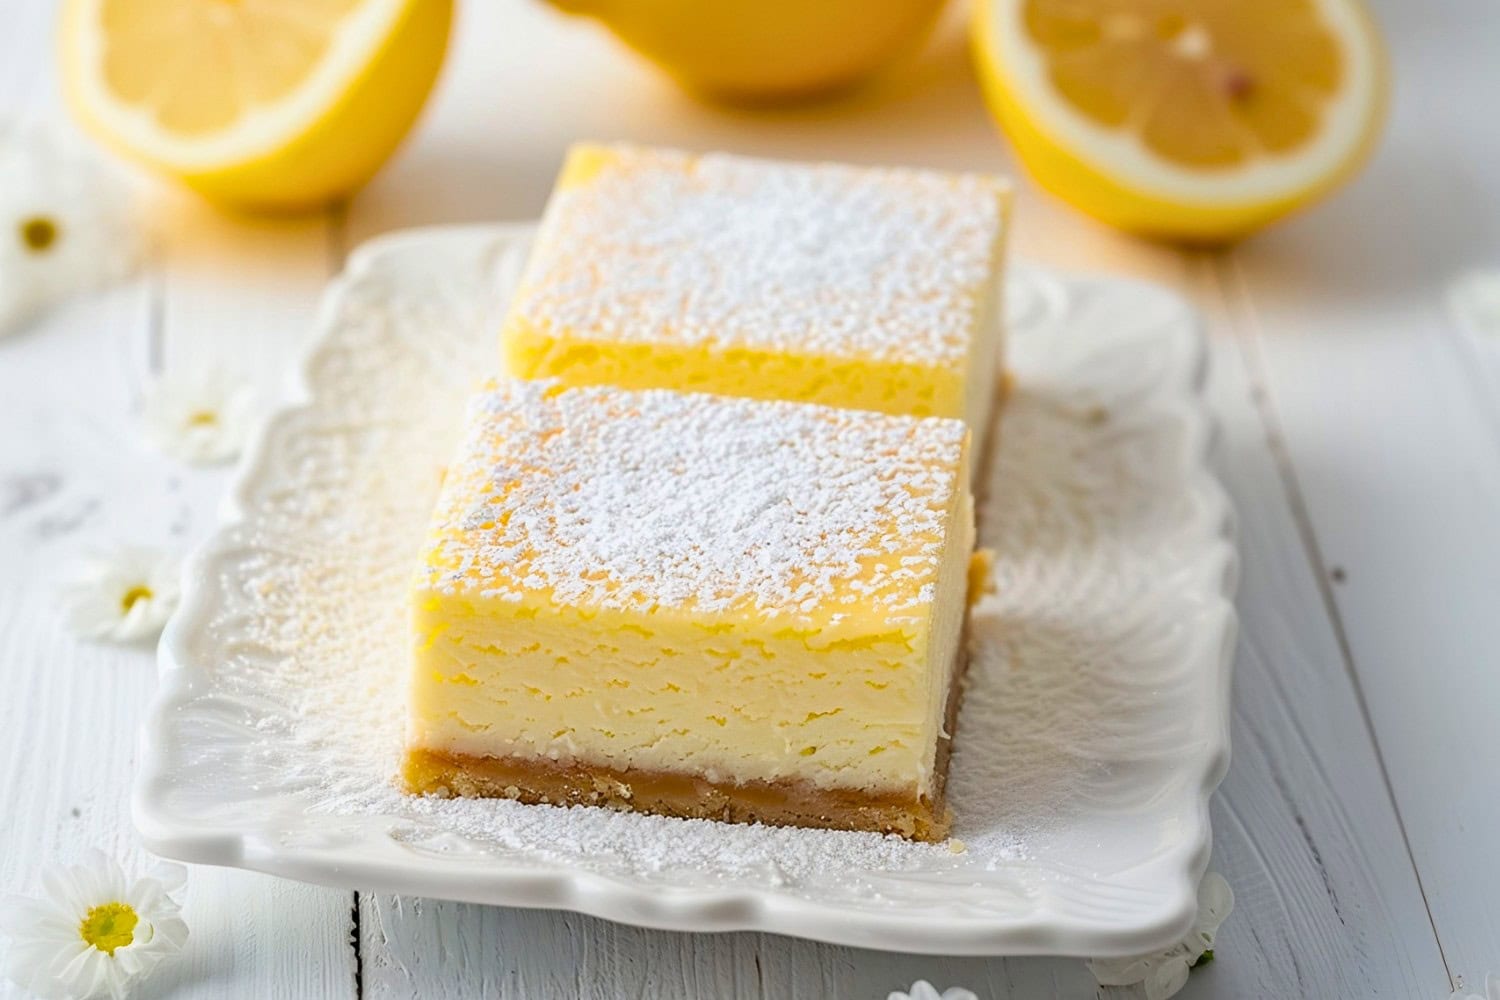
Pretty Presentation: Dusting with powdered sugar and a sprinkle of lemon zest creates a stunning and sophisticated look.
Creamy and Buttery Texture: Enjoy the delightful contrast between the rich, creamy filling and the buttery, crumbly crust.
Crowd-Pleaser: These bars will impress guests at any gathering, making them ideal for parties and special occasions.
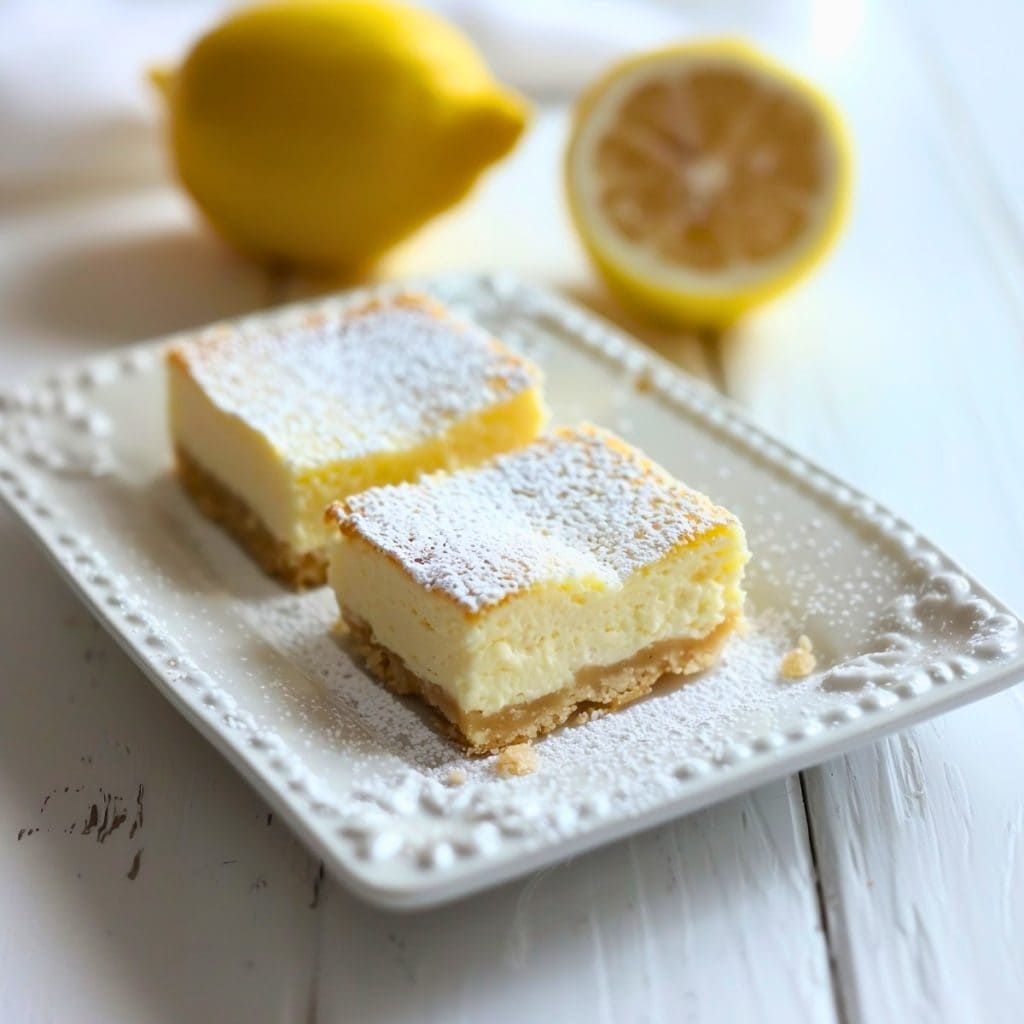
Ingredients
- Cream Cheese: The star of the show! It creates a lusciously smooth, creamy filling to balance out the bright lemon flavor.
- Fresh Lemon Juice: It’s a must for that zingy, authentic lemon taste. Don’t settle for the bottled stuff!
- Lemon Zest: It amps up the citrus flavor and adds a pop of color to the bars. Use organic lemons for the best results.
- All-Purpose Flour: It helps create a sturdy base for the crust and also thickens up the cream cheese filling just right.
- Granulated Sugar: It lends the perfect amount of sweetness to the buttery crust and the lemon cream cheese layer.
- Butter: The key to a crumbly, melt-in-your-mouth shortbread crust that contrasts perfectly with the creamy filling.
- Large Eggs: They help set the cream cheese filling and make it extra rich and silky smooth.
- Vanilla Extract: A splash of vanilla rounds out the flavors and adds a subtle floral note to the bars.
- Powdered Sugar: A dusting on top makes these bars look as dreamy as they taste!
How to Make Lemon Cream Cheese Bars
You don’t need pro baking skills to whip up these delicious bars! Just follow these steps.
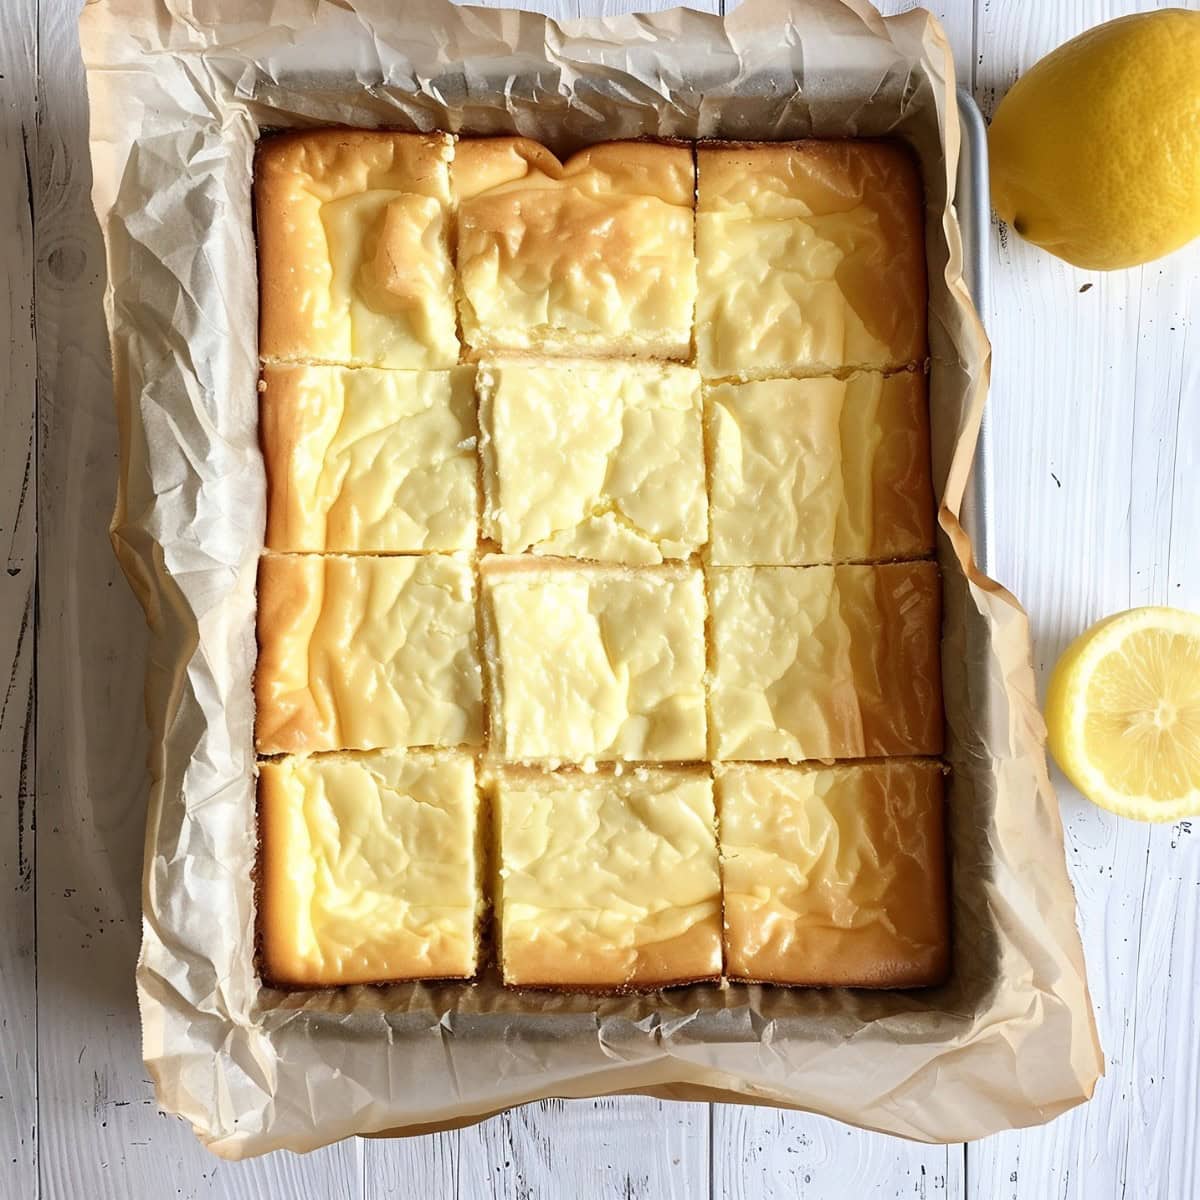
1. Prep the pan. Preheat the oven to 350°F. Line a 9×13-inch baking pan with parchment paper, leaving an overhang on the sides. Spray with nonstick cooking spray.
2. Make the crust. In a food processor, pulse together the flour, sugar, and cubed cold butter until fine crumbs form. Press the crust mixture evenly into the bottom of the prepared pan. Bake for 15 minutes.
3. Make the filling. In a large bowl, beat the cream cheese and sugar with an electric mixer until smooth. Mix in the flour and powdered sugar. Beat in the lemon juice, half of the lemon zest, eggs, and vanilla until fully incorporated.
4. Bake the bars. Pour the filling over the hot crust. Return to the oven and bake for 30-35 minutes, until the edges are set but the center still jiggles slightly.
5. Cool completely. Allow the bars to cool at room temperature for 1 hour, then refrigerate for at least 4 hours or overnight before cutting and serving.
6. Serve chilled. When ready to serve, use the parchment paper to lift the bars out of the pan. Dust with powdered sugar and sprinkle with remaining lemon zest. Cut into squares and serve chilled.
Tips for the Best Lemon Cream Cheese Bars
Follow these tips for a decadent treat no one can resist.
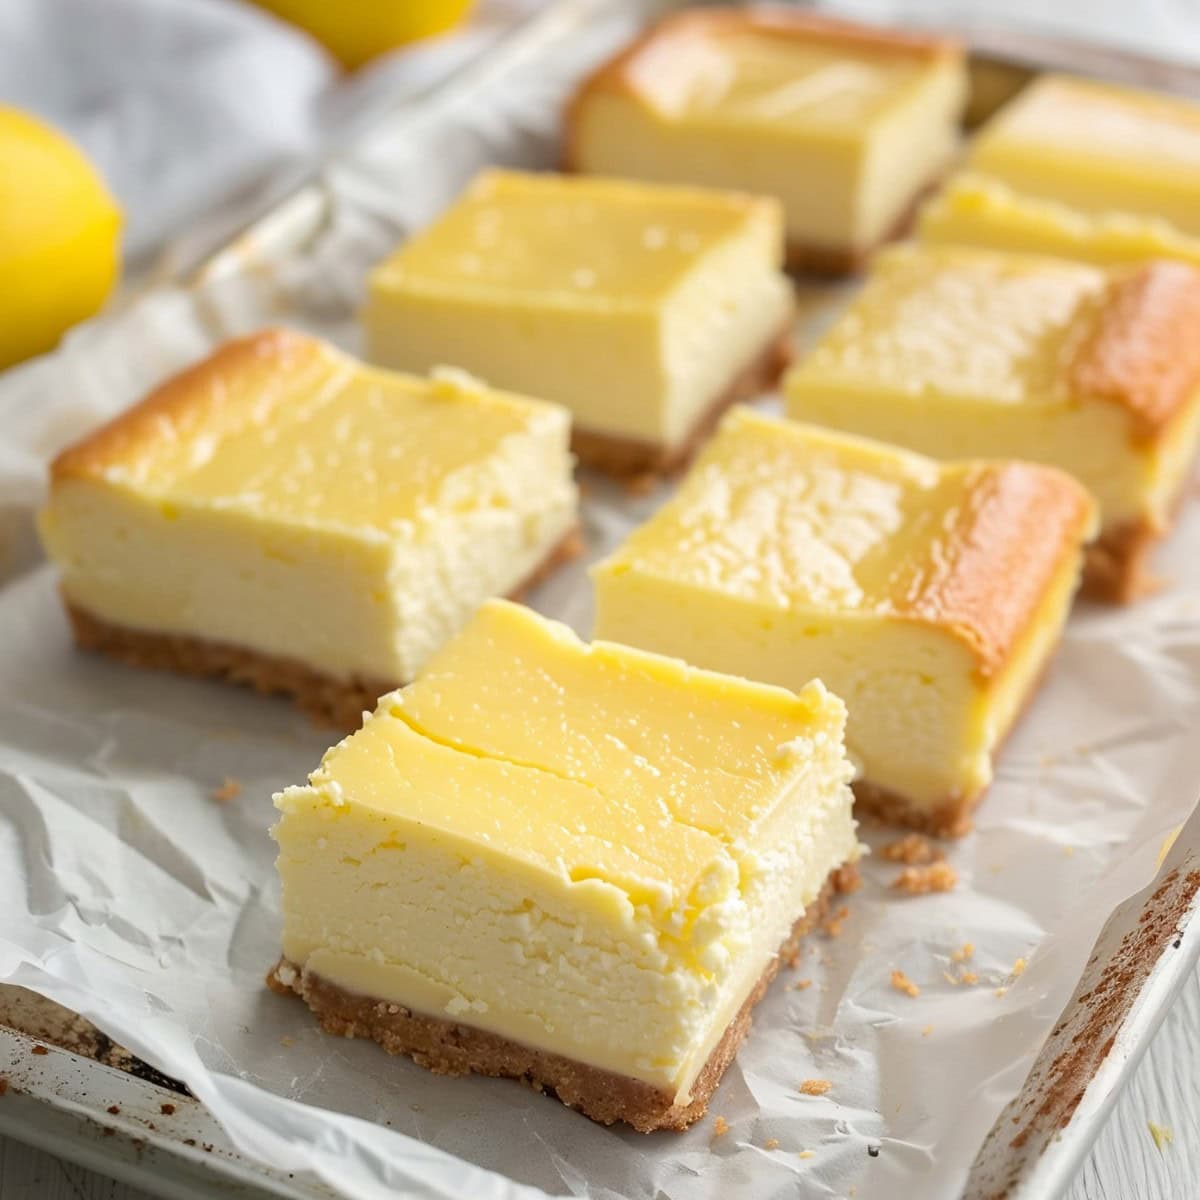
- Brick-style is best! For the best flavor and texture, use full-fat, brick-style cream cheese. Avoid cream cheese spreads or whipped varieties.
- Room temperature is key. Ensure the cream cheese is softened to room temperature for a smooth, lump-free filling.
- Fresh is best. Use freshly squeezed lemon juice and zest for the brightest, most vibrant lemon flavor. Avoid bottled lemon juice.
- Taste and adjust. Taste the filling and adjust the amount of lemon juice and zest to your liking for more or less tartness.
- Don’t overbake! Take the bars out of the oven when the edges are set, but the center still jiggles slightly. They will continue to set as they cool. Overbaking can lead to cracking.
- Choose your favorite crust. For a different crust, try using graham cracker crumbs, vanilla wafer cookies, or gingersnap cookies in place of the flour mixture.
- Try fun variations. Swap the lemon for other citrus fruits like lime, orange or grapefruit. Or add a berry swirl or glaze on top.
- Make them pretty. Dust the bars with powdered sugar and sprinkle with extra lemon zest just before serving for a pretty presentation.
How to Store
Here’s how to keep your bars nice and fresh.
To Store: Store in an air-tight container in the refrigerator for up to 5 days. For the best texture and flavor, consume within 3 days.
To Freeze: For longer storage, wrap the bars tightly in plastic wrap or aluminum foil, then place in an air-tight, freezer-safe container or Ziploc bag. Freeze for up to 3 months. Thaw overnight in the refrigerator before serving.







Does “Prepared Pie Crust” work with this recipe?
Hi, Bonnie!
Are you talking about the kind you unroll and bake? If so, yes! Although you might need to use 1.5 to 2 of them to cover the entire surface of the 9×13 pan. And you’d still need to blind bake it before adding the filling.
Hope that helps!! 🙂