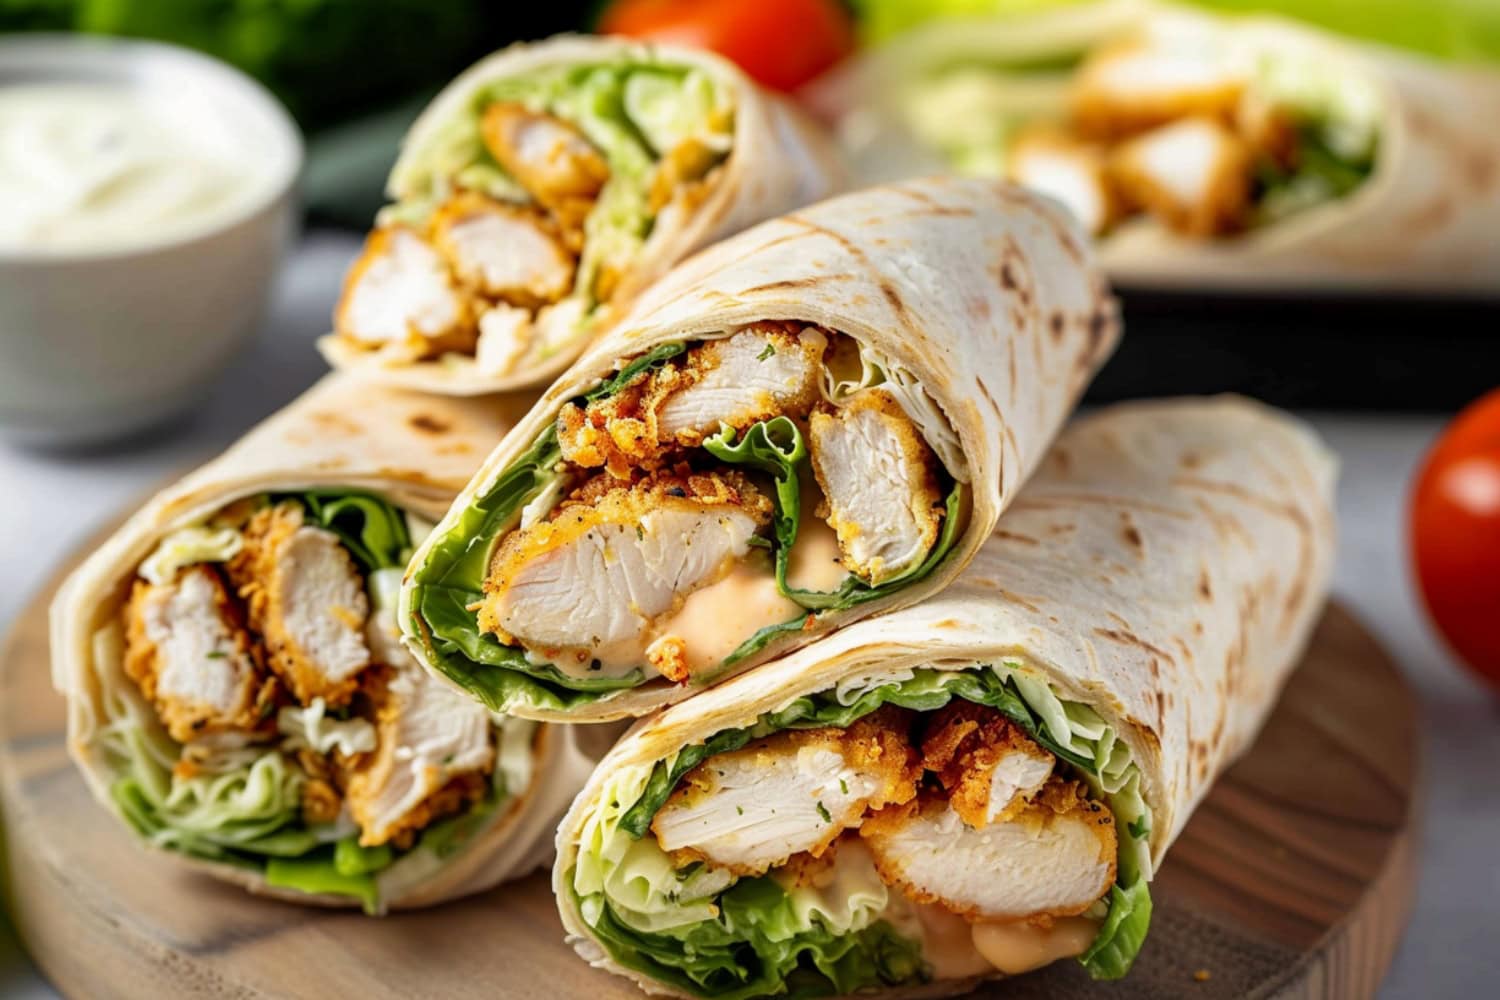
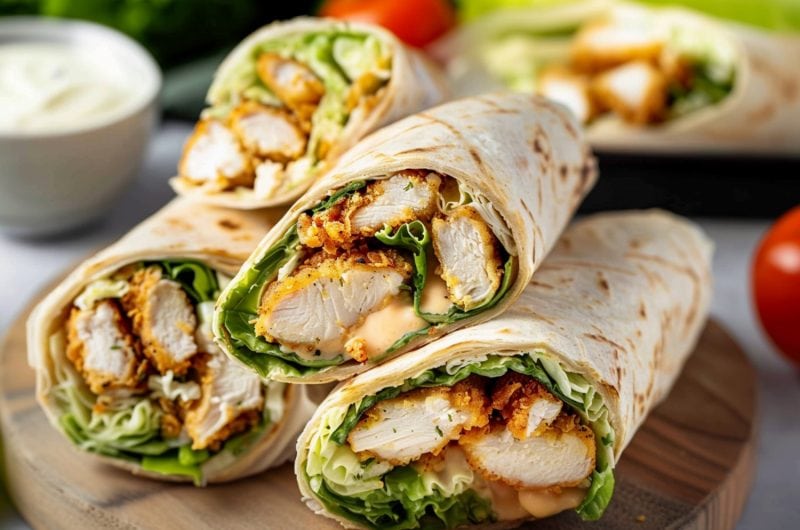
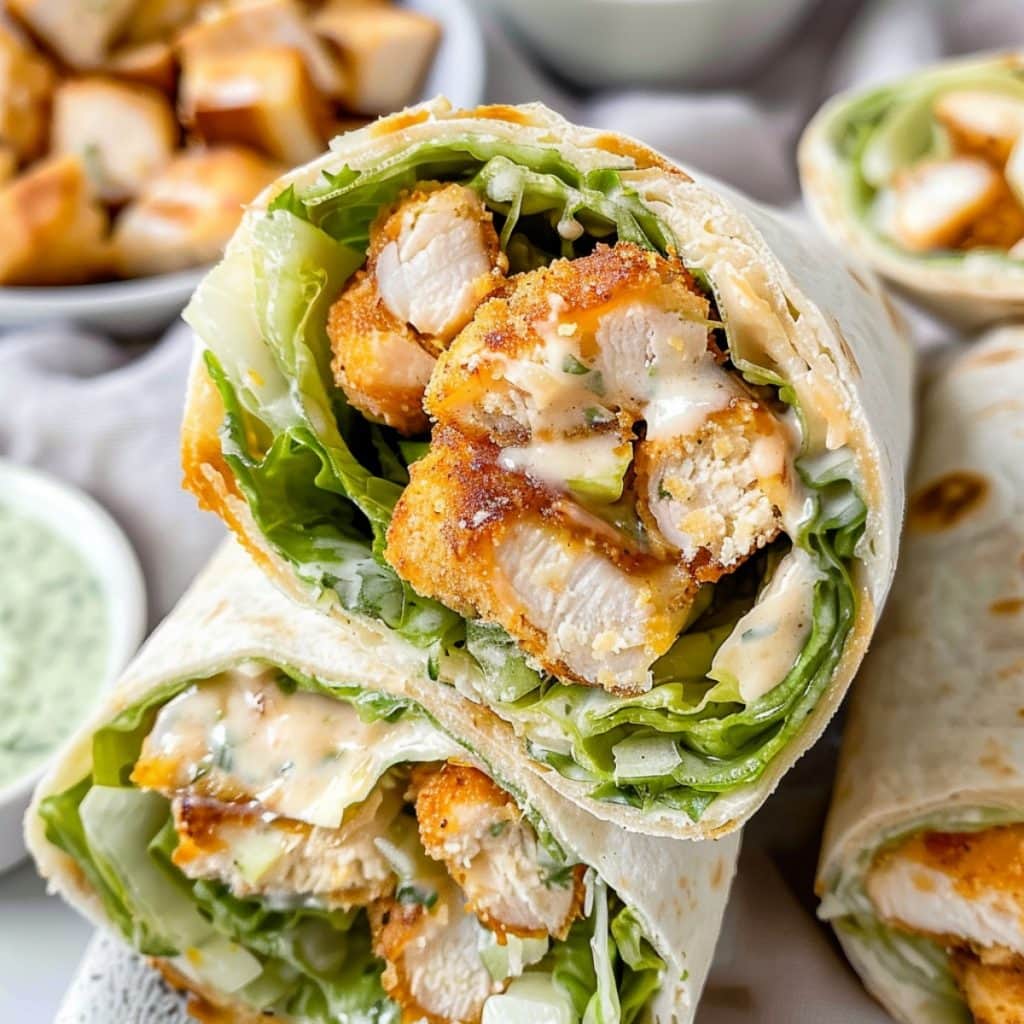
This Chicken Caesar wrap is my new favorite lunch! It’s a classic combination of breaded chicken, Romaine lettuce, croutons, and tangy Caesar dressing, all wrapped up in a soft flour tortilla.
These wraps are the perfect on-the-go meal, and I love packing them for picnics, too. They’re so easy to make, and you can prep them ahead!
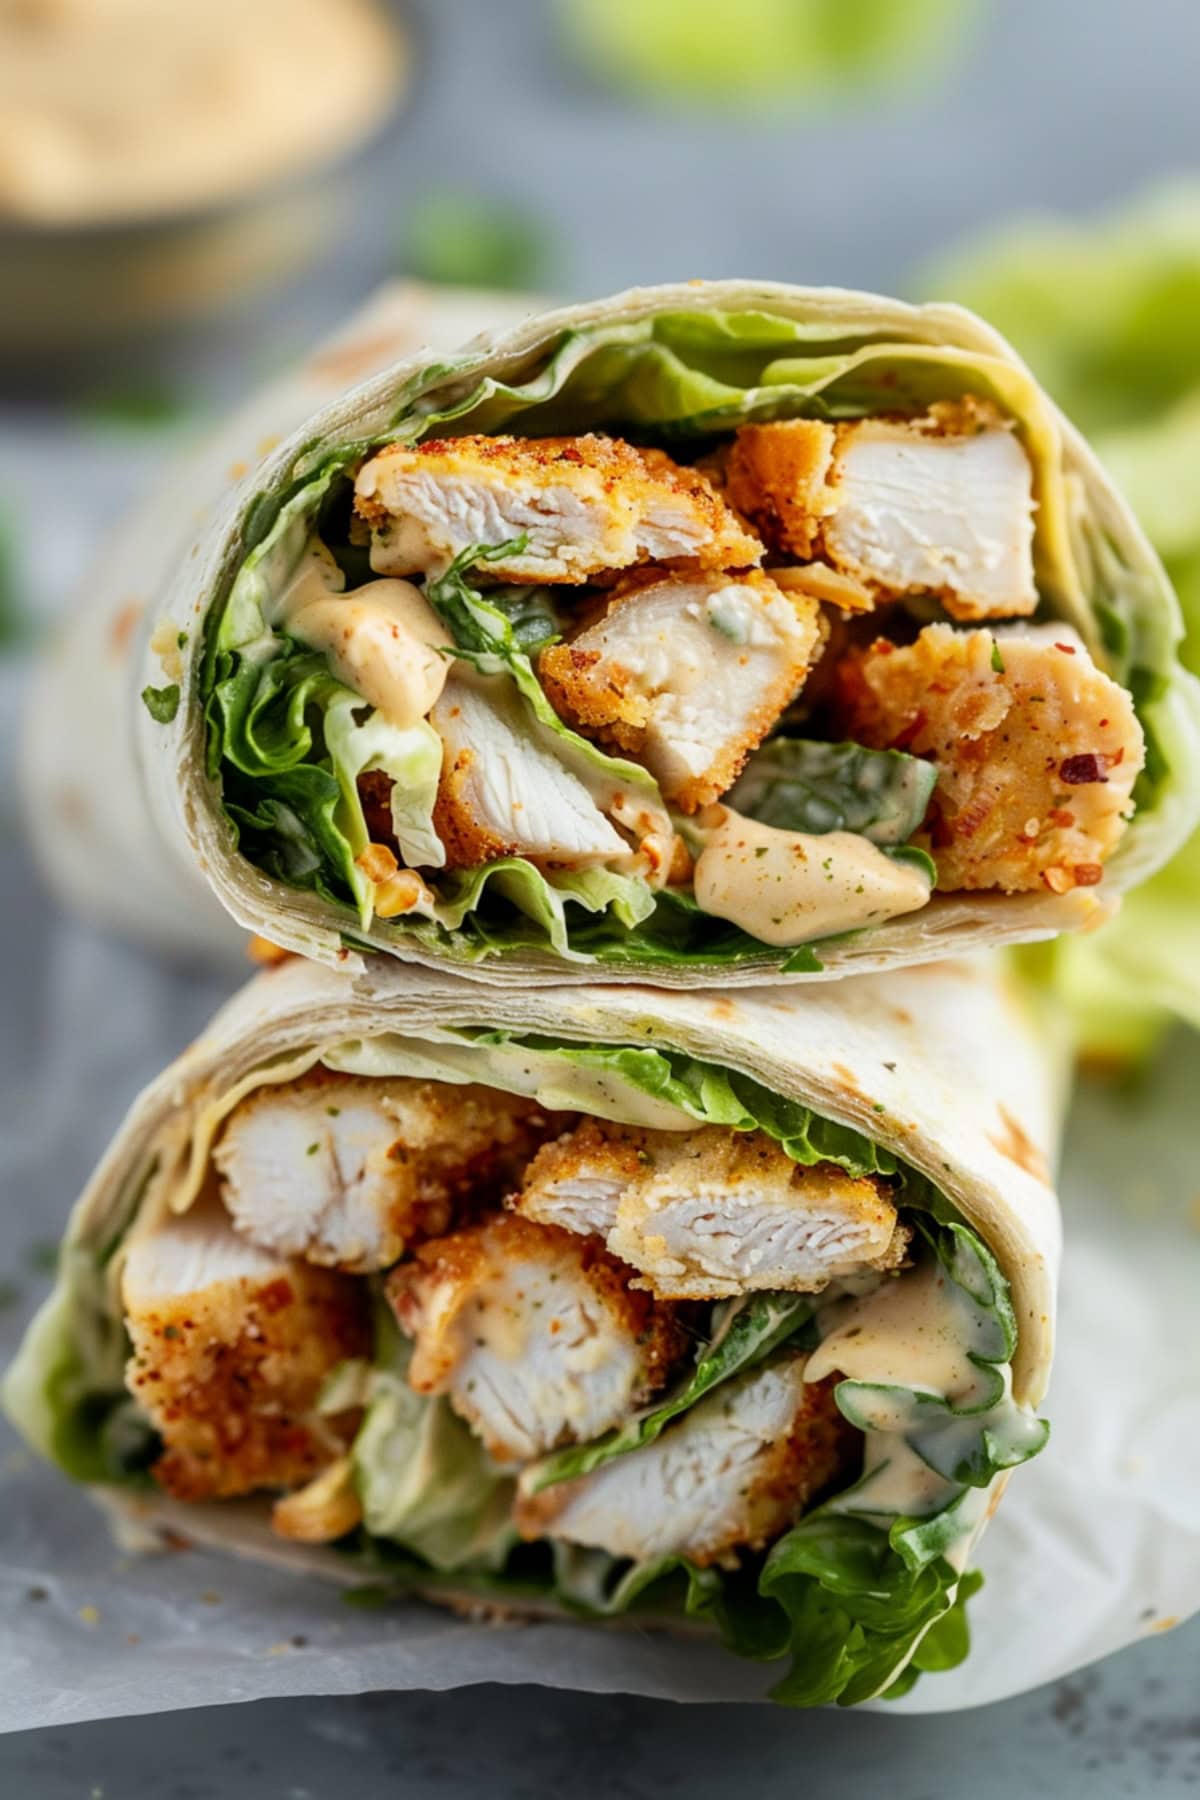
Ditch the boring sandwiches and give these delicious wraps a try. They’ll leave you craving more!
Why You’ll Love This Chicken Caesar Wrap
Quick and Convenient: This recipe is perfect for busy weeknights or quick lunches.
Flavor Explosion: The combination of chicken, Caesar dressing, and crunchy croutons creates an irresistible explosion of flavors.
Perfect for Meal Prep: Prepare the components in advance and assemble the wraps quickly. Enjoy them throughout the week.
Restaurant-Quality at Home: This recipe brings the taste of a gourmet restaurant dish right to your kitchen.
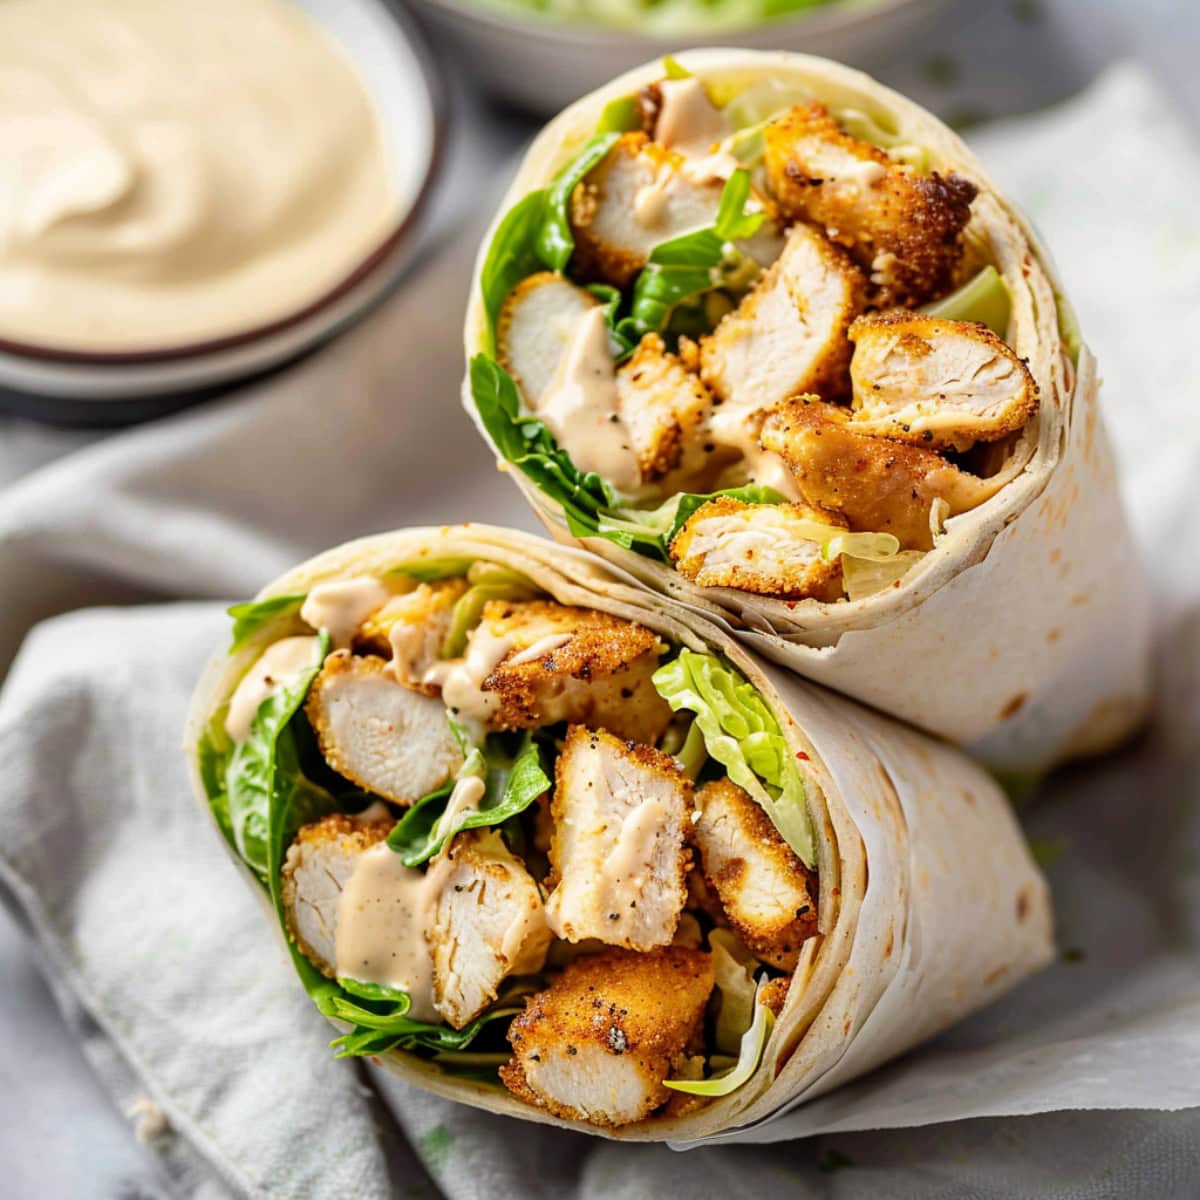
Ingredients
- Boneless, Skinless Chicken Breasts: The star protein. Slice them thin for quick cooking and easy wrapping.
- All-Purpose Flour: It’s used for dredging the chicken to create a light coating that helps the egg wash adhere.
- Salt and Pepper: Essential seasonings to enhance the flavor of the chicken.
- Large Eggs: They act as the glue to bind the crispy Panko-Parmesan coating to the chicken.
- Panko Breadcrumbs: Japanese-style breadcrumbs create a crunchy coating without getting soggy.
- Grated Parmesan Cheese: It’s mixed into the panko for a nutty, salty flavor.
- Olive Oil: Use it for pan-frying the breaded chicken cutlets.
- Romaine Lettuce: The classic foundation for Caesar salad. It’s crisp, refreshing, and sturdy enough to stand up to the dressing.
- Croutons: Crunchy and flavorful, they add texture and a burst of flavor to the wrap.
- Caesar Dressing: This creamy, tangy, and savory dressing is the quintessential flavor of Caesar salad.
- Large Burrito-Size Flour Tortillas: The perfect vehicle to contain all the components of the Caesar salad.
How to Make a Chicken Caesar Wrap
These wraps seem fancy, but they’re surprisingly easy to throw together.
1. Prepare the chicken cutlets. Slice the chicken breasts horizontally into thin cutlets and season with salt and pepper.
2. Set up a breading station. Prepare three shallow dishes with flour, beaten eggs, and panko breadcrumb mixture.
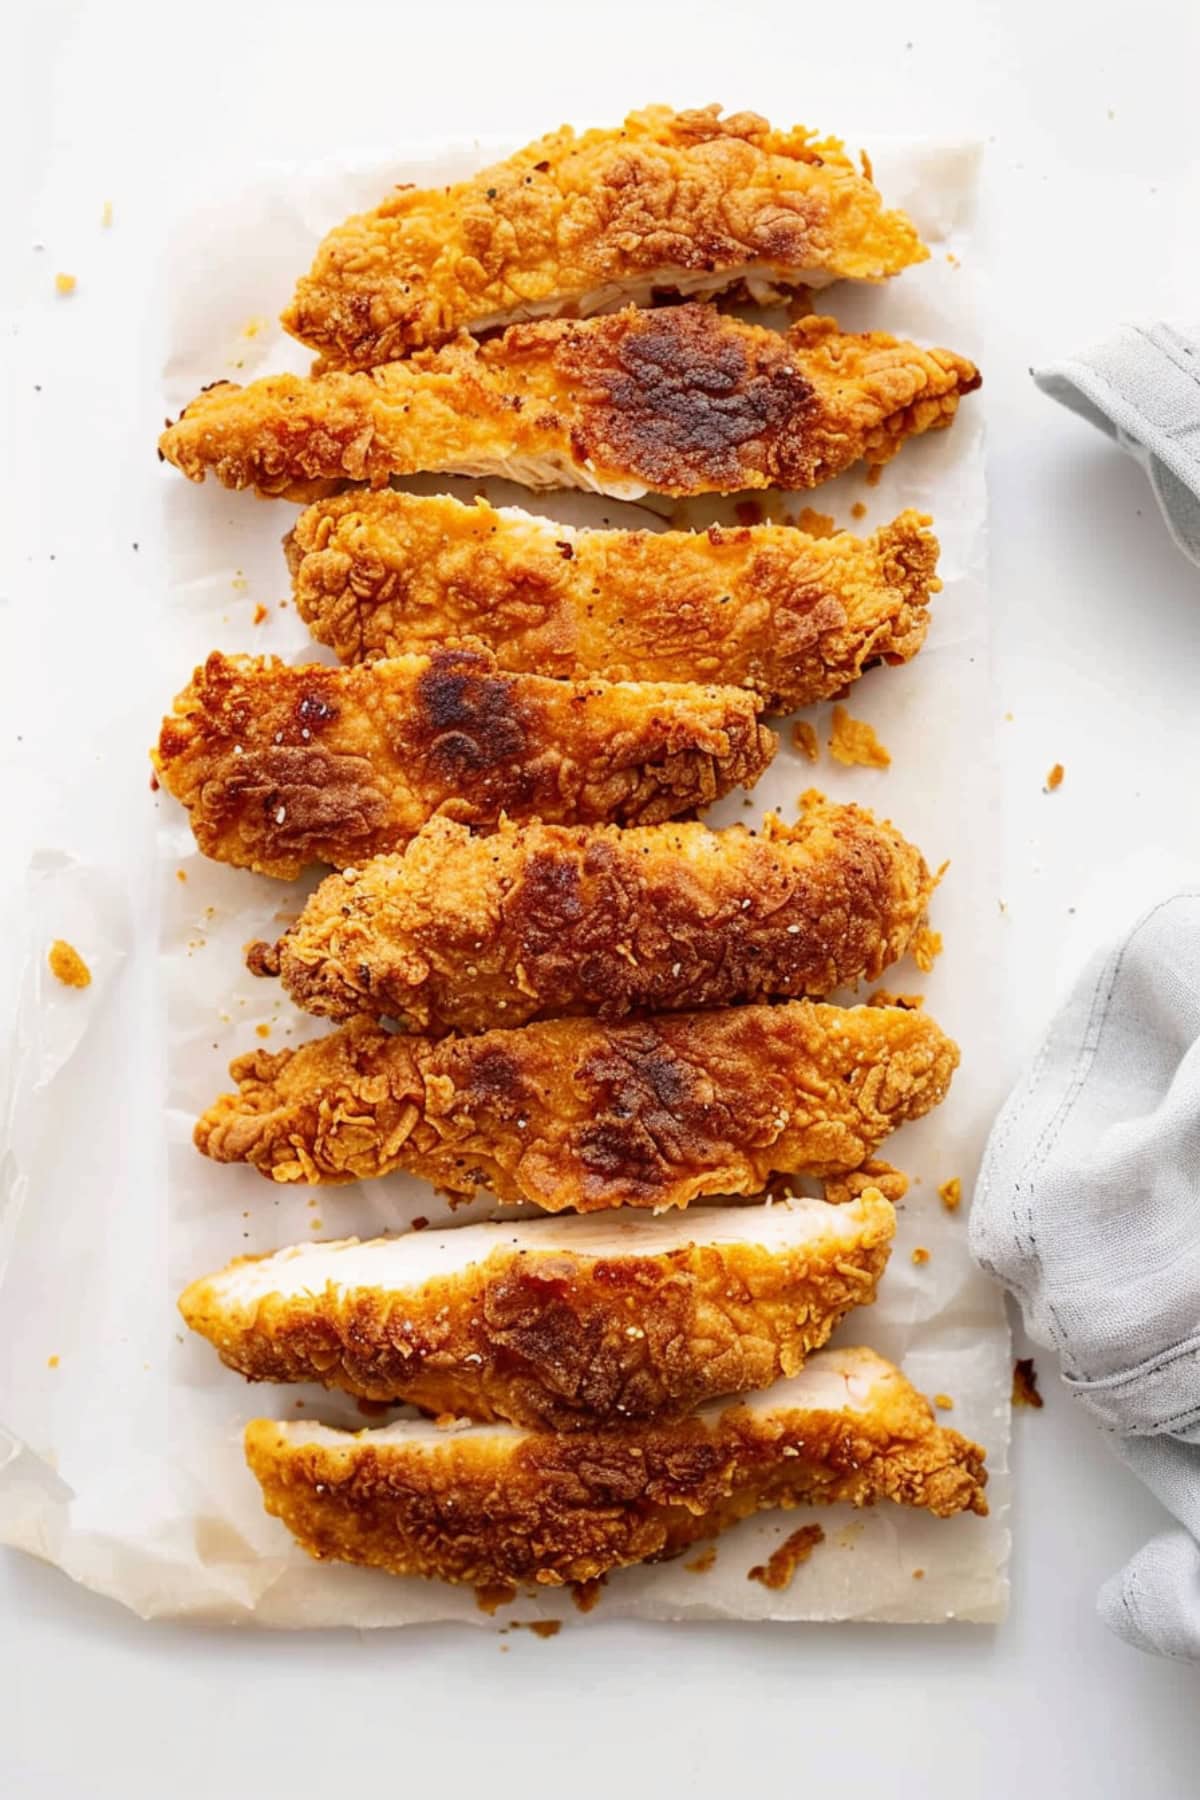
3. Bread the chicken cutlets. Dip each cutlet in flour, egg, and panko mixture, pressing to adhere.
4. Cook the breaded chicken. Heat the oil and cook the breaded chicken cutlets until golden brown and cooked through.
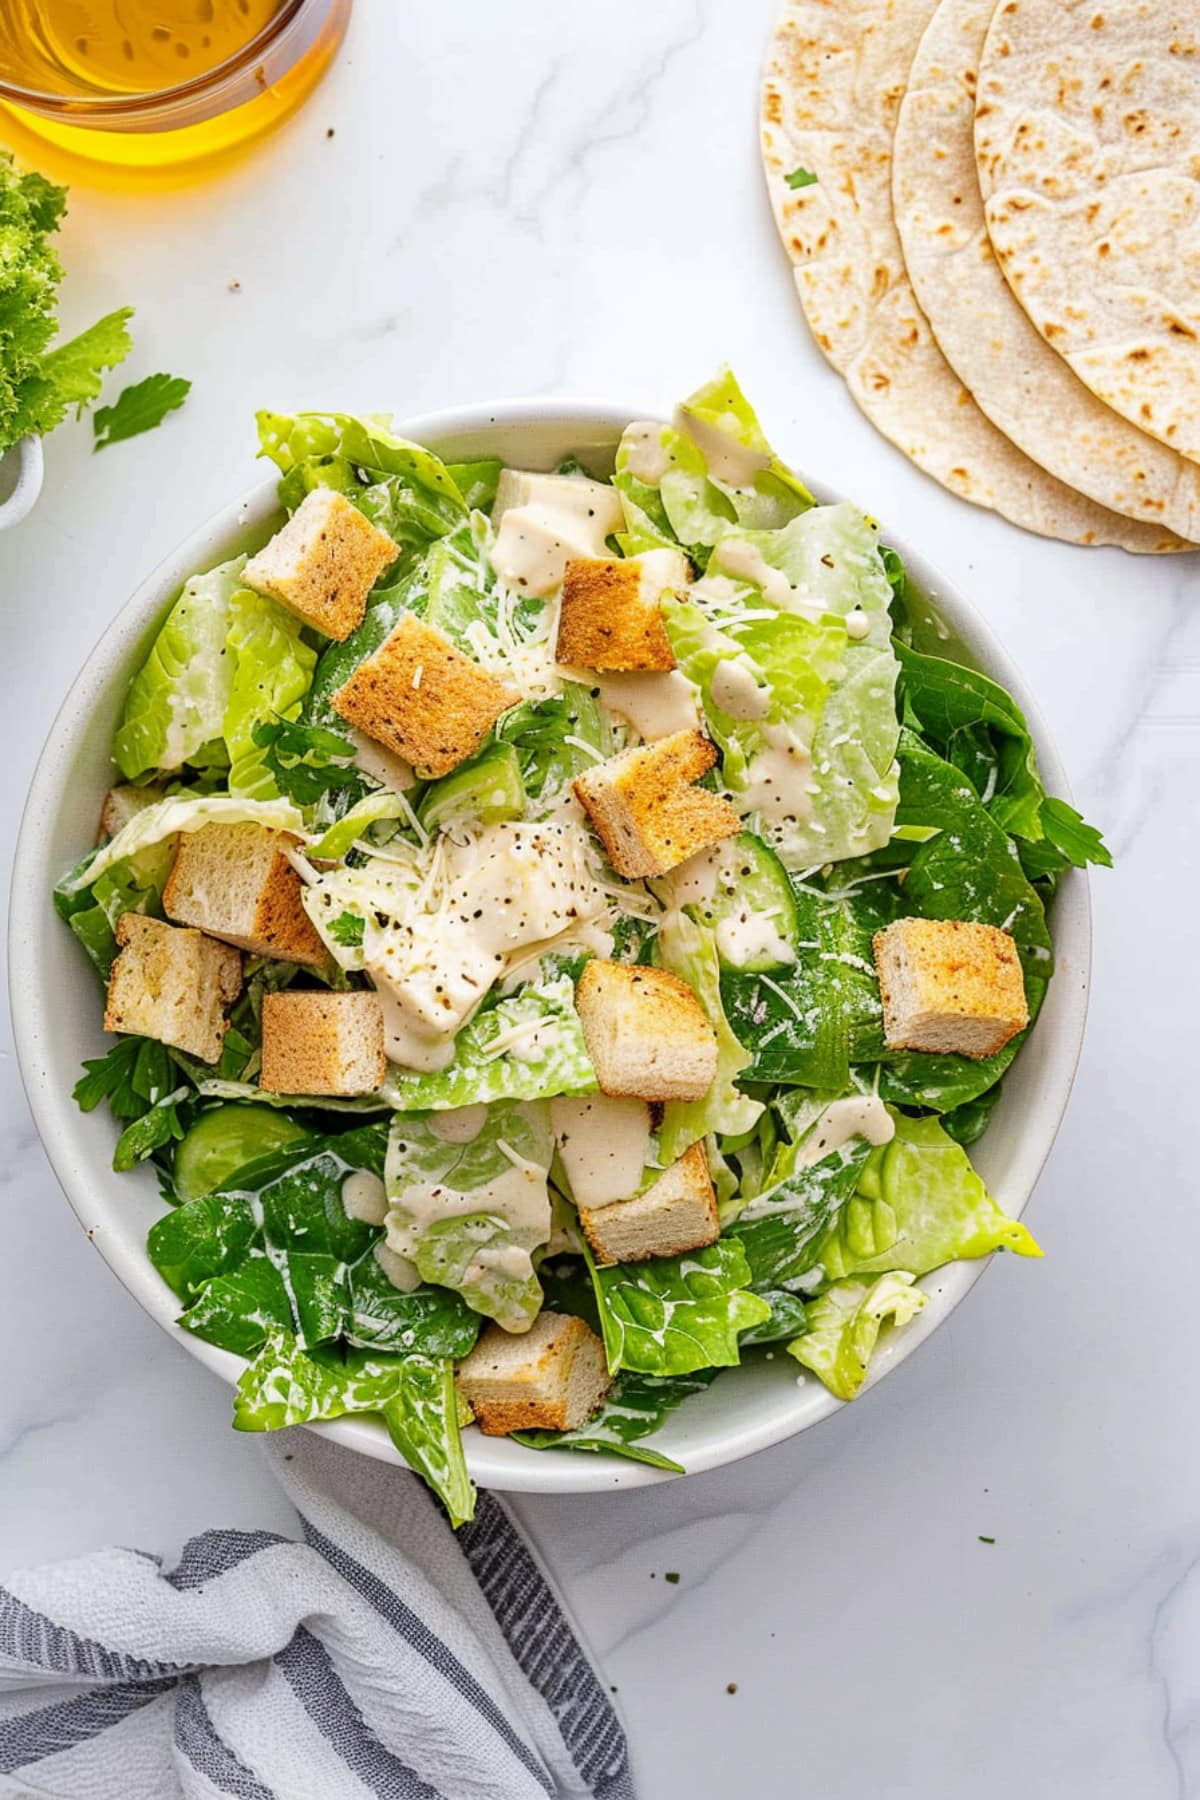
5. Make the Caesar salad. Toss the romaine, croutons, Parmesan, and Caesar dressing in a bowl.
6. Slice the chicken cutlets. Cut the cooked chicken cutlets into strips.
7. Warm the tortillas. Microwave the tortillas for 15-20 seconds to make them pliable.
8. Assemble the wraps. Place the salad and chicken strips in the center of each tortilla, fold sides, and roll tightly.
9. Serve the wraps. Cut each wrap diagonally and serve immediately. Enjoy!
Tips for the Best Chicken Caesar Wrap
Follow these tips to make your wraps more incredible!
- Take a shortcut. Use shredded rotisserie chicken or grilled chicken breast instead of breaded cutlets for a quicker prep.
- Amp up the crunch. Add halved cherry tomatoes, sliced cucumbers, or shredded carrots for more crunch and flavor.
- Get super cheesy. Mix grated Parmesan into the panko breading and romaine salad for extra cheesy flavor.
- Get dipping. Serve extra Caesar dressing on the side for dipping the wrap halves.
- Make it a true sandwich. Stuff the filling into hoagie rolls, ciabatta, or pita pockets instead of tortillas for a heartier sandwich.
How to Store
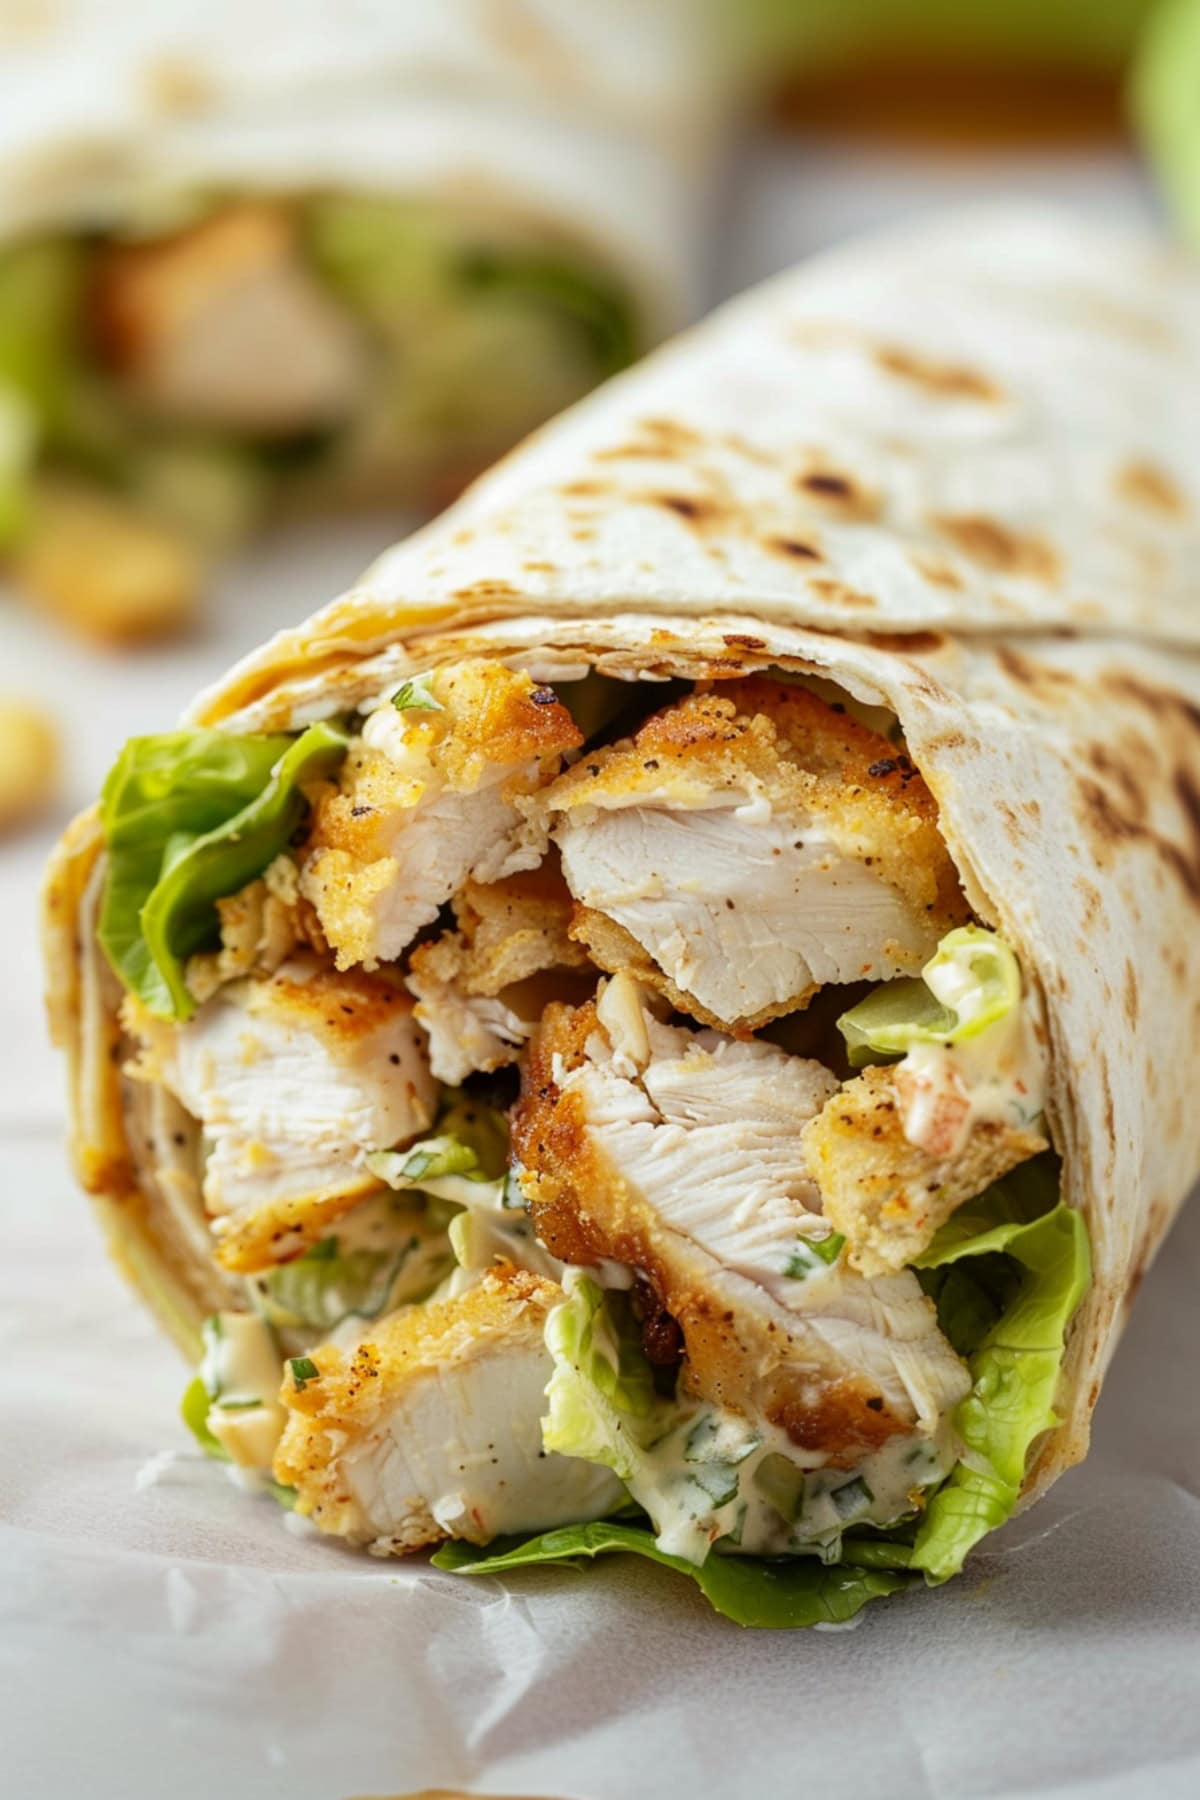
Keep the ingredients separate in the fridge and assemble the wrap just before eating. You can refrigerate assembled wraps for up to 6-8 hours. Be sure to eat them in that timeframe so they don’t get soggy.
Freezing the wraps is not recommended, as it will compromise the quality of the ingredients.

