Savor the flavor of summer all year long and learn how to freeze cherries.
Learn how to remove those pesky pits and the benefits of freezing to keep your cherries fresh.

Frozen cherries are incredibly versatile. The trouble is, cherry season is fleeting. It only lasts a few months. But don’t fret!
Learning the ins and outs of how to freeze cherries is a breeze. With this simple guide, you can enjoy them all year long.
Why Freeze Cherries
Like many summer fruits, cherries have a short season. So what’s a cherry lover to do? It’s simple: just freeze them.
Freezing freshly picked cherries lets you enjoy these juicy gems year-round. But the offerings don’t end there.
There are plenty of great reasons to freeze cherries. Here are just a handful:
- To preserve their nutrients. The best way to preserve nutrients is to freeze ripe fruit. And these little wonders are full of them! Packed with antioxidants, vitamins, and minerals, cherries are a healthy fruit.
- To lock in the flavor. Freeze them at their peak, and you’ll preserve their flavor, too. So you can enjoy flavorful cherries whenever you like.
- Enjoy ripe cherries out of season. Have you ever tried to find quality cherries out of season? It’s difficult. Freezing them solves that problem.
- For convenience. Have a hankering for cherries? There’s no need to swing by the store. Just open your freezer door.
- To reduce food waste. If you have a cherry tree, odds are, you have a surplus. Freeze what you don’t eat fresh to reduce food waste.

How to Freeze Cherries
Freezing cherries is super easy. For the best results, freeze them while they’re in season and ripe.
Follow these steps:
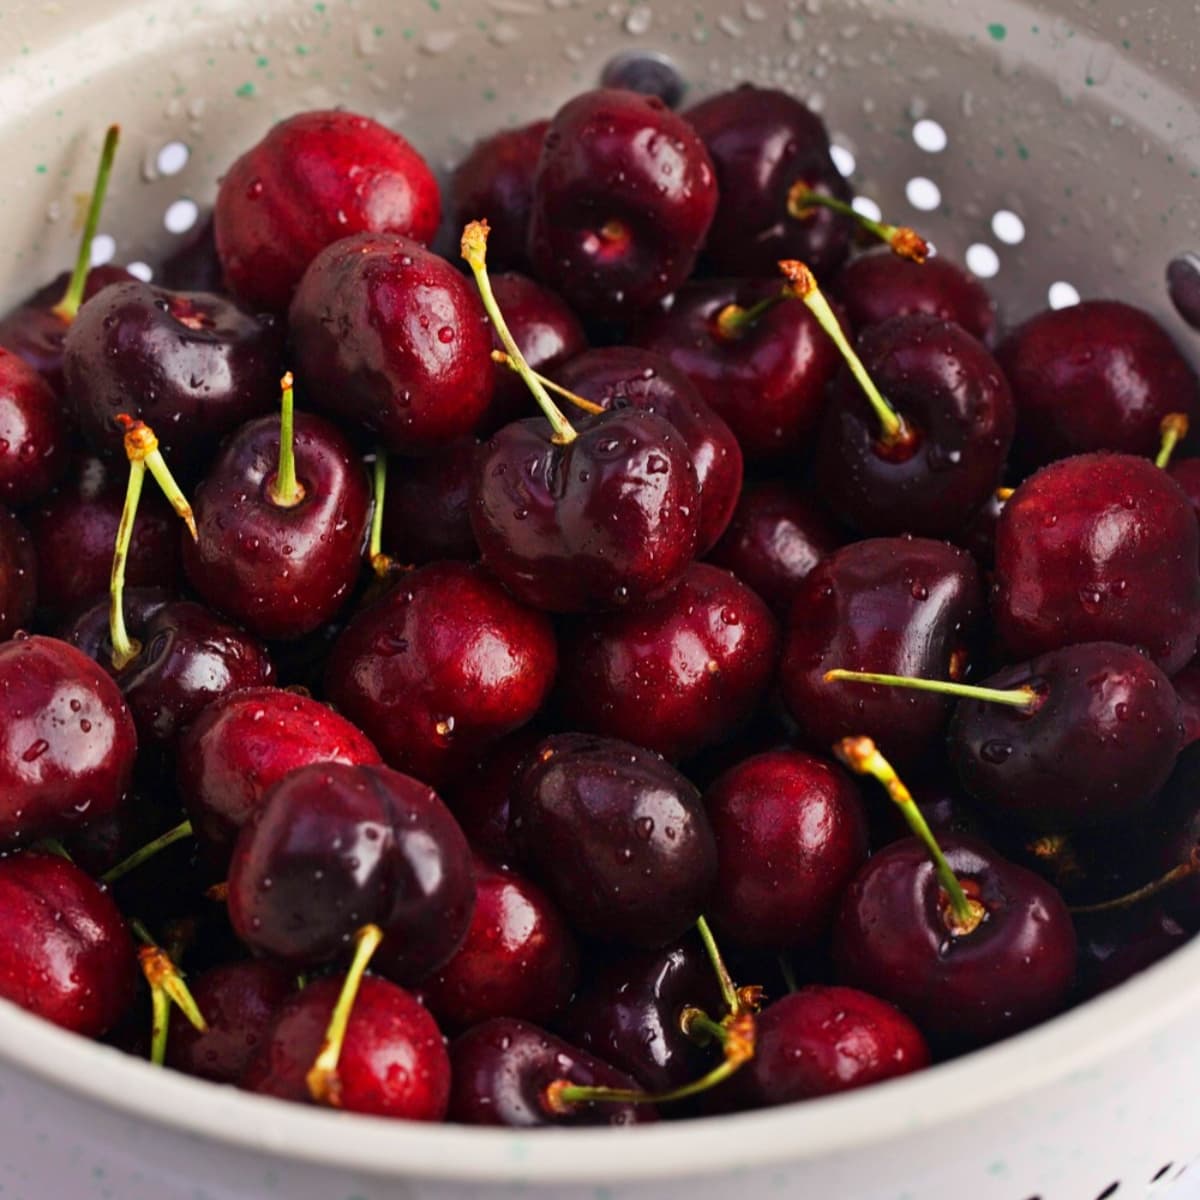
- Wash the cherries. Place the cherries in a colander. Rinse them under cold running water. Use your hand to stir them, removing any dirt or debris gently.
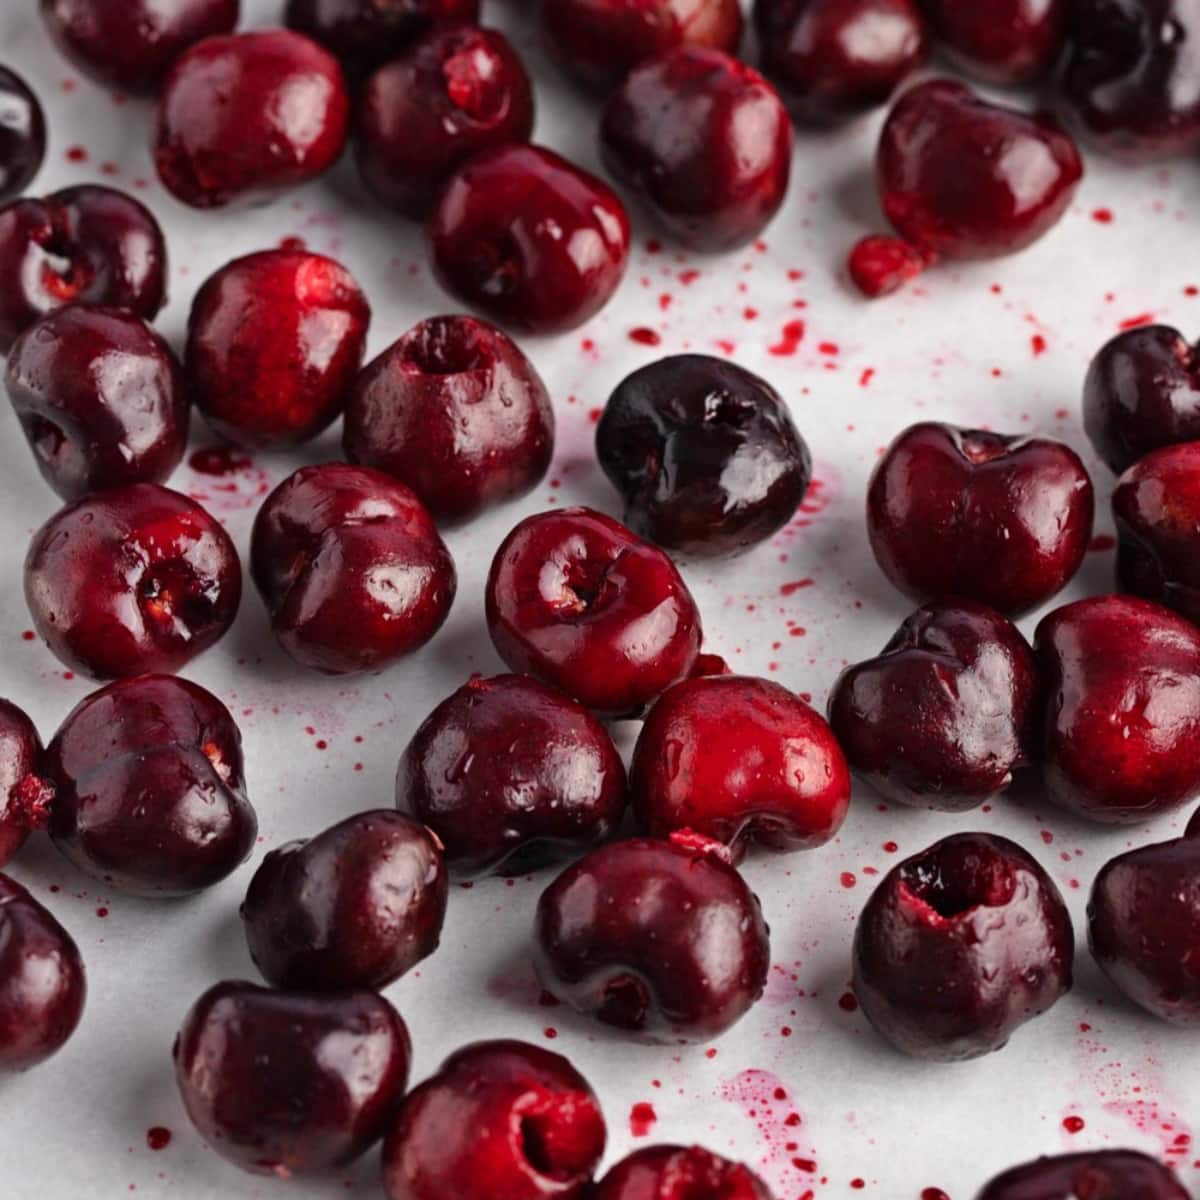
- Remove the stems and pits. Right before freezing, remove the stems. Then, remove the pits with a cherry pitter. If you don’t have one, slice them in half and pick out the pit.
- Arrange them on a baking sheet. Evenly space out the cherries on a baking sheet lined with parchment paper.
- Place them in the freezer. Place the baking sheet with the cherries flat in the freezer. Leave them in there for 2 hours or more until they’re frozen.
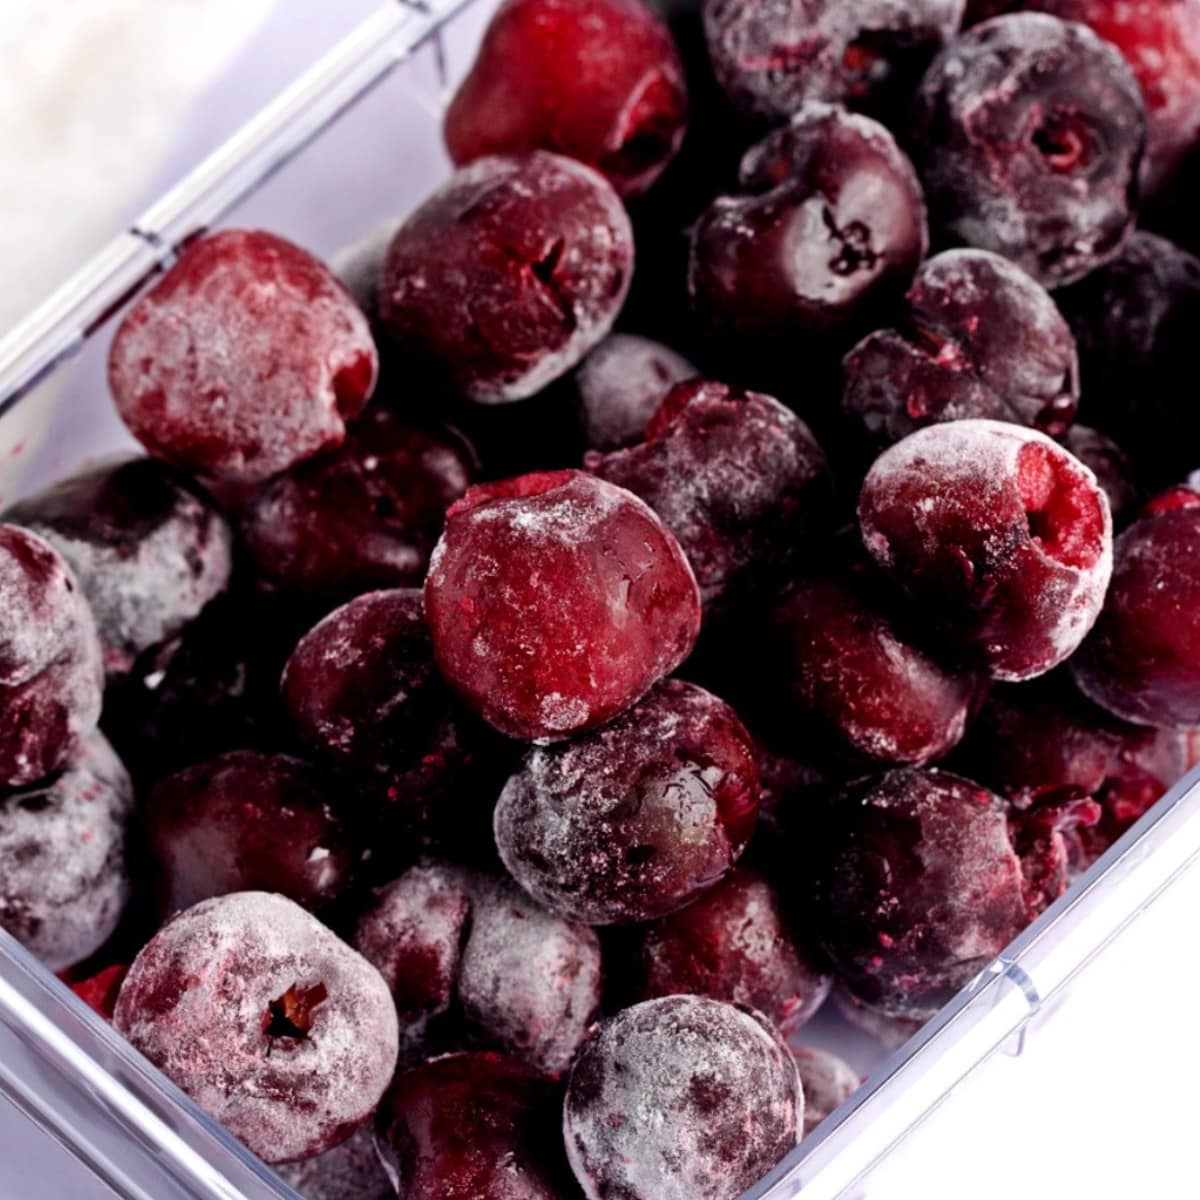
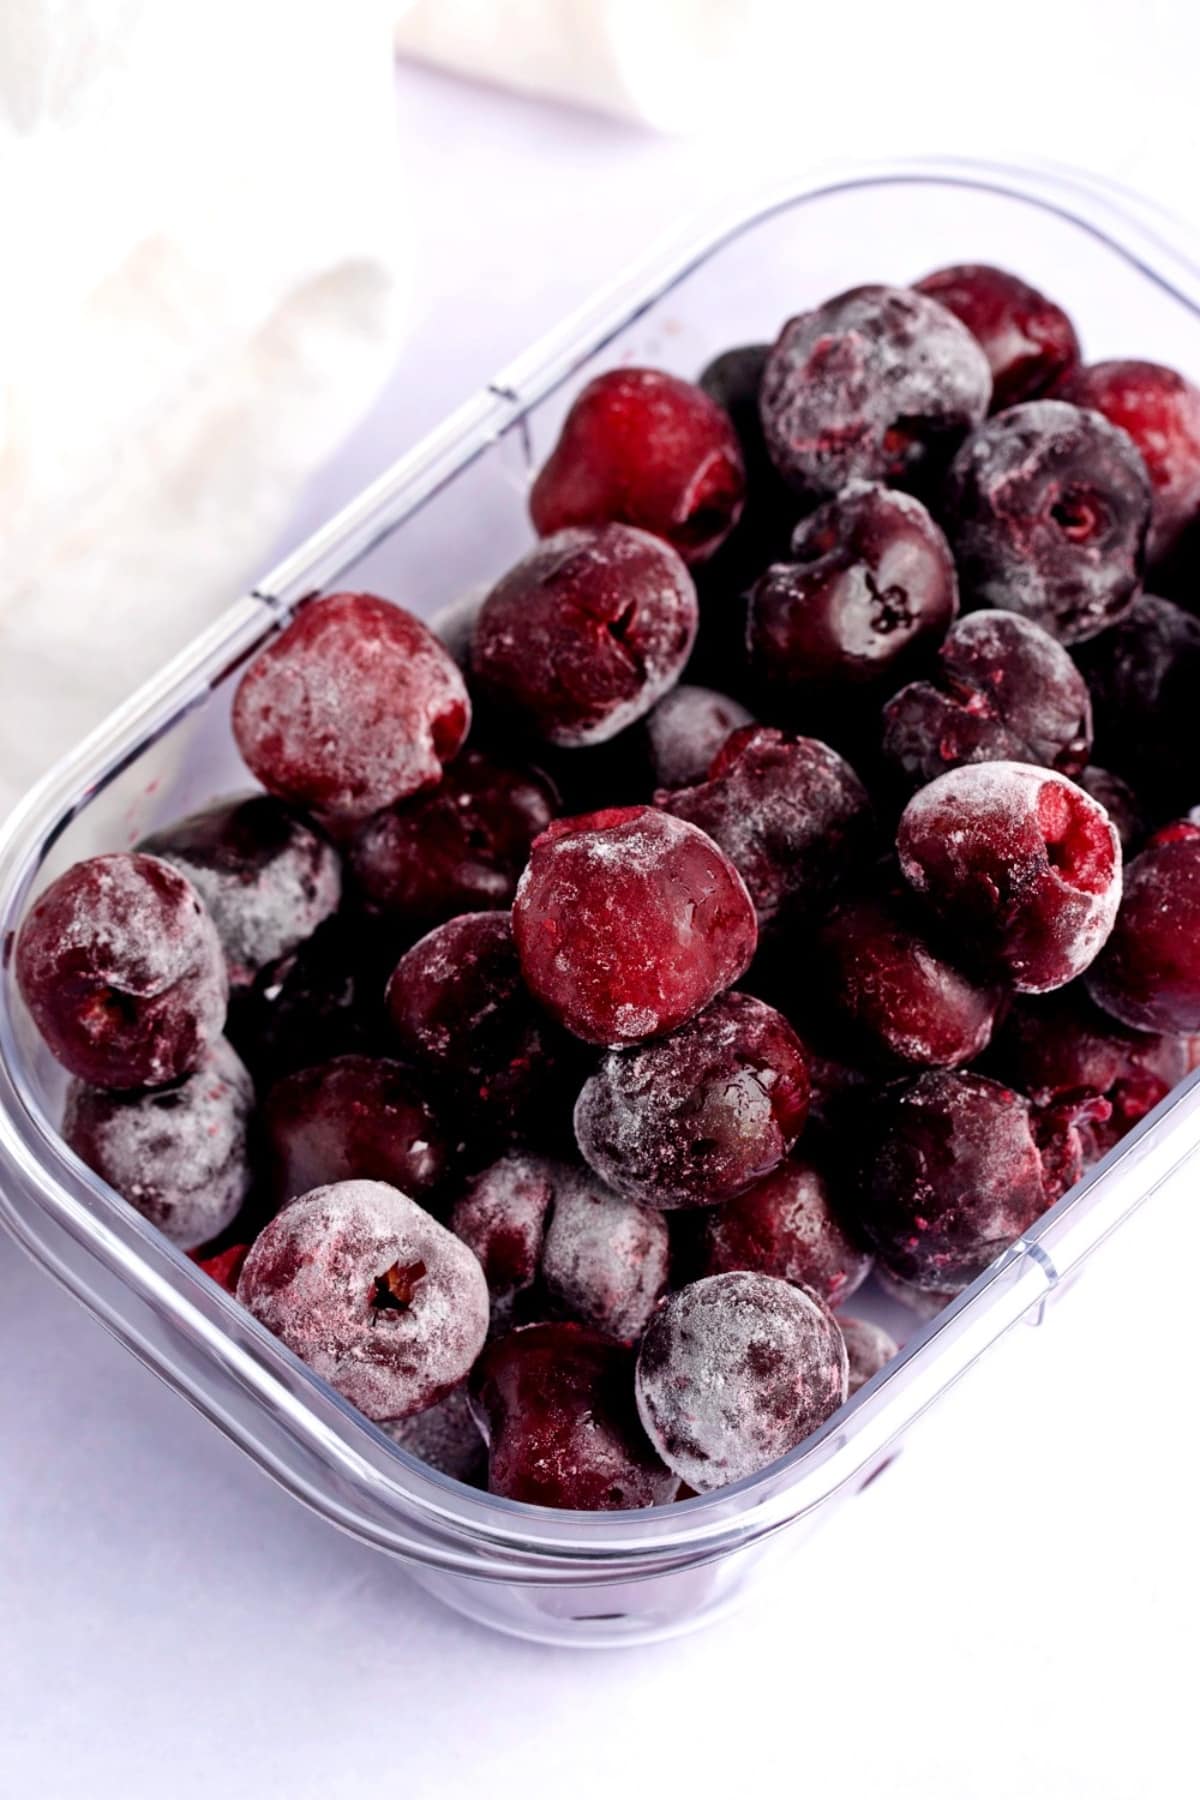
- Pack and store them. Once frozen, transfer the cherries to a freezer-friendly air-tight container or zip-top bag. Label it, then freeze.

Is It Better to Freeze Cherries With Pits or Without?
Face it, pitting cherries is tedious, no matter what tool you use. But should you pit them before freezing them?
Removing the pits is optional, but I highly recommend it. They’re hard to remove once you freeze them, and the process is a little messier.
Plus, removing the pits makes them ready to use for all your cherry treats.
That said, you can freeze them with the pits. If you’re short on time, it’s better to freeze them this way than not at all.
Just be sure to include on the label that they contain pits. Otherwise, someone will get an unwelcome surprise later, which can be dangerous.
Also, remember you will have to remove the pits at some point. So it’s better to tackle it before freezing to save yourself the hassle later.

How Long Do Cherries Last in the Freezer?
When stored properly, cherries will last for up to 6 months in a regular freezer. In the deep freezer, they can last up to 1 year.
Compared to cherry season, that’s quite a long time!
Of course, you can keep them in the refrigerator, too. But they will only keep for about 4 to 10 days.
Tips & Tricks
The process of freezing cherries is straightforward. These insights can make the process even easier.
Try these tips and tricks when freezing cherries:
- Invest in a cherry pitter. This nifty kitchen gadget makes it very easy to remove the pits. It’s especially helpful if you have a big bowl to tackle.
- No cherry pitter? Use what you’ve got. Chopsticks, tweezers, or a knife can help you get those pits out.
- Don’t skip the baking sheet step. Placing cherries directly into a container and freezing them will cause them to freeze in a big clump. Freezing them individually first helps prevent them from sticking together.
- Also, don’t skip the paper. Parchment paper or wax paper will prevent the cherries from sticking to the pan.
- Sort through the cherries. Remove any cherries that are bruised or overripe. Also, be sure to wash them well.
- Label, label, label. Don’t forget the label! You may know what they are by sight. But a label lets you know how long they’ve been in there. It will also let you know if they’re pitted or not.

Ideas for Using Frozen Cherries
Now that you know how to freeze cherries, let’s talk about what to do with them!
There are so many yummy things you can make with frozen cherries. From sweet to savory, here are some ideas:
- Cherry cobbler. Just use the frozen cherries instead of canned cherries.
- Berry cherry smoothie. There’s no need to thaw. Just add them to the blender with other frozen berries.
- Cherry muffins. Like blueberry muffins, but with pitted frozen cherries.
- Overnight oats. Use them as a filler for overnight oats.
- Cherry glaze. They make a fantastic tart glaze for proteins like lamb chops.
- Hand pies. Make them the star of a flaky hand pie. You can make them sweet for dessert or savory for dinner.
How to Defrost Frozen Cherries
There are a few different ways to defrost cherries. The best method is to defrost them in the refrigerator overnight.
Place a sealed bag of cherries in cold water for a faster method. Let them sit for about 10 to 20 minutes.
Rinsing them directly will cause them to lose some of their flavor.
Also, be sure to use cold water. They won’t defrost properly if the water is too warm. Plus, it can also introduce unwanted bacteria.


