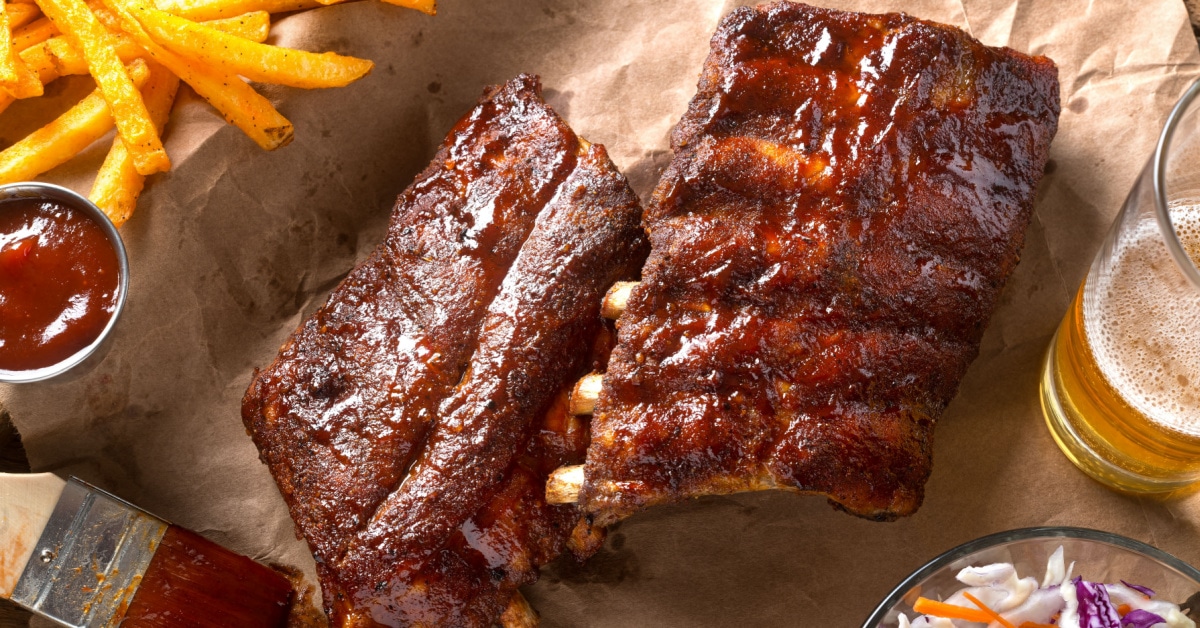
Once you learn how to make ribs in the oven, there’s no need to head to Chili’s.
Or any other barbecue joint, for that matter. Instead, you can make utterly delicious, fall-off-the-bone ribs right at home.
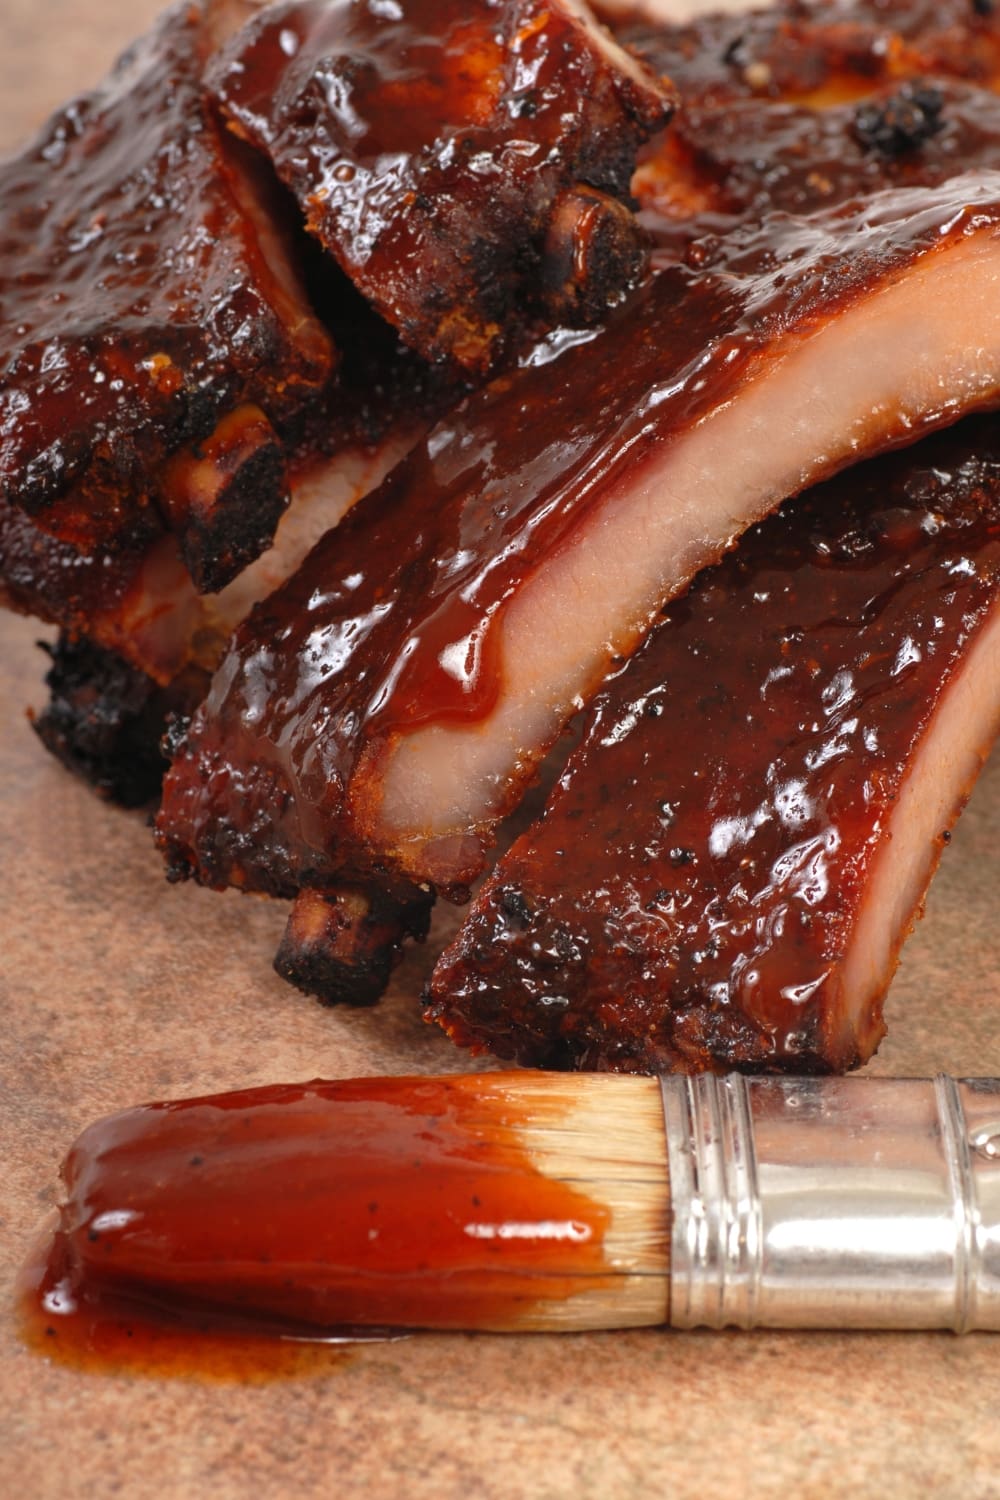
How, you ask? You just gotta bake them low and slow, and with lots of love.
They’re so tender and smoky and succulent. Honestly, the only downside is how messy they are.
But that’s what wet wipes are for.
This guide includes everything you need to nail making ribs in the oven. So let’s get to it.
Oven-Baked Ribs
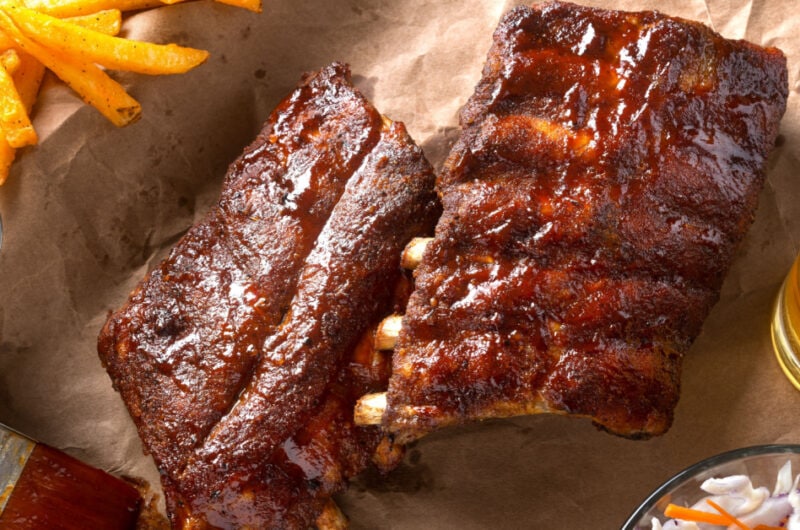
If you love well-seasoned, barbecue-smothered, delicious baby back ribs, you’re in the right spot.
Because that’s what you get when you make this recipe.
First, I want to clarify that this recipe is for baby back ribs, not spare ribs. Specifically, pork ribs.
And, yes, there is a difference.
- Baby back ribs come from – you guessed it – the back of the animal.
- Spare ribs come from the bottom of the rib cage.
Both are delicious, but baby back ribs are more popular because they’re more tender and meaty.
And while the grill or smoker will impart incredible flavor, we don’t all have that option.
So, let’s learn how to cook ribs in the oven.
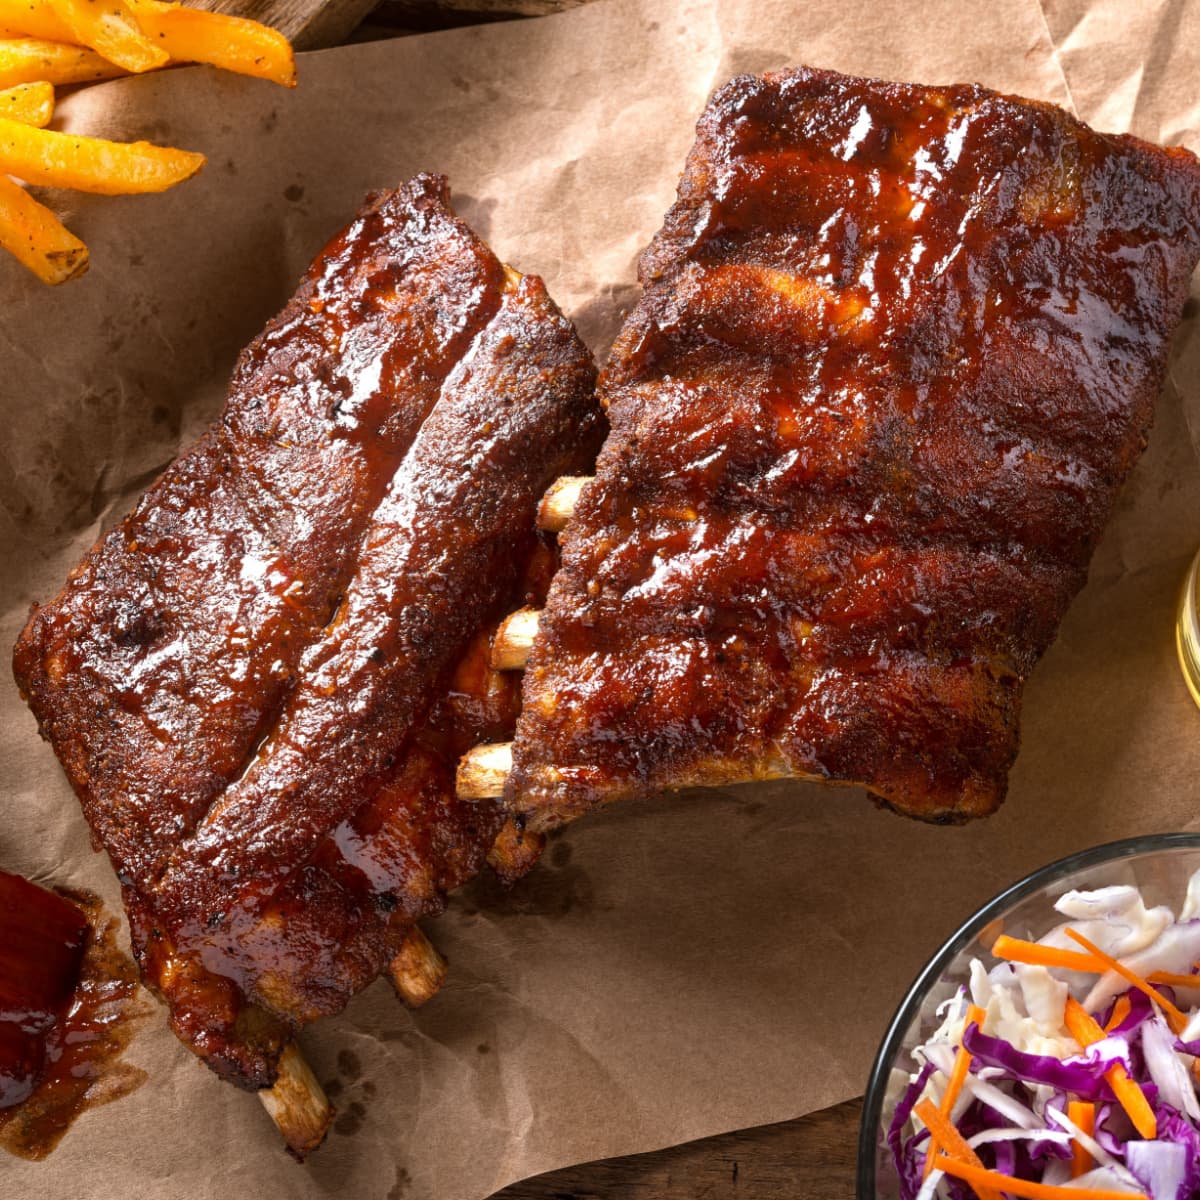
Ingredients
- Ancho Chile Powder- This is one of the primary ingredients in the spice rub. It adds a deliciously sweet flavor to the rub with some heat.
- Sugar- No good barbecue rub is complete without sugar. This recipe uses granulated (white) sugar and brown sugar for extra depth of flavor.
- Salt and Pepper- These are essential for any savory dish. I prefer pink Himalayan salt and freshly ground black pepper.
- Additional Spices- To finish the spice rub, use powdered cumin, mustard, cayenne, and chipotle seasonings. They add smokiness, umami, and heat.
- Baby Back Ribs- The most vital part of this whole recipe! Use baby back ribs and not spare ribs.
- Barbecue Sauce- Choose your favorite brand. Personally, I love Sweet Baby Ray’s original sauce.
How To Make Ribs in the Oven
1. Prepare the ingredients and preheat the oven to 250 degrees Fahrenheit.
- Gather all the spices, sugars, and seasonings in their proper measurements.
- Prepare the ribs by removing the membrane and patting them dry with a paper towel.
- Lay a large sheet of heavy-duty foil on a baking sheet. It should be big enough to envelop your rack of ribs.
2. Season well.
- Combine all spices, sugars, and seasonings in a bowl. Apply the spice rub to every side of the rib rack. Place the ribs meat-side down on the prepared foil.
- Wrap the foil tightly around the ribs, creating a seal.
3. Bake the ribs.
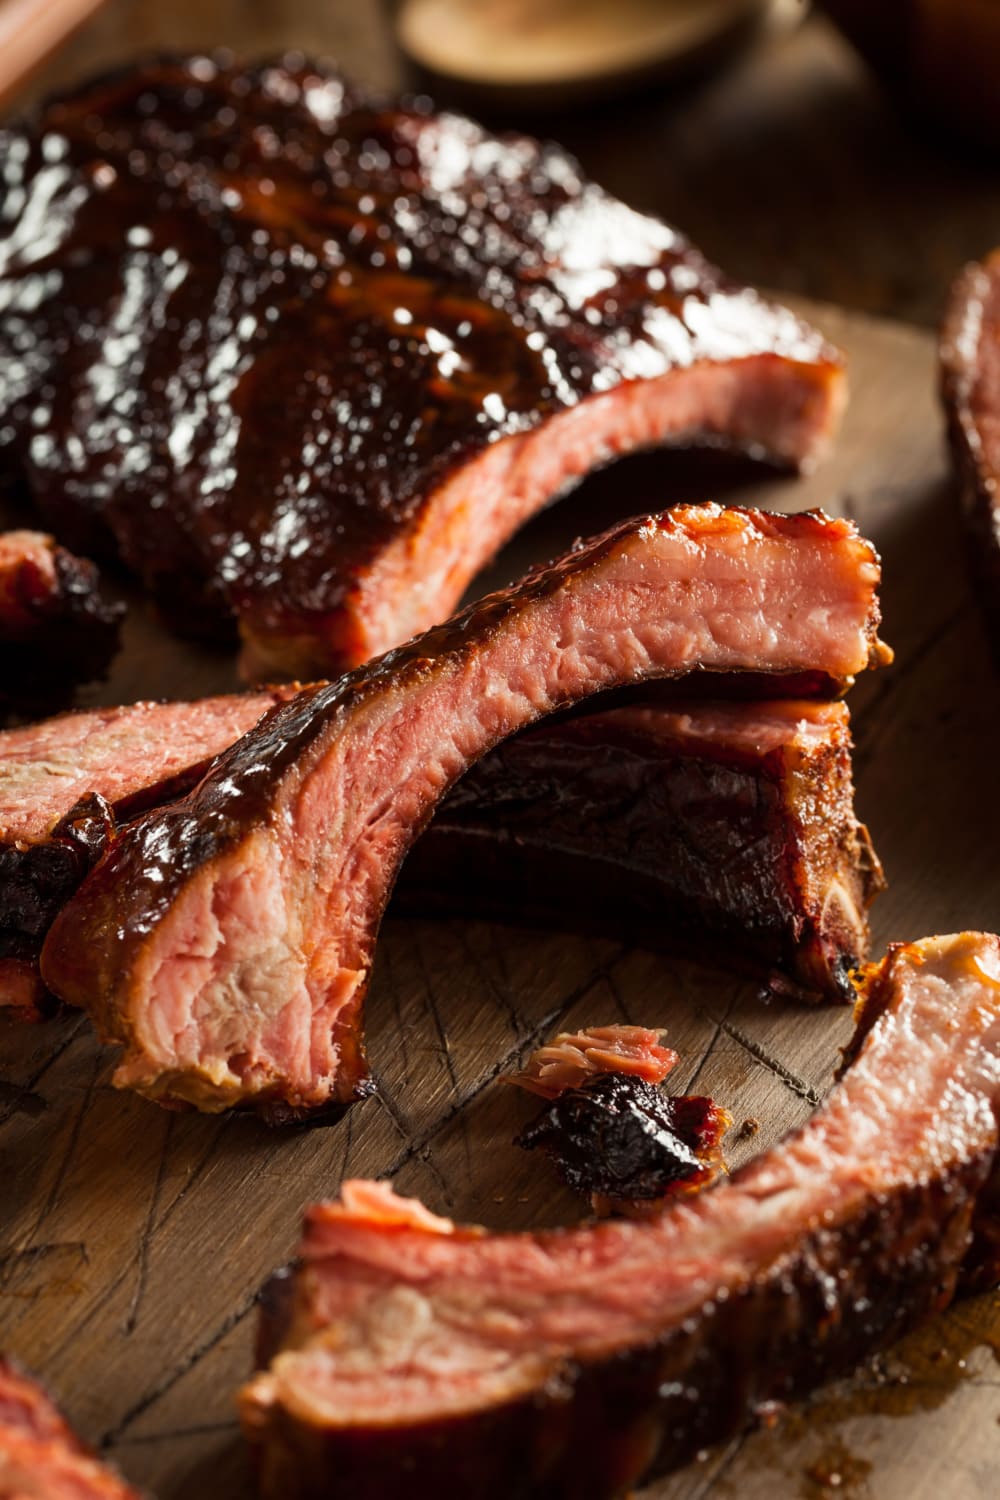
- Put the ribs in the preheated oven and bake for about 3 hours. The ribs should be tender and cooked through.
- Remove them from the oven and let them rest for 15 minutes.
4. Sauce ‘em up.
- Use a brush to generously coat all sides of the rack with barbecue sauce. Place the ribs meat-side up on the foil, and do not re-wrap the foil.
- Bake for 10 minutes.
- Remove them from the oven. Add more barbecue sauce to the meat side only (side facing up). Repeat four more times, totaling 50 minutes.
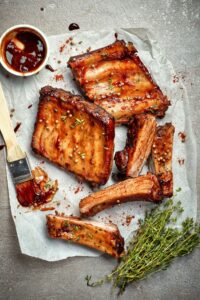
- Let the meat rest, loosely wrapped with foil for 10 minutes. Cut into segments and serve.
5. Enjoy!
How to Remove the Membrane from Ribs
This easy step guarantees perfectly tender and more flavorful ribs every time.
- Place the ribs meat-side down (bone-side up) on the foil.
- Use a sharp knife to slip underneath the thin, silvery-white membrane. Use the dull side to lift and loosen the membrane from the meat.
- Use your hands (or a paper towel for better grip) to pull it away from the meat. Discard the membrane.
Tips for the Best Oven-Baked Ribs
- Remove the rib membrane for incredibly tender meat. See the section above for more information.
- Are you diabetic or eating a low-sugar diet? You can swap out the sugars with your favorite sugar substitutes.
- If you want your ribs to be a little smokier, no problem! Add 2 teaspoons of smoked paprika to the spice rub.
- Wear some disposable gloves to apply the spice rub. This will save your hands some clean-up.
- Do you have leftover dry rub? No problem! Store it in an airtight container for future use. It’ll work well with beef chuck, beef ribs, chicken breasts, pork chops, and even shrimp.
- Instead of discarding any juices that accumulate after the first round of baking, use them. I love drizzling the juices over roasted potatoes or any other veggie.
- The ribs are done when they are almost falling off the bone. Check them with a fork. If they don’t separate from the bone easily after 3 hours, return them to the oven.
- If you only have spare ribs, you can use them, too! Follow the recipe as stated. EXCEPT, bake them for 4 hours (instead of 3) before adding barbecue sauce.
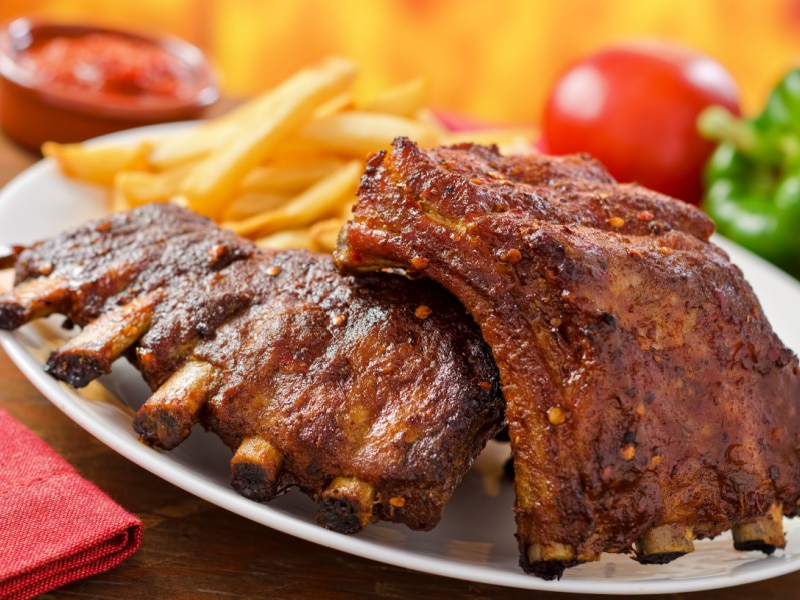
What to Serve with Ribs
I love to serve ribs with classic barbecue sides.
My favorite combo includes:
- Buttery mashed potatoes
- Macaroni and cheese
- Cornbread
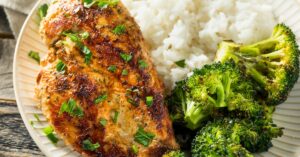
- Roasted veggies
But there are plenty of other fantastic choices like:
- Potato salad
- Cole slaw
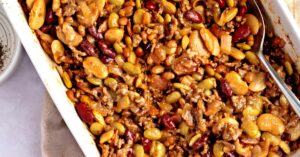
- Baked beans
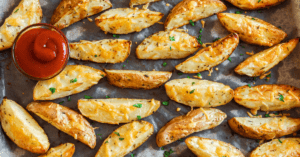
- Roasted potatoes
- Grilled veggies
- Salad
The choices are endless. Ribs work well with most side dishes. Just pick your favorites!
How to Store and Reheat Ribs
Store any leftover baked ribs in an airtight container or wrapped foil. They will last 3-5 days in the fridge. They will last 2-3 months in the freezer.
- Reheat your ribs in the oven for the best results.
- Place the ribs in foil and cover with more barbecue sauce.
- Wrap them and bake in a 250-degree Fahrenheit oven for 20-30 minutes.
- You can also reheat them in a preheated 350-degree Fahrenheit air fryer.
- Fry them for 5-8 minutes until warmed through.
- And the microwave works, too.
- Reheat them in 30-second bursts until warm.


Hi Kim,
I love your recipes! Just tried the Ribs in a oven and they were outstanding. I did want to mention that the recipe starts off with cooking for 2 hours at 200 degrees but in the actual recipe instructions it states 3 hours at 250 degrees. Is this an over site? I thought 3 was too many and did 2 at 250 and they turned out perfect, falling off the bones.
Thank You
William
Hi William, you actually just increase the temperature from 250 to 350 degrees during the 8th step of cooking, before you put the barbecue sauce on. I’m so glad to hear they turned out perfect for you!