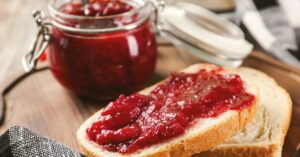
Blackberry jam is an irresistibly thick, sweet, and fruity spread that makes breakfast extra special.
You can spread it on bread, stuff it in French toast, use it as a pie filling, or add it to your oatmeal. Either way, it just makes every meal a little bit sweeter.
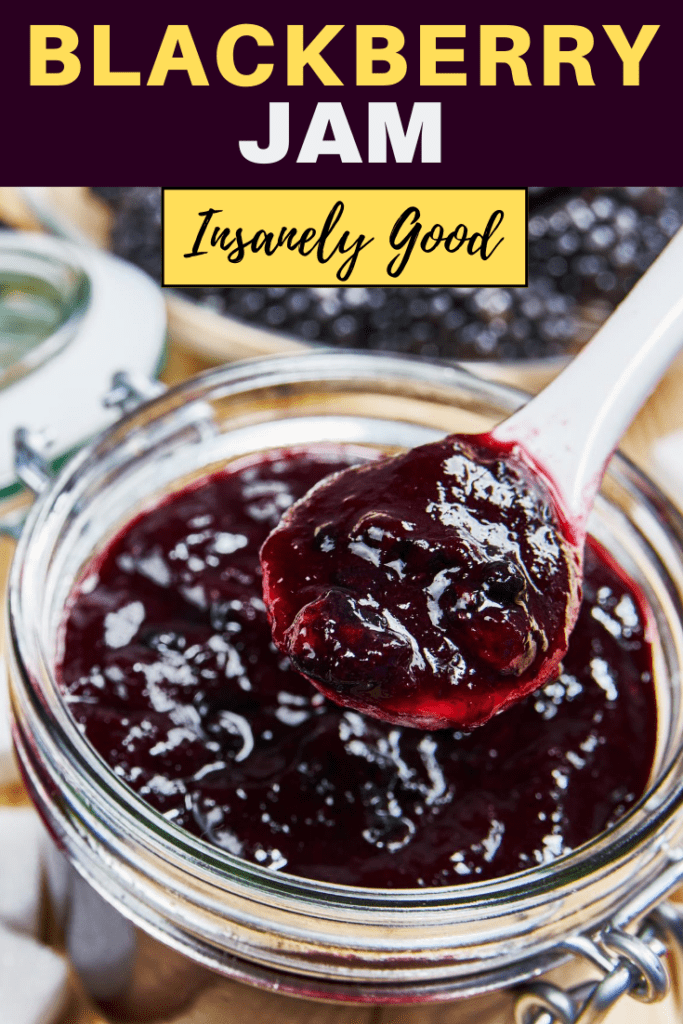
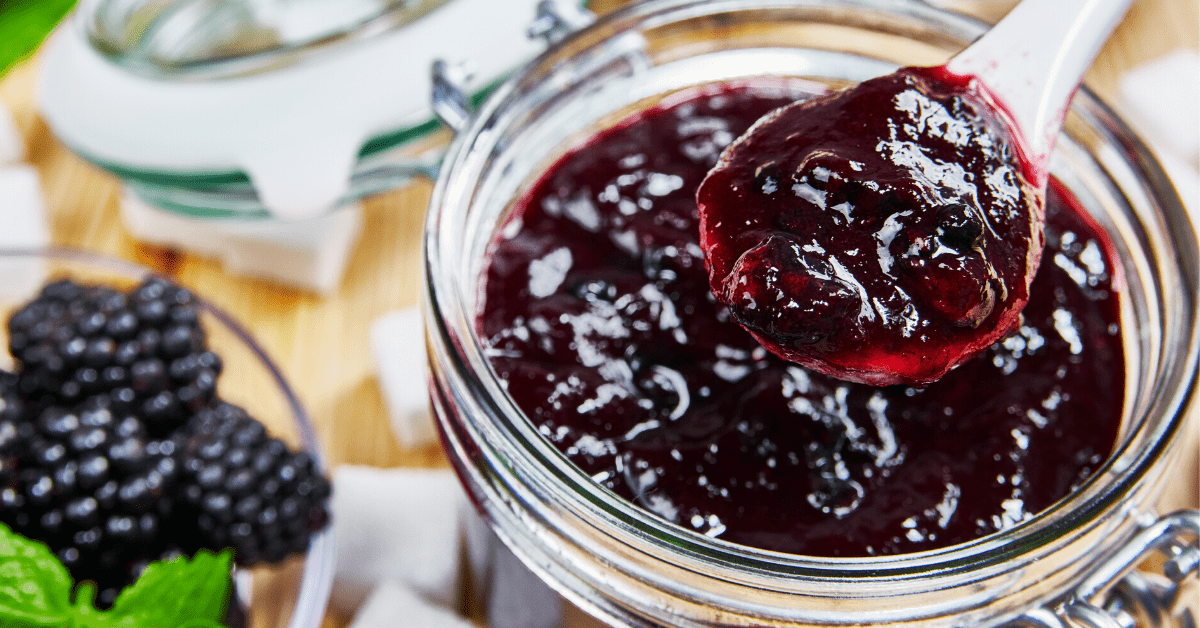
But there’s no need to buy jam from the store when you can make your very own homemade blackberry jam.
There’s something special about making it yourself. And the best part is, it’s incredibly easy to make!
All you need is fresh (or frozen) blackberries, sugar, and a splash of lemon juice.
Homemade Blackberry Jam
There are many things I love about homemade blackberry jam. I love that it’s quick and easy to make. I love that it only requires six simple ingredients.
And most of all, I love that it tastes better, fresher, sweeter, and fruitier than anything you can get at the store.
I know we’re all busy all the time. But even the busiest of us can spare 30 minutes to make something that tastes this good.
Ingredients
As I mentioned, this recipe requires only six ingredients:
- Blackberries. Blackberries are the star of the show with this recipe, of course. Fresh ones are best, but you can use frozen ones in a pinch. Jump to the “Can You Make Jam with Frozen Blackberries” section below for more info.
- Sugar. Granulated sugar is fine. It sweetens the berries and cuts through some of their tartness.
- Cornstarch. You’ll need this to help thicken the jam.
- Ground cinnamon and allspice. Technically, you can make blackberry jam without these spices. However, they give it a rich, robust flavor that’s impossible not to love.
- Lemon juice. Just a little fresh lemon juice helps enhance all the other flavors.
How to Make Blackberry Jam
1. Mash and sweeten the berries. Pour the blackberries into a saucepan and mash them with a potato masher. This process can be messy, so you may want an apron.
Once they are good and mashed, stir the sugar into the berries.
2. Add the cornstarch. Remove a tablespoon of blackberry juice from the mixture. Transfer it to a small bowl and add the cornstarch to it. Mix well.
Then, pour this mixture back into the original mashed and sweetened berries.
3. Boil. Bring the sweetened berries to a boil, stirring constantly. Boil for about 15 minutes or until the mixture thickens.
4. Add the spices. Once the mixture thickens, stir in the allspice and cinnamon.
5. Cool. Remove the pan from the stove and let the jam cool. Then, transfer it to a bowl and cover it with aluminum foil.
Place the bowl in the fridge to chill.
6. Finish the jam. Once the jam is chilled, remove it from the fridge and stir in the lemon juice. Mix well. You can then serve it immediately or store it in an airtight container for later use.
Tips & Tricks for Making the Best Blackberry Jam
Keep the following tips in mind:
- Watch the boiling berries closely. Blackberry jam foams while cooking, so you’ll need to watch it closely and stir down the foam when it rises. You can also add 1/4 teaspoon of butter to prevent it from foaming too much.
- Be patient. The result should be a gel-like substance. If it has not gelled yet, that means it’s not cooked long enough. Place the heat on low while mixing towards the end to prevent the jam from burning.
- Use only fully ripe blackberries. Ripe berries have the highest amount of pectin, which is what gives jam that gel-like consistency.
- Clean the berries thoroughly. Be sure to rinse and clean the blackberries well before you mash them.
- Use a stainless steel pan when making jam. Other metals will react with the blackberries, leaving a metallic taste in the mouth.
- Use a candy thermometer. You want the jam to reach 220 degrees Fahrenheit, as that is the temperature at which sugar turns into gel and bonds with pectin. A candy thermometer is the best way to ensure the jam is at the right temperature.
- Substitute honey for sugar. If you make this swap, increase the amount of cornstarch to 2 1/2 tablespoons to help thicken the jam.
- Mash the blackberries one cup at a time. Don’t try to mash too many at once, and don’t puree them. Jam has to have fruit bits in it. If you don’t have a potato masher, use a wire whisk instead.
- Make it seedless. Simply strain the mashed blackberries through a cheesecloth or a fine-mesh sieve.
- Ensure the sugar dissolves. Be sure the sugar dissolves in the blackberry mixture before you bring it to a boil. Otherwise, it will give the jam a grainy texture.
- Don’t make large batches all at one time. Large quantities of sugar and blackberries will take a longer period to set, which will cause the blackberries to dissolve into the jam. I like to make small batches. Fresh jam is always best!
Can You Make Jam with Frozen Blackberries?
While fresh is best, you can also use frozen blackberries to make jam. The key is to partially thaw the berries before using them.
You can then follow the recipe as instructed.
The upside to using frozen blackberries? You can make tasty blackberry jam all year long!




I am eager to try this recipe. I just got some lovely fresh blackberries. I am curious though, I’ve never seen cornstarch used in jam making. Why do you prefer that over pectin? Not a criticism, just wondering. Does it improve the texture? Thanks.
Hi, Peggy. I know you asked this question some time ago, but I just saw it today. It was a great question, so I wanted to answer. There are a couple of reasons for using cornstarch in this recipe instead of pectin.
1. Blackberries are moderately high in natural pectin already. Cooking them for about 15 minutes allows them time to release that pectin and thicken naturally.
2. This recipe yields a relatively small batch of jam meant to be refrigerated and enjoyed in the near future (as opposed to giant batches made for canning and long-term storage).
Because of those things, cornstarch works just as well for thickening the jam as pectin would. And it’s a much more readily available ingredient in some people’s homes. (Especially if it isn’t canning season.) If you were making a very large batch of jam for canning, I’d recommend using pectin instead. 🙂
Thanks for that awesome question.
if i want to can this instead of cooling the jam can i just put it in hot jars? should i put jars in boiling water or just seal them?
Hi Charlie!
Yes, you will need to prep the jars and seal them. And I recommend using 1 packet (1.75 oz or 49 g) powdered fruit pectin instead of the cornstarch.
Instructions for Canning
1. Prepare Jars and Lids:
Sterilize your canning jars and lids by boiling them in water for 10 minutes. Keep the jars hot until you’re ready to fill them to prevent thermal shock when adding the hot jam.
2. Make the Jam as instructed
3. Fill Jars:
Carefully ladle the hot jam into the hot, sterilized jars, leaving about 1/4 inch of headspace at the top.
Wipe the rims of the jars with a clean, damp cloth to ensure a good seal.
Place the sterilized lids on the jars and screw on the bands until fingertip tight.
4. Process Jars:
Place the filled jars in a boiling water canner. Make sure the jars are covered by at least 1 inch of water.
Bring the water to a boil and process the jars for 10 minutes (adjusting for altitude if necessary).
5. Cool and Store:
Carefully remove the jars from the canner and place them on a towel or cooling rack.
Let the jars cool undisturbed for 12-24 hours. You should hear the lids “pop” as they seal.
Check the seals after 24 hours. The lids should not flex up and down when the center is pressed.
Label and store the sealed jars in a cool, dark place. Unsealed jars should be refrigerated and used within a few weeks.
Hope this helps 🙂