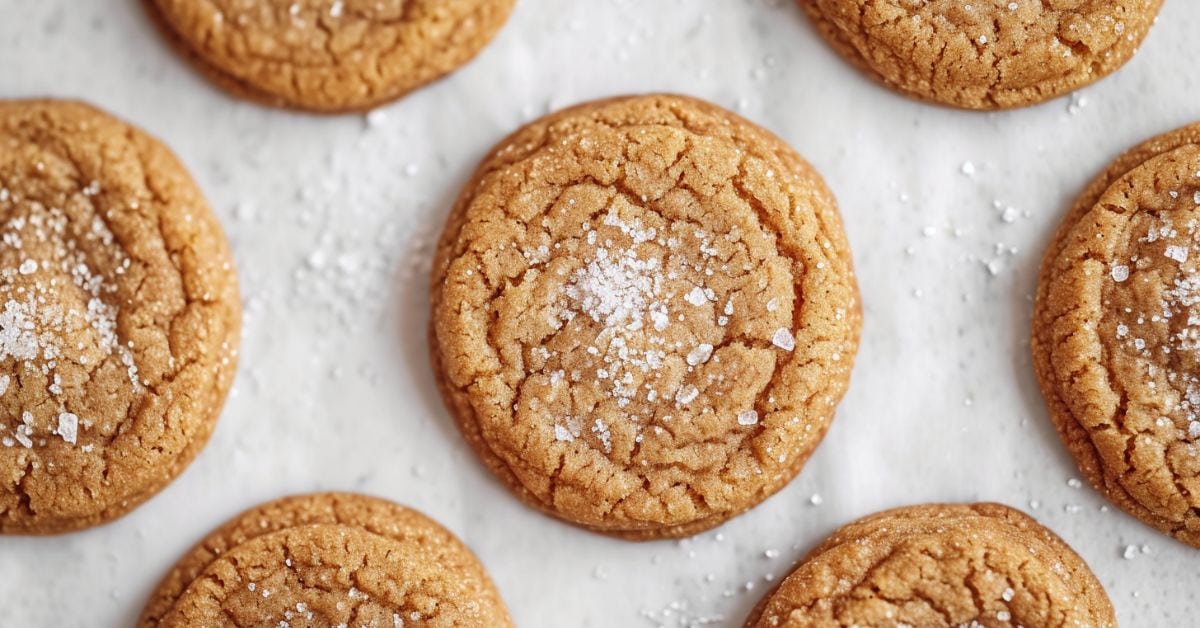
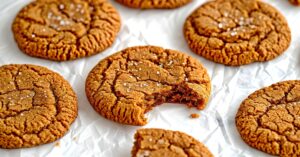
These brown sugar cookies are perfectly sweet, outrageously soft, and oh-so-chewy!
Think of them as the love child of brown sugar cookies and crinkle cookies. What a magnificent mash-up, amirite?
For a super soft and chewy cookie that melts in your mouth, this is my go-to.
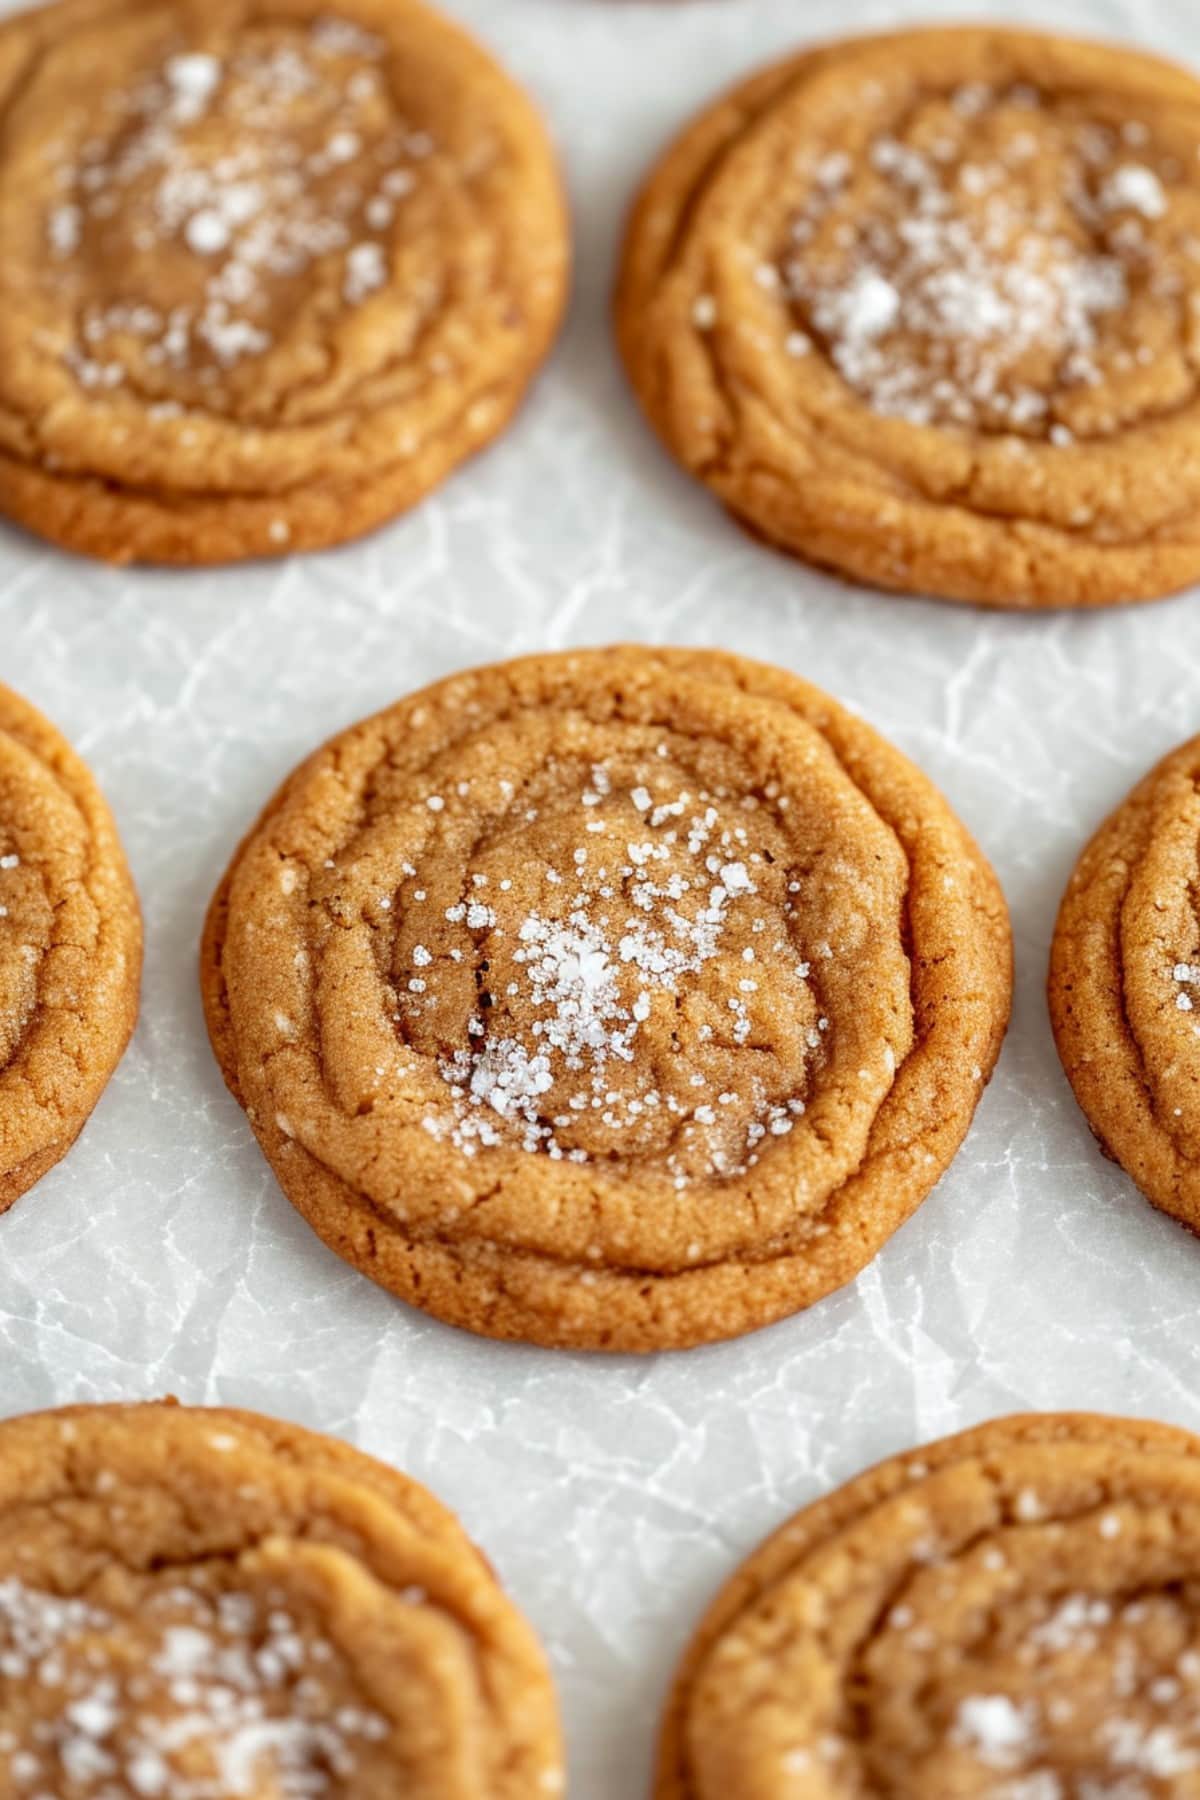
Brown Sugar Cookies
These brown sugar cookies are my top choice when I’m looking for a classic, nostalgic treat.
With just a handful of simple ingredients like butter, eggs, flour, and, of course, brown sugar, you can whip up a batch of these soft-baked cookies in no time.
The use of brown sugar gives these cookies a rich, caramel-like flavor that’s to die for.
Crisp around the edges but soft and chewy on the inside, these homemade brown sugar cookies are extremely addictive.
I think they’re ideal as Christmas cookies, thanks to the deep flavor. But they’re so tasty, you’ll want them all year.
Ingredients
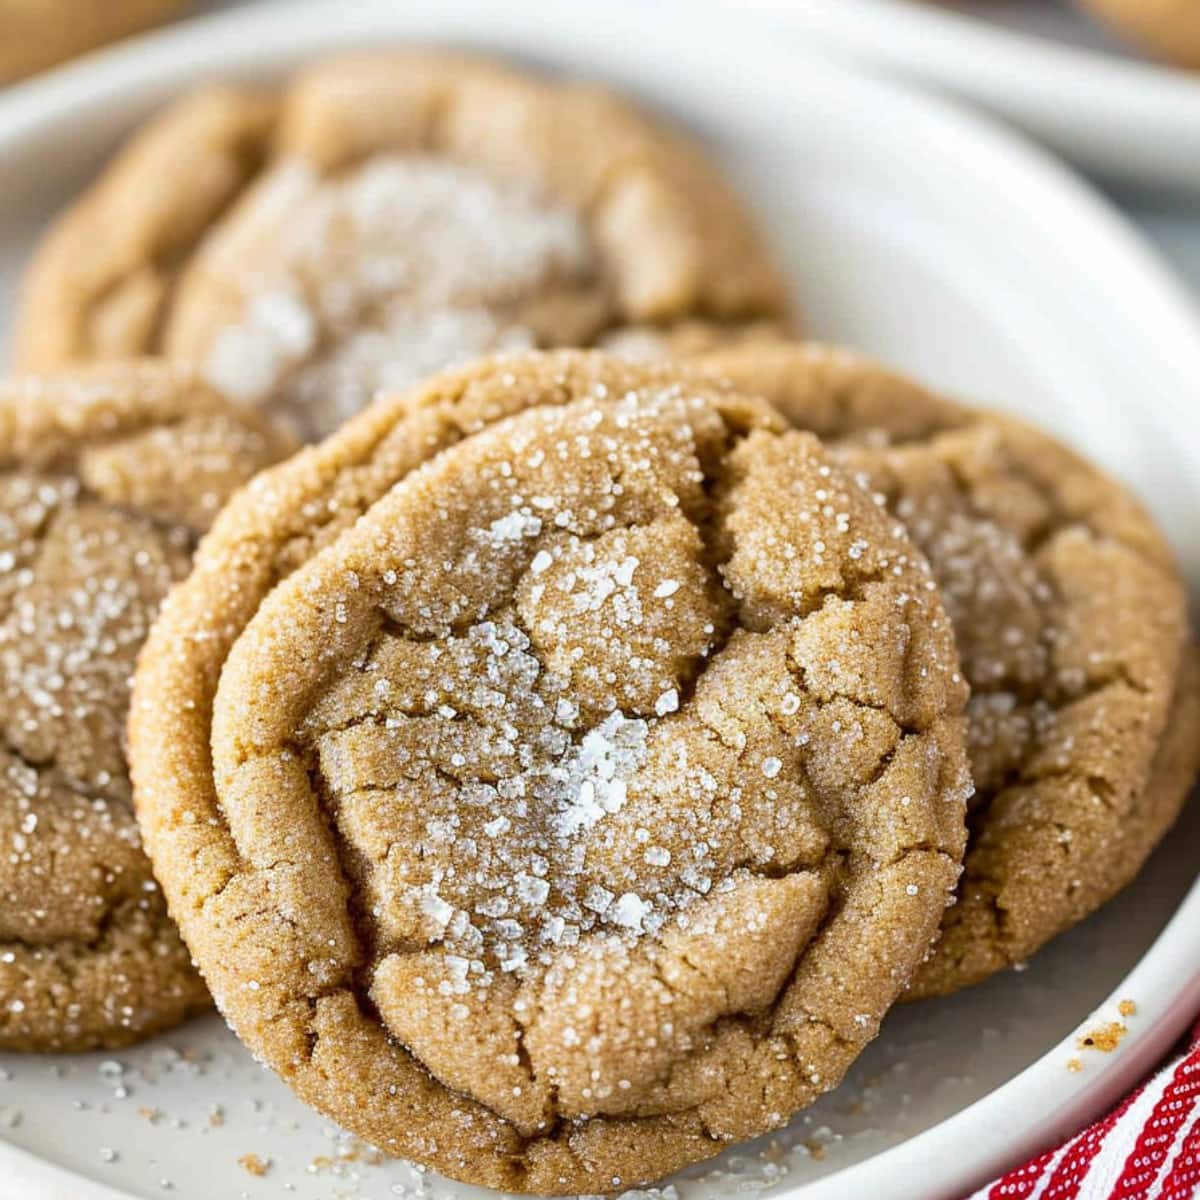
These ingredients make the brown sugar cookies super soft and chewy!
- Brown Sugar: Light or dark brown sugar both work well. But dark brown sugar contains more molasses, so it will yield chewier cookies. You can also use a 50/50 split.
- Flour: All-purpose flour is perfect for these cookies.
- Baking Powder and Baking Soda: The leavening agents that make the cookies rise.
- Salt: To enhance the sweetness and balance the flavors.
- Butter: For richness. Use softened, not melted butter so they don’t spread too much.
- Eggs: Also for richness and binding the ingredients.
- Vanilla Extract: This enhances the flavor of the cookies.
- Granulated Sugar: For coating the dough balls in. This adds a delightful crunch and a nice contrast in sweetness and texture.
How to Make Brown Sugar Cookies
If you’re a dessert lover, chances are you’ve made cookies once or twice. So this will be super easy for you!
And luckily, they’re a cinch to whip up, so even novice bakers can master them
1. Combine the Butter and Sugar: In a large mixing bowl or stand mixer, beat the softened butter, brown sugar, and granulated sugar until light and fluffy.
2. Beat in the Eggs: Add eggs one at a time, followed by vanilla extract.
3. Add the Dry Ingredients: In a separate bowl, whisk flour, baking soda, baking powder, and salt together. Gradually add dry ingredients to the wet mixture and mix until a soft dough forms.
4. Chill the Dough: Cover and chill dough for 1-2 hours. Essential for chewy cookies with crispier edges. It also creates a deeper, richer flavor because chilling allows the natural sugars in the brown sugar to caramelize.
5. Coat in Sugar: Roll the dough into 2-inch balls. Then coat each in granulated sugar. Place dough balls on baking sheets spaced 3 inches apart.
6. Bake and Enjoy: Bake for 11-12 minutes or until edges are lightly browned. Let cookies cool on the baking sheet for 5-10 minutes, then transfer to a wire rack to cool completely.
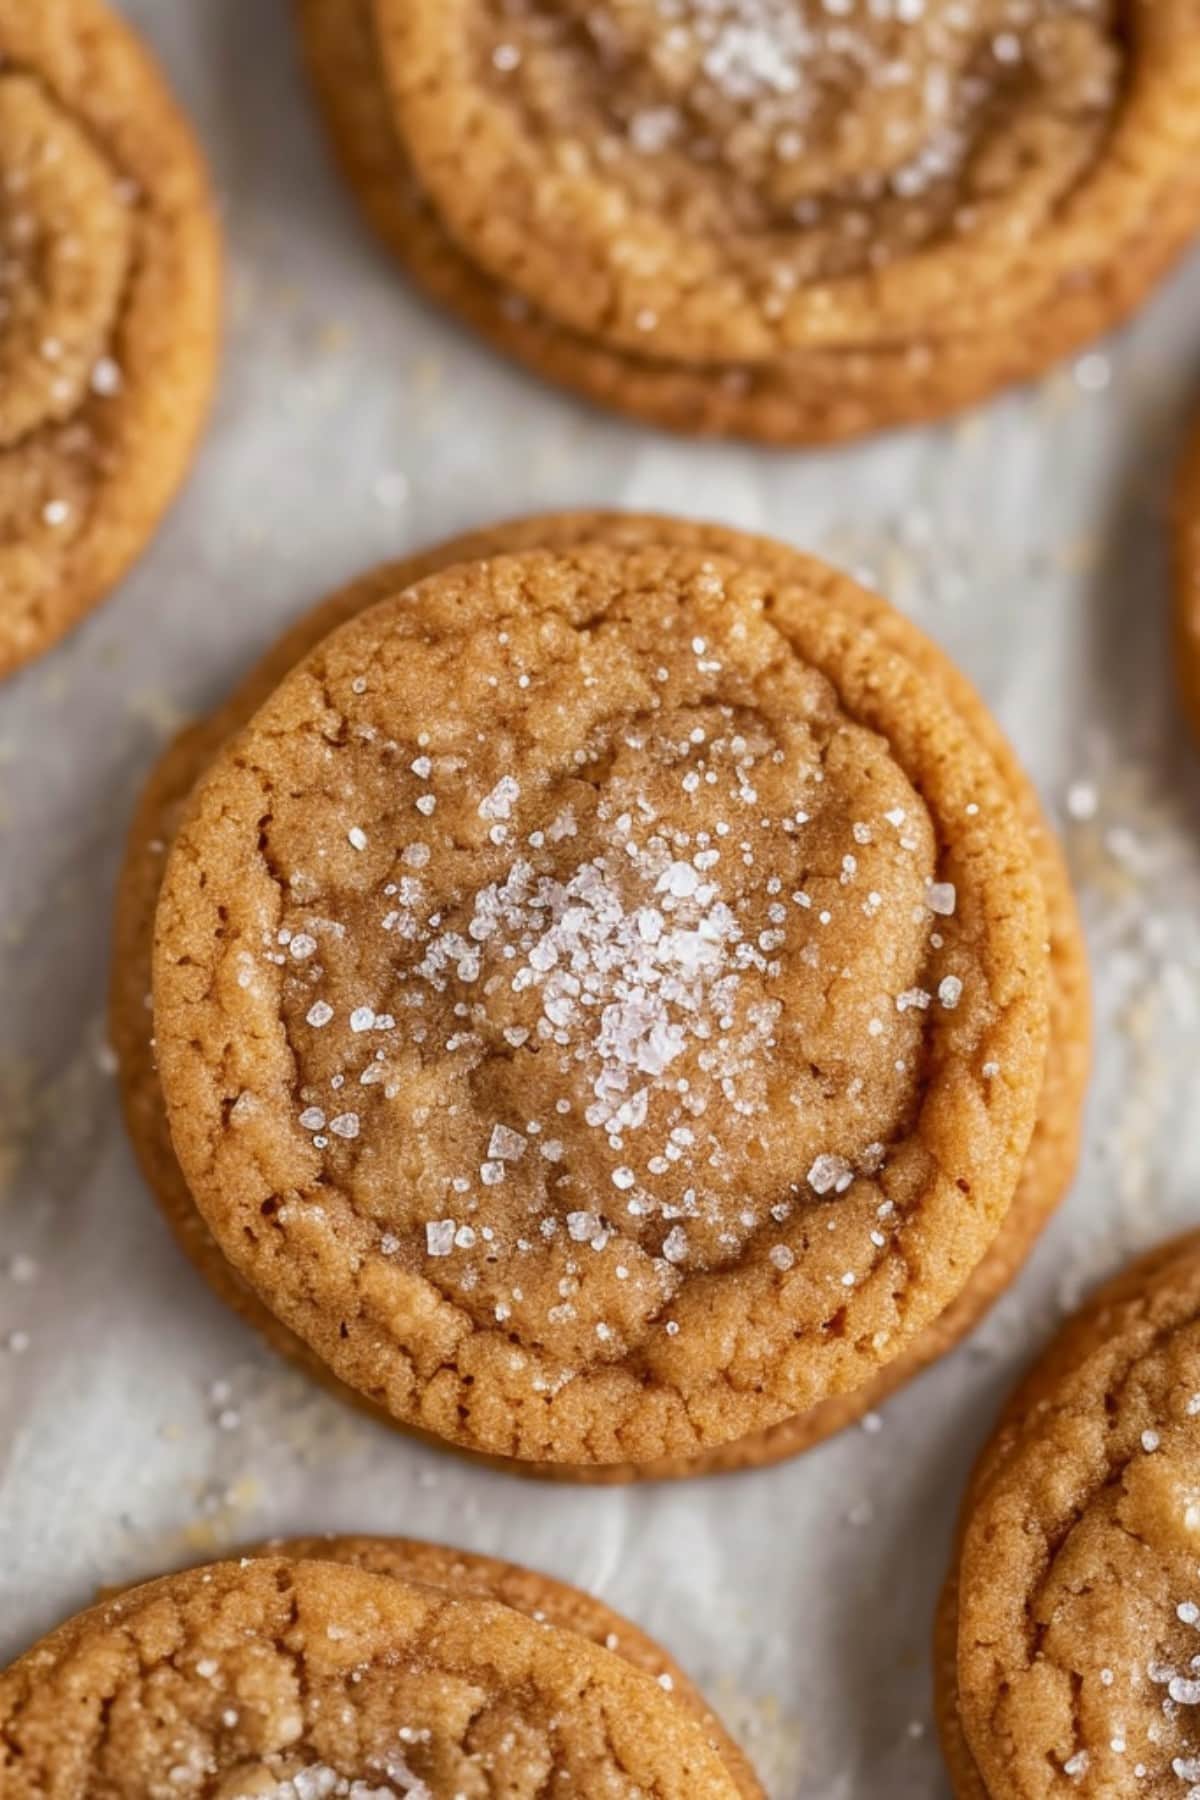
Tips for the Best Cookies
As with any cookie recipe, my main tip is to be gentle with the dough. When adding the flour, it’s best to either use a spatula or a paddle attachment on low.
Other than that, here’s a few tips and tricks for making the best brown sugar cookies:
- Chill the dough: Chill the dough for at least 1 hour for a thicker, chewier cookie and a richer flavor.
- Line your baking sheets: Parchment paper prevents sticking and makes cleanup easier.
- Don’t overbake: Cookies may look slightly underdone when you take them out, but they will continue to firm up as they cool. Overbaking leads to dry, crumbly cookies. Aim for golden brown edges.
- Cool on the baking sheet: Allow the cookies to cool on the baking sheet for 5-10 minutes before transferring them to a wire rack. This helps them set and prevents them from breaking.
- Room temperature ingredients: Make sure your butter and eggs are at room temperature for even creaming and a smooth dough.
- Leave space between cookies: Allow space for the cookies to spread without touching each other.
- Chewy vs. Crispy: Use dark brown sugar for chewier cookies and light brown sugar for crispier ones.
- Use browned butter. Melt it over low heat until it smells nutty and browns. Transfer to a heatproof bowl (with the brown bits) until firm.
How to Store
Whether you have leftovers or simply want to make them ahead, you have a few storage options.
And yes, they freeze well! So I highly suggest you double or triple the recipe so you have plenty on hand.
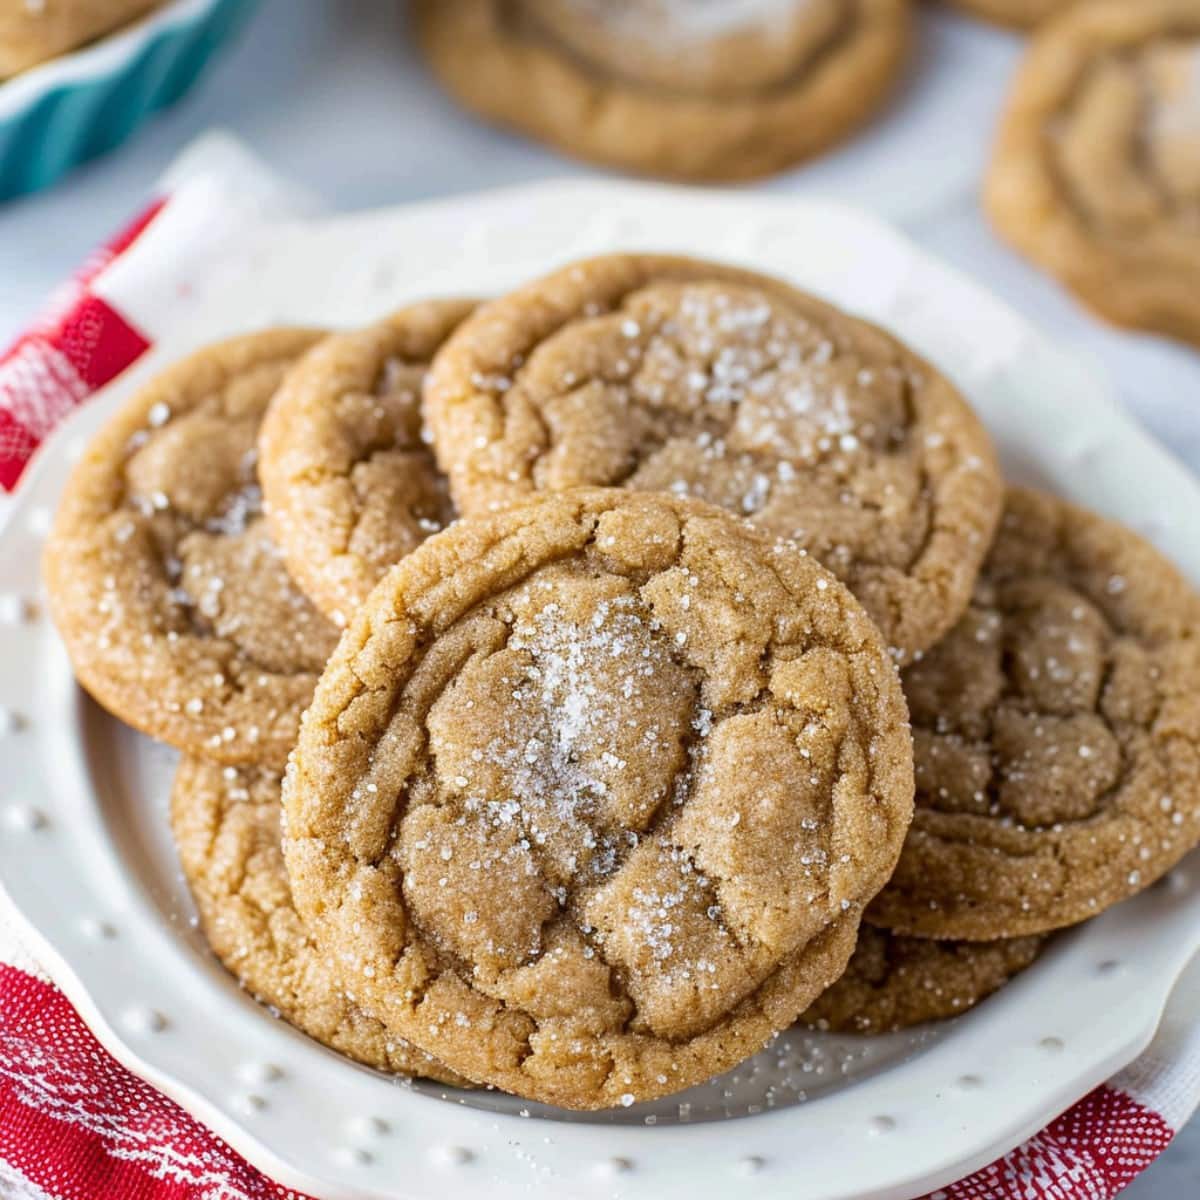
To Store Leftover Cookies: Place cooled cookies in an airtight container. Store at room temperature for up to 5 days.
To Freeze Baked Cookies: Flash freeze cooled cookies on a baking tray until solid. Then, transfer them to a freezer bag and store for up to three months.
To Freeze Cookie Dough: Portion the dough onto a baking tray and freeze until solid. Transfer the dough balls to a freezer bag and store for up to three months.
When you’re ready to enjoy the frozen cookies, simply let them thaw on the counter for about 20-30 minutes. Or microwave them for a few seconds.
For the frozen cookie dough, bake those babies right out of the freezer! Just add about 2 minutes to the total cooking time.
More Crinkle Cookies To Try
Lemon Crinkle Cookies
Chocolate Crinkle Cookies
Red Velvet Crinkle Cookies
Fudge Crinkle Cookies with Cake Mix






I have a question, can these cookies be made with gluten free flour?
Hi Joyce, you can make these with gluten-free flour, just keep in mind the baking time might be slightly longer or shorter. Check for doneness a couple of minutes earlier than the recipe states, to be on the safe side.
I want to bake these. Can I use Crisco instead of butter?
Yes, Rebecca, you can use Crisco instead of butter if you prefer. Crisco can be substituted for butter in a 1:1 ratio, so you would use 1/2 cup of Crisco in place of the 1/2 cup of unsalted butter. Keep in mind the taste might be a bit different, though, as Crisco isn’t as rich as butter. You might want to add a little vanilla extract to compensate!
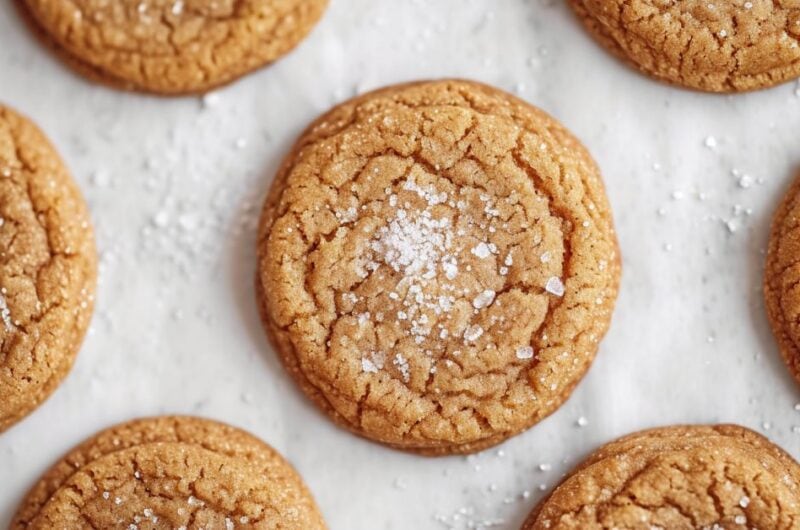
In the picture are the cookies topped with sea salt? Thanks! Can’t wait to make them
Hi Fal! That’s actually coarse sugar. It’s great as a finishing touch to cookies. But you could totally add sea salt! A pinch sprinkled over the batch just before baking should be more than enough.
Going to make these. They sound yummy!
Could you double this and bake it in a sheet pan?
Hi Nancy! You can totally make this as a cookie bar.
For the original recipe, I suggest a 9×13-inch baking pan. If you double the recipe, it will probably fit into an 18×13-inch sheet pan.
I haven’t tried it, so just be sure you have enough dough. It should be about an inch thick. Also, be sure to bake it for longer. About 15 minutes for the smaller tray and 20-25 for the baking sheet.
Hope this helps!
Unfortunately, my cookies did not come out anything like your picture. They taste nice enough but they did not spread at all on the parchment paper.
Does anyone have a weight for the flour?
Hi Mary! 3 cups of all-purpose flour is 360 grams or 12.75 ounces 🙂
how much do these spread?
I want to try making them in a specific shape is that possible?
Hi Dalia!
Since these are designed to be soft and chewy, they don’t work that well for shaping.
But if you want to give it a try, maybe start with a small batch and test them out?
Here’s how I’d do it:
1. Make the dough, then roll it flat between 2 sheets of parchment (like sugar cookie dough).
2. Place the dough (in the parchment) onto a flat tray and chill for 1-2 hours.
3. Cut out the shapes you like, then arrange them on a parchment lined tray and freeze until solid (1-2 hours)
4. Bake from frozen for 10-12 minutes then leave them on the tray to set.
Baking them from frozen should help keep the shape, but they may still spread a little.
Another option is to bake this in a slab (after step 2 above) and then cut the shapes out after baking. Give them 5-10 minutes to cool and then cut.
Hope this helps
Can browned butter be used instead of regular butter. I am thinking the browned butter would really set this off
Hi Karen!
Yes, you can totally use brown butter for this.
I suggest making it in advance since it needs to firm up before mixing.
Or let it cool slightly, mix it in melted, then chill the dough before baking so it has time to firm up.
Let me know how they turn out (though I have a feeling they’ll be crazy-good!)
I just baked these using 3 cups of wheat flour. Delicious, and beautiful just like the picture. 3 inches apart , the perfect amount of room for spreading. TY
So glad the recipe worked out for you, Lorraine! 🙂