

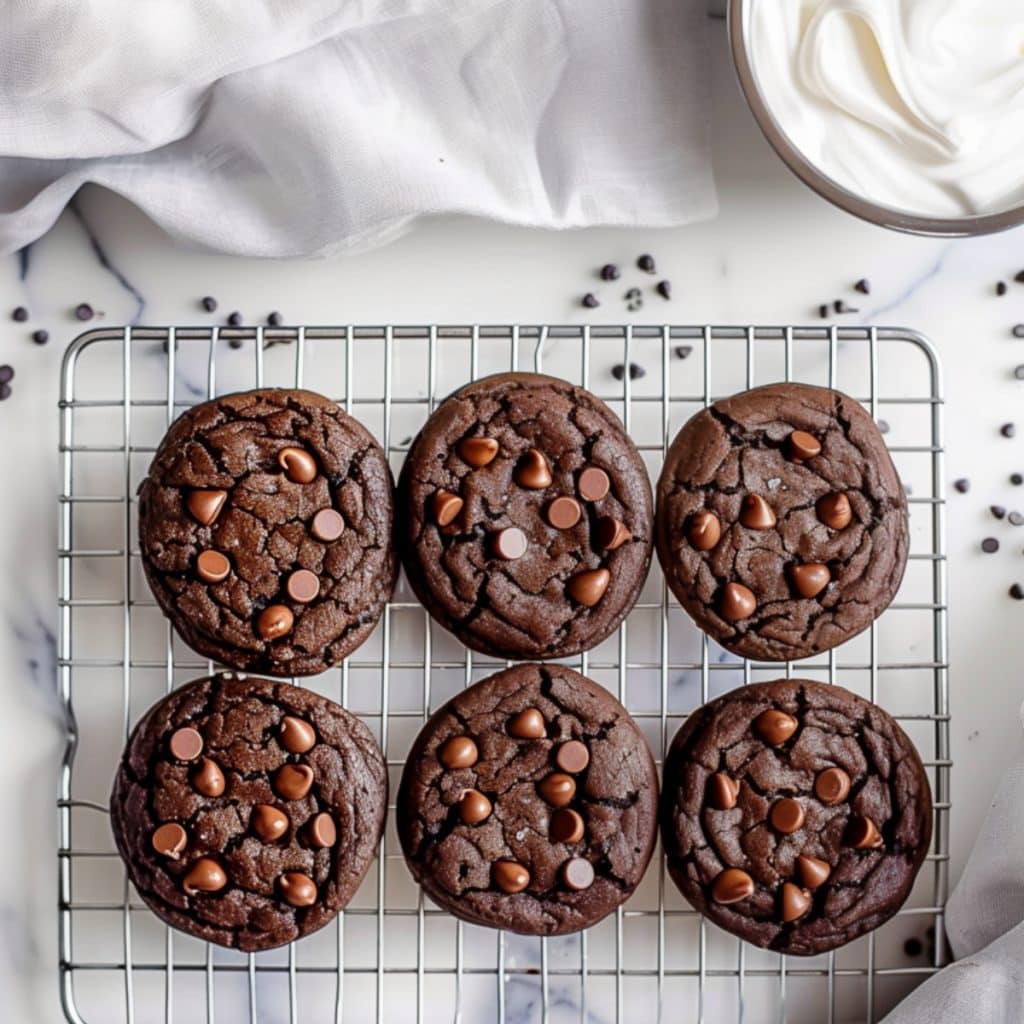
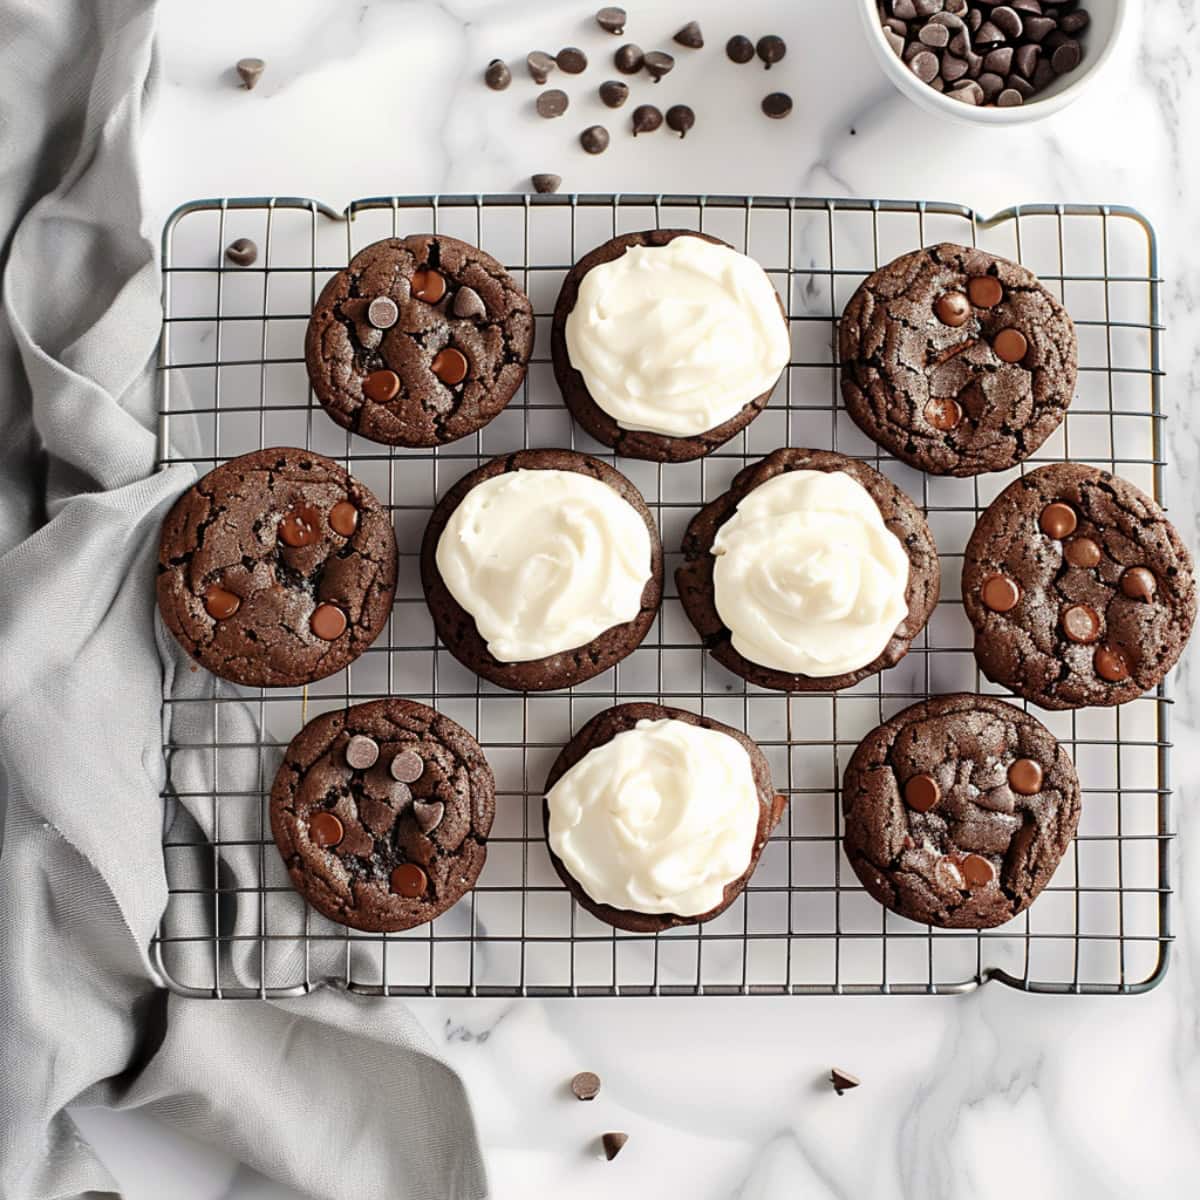
These homemade chocolate sandwich cookies are soft, chewy, and jam-packed with rich chocolate flavor and a heavenly vanilla cream filling.
Seriously, they’re dangerous to have around… it’s impossible to eat just one!
I’m planning to share them with my neighbors so I don’t end up devouring the whole batch myself. Although I might have to hide a few for later first.

Why You’ll Love These Chocolate Sandwich Cookies
Gooey Chocolatey Goodness: Between the chocolate chips and fudgy texture, these brownie-like cookies are amazing all by themselves. But with the filling, they’re extra tasty!
Customizable Flavor Combinations: I like the Oreo combo of chocolate and vanilla, but you can use any filling you like. Next time, I’m trying peanut butter!
Perfect for Sharing: With their adorable sandwich design and crowd-pleasing flavor, these cookies are ideal for sharing at parties, gatherings, or as gifts.
Ingredients
- All-Purpose Flour: Provides structure to the cookies, ensuring they hold their shape and have a tender crumb.
- Unsweetened Cocoa Powder: For that rich, dark color and smooth, mellow chocolate flavor.
- Baking Powder and Soda: Provide just the right amount of lift so they’re not too dense.
- Salt and Vanilla Extract: Enhance the overall flavor of the cookies by balancing the sweetness and intensifying the chocolate taste.
- Unsalted Butter: Adds richness and moisture to the cookies and ensures the filling is smooth and creamy.
- Granulated, Brown, and Powdered Sugar: Granulated sugar sweetens the cookies, and brown sugar gives them moisture. Meanwhile, powdered sugar thickens the filling so it’s sweet and stable.
- Egg and Yolks: Eggs bind the ingredients into a smooth dough, and the added yolks ensure they’re moist and fudgy.
- Chocolate Chips: I use mini chips in the cookies and add extra (standard) chips on top for a bakery-style presentation.
- Heavy Cream or Milk: Used in the filling to achieve the desired creamy consistency.

How to Make Chocolate Sandwich Cookies
Chocolate cookies and vanilla filling is a combination that hits all the right notes—sweet, creamy, and just the right amount of decadence.
The best part? They’re easier to make than you might think.
With a few simple ingredients and a bit of time, you’ll have a batch of these scrumptious treats ready to impress.
1. BEAT: In a large bowl, beat the butter and sugars until light and creamy. Scrape the bowl and add the egg and yolks, one at a time, then the vanilla.
2. WHISK: In a separate bowl, whisk the dry ingredients to distribute everything evenly.
3. STIR: Gently stir the dry ingredients into the butter mixture by hand, then fold in the chocolate chips. Cover the bowl and chill the dough for at least 3 hours or overnight.
4. PREP: Preheat the oven to 350°F and line two baking sheets with parchment paper.
5. SCOOP: Form the dough into 1 tablespoon-sized balls, arrange on the baking sheets, and optionally press a few chocolate chips into the tops.
6. BAKE: Bake for 8-10 minutes until the edges are set. Cool on the baking sheets for 5-10 minutes before transferring to a wire rack.
7. BEAT: In a large bowl, beat the butter, powdered sugar, salt, and vanilla until smooth. Add cream as needed, until it’s thick enough to pipe.
8. ASSEMBLE: When the cookies are completely cooled, pipe 1-2 tablespoons of filling on half of the cookies, then sandwich the tops in place. Serve and enjoy!
Tips For the Best Chocolate Sandwich Cookies
If you’re craving a special treat to enjoy with a cold glass of milk or a cup of coffee, you have to try making these chocolate sandwich cookies.
They’re so much better than anything store-bought. And with these tips, they’re flawless every time.
- Chocolate quality. Use high-quality cocoa powder and chocolate chips for the best taste and gooey texture.
- Chill the dough. If you skip this step, the cookies will spread on the tray. They’ll still be tasty, but they’ll be flat.
- Portioning. Use a small cookie scoop to portion the dough so all the cookies are the same size and will sandwich together perfectly.
- Avoid overbaking. Bake the cookies for only 8-10 minutes until the edges are set and the centers look slightly wet. They’ll finish cooking on the tray and set up out of the oven.
- Cool completely. Allow the cookies to cool completely before adding the filling to prevent the frosting from melting.
- Piping. Use a piping bag for the filling for easy portioning. Add a blob in the center, then sandwich the cookies together. It’ll spread evenly as you press them together.
- Filling consistency. The vanilla cream filling should be stiff but still spreadable. I like it slightly thicker than cupcake frosting, so it doesn’t ooze out when you take a bite.
- Filling variations. Try thick ganache or dulce de leche. Add 1/2 cup peanut butter, Nutella, or almond butter to the recipe below. Or try fruit jams in the frosting instead!
- Optional mix-ins. Consider adding espresso powder, mint extract, or finely chopped nuts to the cookie dough for additional flavor variations.

How to Store
Biting into one of these chocolate sandwich cookies is pure bliss – the cookies are soft and chewy, and the generous layer of frosting in the middle is heavenly.
Better yet, you can make and freeze the cookies for later. So they’re ideal for parties, gifting, or the holidays.
To Make Ahead: Make, cover, and chill the cookie dough. It will keep in the fridge for 2-3 days.
Or portion the dough (after chilling) onto a lined baking sheet and freeze until solid. Then, transfer to a freezer bag for up to 3 months. Bake from frozen with an extra 2-3 minutes in the oven.
To Store: Place leftover chocolate sandwich cookies into an airtight container and keep at room temperature for 2-3 days. For longer storage, keep them in the fridge for up to 1 week. Bring to room temperature before enjoying.
Note: I don’t recommend freezing the assembled sandwich cookies as the moisture from the filling can make the cookies too soft after thawing.
More Chocolate Desserts You’ll Adore
Double Chocolate Banana Bread
Chocolate Cream Pie
Chocolate Mint Chip Cookies
Triple Chocolate Muffins

Chocolate Sandwich Cookies
12
servings20
minutes10
minutes495
kcalThese homemade chocolate sandwich cookies are soft, chewy, and jam-packed with rich chocolate flavor and a heavenly vanilla cream filling.
Ingredients
- Chocolate Cookies
1 cup unsalted butter, room temperature
1 cup granulated sugar
1/2 cup packed light brown sugar
1 large egg + 2 yolks
2 teaspoons vanilla extract
2 1/2 cups (300 grams) all-purpose flour
2/3 cup (60 grams) unsweetened cocoa powder
1 teaspoon baking powder
1/2 teaspoon baking soda
1/2 teaspoon salt
1 1/2 cup mini chocolate chips
1/2 cup semi-sweet chocolate chips, optional
- Vanilla Cream Filling
1/2 cup unsalted butter, room temperature
2 cups powdered sugar
1/4 teaspoon salt
2 teaspoons vanilla extract
1-2 tablespoons heavy cream or milk
Instructions
- Make the cookies: In a large bowl, beat the butter and sugars with an electric mixer on medium until light and creamy, about 3-4 minutes. Scrape the bottom and sides of the bowl and beat again until smooth.
- Blend in the egg and yolks, one at a time, until combined, then add the vanilla.
- In a separate bowl, whisk the flour, cocoa powder, baking powder, baking soda, and salt until evenly distributed.
- Gradually stir the dry ingredients into the butter mixture by hand with a spatula until just before the dough comes together. Fold in the chocolate chips, then cover the bowl and chill the dough in the fridge for at least 3 hours or overnight.
- When ready to bake, preheat the oven to 350°F. Line two baking sheets with parchment paper.
- Scoop the dough into 1 tablespoon-sized (1-inch) balls and arrange on the baking sheets about 2 inches apart. Press a few semi-sweet chocolate chips into the tops of the cookie dough, if desired.
- Bake for 8-10 minutes until the edges are set. Let the cookies cool on the baking sheets for 5-10 minutes before transferring to a wire rack to cool completely.
- Make the filling: In a large bowl, beat the butter until smooth. Add 1 cup powdered sugar and mix on low until blended. Mix in the salt and vanilla, then add more powdered sugar, as needed, until the desired thickness is reached. Add the cream, 1 teaspoon at a time, if needed to thin it.
- Assemble: When the cookies are completely cooled, dollop or pipe about 1-2 tablespoons of the filling in the center of half of the cookies. Sandwich them together with the plain cookies, pressing gently to spread the filling. Then serve and enjoy!
Notes
- Chill the dough. If you skip this step, the cookies will spread on the tray. They’ll still be tasty, but they’ll be flat.
- Portioning. Use a small cookie scoop to portion the dough so all the cookies are the same size and will sandwich together perfectly.